Capturing crisp, detailed landscape photos does not require the most expensive camera on the shelf. Many photographers create beautiful outdoor images with beginner-friendly gear by focusing on technique, timing, and camera setup. If you are learning how to get sharp landscape photos with an entry-level DSLR, the good news is that a solid approach can make a huge difference. At Unique Photo, photographers often discover that strong fundamentals matter just as much as camera specs when shooting mountains, coastlines, forests, and city vistas.
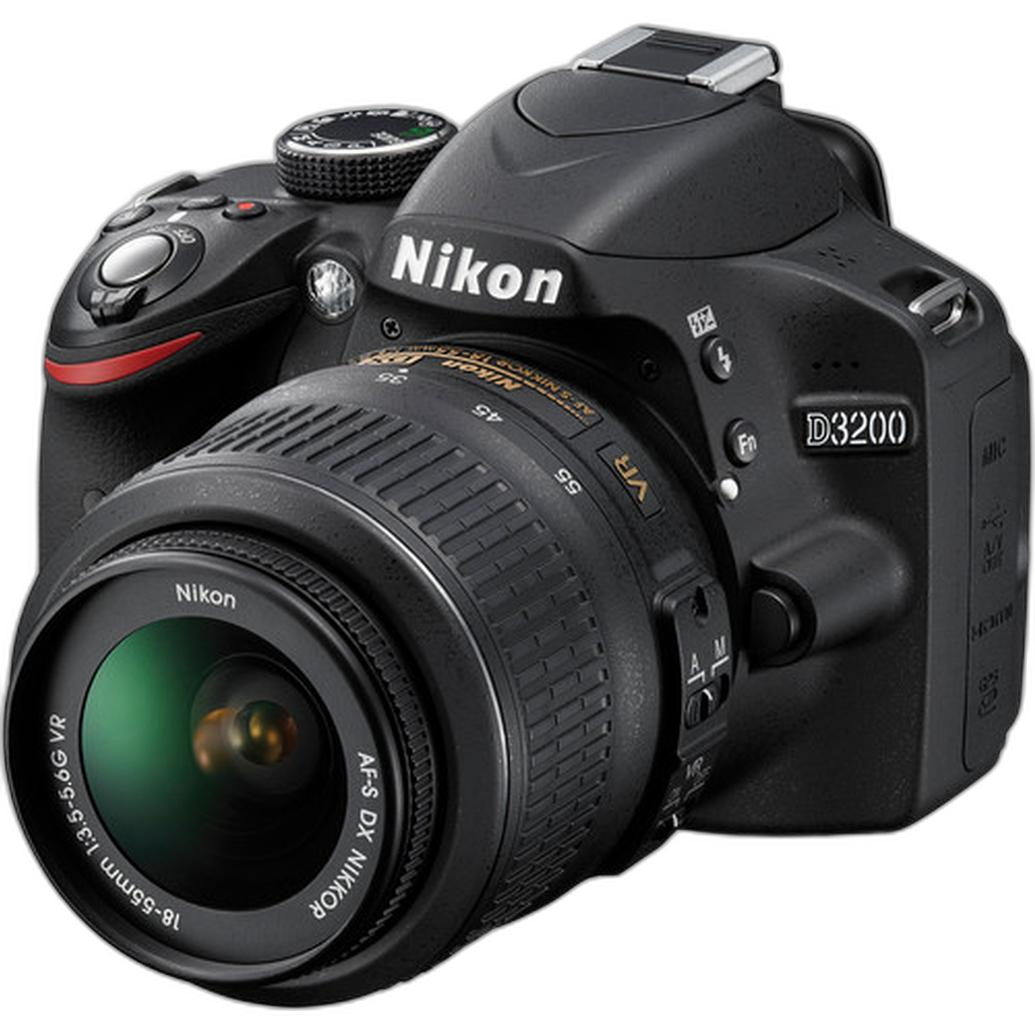
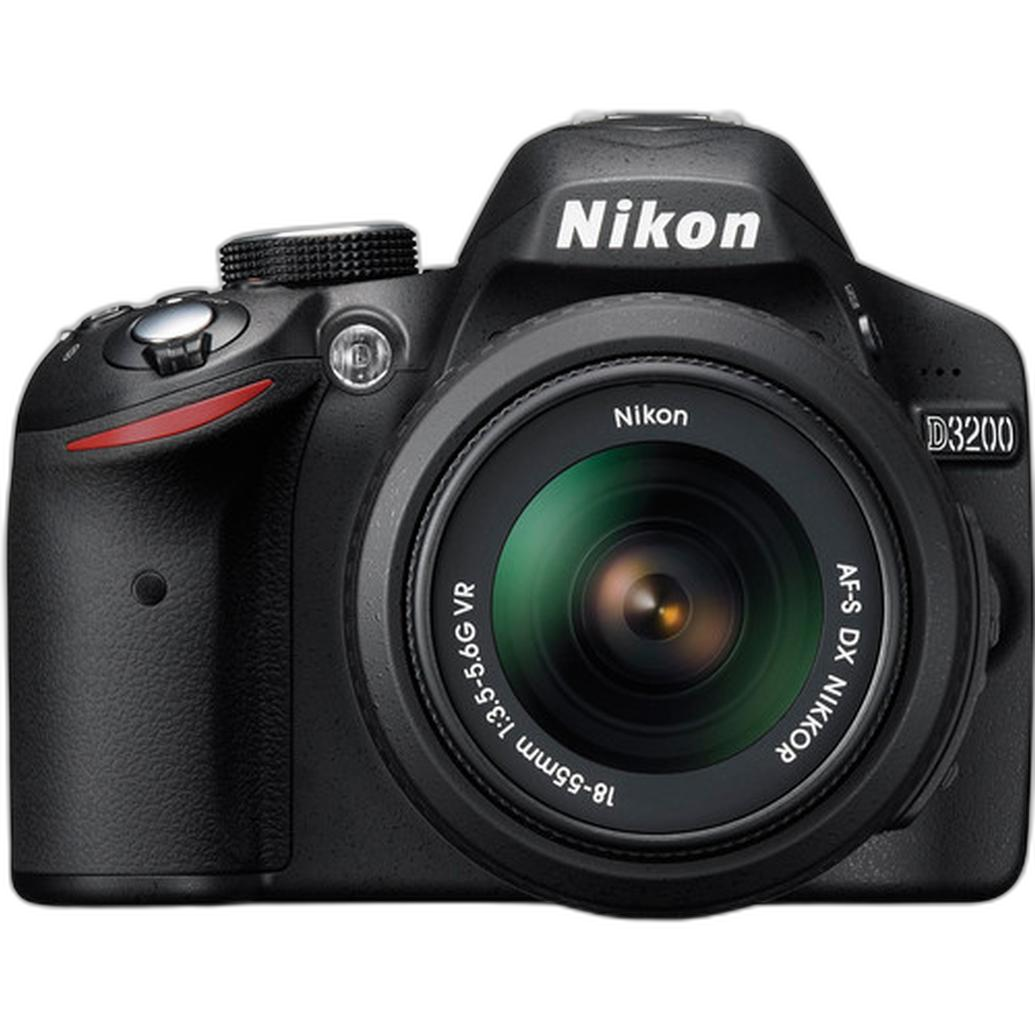
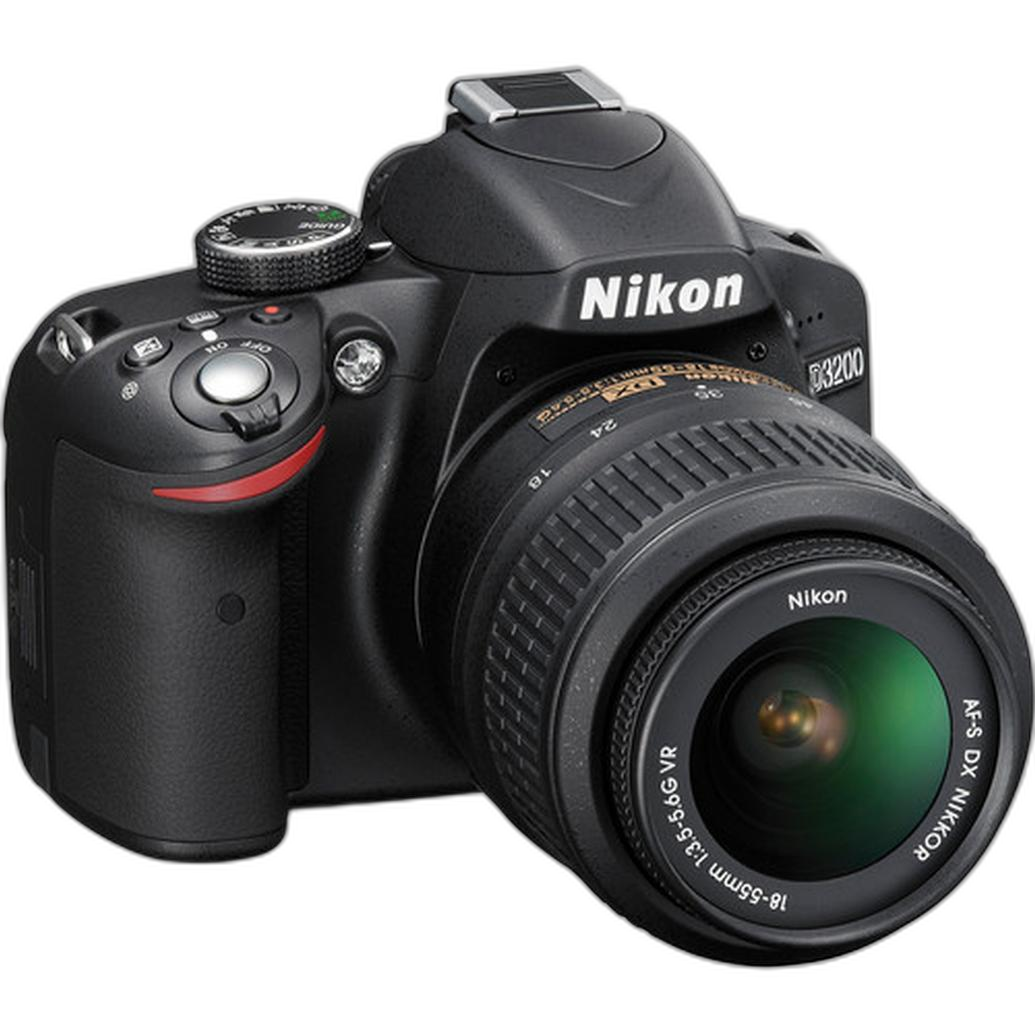
Entry-level DSLRs are especially well suited to landscape photography because they offer manual controls, interchangeable lenses, and image quality that can still produce highly detailed prints and web-ready files. A model like the Used Nikon D3200 DSLR with 18-55mm VR Lens is a great example of an accessible camera that can help newer photographers build sharp shooting habits without overspending.
Use a Stable Support for Sharper Landscape Photos
One of the best techniques for sharp landscapes with entry-level DSLRs is reducing camera shake. Landscape photography often involves slower shutter speeds, especially at sunrise, sunset, in forests, or when using lower ISO settings for better image quality. Even the smallest movement can soften detail.
A tripod is one of the most helpful tools you can add to your kit. If you do not have one yet, brace yourself against a rock, railing, or tree and use the camera's self-timer to avoid introducing shake when pressing the shutter. On cameras like the Nikon D3200, this simple step can noticeably improve image sharpness.
For even better results:
- Use a 2-second or 10-second self-timer
- Enable mirror lock-up if your camera offers it
- Turn off image stabilization when the camera is firmly mounted on a tripod, if recommended by your lens manufacturer
- Avoid extending the center column of the tripod when possible
At Unique Photo, many beginner photographers start with a used DSLR and quickly learn that stability is one of the most important parts of getting professional-looking landscape images.
Choose the Best Aperture for Sharp Landscape Photography
A common question is: What aperture is best for sharp landscapes? With entry-level DSLRs, the answer is usually somewhere in the middle of the aperture range rather than at the extremes. While it may be tempting to stop all the way down to f/22 for maximum depth of field, that can reduce fine detail because of diffraction.
For most landscape scenes, try shooting around f/8 to f/11. This range often gives an excellent balance of sharpness and depth of field on APS-C DSLR cameras. If your scene includes a very close foreground element and distant background, you may need to adjust slightly, but f/8 and f/11 are dependable starting points.
If you are using a kit lens like the 18-55mm on the Nikon D3200, you can get very sharp results by staying in that mid-aperture range and carefully focusing on the right point in the scene.
Focus Carefully and Use the Right Focus Point
Sharp landscape photography is not only about settings. It is also about where you focus. Many soft images happen because autofocus locks onto the wrong part of the frame, such as a nearby branch instead of the broader scene.
To improve focus accuracy:
- Use a single focus point instead of automatic multi-point selection
- Focus about one-third into the scene as a starting guideline
- Check image playback and zoom in on your LCD to confirm sharpness
- Use live view for more precise focusing when your camera supports it
If your DSLR has live view magnification, use it to inspect edges, textures, and distant details before taking the shot. This is especially useful during sunrise and sunset, when low contrast can make autofocus less reliable.
Keep ISO Low for Maximum Detail
When photographers search for the best camera settings for landscape photography on a beginner DSLR, ISO is a major factor. For the cleanest files and the highest level of detail, keep your ISO as low as possible. On many entry-level DSLRs, ISO 100 or ISO 200 will usually deliver the best results.
A low ISO reduces visible noise and helps preserve subtle textures in rocks, clouds, foliage, and water. Since landscapes often involve static subjects, it is usually better to use a tripod and a slower shutter speed than to raise ISO unnecessarily.
Try this simple landscape starting point:
- ISO 100
- Aperture f/8 or f/11
- Shutter speed adjusted to match the available light
This approach gives your entry-level DSLR the best chance of producing crisp, clean files that are easier to edit later.
Use the Sweet Spot of Your Kit Lens
Many newer photographers assume they need premium lenses to create sharp landscapes, but kit lenses can be surprisingly capable. If you are using the 18-55mm lens commonly bundled with beginner Nikon DSLRs, there is a good chance your sharpest results will come from avoiding the widest and narrowest aperture settings and testing a few focal lengths.
In many cases, kit lenses perform very well around:
- 24mm to 35mm for broad landscape views
- f/8 to f/11 for strong overall detail
- Low ISO with careful support and focusing
The key is learning how your specific lens behaves. At Unique Photo, used camera options can be especially appealing for landscape beginners because they offer a lower-cost path to practice with real-world DSLR gear and refine technique over time.
Pay Attention to Shutter Speed and Wind Movement
Even if your camera is perfectly stable, your landscape may not be. Grass, leaves, wildflowers, and tree branches can blur in the wind and make an image appear less sharp overall. That is why understanding shutter speed matters, even in scenes that seem still.
If you want every element to look crisp, watch for movement in the frame. You may need to raise shutter speed slightly or wait for calmer conditions. On a breezy day, a tripod alone will not freeze swaying foreground vegetation.
For sharper results:
- Wait between gusts of wind
- Take several frames to increase your odds of a still moment
- Raise ISO modestly if needed to preserve detail in moving elements
- Recompose to minimize distracting motion in the foreground
Clean Your Lens and Check for Front Element Smudges
One overlooked reason for softer-looking landscape photos is a dirty lens. Dust, fingerprints, and haze on the front element can reduce contrast and make images appear less crisp. Before heading out for a landscape session, inspect your lens and clean it carefully with proper lens-cleaning tools.
This is a small habit, but it can make a noticeable difference, especially when shooting toward sunlight, over water, or in hazy conditions.
Shoot in the Best Light for Better Perceived Sharpness
Light quality affects more than mood. It also influences how sharp your photos appear. Side light during golden hour can reveal texture in rock faces, sand, foliage, and clouds. Harsh midday light can flatten detail or create atmospheric haze that reduces clarity in distant subjects.
For sharper-looking landscapes, try shooting:
- Shortly after sunrise
- Before sunset
- On clear days with low humidity for distant detail
- After weather passes, when the air is cleaner
Good light enhances separation, texture, and contrast, all of which contribute to the impression of sharpness. This is one reason why landscape photographers often prioritize timing over gear upgrades.
Use RAW Files for Better Sharpening in Post-Processing
If your entry-level DSLR offers RAW capture, use it. RAW files hold more image data than JPEGs and give you more control over sharpening, noise reduction, and fine detail in editing. This is especially useful for landscapes, where subtle textures matter.
A sharp landscape photo often comes from a combination of careful in-camera technique and thoughtful post-processing. With RAW files, you can apply selective sharpening to key areas like mountain ridges, trees, or foreground rocks without degrading the whole image.
Even if you are just getting started, shooting RAW gives you more flexibility as your editing skills improve.
Understand When Upgrades Matter and When Technique Matters More
It is easy to compare an entry-level DSLR to advanced cameras and assume sharper landscapes always come from higher-end gear. Premium systems certainly have advantages, but for most beginners, technique makes the bigger difference. A carefully used Nikon D3200 on a tripod can produce a sharper landscape than a high-end camera used with poor focusing or shaky handling.
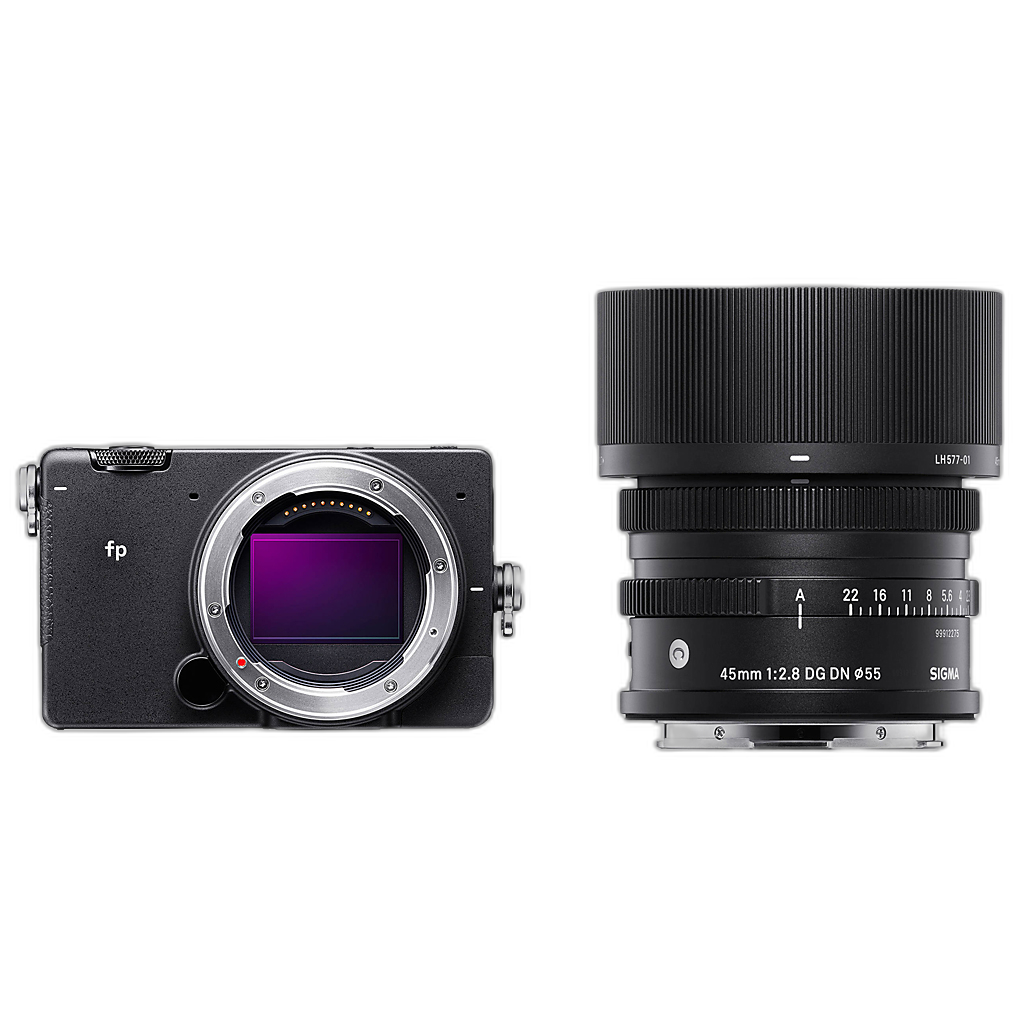
At Unique Photo, photographers can explore everything from accessible used DSLRs to advanced systems across many categories. For example, cameras such as the Sigma fp Mirrorless Digital Camera with 45mm Lens or high-resolution medium format options from Hasselblad represent very different tools for different types of creators, but the fundamentals of sharp landscapes remain the same: stability, accurate focus, ideal aperture, low ISO, and good light.
For most people learning landscape photography, it makes sense to master these core skills before investing in more specialized equipment.
Best Camera Settings for Sharp Landscapes on a Beginner DSLR
If you want a quick starting checklist, use these settings the next time you head outdoors:
- Mode: Aperture Priority or Manual
- Aperture: f/8 to f/11
- ISO: 100 or lowest native ISO
- Focus: Single-point autofocus or live view manual focus
- Drive mode: Self-timer or remote release
- File format: RAW when available
- Support: Tripod or stable surface
This setup is simple, effective, and ideal for many scenes photographed with an entry-level DSLR.
Common Mistakes That Make Landscape Photos Less Sharp
If your photos still look soft, review these common issues:
- Using too small an aperture like f/22 and losing detail to diffraction
- Focusing on the wrong part of the frame
- Letting the camera shake during exposure
- Shooting handheld in low light
- Using high ISO unnecessarily
- Ignoring wind movement in grass or trees
- Not checking focus by zooming into playback
- Shooting through haze or dirty glass
Correcting just one or two of these problems can immediately improve your landscape results.
Why Entry-Level DSLRs Are Still Great for Landscape Photography
Despite all the attention on newer mirrorless cameras and high-end systems, entry-level DSLRs remain excellent tools for learning landscape photography. They provide manual control, dependable image quality, and access to affordable lenses. A used option from Unique Photo can be especially attractive for photographers who want value while building skills in the field.
The Used Nikon D3200 DSLR with 18-55mm VR Lens is a practical example of a camera that gives beginners the essentials needed to create sharp landscape images. With careful technique, thoughtful composition, and patience, an affordable DSLR can deliver photos that look far more polished than many people expect.
Final Thoughts on Getting Sharp Landscapes with Entry-Level DSLRs
The best techniques for sharp landscapes with entry-level DSLRs are straightforward: stabilize the camera, choose an aperture around f/8 to f/11, keep ISO low, focus carefully, watch for movement, and shoot in good light. These habits will improve your results far more than relying on automatic settings alone.
If you are building your first landscape photography kit, Unique Photo is a strong place to explore beginner-friendly cameras, used DSLRs, and upgrade options as your skills grow. A natural next step for readers would be exploring internal resources on used camera gear, DSLR cameras, and educational content focused on lenses, tripods, and landscape photography techniques. Those related pages can help you turn an affordable starter setup into a dependable outdoor photography kit.