Best lighting setups for environmental portraits in feature photography
Great environmental portraits do more than flatter a face—they reveal a sense of place and story. The key is shaping your subject while respecting the scene’s natural character. Use these field-tested setups and tactics to balance available light, control spill, and create depth on location.
Pro tips and setups you can use anywhere
Expose for the environment first, then lift your subject
Lock in the mood by exposing for the background before you add any lights. Use shutter speed to set ambient level, then add a key light and ride its power or your aperture/ISO to taste. Aim for a subtle lift—about 1 stop brighter on the face than the environment—to keep it natural.
Pro move: Set a custom button for quick exposure preview and highlight warnings to protect skies and windows. For DSLR users, a camera-specific guide can help you dial in workflow faster.

Feather a soft key for flattering, spill-free control
A large, close key light angled slightly past the subject delivers soft, editorial contrast without blasting the background. Feathering the modifier across the face lets the edge light the subject while the hotspot misses the environment—perfect for tight offices, libraries, or cafes.
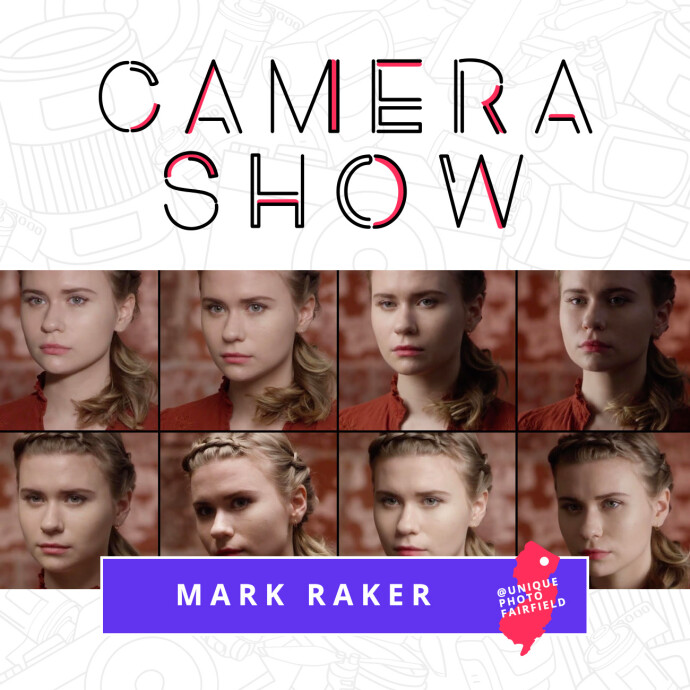
Want to practice falloff control and clean, cinematic keys with LEDs? Consider learning from CS: Key Lighting Methods with Mark Raker (Nanlite).
Use negative fill to sculpt in bright spaces
When ambient light is flat, add shape by subtracting light. A black flag, diffuser’s black side, or even a dark wall close to the shadow side deepens contrast and chisels cheekbones—great for airy studios or windowed conference rooms.
For fast, repeatable setups, explore flagging, feathering, and ratios through Portrait Lighting Made Easy with Joel Grimes (Westcott).

Add an edge or backlight for separation
Use the sun or a small light behind and off-axis to rim the subject’s shoulders and hair. Keep it 0.5–1.5 stops under your key for a polished editorial look. Working under mixed light (tungsten, sodium vapor, LEDs)? Gel your rim to match the environment so it feels native to the scene.
For real-world mixed-light solutions, Reception Lighting with Magda and Simon focuses on gel choices and balancing practicals with your key.

Layer practicals and guide the eye with color
Let existing lamps and signs do some storytelling. Place your subject so practicals sit behind them for depth; then set white balance to favor skin tones and nudge the environment warmer/cooler with gels. A subtle warm background against a neutral key draws attention without screaming “flash.”
Tip: Add a grid to your key to keep practicals bright and pleasing while your subject remains perfectly lit.
Treat the location like a landscape
Scout your angles as if you were composing a landscape. Identify leading lines, a clean horizon, and the best sky. Then place your subject where the environment naturally frames them, and light to preserve those graphic choices. Overcast? Use the sky as a giant softbox and add negative fill for contour.
Honing your eye outdoors pays off on portraits. Macro and Landscape Photography at Duke Farms with Michael Downey sharpens your ambient-light instincts in the field.

Polish in post—subtly and scene-aware
Keep your edits aligned with how the location feels. Gentle dodging on the face, a soft vignette centered on the subject, and color harmony between skin and background go a long way. Preserve texture in walls, wood, and sky—those details are part of the story.
Looking to refine tasteful local adjustments and color work? Editing and Enhancing Landscape and Nature Photography with Photoshop offers techniques that translate beautifully to environmental portraits.

Direct with light: pose, eyes, and leading lines
Shape your key so the catchlight guides the viewer’s eye and complements the pose. A slight head turn toward the key and shoulders angled with the scene’s lines (doors, rails, bookshelves) creates cohesion between subject and space. Light becomes direction—not just exposure.
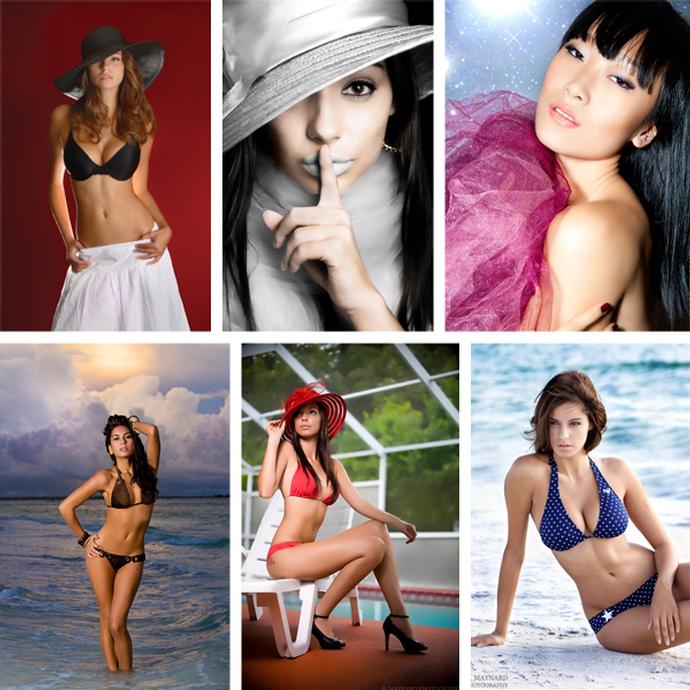
Want deeper practice connecting pose, light, and location? The Stunning Portraits Workshop with David Maynard and ExpoImaging can help you refine that interplay.
Final thoughts
Environmental portraits succeed when the light flatters your subject and honors the location. Start with the ambient story, add controlled light, and keep your color choices intentional. When you’re ready to level up, explore classes and resources at Unique Photo—your partner for learning, gear, and inspiration.