Introduction
Sharpness in landscape photography comes from a smart blend of sensor capability, lens choice, and dialed-in camera settings. In this head-to-head guide, we compare how five distinct cameras — OM SYSTEM OM‑5, Canon EOS R10, FUJIFILM X‑T30 III, Hasselblad H6D, and Sony RX1R III — approach maximum detail and provide practical, brand-specific settings examples you can apply in the field.
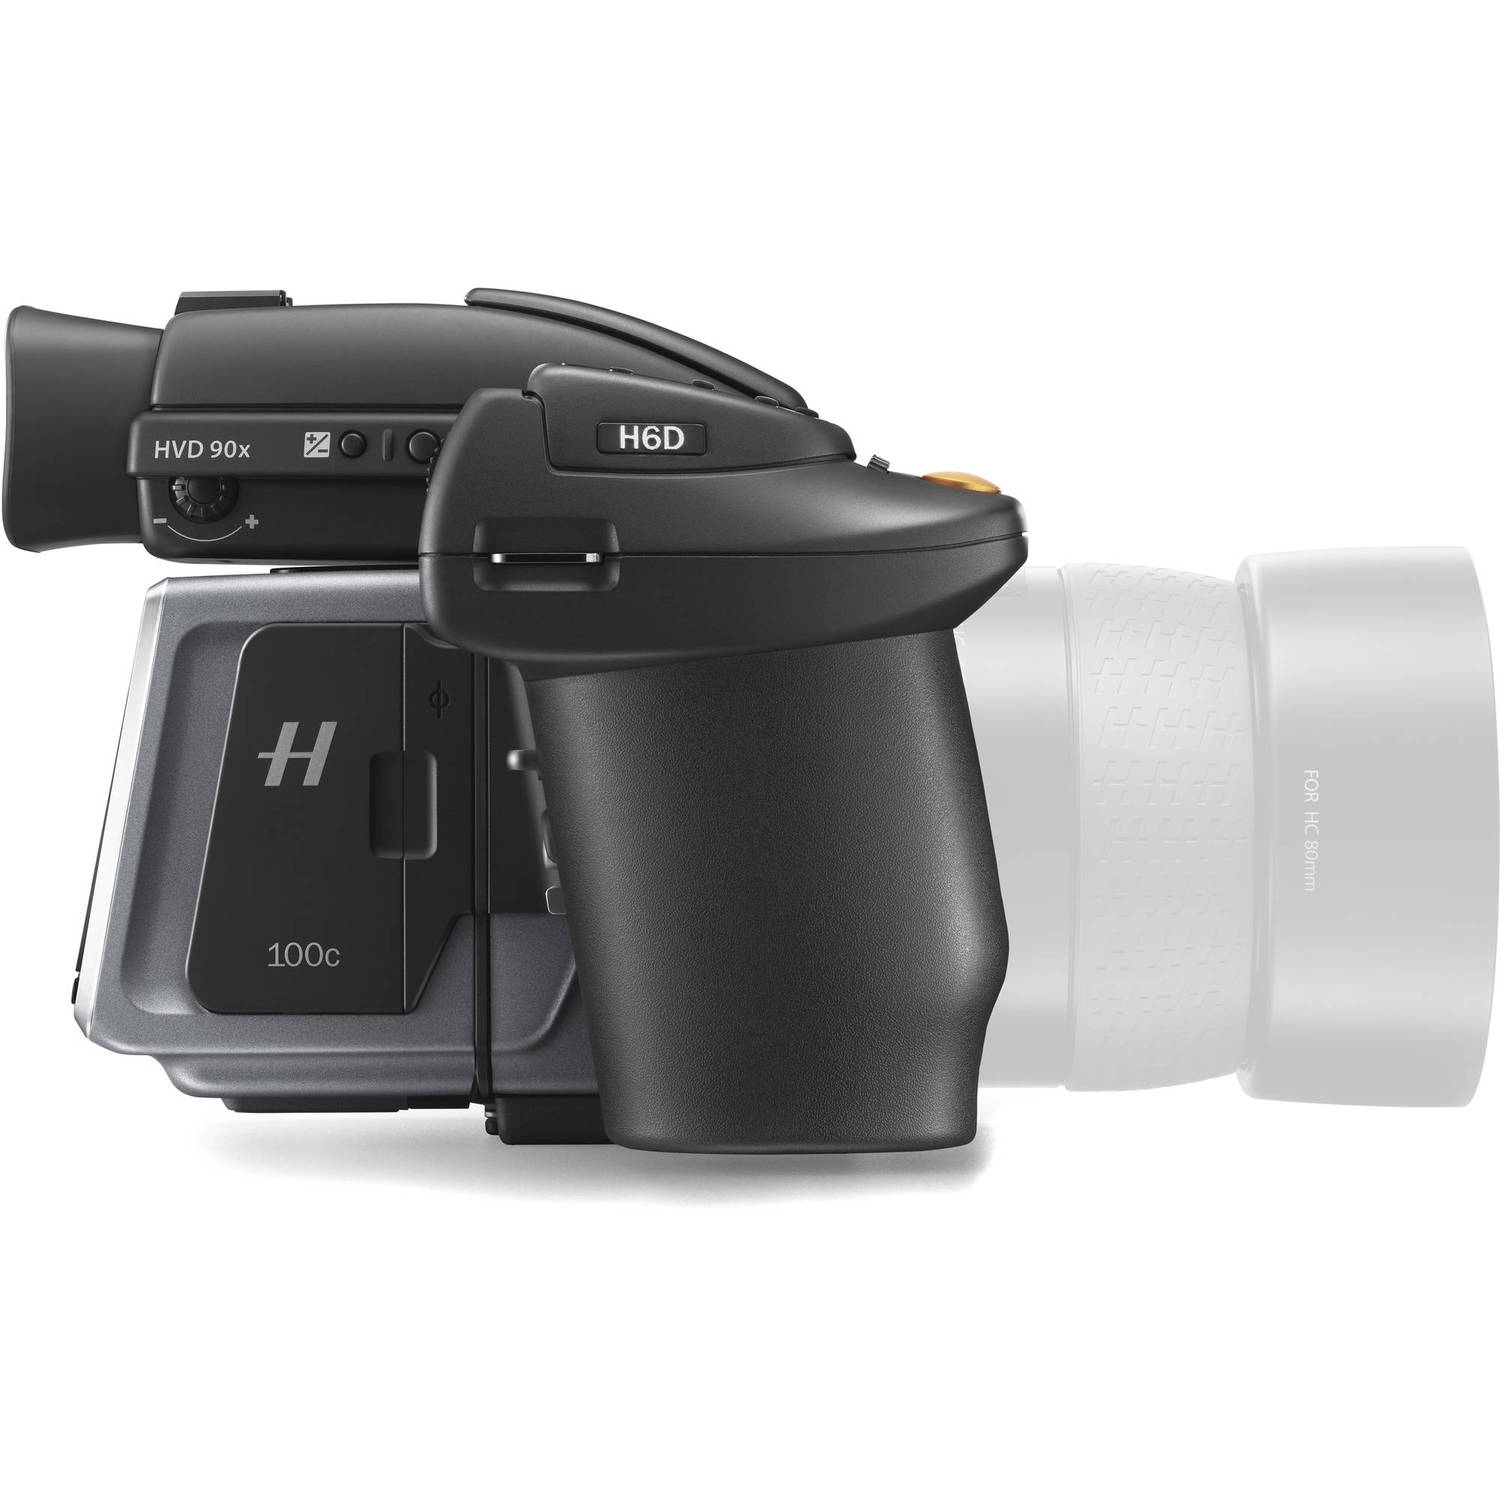
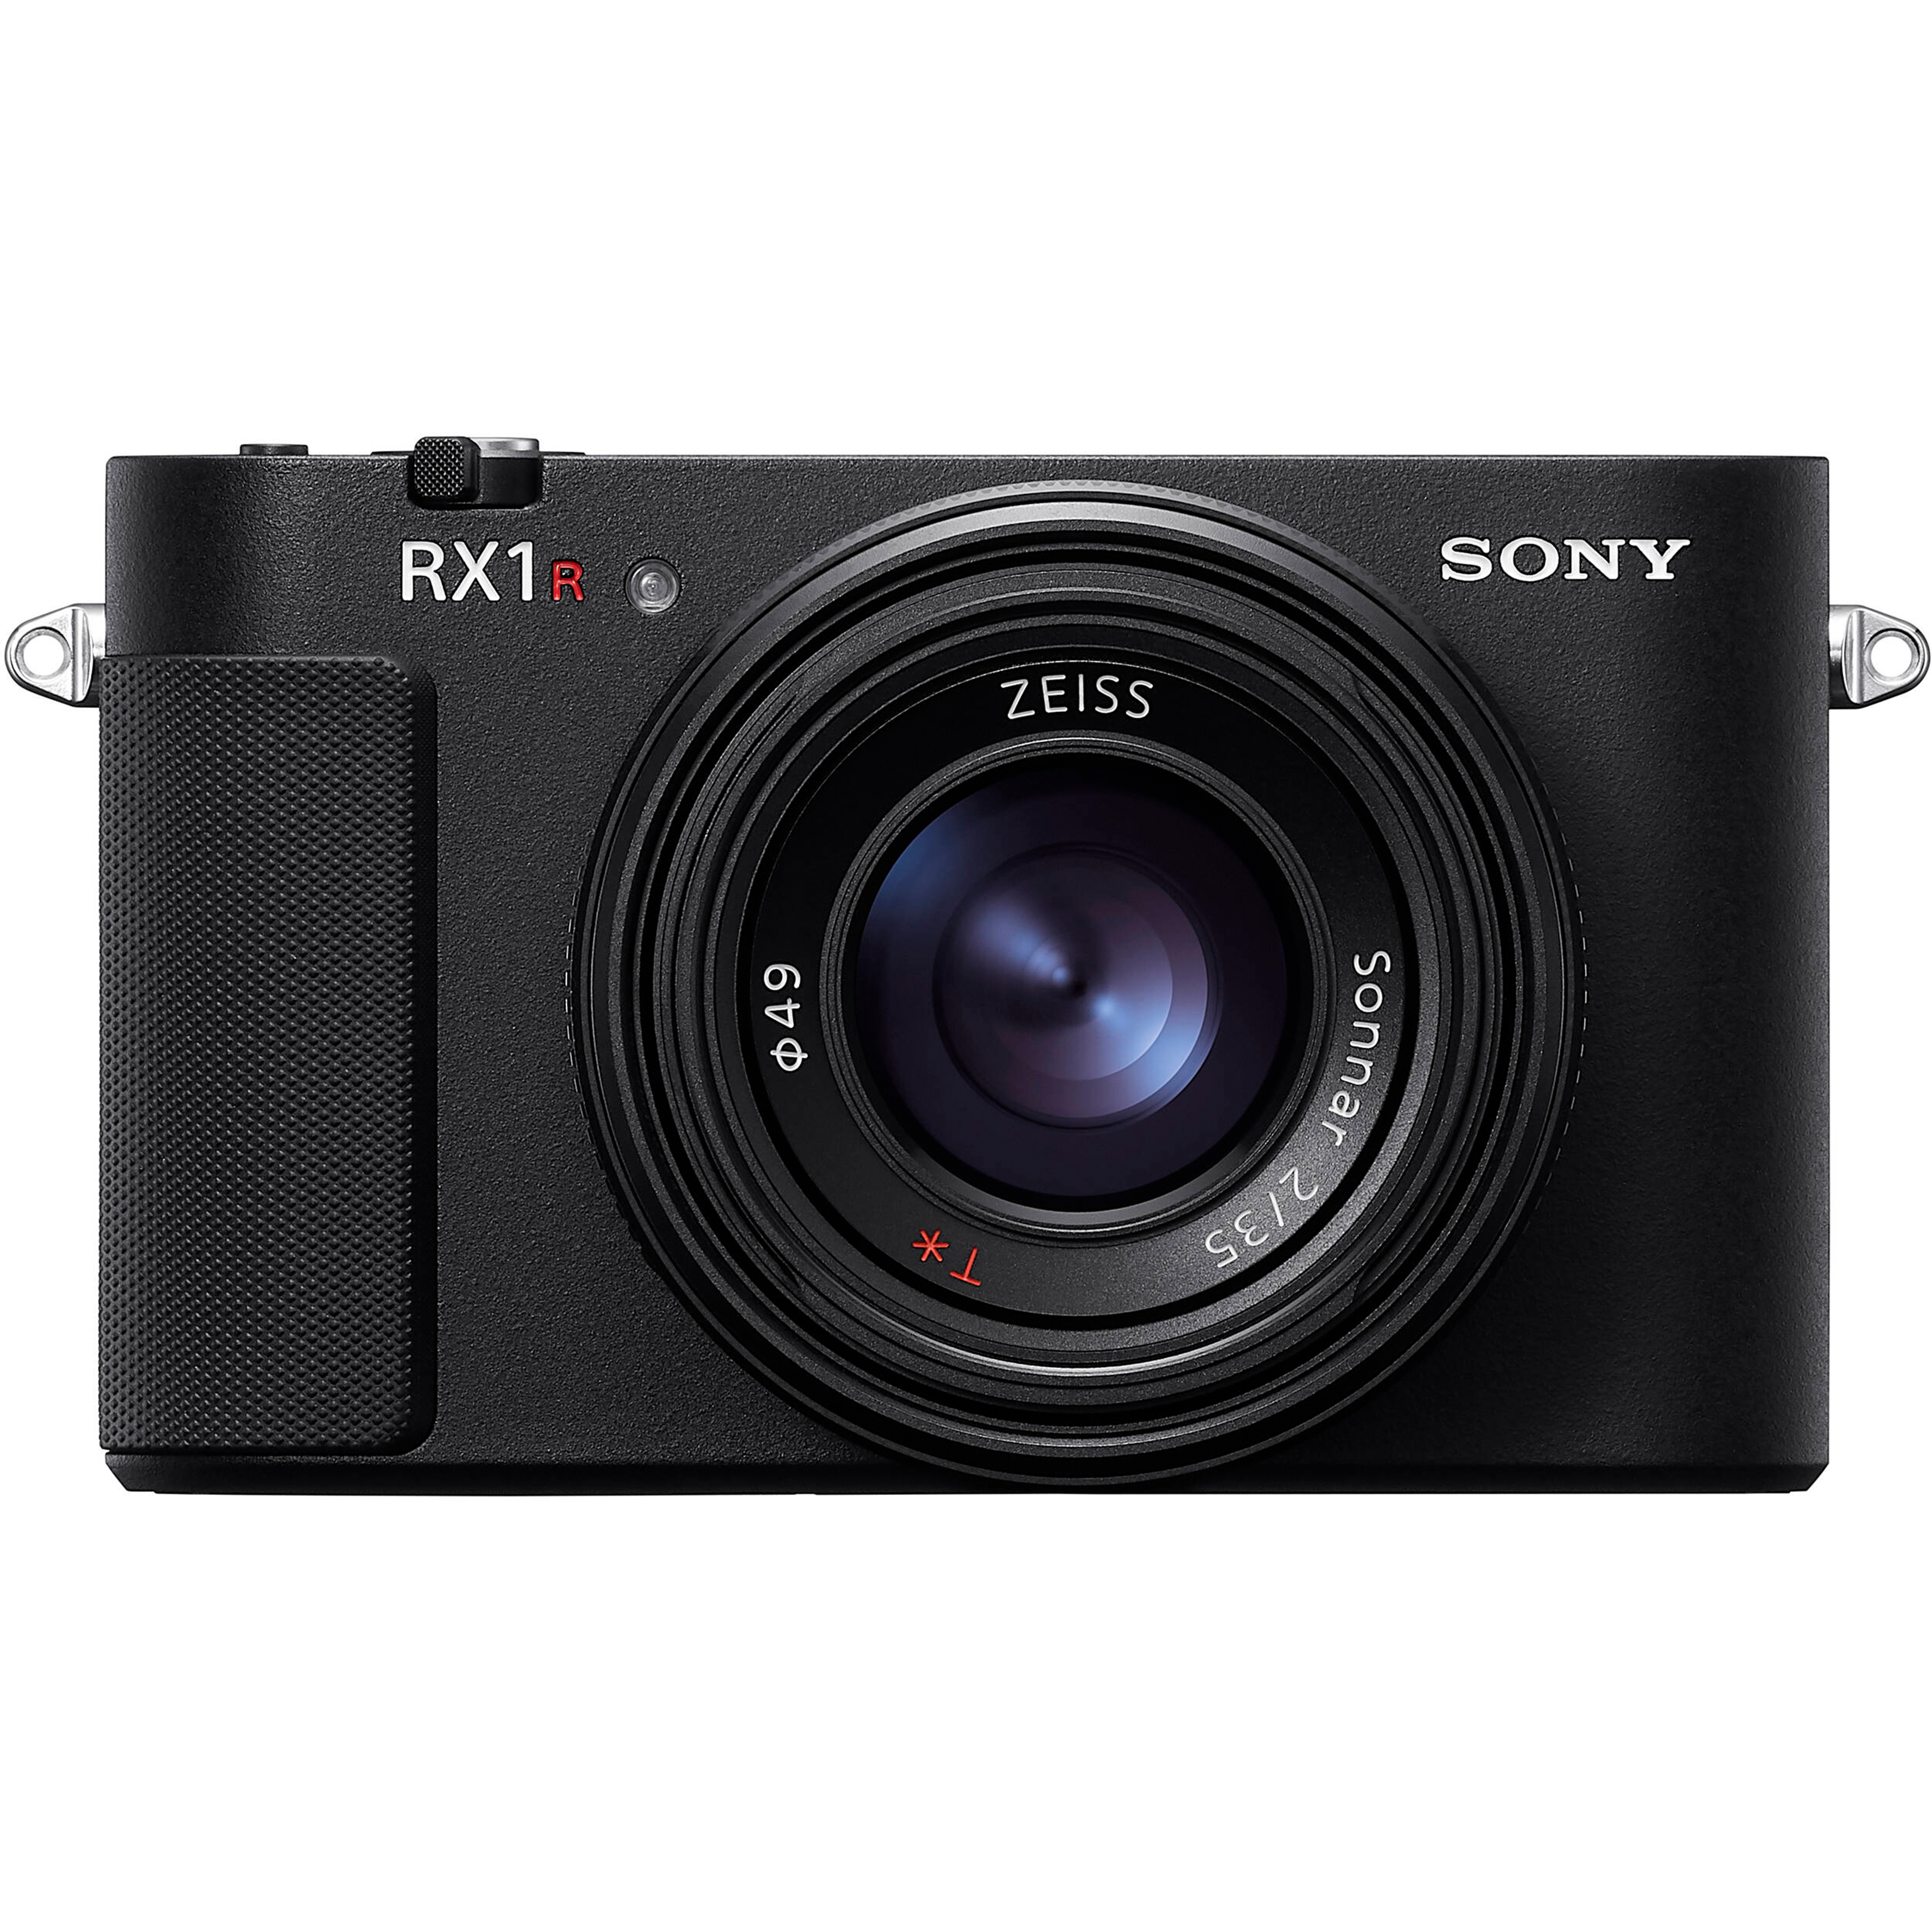
Side-by-Side Specs Comparison
| Camera | Sensor Format | Lens Type / Mount | Built-in Stabilization (IBIS) | Landscape-Friendly Highlights |
|---|---|---|---|---|
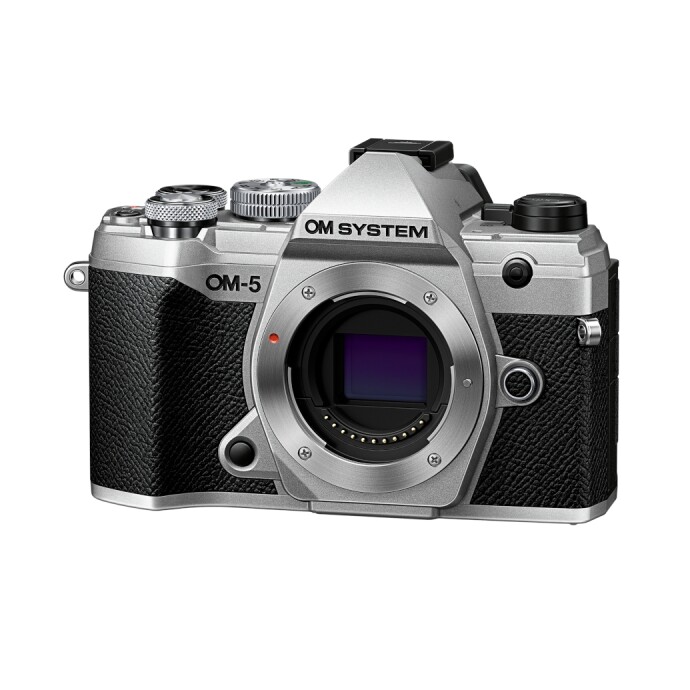
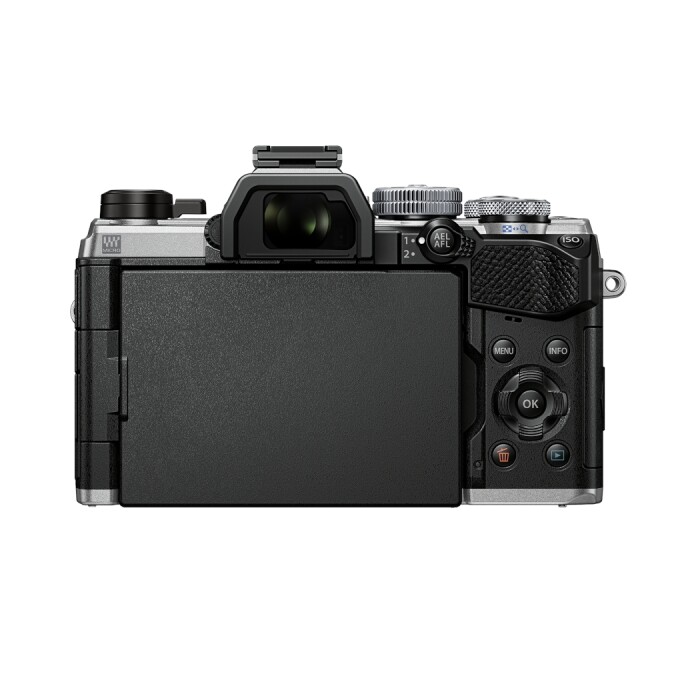
| OM SYSTEM OM‑5 | Micro Four Thirds | Micro Four Thirds mount (interchangeable) | Yes | High-Res Shot modes, Live ND, robust weather resistance, compact for hiking |
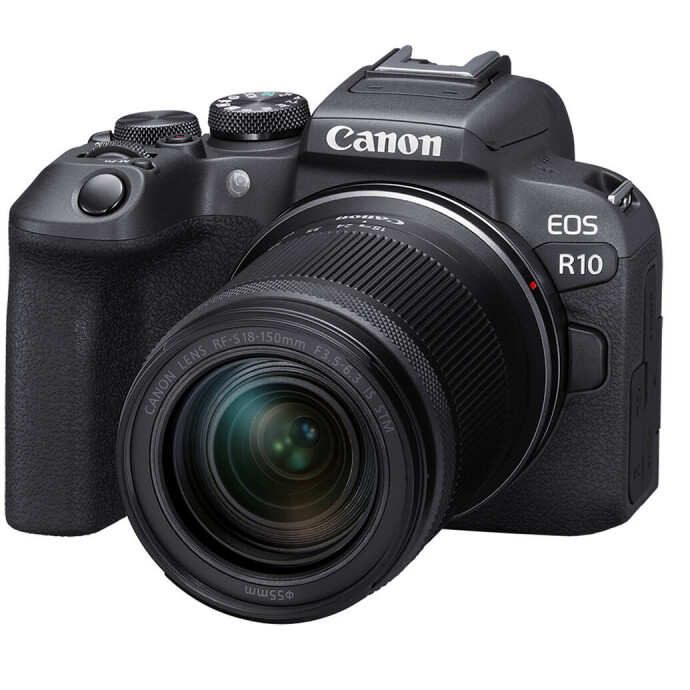
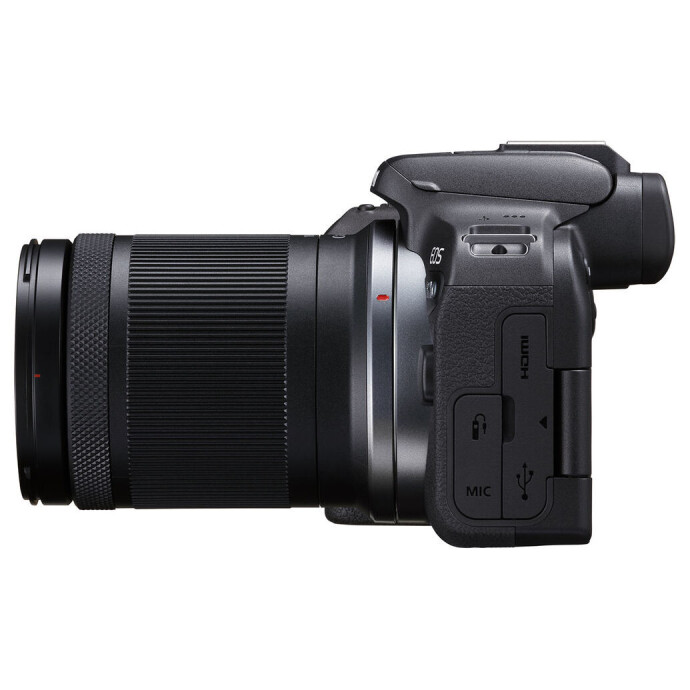
| Canon EOS R10 (18–150mm kit) | APS‑C | Canon RF mount (RF‑S kit lens) | No | Lightweight travel kit, responsive AF, versatile zoom range |
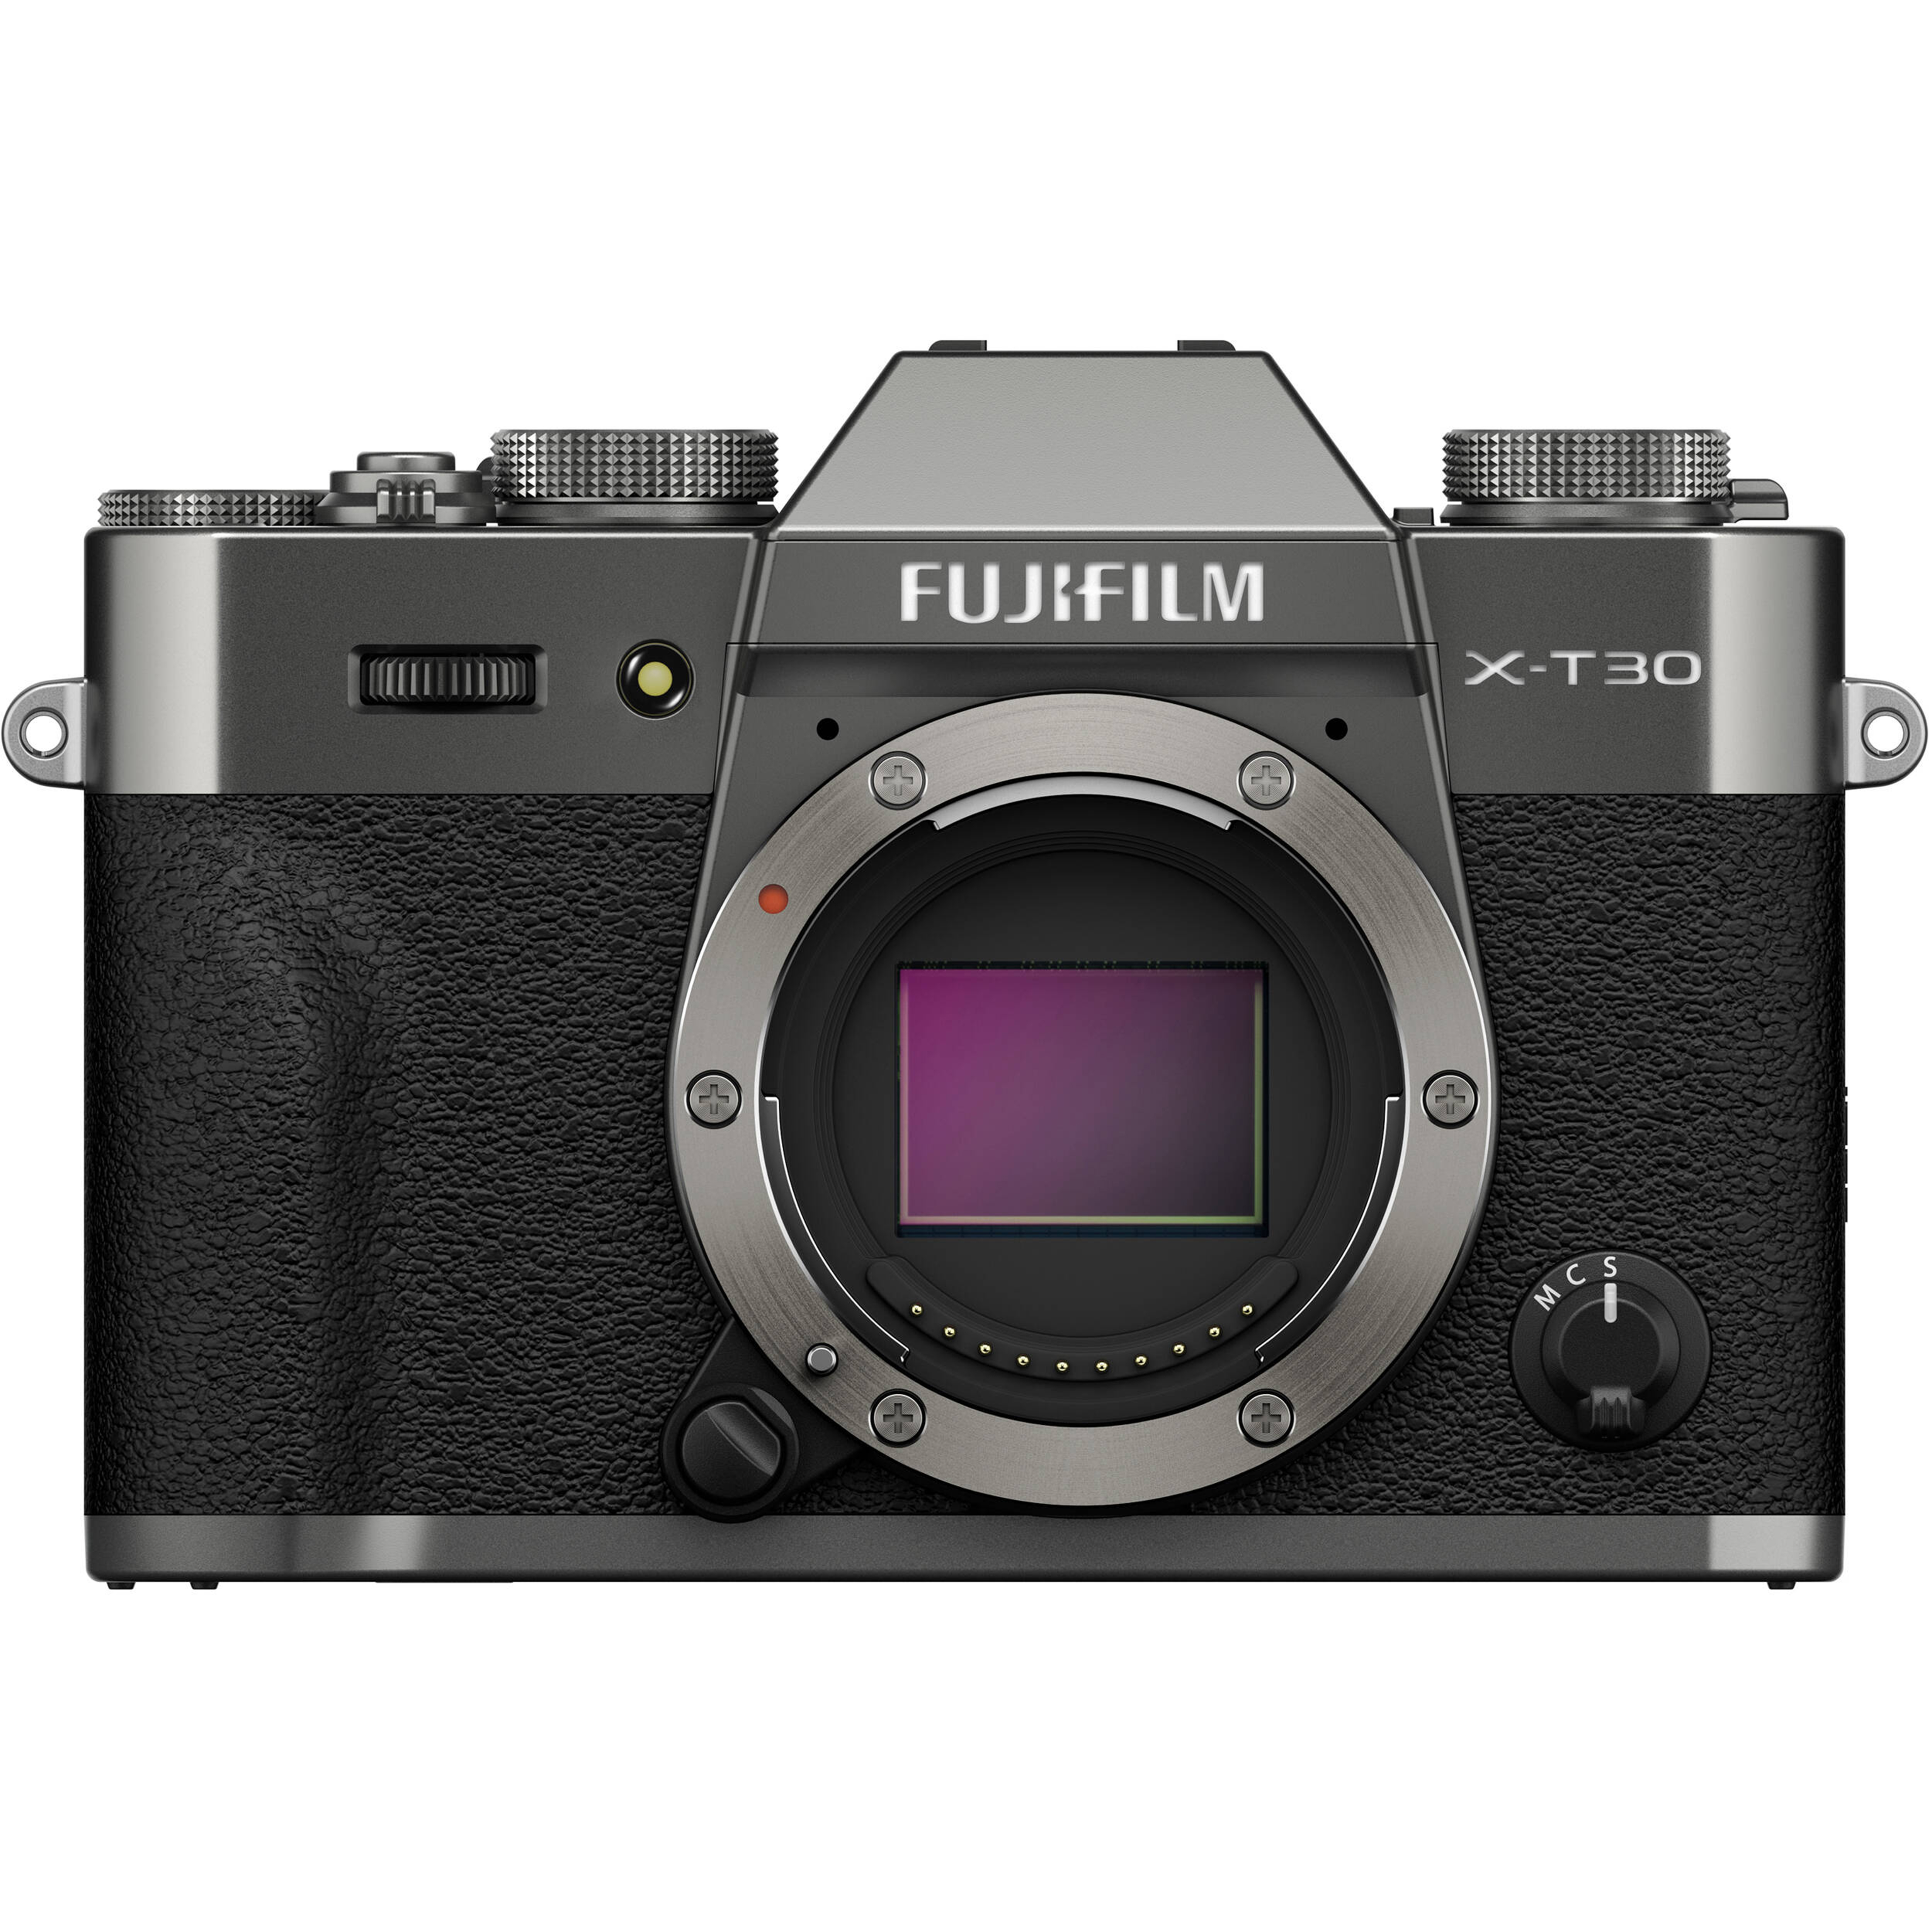
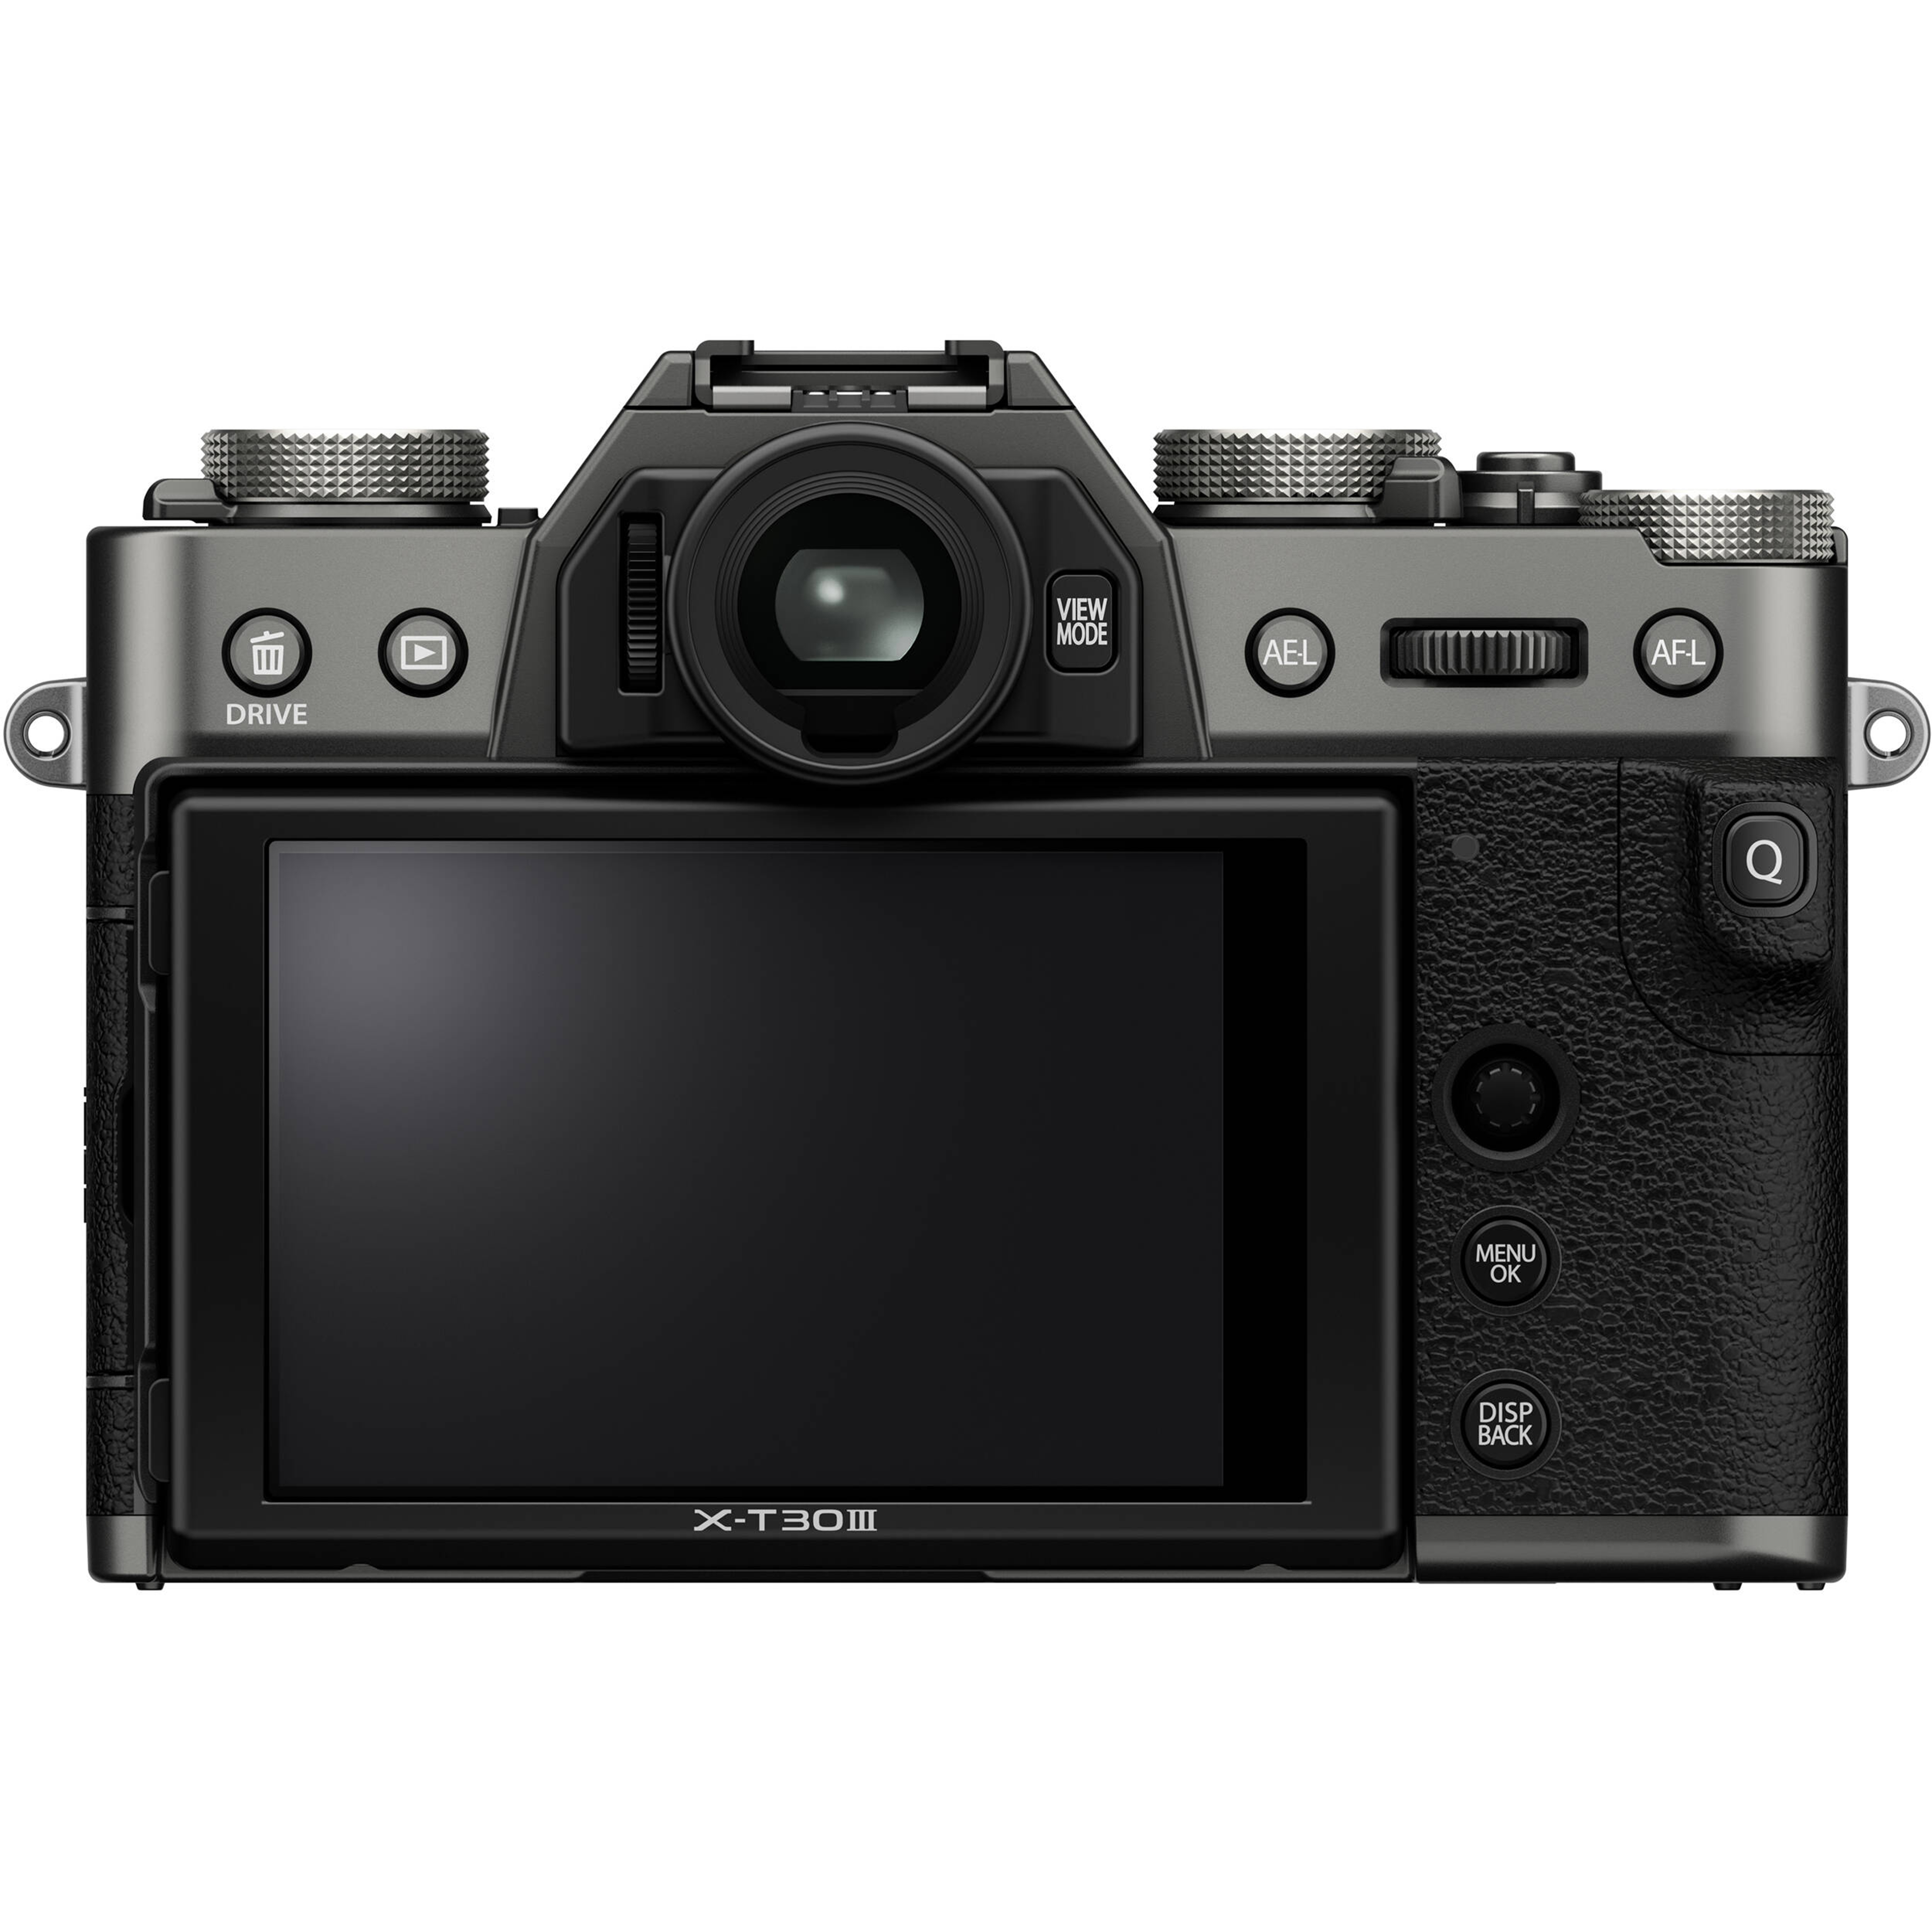
| FUJIFILM X‑T30 III | APS‑C | Fujifilm X Mount (interchangeable) | No | Excellent prime lens ecosystem, focus peaking and manual aids |
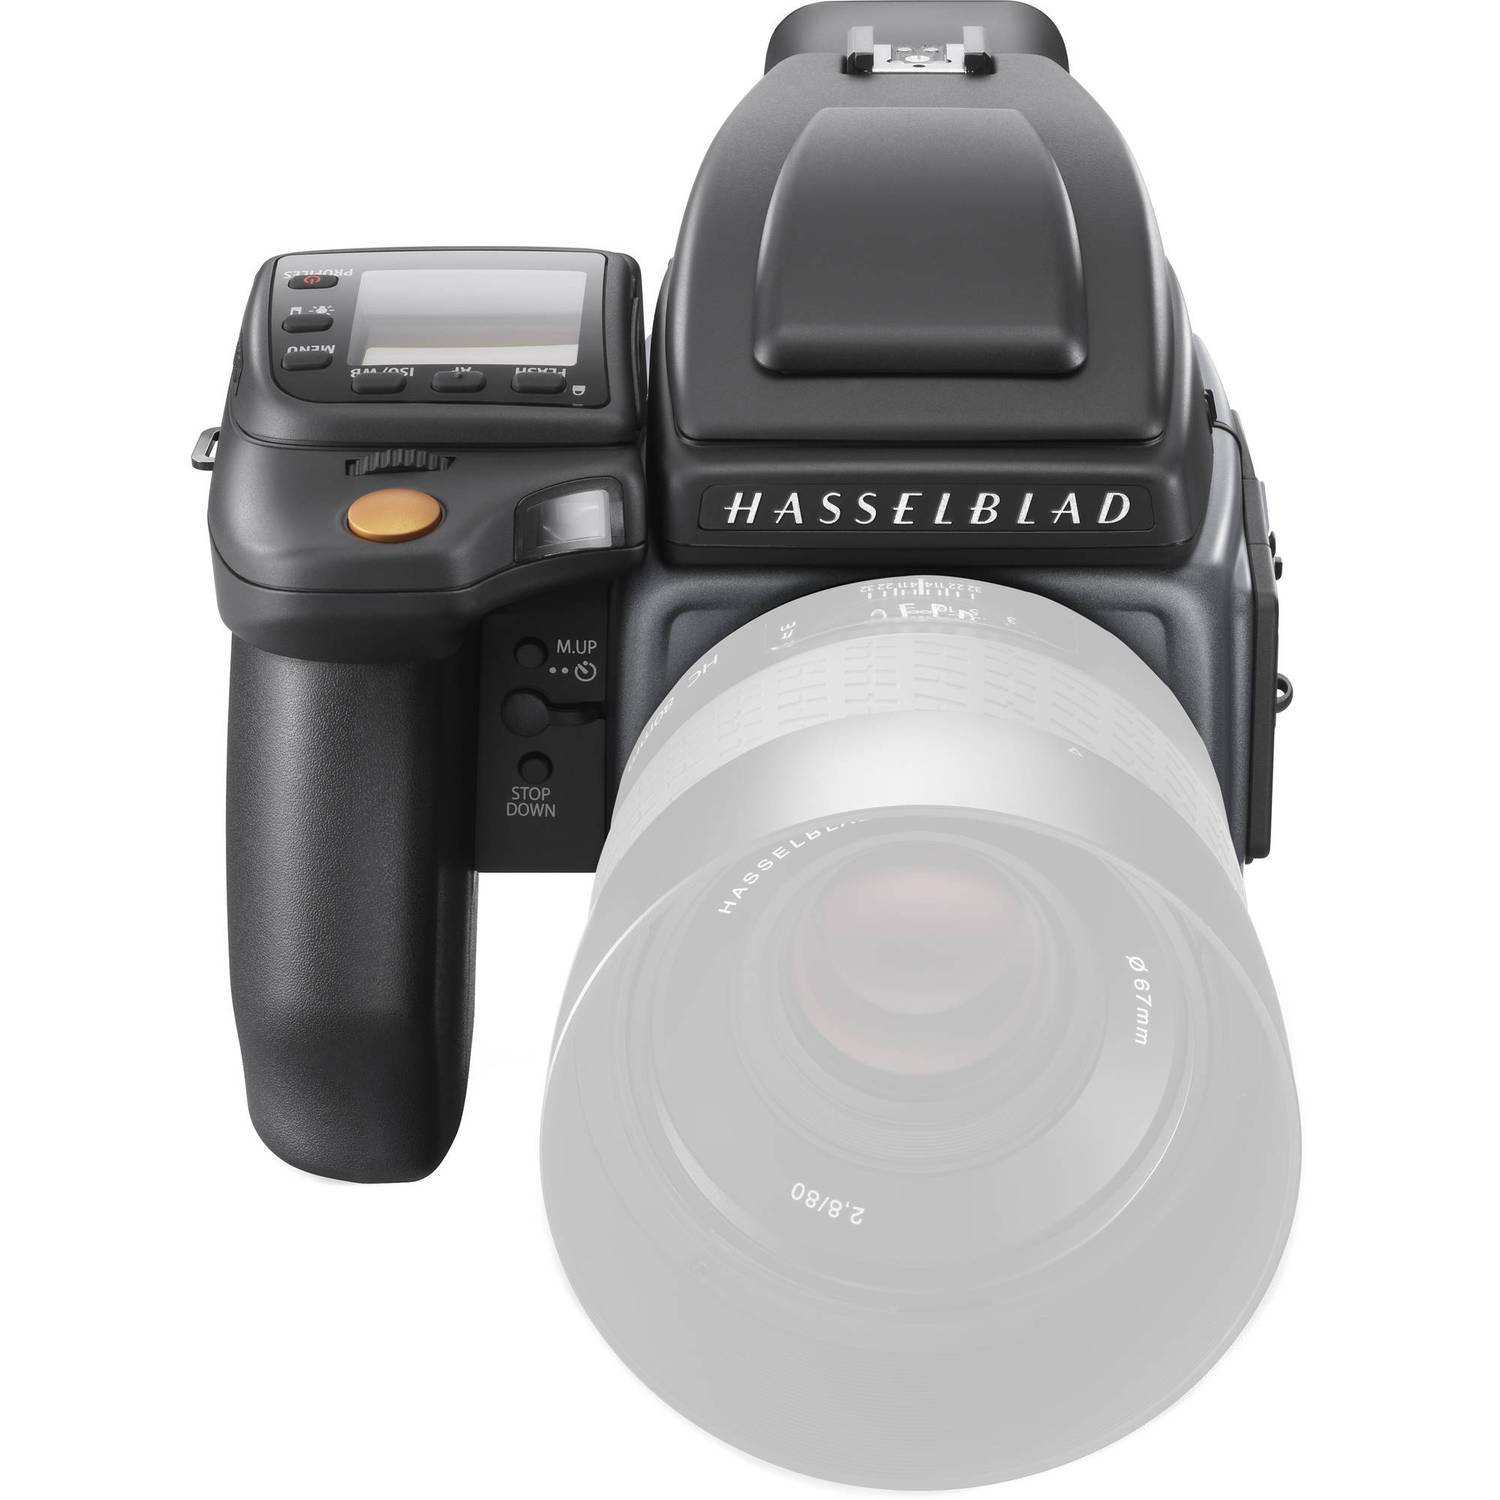
| Hasselblad H6D | Medium Format | Hasselblad H Mount (interchangeable) | — | Exceptional resolving potential and tonal nuance; studio-grade precision |
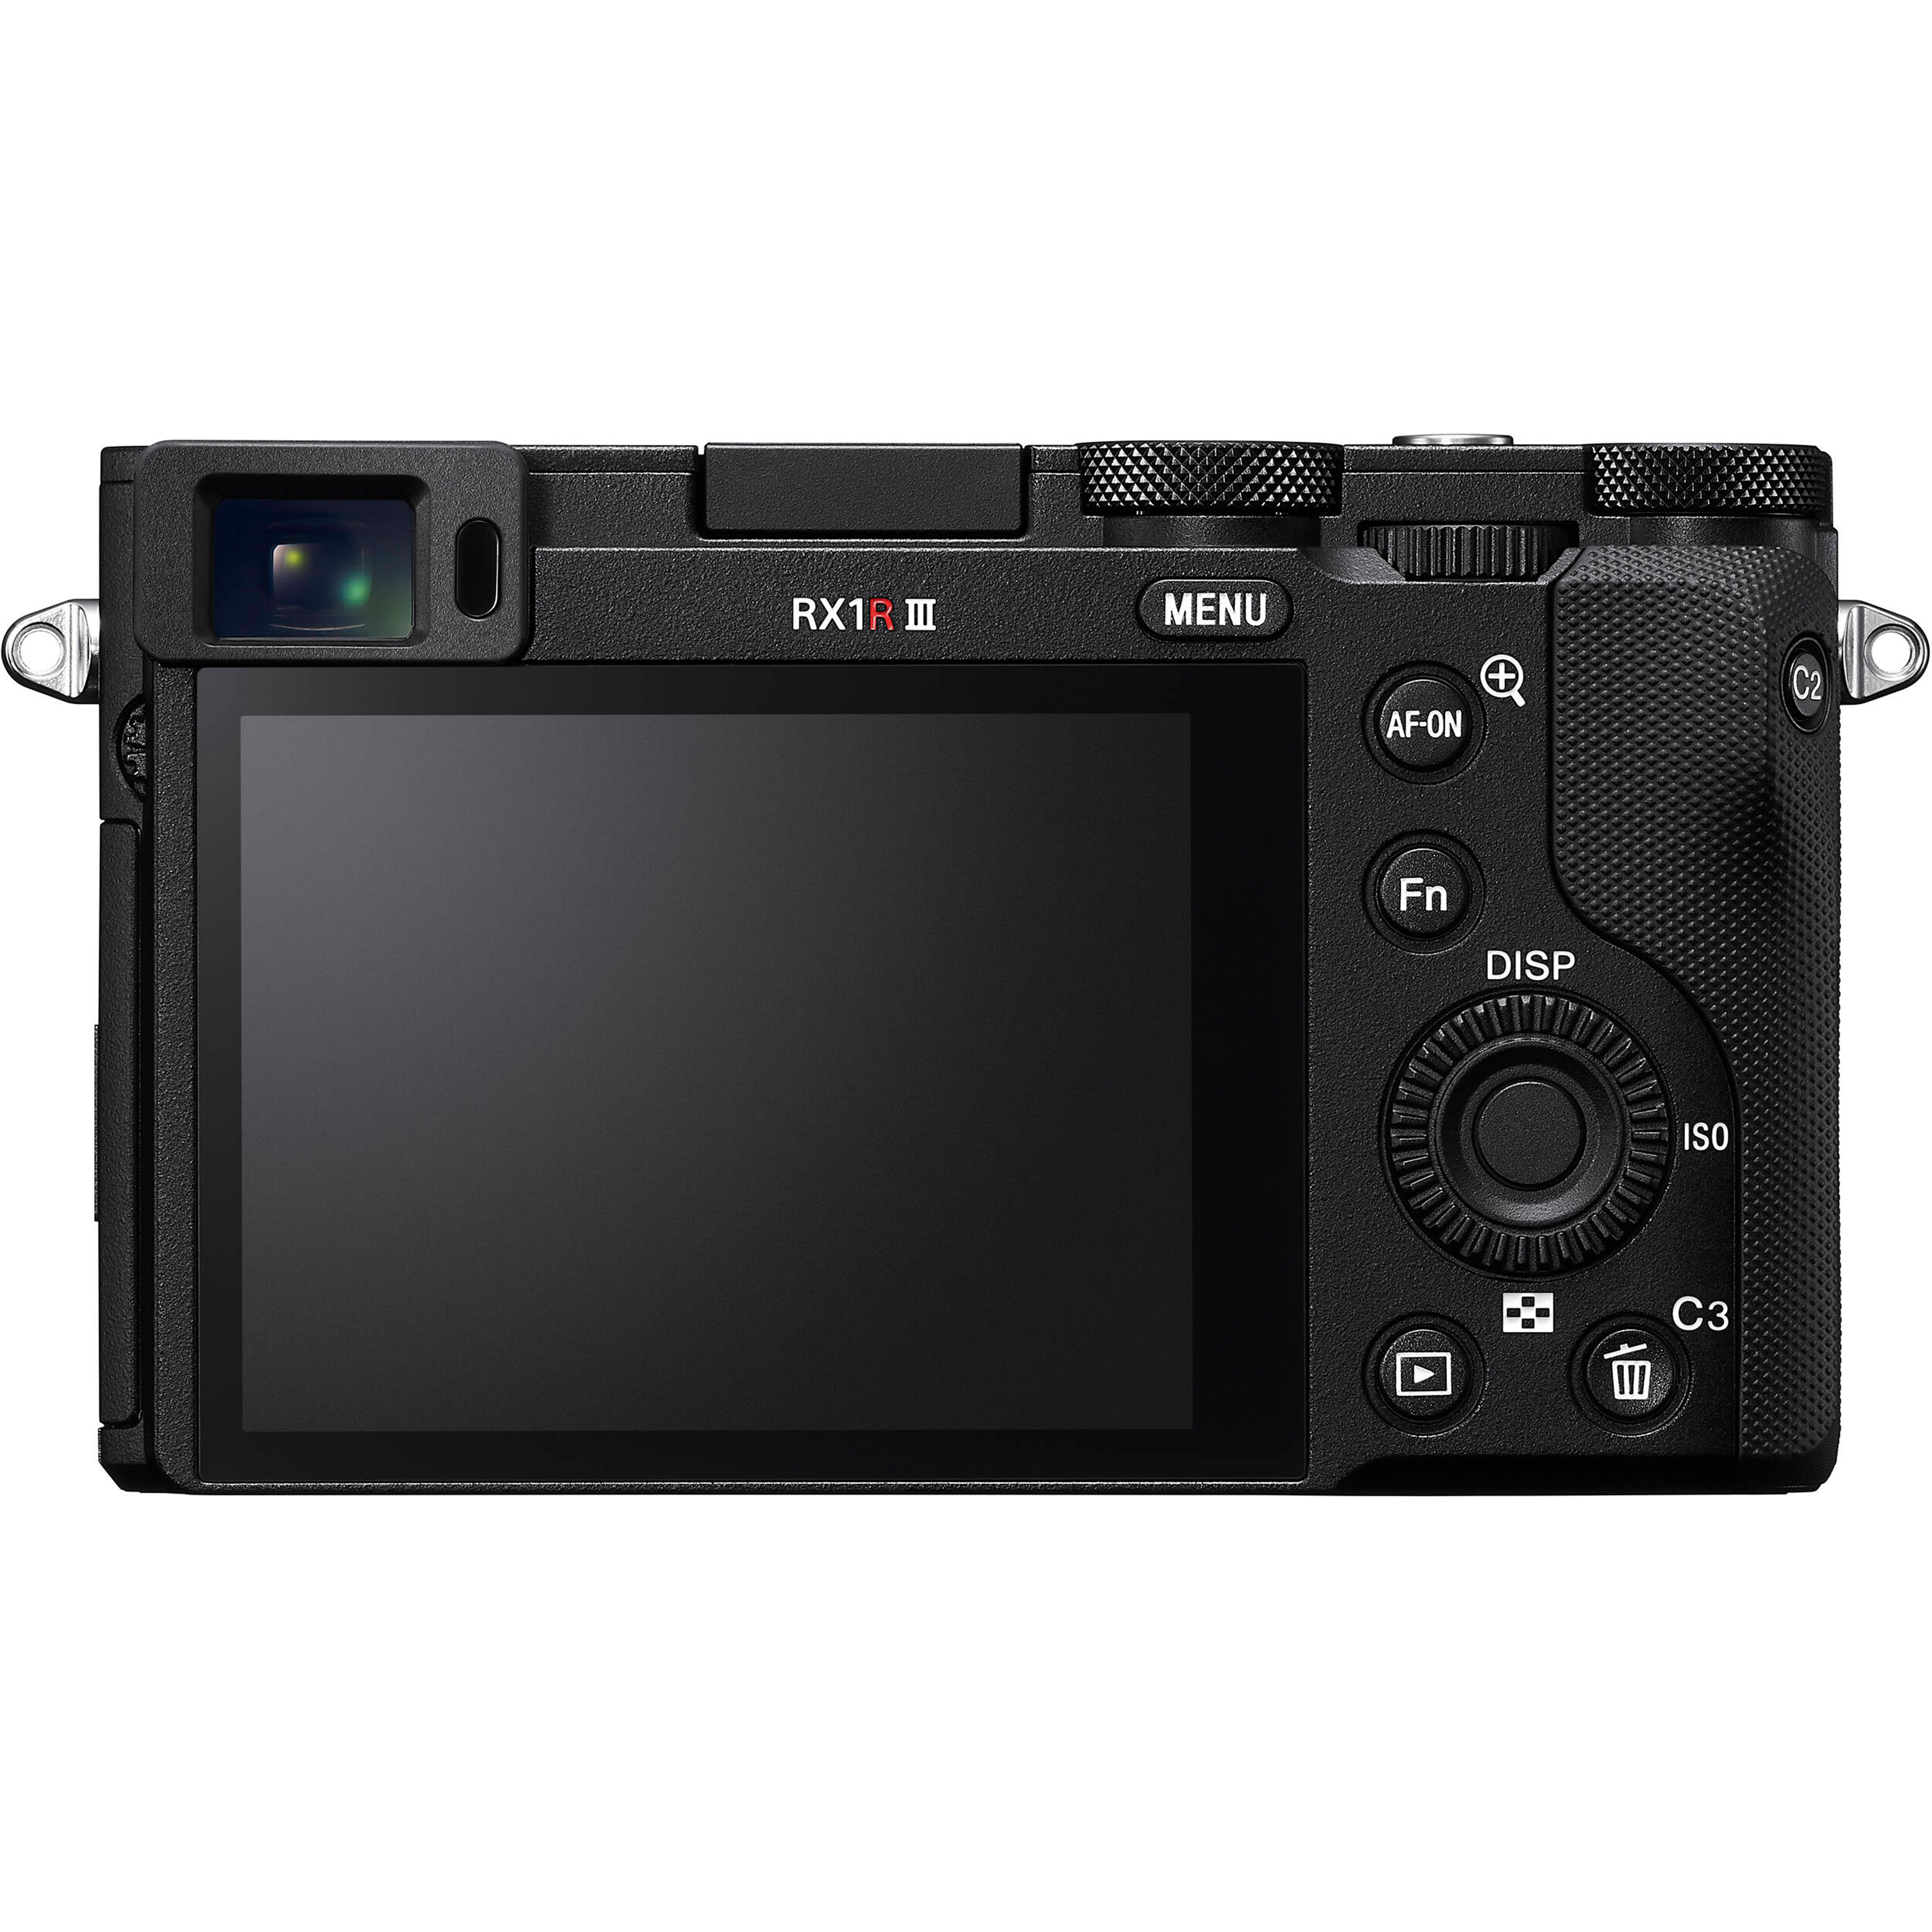
| Sony RX1R III | Full Frame | Fixed 35mm prime lens | — | Compact full-frame detail, discreet travel size, prime lens micro-contrast |
Landscape Sharpness Settings: Side-by-Side Examples
Use these brand-tailored starting points, then fine-tune for your light and subject distance. Always shoot RAW for maximum detail.
- OM SYSTEM OM‑5: Aperture f/7.1–f/8; base ISO; tripod; disable IBIS when on tripod; 2s self-timer or remote; Single-point AF on mid-distance subject, then recompose. Consider Handheld or Tripod High-Res Shot for static scenes.
- Canon EOS R10 (18–150mm): Aperture around f/8 at ~24–35mm for best sharpness; base ISO; lens IS on if handheld; tripod + 2s timer for long exposures; single-shot AF with small focus point; use magnified manual focus for critical detail.
- FUJIFILM X‑T30 III: Aperture f/7.1–f/8 with a sharp prime (e.g., 23mm or 35mm); base ISO; tripod; focus peaking ON; single AF point or manual focus at the hyperfocal distance; 2s timer or electronic shutter for zero shake.
- Hasselblad H6D: Aperture f/11–f/13 for depth; base ISO; very sturdy tripod; remote release; use magnified live view for manual focus; ensure zero vibration (use timer or release).
- Sony RX1R III: Aperture f/8; base ISO; tripod or solid support; manual focus with magnification; set focus near hyperfocal for a wide scene; 2s timer.
Category-by-Category Analysis
Aperture and Diffraction
Balancing depth of field with diffraction is key. Smaller sensors (Micro Four Thirds, APS‑C) generally hit peak sharpness around mid apertures like f/5.6–f/8. Full-frame bodies often tolerate f/8–f/11 well, while medium format can look great at f/11–f/16 in studio-like conditions. Start mid-range and adjust: OM‑5 and X‑T30 III users often see crisp results around f/7.1–f/8; the R10 kit lens is typically sharp near f/8 in the mid zoom range; full-frame RX1R III excels around f/8; H6D pairs best with robust primes at f/11 when depth is critical.
Shutter Speed, Stability, and IBIS
Any movement softens detail. Use a tripod whenever practical. Disable IBIS when the camera is locked on a tripod to prevent micro-corrections, and use a timer or remote release. Handheld shots: employ the reciprocal rule and add margin — on APS‑C, try 1/(focal length × 1.5); on Micro Four Thirds, 1/(focal length × 2). The OM‑5’s IBIS helps keep handheld frames sharp at lower speeds; the R10 and X‑T30 III benefit from lens IS or faster shutters; compact RX1R III users should keep shutter speeds conservative; H6D shooters should prioritize rock-solid support.
Focus Strategy: Single Point, Hyperfocal, and Stacking
For wide scenes, set a single small AF point on a mid-distance subject and stop down moderately. When maximum front-to-back sharpness is needed, focus near the hyperfocal distance for your focal length and aperture. For extreme depth, capture a series of frames focused from foreground to background and stack in post. Many systems provide helpful aids: Fujifilm’s focus peaking aids manual precision; OM SYSTEM’s focus tools and bracketing make stacking straightforward; Canon and others offer magnified focus and bracketing workflows you can composite later.
ISO, Dynamic Range, and Exposure Discipline
Use base ISO for the cleanest files and best micro-contrast. Meter for the highlights you wish to retain and consider a slight exposure bias to protect bright skies, then recover shadows from RAW. With static scenes, lengthen exposure rather than raising ISO. The OM‑5’s Live ND can create long exposures without physical filters; otherwise, use real ND filters on R10, X‑T30 III, RX1R III, and H6D to retain low ISO and crisp detail.
High-Resolution Approaches
Two popular paths to more detail: multi-shot high-resolution modes and larger sensors. The OM‑5’s High‑Res Shot mode can synthesize additional detail for static subjects — a superb tool when wind is calm. Medium format bodies like the H6D inherently resolve fine textures thanks to sensor size and optics. Both strategies reward careful technique: solid support, minimal vibration, and precise focus.
Lens Choices for Maximum Sharpness
Prime lenses often outperform zooms in micro-contrast and corner sharpness. Pair the R10 with sharp RF primes when ultimate detail matters; the X‑T30 III shines with Fujifilm XF primes; OM‑5 users can pack compact M.Zuiko primes; H6D owners have access to high-grade H Mount lenses; the RX1R III’s fixed prime keeps the optical path simple and reliable. If using zooms, test for the lens’s sweet spot — often mid focal lengths and mid apertures.
Field Workflow Tips
- Compose, level, and lock down: tripod, level indicator, and wind control.
- Disable stabilizers on tripod; use a 2s timer or remote; minimize touch with touchscreen or remote app.
- Manual focus with magnification for critical elements; verify with focus peaking where available.
- Bracket exposure for high-contrast scenes; blend later to preserve detail without sharpening halos.
- Sharpen thoughtfully in post: capture sharpening (low radius), then creative sharpening on mid-tones; avoid over-sharpening skies.
Our Pick
OM SYSTEM OM‑5 is our overall recommendation for sharp landscape work that balances portability, stabilization, and advanced tools. Its High‑Res Shot, robust IBIS, and field-friendly features make it an easy choice for hikers and travel landscape shooters seeking maximum detail without bulk. 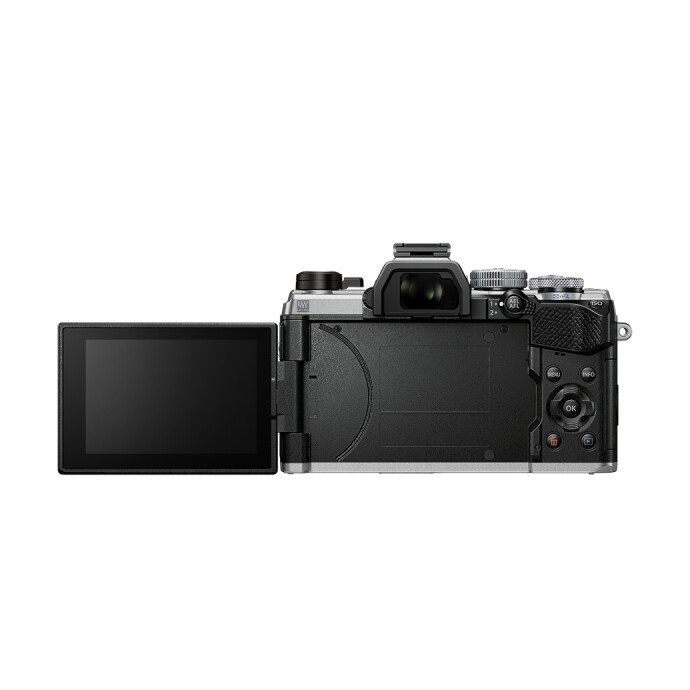
Conclusion
Whether you prefer a compact full-frame, an agile APS‑C setup, a feature-rich Micro Four Thirds body, or the resolving potential of medium format, the sharpest landscape photos come from disciplined technique and targeted settings. Shop these cameras and get expert guidance at Unique Photo — your trusted destination for gear, accessories, and education that elevates your next adventure.