Best 120 Film Scanning Workflow for Medium Format
Scanning 120 film can be as simple or as refined as you want it to be. The best workflow depends on how much resolution, speed, consistency, and hands-on control you need from your medium format negatives and transparencies.
At Unique Photo, we help film photographers build scanning setups that fit real-world goals, whether that means a dedicated film scanner for convenience or a camera-based workflow for speed and flexibility. Below, we answer the most common questions about getting the best results from 120 film.
Is a dedicated film scanner or a camera scanning setup better for 120 film?
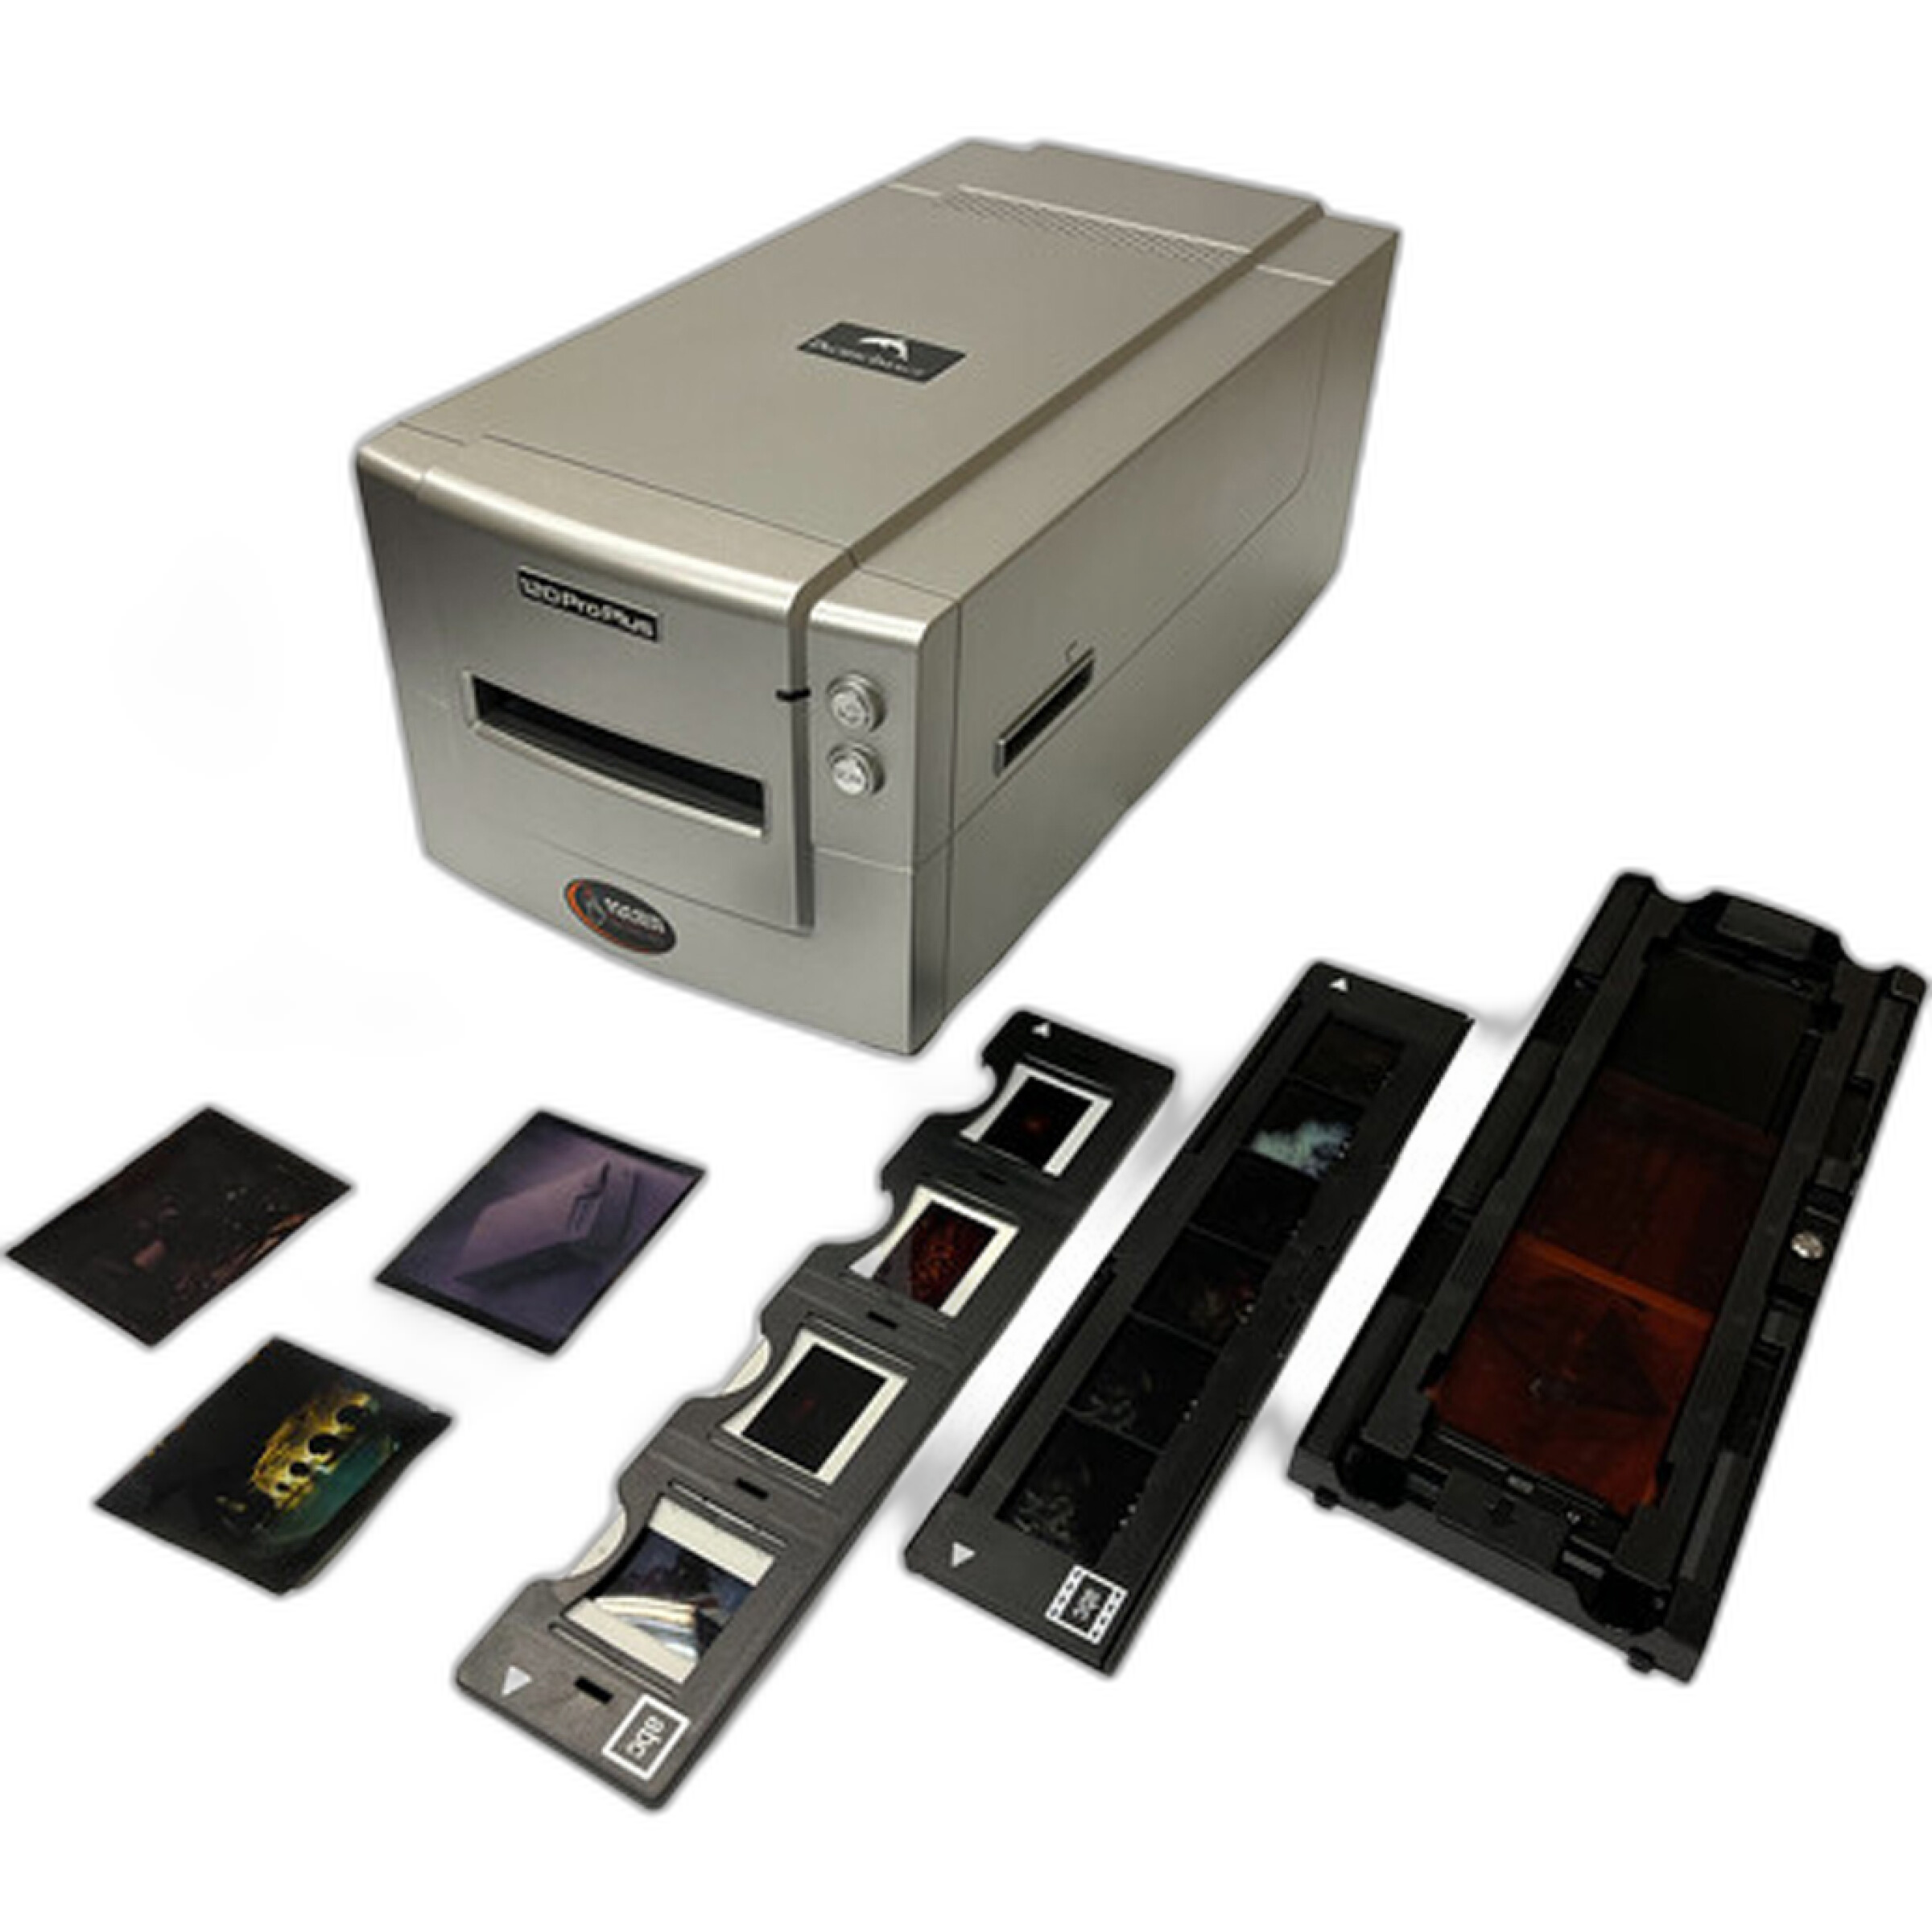
For many photographers, the answer comes down to priorities. A dedicated film scanner offers a straightforward, purpose-built workflow with consistent alignment and repeatable results. If you want a more plug-and-play approach for medium format film, a dedicated option like the Pacific Image PrimeFilm 120 Pro Plus Scanner is an excellent place to start. It is designed specifically for film scanning, which can simplify the process compared with assembling a camera copy setup from scratch.
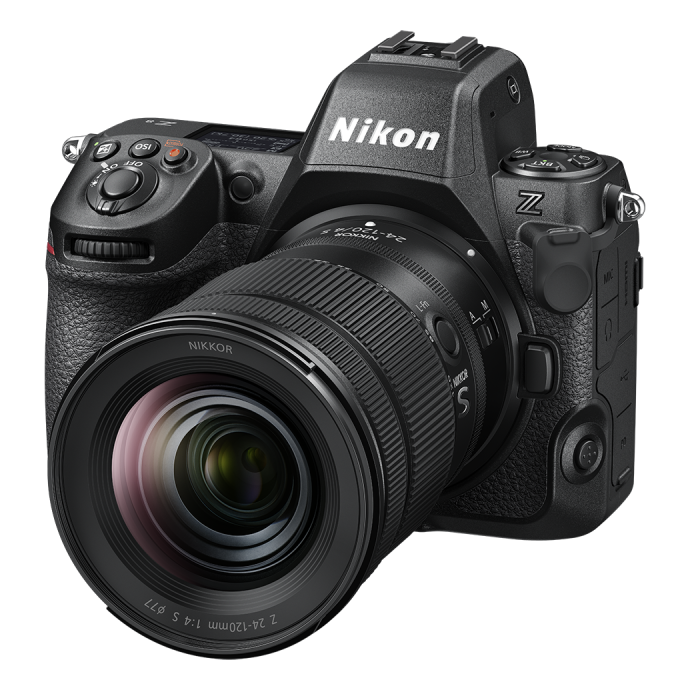
Camera scanning, on the other hand, can be faster once your setup is dialed in. A high-resolution digital camera can capture an entire frame quickly, and many photographers prefer the flexibility of processing files in their usual raw workflow. If you already shoot digitally, using a capable camera body for film digitization can be appealing. For example, a high-resolution platform such as the Nikon Z8 can be part of a very effective repro setup for negatives, especially if you value speed and modern file handling.
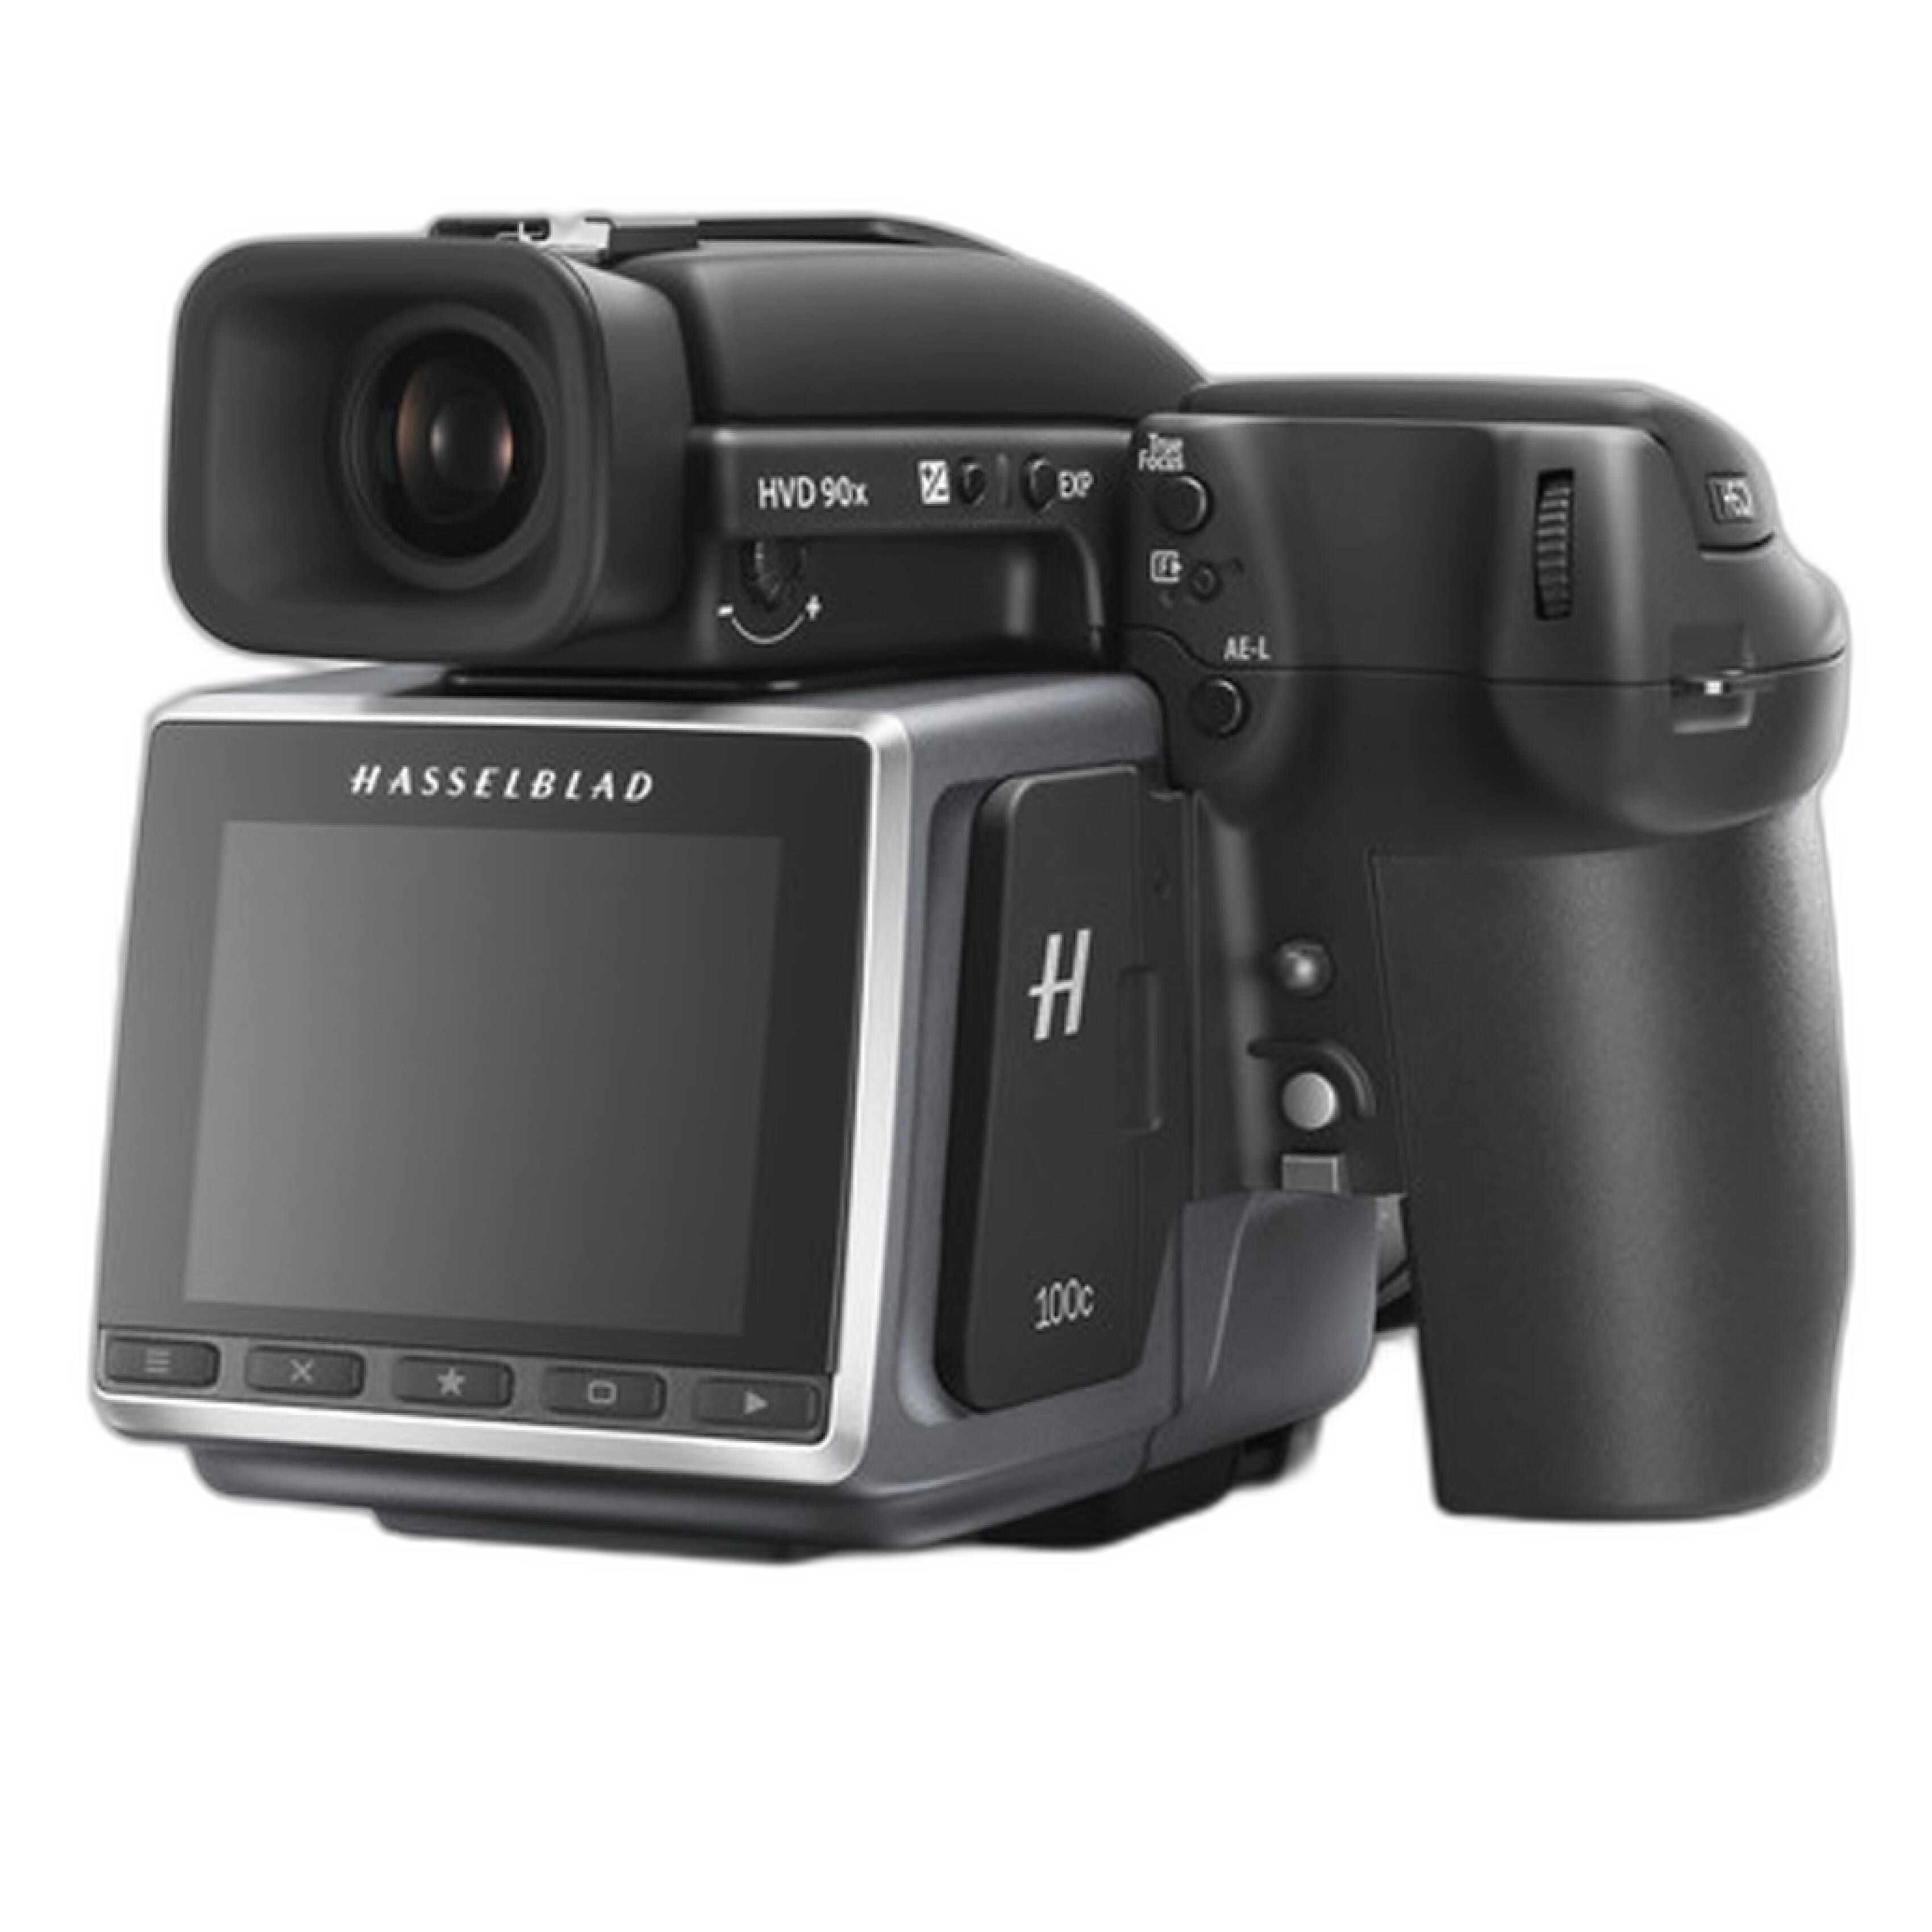
If your primary concern is ultimate image quality and you are building a premium studio-style digitizing workflow, medium format digital systems can push quality even further. Cameras like the Hasselblad H6D-100c or the Hasselblad H6D-400c MS represent a top-tier path for archival and commercial applications, though they are far beyond what most photographers need for everyday 120 scanning.
In short: choose a dedicated scanner for convenience and consistency, and choose camera scanning for speed, flexibility, and integration with a digital post-production workflow.
What is the easiest plug-and-play workflow for color correction?
The easiest workflow is usually the one that reduces the number of variables. Dedicated film scanners often pair well with scanning software that handles inversion, color balancing, and batch work in a more guided way. This is especially useful for color negative film, where orange mask correction and tonal interpretation can vary from frame to frame.
If you want minimal setup friction, start with a scanner-based workflow and software that supports film profiles, exposure adjustment, and simple color correction tools. That gives you a more predictable baseline before you move files into your editing software for final contrast, dust cleanup, and sharpening.
For camera scanning, there is no single universal one-click solution because results depend on your light source, lens, holder, exposure, and negative density. That said, many photographers like camera scanning because once they standardize exposure and white balance, color correction becomes much more repeatable. The key is consistency: use the same light source, keep film flat, expose carefully, and build a repeatable inversion preset in your preferred software.
If your goal is a beginner-friendly experience, a dedicated scanner like the Pacific Image PrimeFilm 120 Pro Plus Scanner is usually the most direct route. If your goal is maximum speed after initial setup, a camera-based workflow can eventually become just as efficient.
How do you prevent Newton rings when scanning 120 film?
Newton rings happen when the film surface comes into very close contact with glass or another smooth surface, creating visible interference patterns. They can ruin otherwise excellent scans, especially with medium format film where large smooth areas make artifacts easier to see.
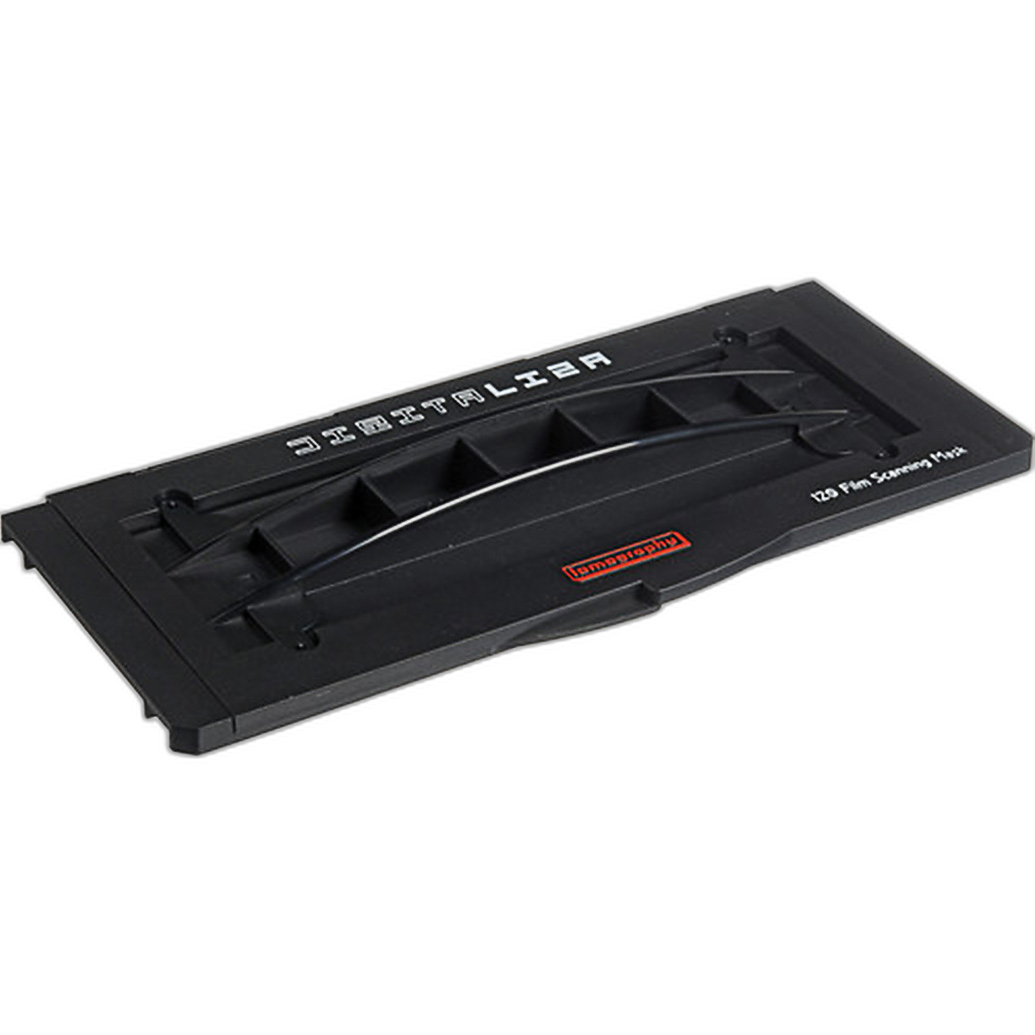
The best prevention method is to avoid direct film-to-glass contact whenever possible. A film holder that suspends the negative slightly above the surface is usually the simplest solution. The Lomography DigitaLIZA 120 Film Scanning Mask is a popular option for keeping 120 film better controlled during camera scanning or light table digitization workflows, while helping reduce handling issues that can contribute to unevenness and contact problems.
You should also make sure the film is clean and relatively flat before capture. Curled negatives are more likely to touch surfaces unevenly or bow in ways that create focus inconsistencies. If a strip is especially curled, allowing it to relax in a holder for a short time can help. In scanner workflows, using the manufacturer’s holder correctly and avoiding unnecessary pressure from improvised glass can make a major difference.
In practical terms, the most reliable anti-Newton strategy is simple: use a holder designed for film, keep the emulsion away from direct smooth-surface contact, and maintain a clean, flat capture path.
What is a good budget solution for 120 negative holders?
If you are trying to improve your scanning results without overspending, a dedicated film holder is one of the smartest upgrades you can make. For 120 film, holder quality matters because medium format negatives are larger, and any waviness or sagging is easier to see in the final file.
The Lomography DigitaLIZA 120 Film Scanning Mask is a strong budget-friendly option for photographers who want a cleaner, more consistent setup without investing in a more elaborate copy system right away. It helps with alignment, film handling, and flatness, all of which can improve sharpness and reduce frustration in post.
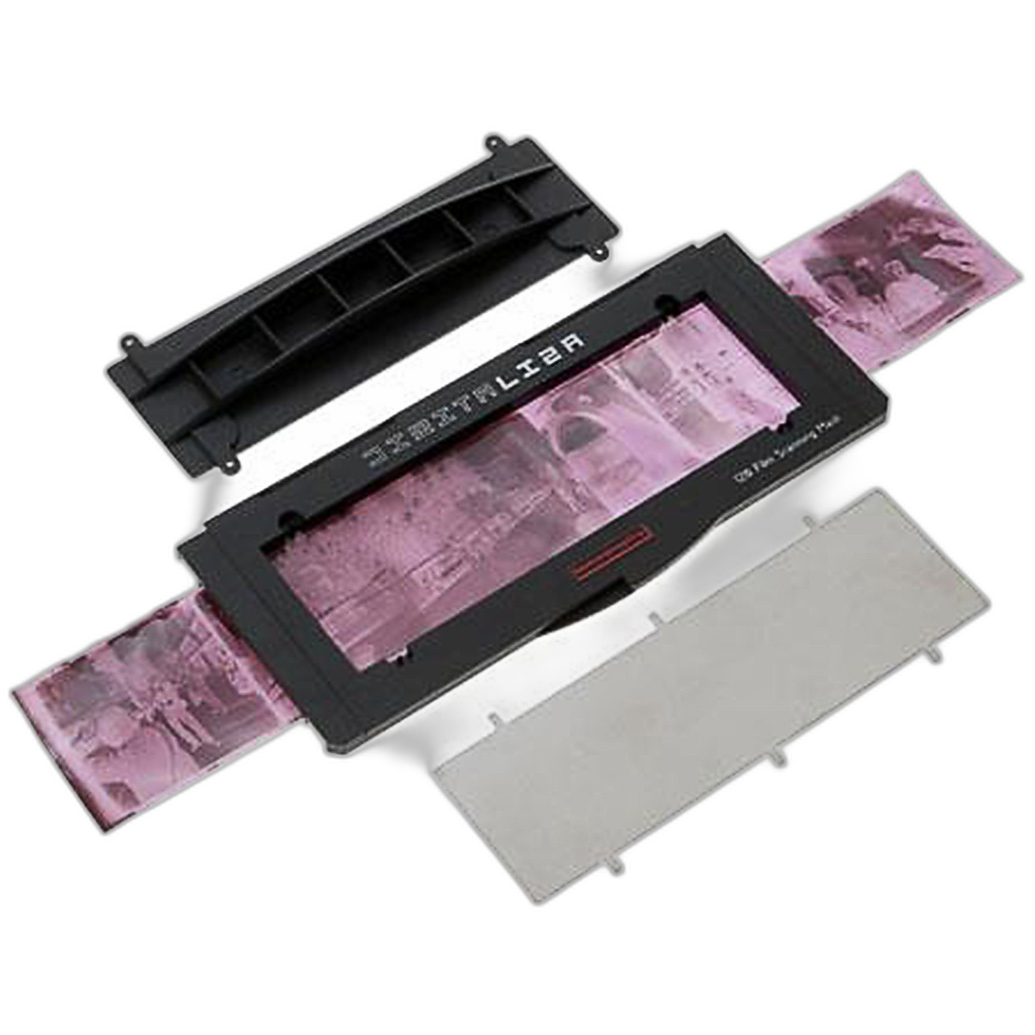
Budget solutions work best when paired with disciplined technique. Even an affordable holder can produce excellent files if your light is even, your camera is square to the film, and you are careful about dust. For many photographers, upgrading the holder first delivers more visible improvement than endlessly tweaking software settings.
How much resolution do you really need for medium format film scanning?
Medium format film contains a lot of detail, but the amount you can actually extract depends on the film stock, lens quality, focus accuracy, film flatness, and your capture method. Not every frame needs a museum-grade workflow. If your goal is online sharing, small prints, or contact-sheet-style archiving, moderate resolution is often more than enough.
If you make large prints or want to preserve a negative for future use, higher-resolution capture is worth the effort. Dedicated film scanners are attractive here because they are designed to pull detail from film consistently. Camera scanning can also deliver outstanding detail, especially with a modern high-resolution body and a carefully aligned setup.
For photographers who already own a modern mirrorless camera, using that body for scanning may offer the best balance of quality and cost. The Nikon Z8 is an example of a camera that can serve double duty for both photography and film digitization workflows. If budget is a concern, an open-box Nikon Z8 can be an especially attractive way to enter a high-end camera scanning setup.

At the top end, systems like the Hasselblad H6D-100c and H6D-400c MS are built for users with demanding reproduction needs, but for most medium format film photographers, that level of investment is not necessary to achieve excellent scans.
Is camera scanning faster than using a film scanner?
Once set up properly, camera scanning is often faster frame for frame. You can capture an entire roll or batch of 120 negatives quickly, then handle inversion and finishing in software. This is a major advantage for photographers digitizing a large archive.
However, setup time matters. You need a stable support system, even illumination, accurate alignment, a holder, and a repeatable capture recipe. If those variables are not controlled, time saved during capture can be lost during correction and cleanup.
A dedicated scanner is typically slower per frame, but it may reduce setup complexity and deliver more uniform results with less trial and error. For photographers who scan occasionally rather than constantly, that convenience is often worth more than raw speed.
The right answer depends on volume. If you are scanning a few prized negatives at a time, a dedicated scanner is very appealing. If you are digitizing boxes of film, camera scanning can be the productivity winner.
How should you handle dust, flatness, and consistency in a 120 workflow?
Three habits improve nearly every scan: clean the film, keep it flat, and standardize your process. Dust is the enemy of efficiency, because every particle becomes retouching work later. Use a clean workspace, handle negatives carefully, and inspect each frame before scanning.
Flatness is especially important with 120 film because the larger frame area can bow more visibly than smaller formats. A holder such as the Lomography DigitaLIZA 120 Film Scanning Mask can help keep the film better positioned during capture, which supports sharper, more consistent results.
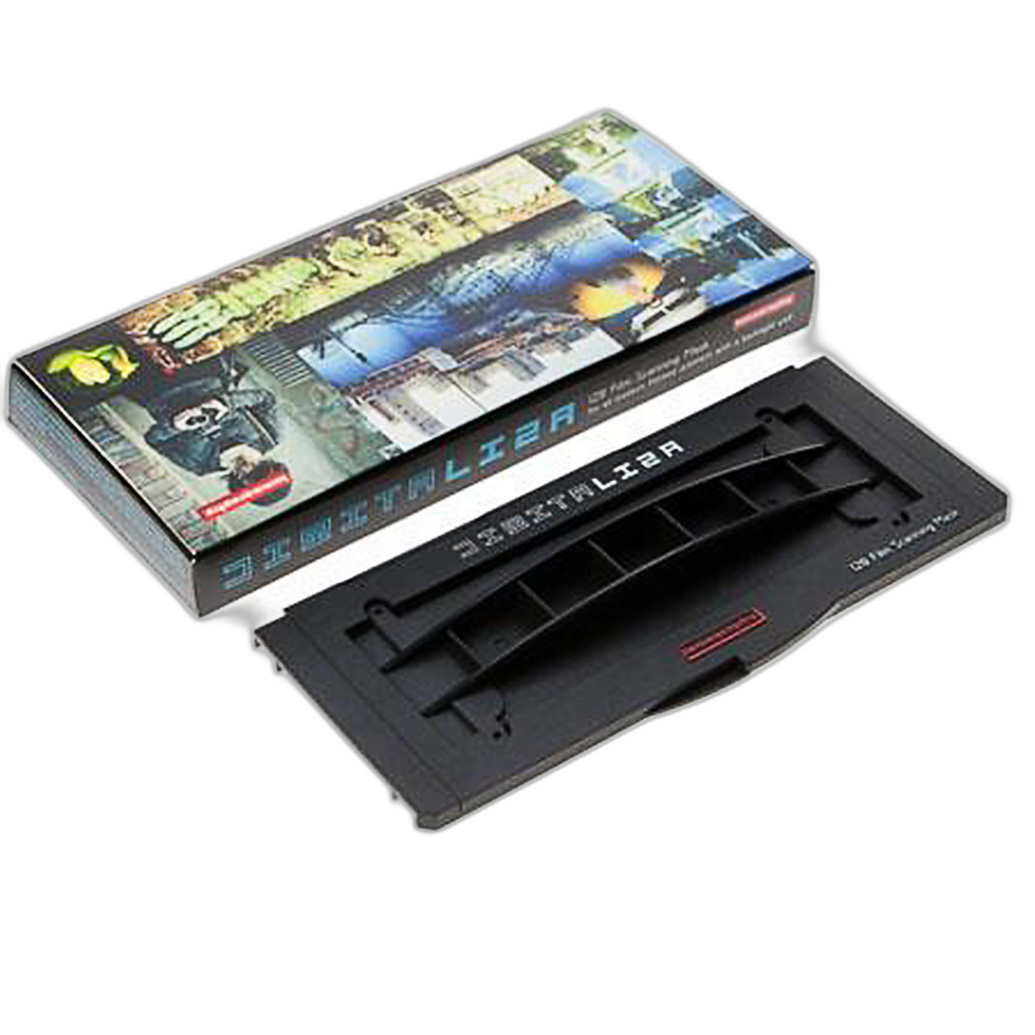
Consistency means locking in one repeatable method. Use the same white balance, the same exposure approach, and the same inversion settings whenever possible. Whether you scan with a dedicated machine or a digital camera, a stable routine is what makes your workflow faster over time.
What is the best overall workflow for most medium format film photographers?
For most photographers, the best workflow is the one that balances quality, simplicity, and repeatability. If you want a streamlined path with less setup guesswork, a dedicated scanner like the Pacific Image PrimeFilm 120 Pro Plus Scanner is one of the most practical choices for 120 film. If you prefer a flexible, high-speed workflow and already own strong digital gear, camera scanning with a capable body and a good holder can be extremely effective.
And of course, the workflow starts before scanning. If you are actively shooting 120 film, having a dependable medium format camera matters too. A used film body such as the Pentax 645N can be a great way to continue building a medium format system while planning your digitizing workflow around the negatives you create.
Whether you are refining a home archiving setup or building a more advanced film digitization station, Unique Photo has the film scanning tools, camera gear, and accessories to help you get more from every 120 frame. Explore our scanners, holders, and camera options to build a workflow that fits the way you shoot.