Astrophotography / Milky Way photography - how to catch the stars in your DSLRs
There’s nothing like the wonders of the night sky. Our galaxy, the Milky Way, holds a million secrets in its dark abyss. As a photographer, being able to capture even one-tenth of its beauty can give us great joy. Milky Way photography is another interesting branch of photography that comes under Astrophotography. Here are a few Milky Way photography tips that you can use.
The Equipment for Astrophotography
![]()
Astrophotography with Canon EOS 5D MARK III. Image Credits: Michael Peoples
First things first, Milky Way photography is different from all the other types of photography, in the sense that the object you are trying to capture is at infinity. You need to take special care when choosing your equipment for Milky Way photography. In Astrophotography, the equipment used is much more advanced. However, that doesn’t mean you cannot take good pictures with a point-and-shoot or a mirrorless camera.
The camera you choose needs to have a full manual exposure control of aperture, shutter speed, and ISO. The camera should be able to focus manually too, since focusing at night is difficult for autofocus systems. A camera that can handle the noise well at high ISOs is excellent. A fast lens is the next important thing in Astrophotography. Use a good, fast-aperture, wide-angle lens (ideally in the f/1.4 – f/2.8 max. aperture range). The best cameras would be the Canon Rebel series from the XT, XTi, XSI, T1i, T2i, T3i, T4i, T5i, from the 20D/DA, also the 60D/DA, the EOS 5D Mark III, and the 7D series. This is because a lens with maximum aperture is more than suitable for night photography. In the case of a slow lens, you’ll have to stop down your lens for maximum sharpness and increase the ISO, which will lead to grainy pictures. Since the Milky Way is in motion, the exposure will be prolonged. In order to avoid any shake, a sturdy tripod is another valuable addition to you equipment.

The camera you choose needs to have a full manual exposure control of aperture, shutter speed, and ISO. The camera should be able to focus manually too, since focusing at night is difficult for autofocus systems. A camera which can handle the noise well at high ISOs is excellent. A fast lens is the next important thing in Astrophotography. Use a good, fast-aperture wide-angle lens (ideally in the f/1.4 – f/2.8 max aperture range). This is because a lens with a maximum aperture is more than suitable for night photography. In the case of a slow lens, you’ll have to stop down your lens for maximum sharpness and increase the ISO, which will lead to grainy pictures. Since the Milky Way is in motion, the exposure will be extended. In order to avoid any shake, a sturdy tripod is another valuable addition to you equipment.
Location and locating the stars is our next important subject. Any place away from the city or wherever you can find little lights is ideal for this sort of digital photography. Spotting the Milky Way is great in national parks and wilderness areas. A sky map app, which will give you details of where the Milky Way will be, is another excellent tool. Apps like Star Walk and Google Sky Map are great, since they help in planning for the shoot.
Focusing and Digital processing

Let’s start with the focusing part first. In Milky Way photography, since the stars are so far away, our goal is to set the focus to infinity. The best thing to do is to shut the autofocus and set it to manual. You can use Live View and zoom in at 100% to the brightest source of light. Use the focus ring to get a clear defined shape of the source and just turn off the Live View. In case you don’t find any bright source of light, use a flashlight. Set it at a considerable distance (assuming it is infinity) and then do the same thing. Some cameras have excellent Live View modes, and you’ll see a boost in the night sky and clear stars. In this case, you don’t need to point at a source of light, just use the focus ring till everything is sharp. Focusing takes time, but it is worth not ending up with blurry pictures.

Another important Milky Way photography tip is to use a good digital processing software. It is to bring out the best results and details in the images. However, overdoing the effects can steal the natural feel from the picture. While processing your astrophotos, keep in mind to check your white balance, correct the exposure if need be, set your white point, maybe add some contrast, and control the noise. Adobe Photoshop, Elements for astrophotography, and Lightroom are good. Post-processing is a big part of Astrophotography, and it is worth investing in the software.
Camera settings for Capturing best Milky way pictures

These are the camera settings for Milky Way photography.
Exposure – The exposures are determined by the shutter speed and aperture. In Astrophotography, as explained earlier, the objects are in the dark and in motion, and so, they require long exposures.
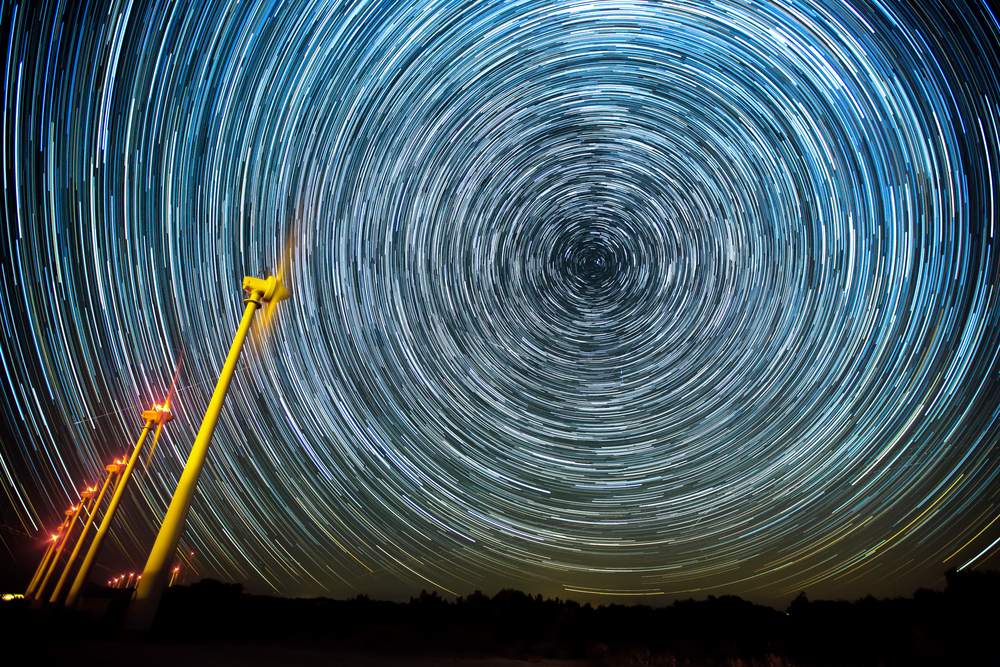
Shutter Speed – You need longer shutter speeds in order for more light to enter the shutter. This may usually result in star trails, due to the motion of the earth. In case you want star trails, it is great, but if star trails are not the desired effect, then you need to consider the 500 or 600 rule (The jury is still out on this one, and either one is fine). The rule says that in order to determine the time of exposure, you need to divide 500 or 600 by the lens you are using. Example: for a 24-mm lens, the right exposure time will be anything between 20 to 25 seconds.
Aperture – In Astrophotography, you need maximum light to enter the lens and so, we open it wide to the max.
ISO – This is tricky, since you need to balance the noise in the image. So we need to use the highest ISO setting, while making sure that the noise is not too much. Little noise can be managed in post-processing.
White Balance – For RAW, your preset camera setting is good enough. However, if you’re shooting JPEG images (not recommended for night-time photography), then you can set it manually anywhere between 3,200 k and 4,800 k.
These photography tips will be helpful, but you should remember that Astrophotography/Milky Way photography requires a lot of patience and planning. All the time you spent in the open under the stars is a worthwhile experience, and the result is entirely worth it.