Make Light You Love Without Spending a Fortune
Great lighting doesn’t have to be expensive. Photographers routinely mix budget-friendly gear, DIY modifiers, and smart technique to create natural, versatile looks for portraits, products, and events. Below are practical, field-tested tips—plus a few learning resources and smart storage ideas—to help you stretch your dollars and still get beautifully lit results.
10 Practical Tips for Budget-Friendly, Natural-Looking Light
Start with the sun, then shape it
Daylight is free and flattering. Shoot near large windows and control contrast with DIY tools: a white foam board for fill, a black foam board for negative fill, and a sheer shower curtain or white bed sheet as diffusion. Balance your white balance to daylight and keep reflective color casts (green walls, red brick) in mind to maintain skin tones.
Use inexpensive modifiers that punch above their price
Umbrellas, simple scrims, and 5-in-1 reflectors are the cheapest way to soften or direct light. Learn how small tweaks in distance and angle transform quality—education pays for itself by making budget gear look premium. For a fast, high-value primer on shaping light, consider “Portrait Lighting Made Easy with Joel Grimes (Westcott)” from Unique University.
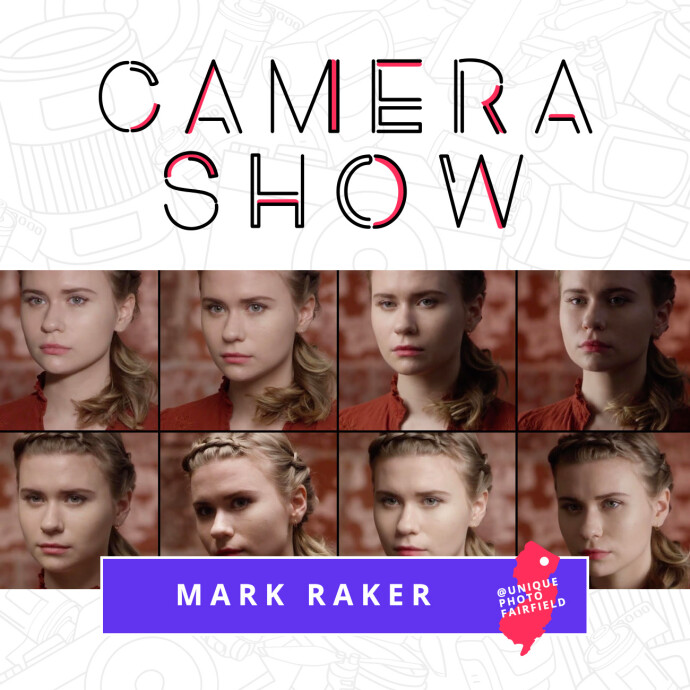
Master key light placement: one light, many looks
Before buying more gear, unlock what you already have. Move your key light higher, lower, or off-axis; feather it past your subject; add or remove fill; and watch the mood shift from crisp to cinematic. If you want structured guidance, “CS: Key Lighting Methods with Mark Raker (Nanlite)” dives into practical positioning to maximize a single source.
Pick the right budget light: LED panels vs. speedlights
Speedlights are affordable, powerful for their size, and great for freezing motion—ideal for events and portraits. LED panels make learning easy since you can see the light live, and they’re excellent for hybrid photo/video shooters. A smart starter path is one speedlight plus one compact LED panel; add modifiers (umbrella, small softbox, grid) as funds allow.
Bounce, gel, and blend for natural color
Bouncing flash off neutral ceilings/walls softens light cheaply. Add a 1/4 or 1/2 CTO gel to warm your flash to room ambience and avoid that “flashed” look. If flash feels clinical, mix it with ambient and drag shutter slightly. For hands-on creative ideas, check “NJCS: Advanced Creative Lighting with Robert Harrington and ExpoImaging.”
Build a $200–$400 kit that grows with you
Starter recipe: a manual speedlight, a 33–43 inch shoot-through umbrella, a swivel bracket, a light stand, and a 5-in-1 reflector. Or, choose a compact bicolor LED panel with an umbrella or small softbox. Add gaffer tape, spring clamps, and black/white foam boards for quick flags and fill. Watch for open-box and bundle deals at Unique Photo to stretch your budget further.
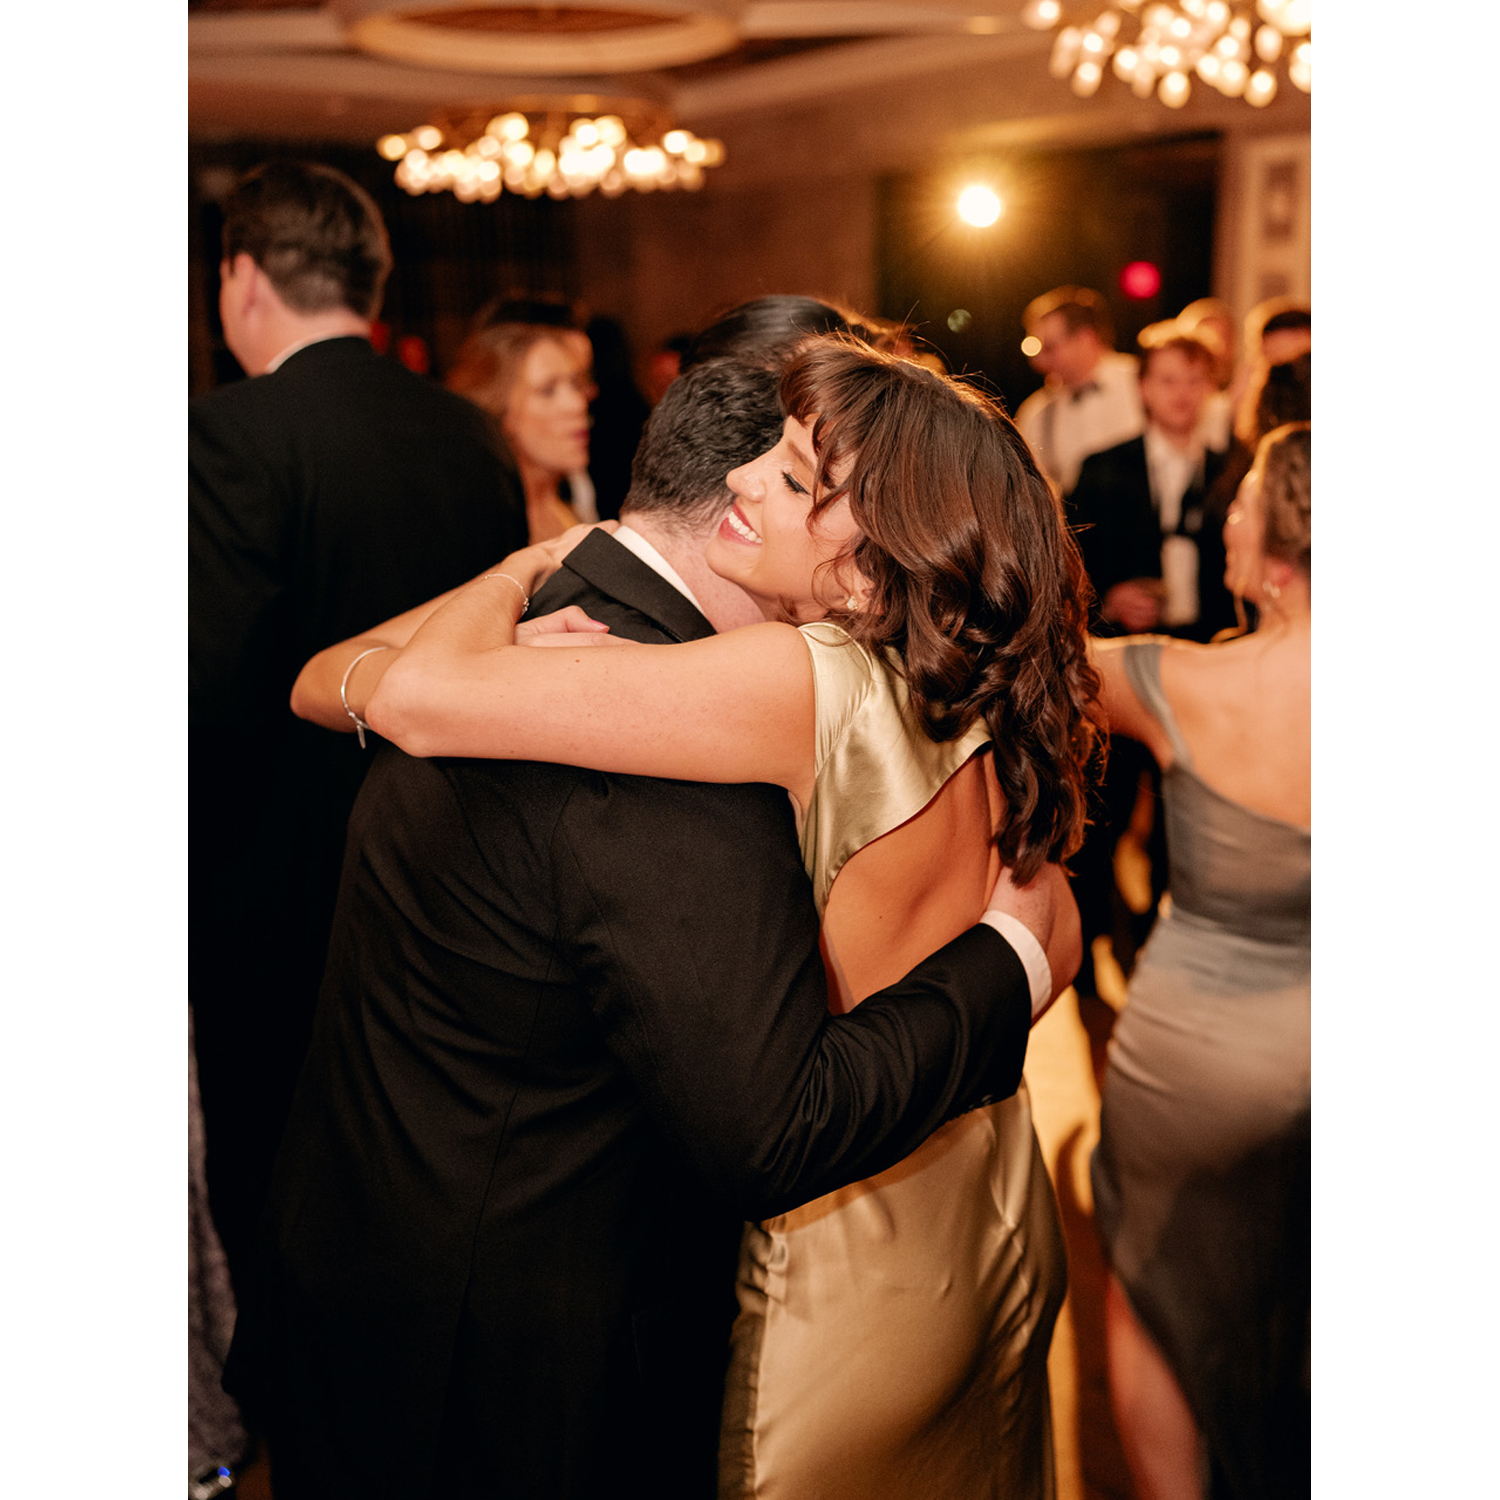
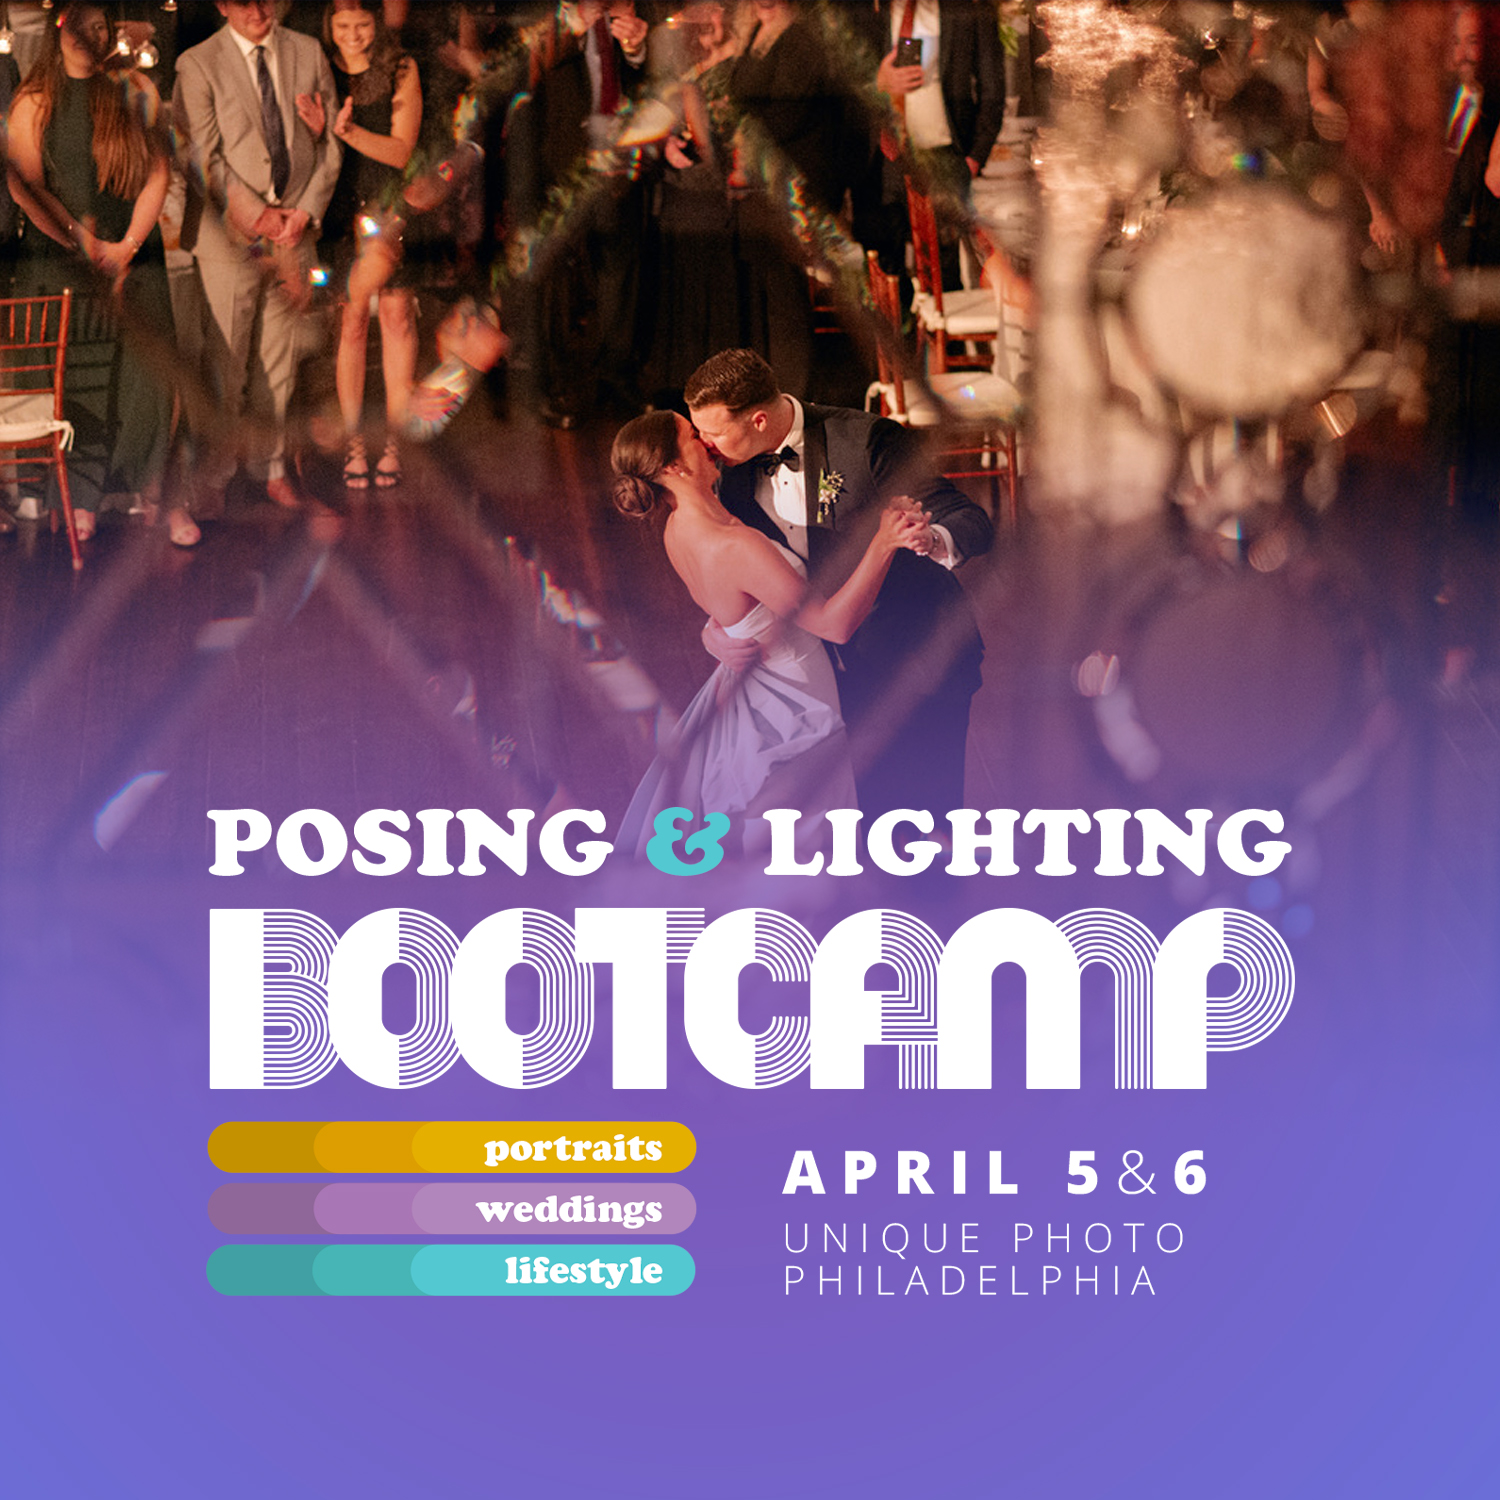
Event and reception lighting on a shoestring
Set two speedlights on stands at opposite corners of the dance floor for cross-lighting and leave one on-camera for on-the-go bounce. Keep ISO modest, use TTL for fast-paced moments or manual for consistency. For real-world wedding tactics, check out “Posing and Lighting Bootcamp: Reception Lighting w. Magda and Simon (Philly).”
DIY modifiers that don’t scream DIY
Need a big, soft source? Place a clamp light or LED behind a white shower curtain for a makeshift 4×6 ft scrim (keep bulbs cool and at a safe distance). Create a snoot with black cinefoil or rolled craft foam. Use black poster board as negative fill to add shape to faces. Small, safe, and effective tweaks often look better than throwing money at more power.
Mind power, color, and batteries
Higher CRI/TLCI LEDs render color more naturally. If mixing lights, gel to match color temperature and set custom white balance. Keep spare AAs or a lithium pack for speedlights to avoid recycle delays. Dim LEDs to minimize fan noise and flicker, and avoid pushing ISO so high that your images look noisy rather than natural.
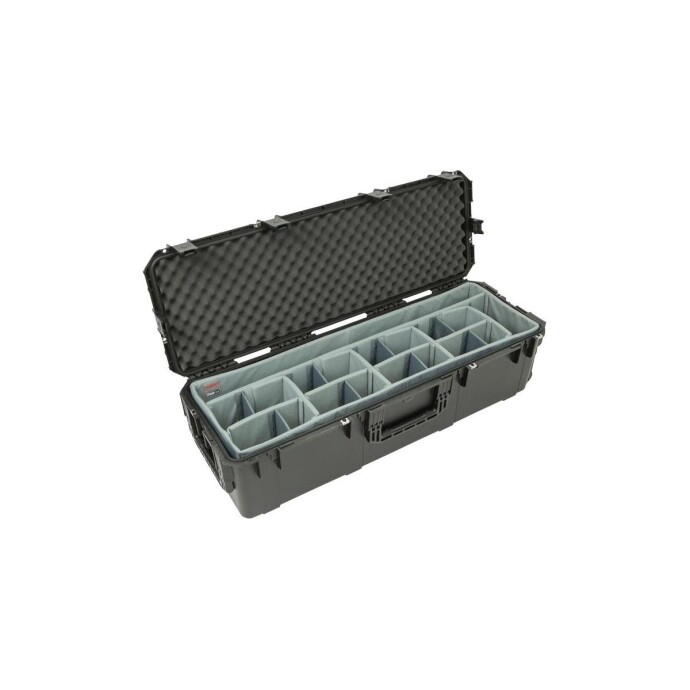
Protect and organize: gear lasts longer when packed well
A tidy kit speeds setups and saves money by preventing damage. A hard case with dividers keeps stands, modifiers, and heads protected and ready to roll. The SKB iSeries 3i-4213-12 Case with Think Tank Designed Lighting/Stand Dividers is a rugged option sized for light stands and small modifiers—ideal for budget kits that still travel.
Final Thoughts
Natural, versatile lighting is more about technique and control than expensive gear. Start simple, master placement, use inexpensive modifiers and DIY tools, and level up with targeted education. When you’re ready to expand, watch for open-box savings, bundles, and learning opportunities at Unique Photo—your budget and your images will both look better for it.