You don’t need a studio full of expensive lights to make portraits that pop. With thoughtful placement, a few smart accessories, and techniques that maximize every watt, you can create beautiful, consistent results on a budget. Here are practical, field-tested tips to build and grow an affordable portrait lighting kit—and where to learn even more with Unique Photo’s expert-led classes.
8 budget-friendly lighting tips for portraits
-
Use window light as your key and add DIY fill
Start with a bright window as your main light. Place your subject about 2–4 feet from the glass and rotate them until you see a soft, directional pattern across the face. For fill, a $5 piece of white foam board (or a collapsible reflector you may already own) does wonders: place it opposite the window to lift shadows. If the light is too harsh, hang a sheer curtain to soften it instantly.
-
One light, many looks: shape your key
A single speedlight or compact LED can do a lot when placed well. Start with the light just above eye level, 30–45° off-axis, and as close as possible to your subject (softness comes from size relative to the subject). Learn placement patterns—loop, Rembrandt, and butterfly—to control mood affordably. Want to refine your technique? The CS: Key Lighting Methods with Mark Raker (Nanlite) session dives into practical setups for expressive, budget-friendly results.
-
Reflect more, buy less
Before you add a second light, perfect your fill. Use white for soft lift, silver for brighter fill, and black foam board as negative fill to deepen shadows—no extra lights required. If you want step‑by‑step guidance on shaping light without overspending, Portrait Lighting Made Easy with Joel Grimes (Westcott) breaks down simple, repeatable setups that scale.

-
Add affordable color with gels
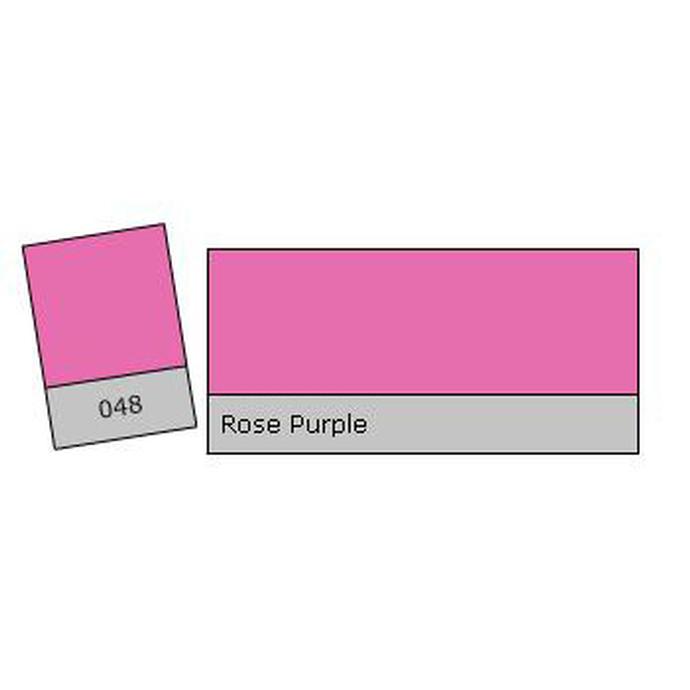
Gels are a low-cost way to create separation, mood, or a branded color palette. Clip a gel to a speedlight or small LED and use it for a background wash or a rim light behind your subject. The LEE Filters Rose Purple Lighting Effect Gel Filter adds a vibrant magenta tone that’s perfect for modern headshots and creative portraits—no expensive RGB panel required.
-
Bounce and feather for flattering skin
Point your light into a nearby white wall or ceiling to create a larger, softer source. Feather the edge of the beam across your subject rather than aiming the hot spot at their face—this reduces shine and creates a gentle falloff that flatters skin tones. For hands-on speedlight and modifier techniques, consider NJCS: Advanced Creative Lighting with Robert Harrington and ExpoImaging.

-
Build a simple two-light kit (key + rim)
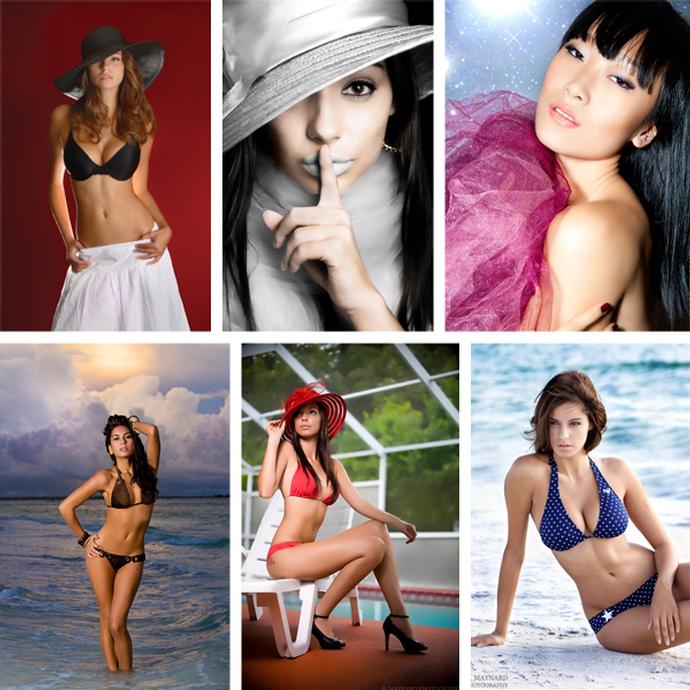
Once you’ve mastered one light, add an inexpensive second source for separation. Keep your main light soft and close; place the second light behind and to the side for a subtle hair or rim highlight. This adds depth without much cost. Want to practice guided setups and posing? The Stunning Portraits Workshop with David Maynard and ExpoImaging focuses on creating striking results with streamlined gear.
-
Pack smart: protect budget gear so it lasts
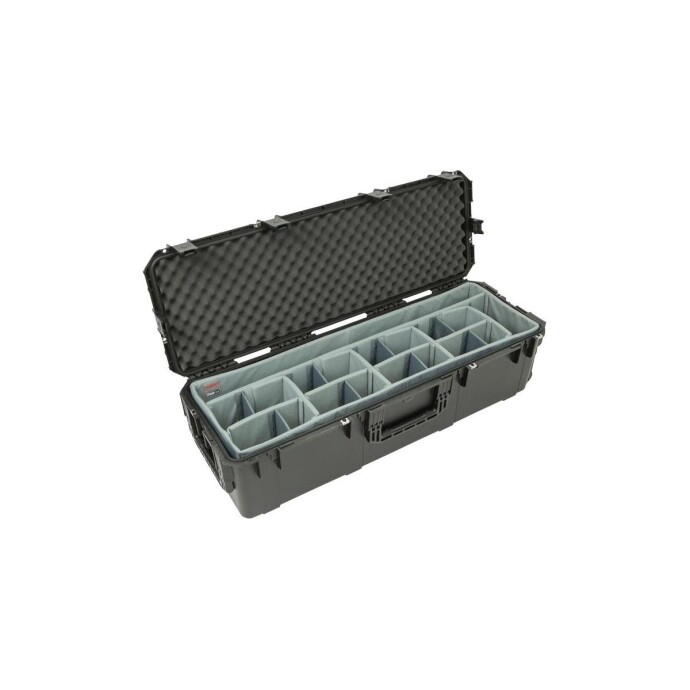
Affordable kits still deserve pro-level protection. A rugged case prevents costly damage and keeps stands and lights organized for fast setups on location. The SKB iSeries 3i‑4213‑12 Case with Think Tank Designed Lighting/Stand Dividers fits compact kits neatly, with dividers that adapt as your kit grows.
-
Master on‑location light mixing
Balancing ambient and a small off‑camera light is the secret to location portraits. Underexpose the background by 1 stop, then bring your subject up with a soft key for drama. Use open shade for even base light or negative fill to add shape. For real‑world strategies with natural and supplemental light, NJCS: Travel Portraits with Bobbi Lane (Fujifilm and Profoto) is a valuable deep dive. If you shoot events and receptions, Posing and Lighting Bootcamp: Reception Lighting w. Magda and Simon (Philly) is an excellent way to practice fast, flattering light in mixed conditions.
Putting it all together
Start with the light you have, refine placement, add a reflector, and layer in gels and a modest second light as needed. Protect your kit so it keeps paying off, and invest in your skills—often the biggest upgrade is knowledge. When you’re ready for hands‑on practice, browse Unique Photo’s workshops and classes to accelerate your progress.
Have questions about building a budget portrait kit? Visit Unique Photo—our team is happy to help you choose practical, affordable tools that match your style and goals.