If you are building a content studio on a budget, choosing the right affordable lighting kit for YouTube or a simple interview lighting setup can make a bigger difference than almost any camera upgrade. Good lighting improves skin tones, reduces noise, creates separation from the background, and helps your videos look more polished from the start. At Unique Photo, creators regularly shop for practical lighting solutions that balance cost, quality, and ease of use, especially for home studios, podcast sets, talking-head videos, and two-person interviews.
In this guide, we will break down what to look for in a budget-friendly lighting kit, how to light YouTube videos and interviews effectively, and which accessories and educational resources from Unique Photo can help you get better results without overspending.
What makes an affordable lighting kit good for YouTube and interviews?
The best budget lighting kits are not always the cheapest ones. A strong value setup should be easy to use, flexible in small spaces, and consistent enough to produce reliable results every time you shoot. For YouTube creators and interview filmmakers, a good kit usually includes a main key light, some form of fill or bounce, and optional background or hair lighting.
When shopping for an affordable video lighting kit, look for these features:
- Soft light output to flatter faces and reduce harsh shadows
- Adjustable intensity so you can fine-tune exposure for different skin tones and room sizes
- Reasonable color accuracy for natural-looking video
- Compact stands and modifiers for small bedrooms, offices, or home studios
- Easy setup if you film alone
- Room for expansion as your channel or production needs grow
Many creators start with one light and quickly realize they need better control over shadows and background separation. Even a simple two-light arrangement can dramatically elevate your content. Unique Photo is a great place to explore lighting education and accessories as you build out that setup over time.
Best budget lighting setup for YouTube videos
A solid YouTube lighting setup on a budget does not have to be complicated. In most cases, the easiest formula is:
- Key light: your main and brightest light source, placed 30 to 45 degrees from the camera
- Fill light or reflector: softens shadows on the opposite side of the face
- Background light or practical light: adds depth and helps separate you from the background
If your budget is tight, prioritize the key light first. A single soft light positioned well can still produce excellent results. Then add a fill source later, even if it is as simple as a white foam board or reflector. For creators shooting product reviews, tutorials, beauty videos, or online courses, this approach keeps the look clean and professional while staying affordable.
Learning proper placement matters just as much as buying gear. Educational resources available through Unique Photo can help beginners avoid flat lighting or overexposed faces. For example, CS: Key Lighting Methods with Mark Raker (Nanlite) is especially relevant for creators who want to understand how key light placement shapes the subject.
How to light an interview setup affordably
An affordable interview lighting setup should create depth, consistency, and a natural appearance. Whether you are filming a corporate interview, documentary-style sit-down, podcast conversation, or client testimonial, your lighting should feel intentional without being distracting.
A classic interview setup includes:
- Key light slightly above eye level and off to one side
- Fill light or bounce on the shadow side
- Hair light or rim light behind the subject for separation
- Background light if you want more visual depth
To stay within budget, you can simplify this into a two-light interview setup: one soft key and one background or edge light. If the room already has useful ambient light, you can use it as fill. This is especially helpful for small crews or solo shooters.
For creators looking to sharpen their understanding of lighting patterns, direction, and control, Unique Photo also offers instructional content like Portrait Lighting Made Easy with Joel Grimes (Westcott) and Mastering Portrait Lighting: Mixing Flash and Ambient Light. Even though these are educational products, the techniques apply directly to YouTube and interview production, particularly when balancing window light with artificial fixtures.
One-light vs two-light vs three-light kits: which is the best value?
If you are comparing budget lighting kits for video, it helps to understand what each level offers.
One-light kit
Best for solo creators, beginners, and extremely small rooms. A single diffused key light can produce a dramatic, professional look if you place it carefully and use existing room light or a reflector for fill.
Two-light kit
Often the best value for most creators. One light acts as the key, while the second becomes either fill, hair, or background light. This setup works well for interviews, YouTube talking-head videos, and livestreams.
Three-light kit
Ideal when you want maximum control. A three-light setup is great for interviews with more cinematic depth, but it also takes more time, more space, and a slightly larger budget.
For most creators shopping with affordability in mind, a two-light YouTube or interview lighting kit is the sweet spot. It offers flexibility without the complexity of a full studio build.
Soft lighting for flattering skin tones and professional video
One of the biggest mistakes new creators make is choosing lighting that is too hard or too direct. Soft light is generally more flattering for faces, especially for interviews and close-up YouTube videos. It minimizes texture, softens under-eye shadows, and creates a more polished result.
To get softer light on a budget, look for large modifiers, diffused front panels, or bounce techniques. Distance also matters: the closer a larger light source is to your subject, the softer it appears. Even affordable gear can look premium if you understand this principle.
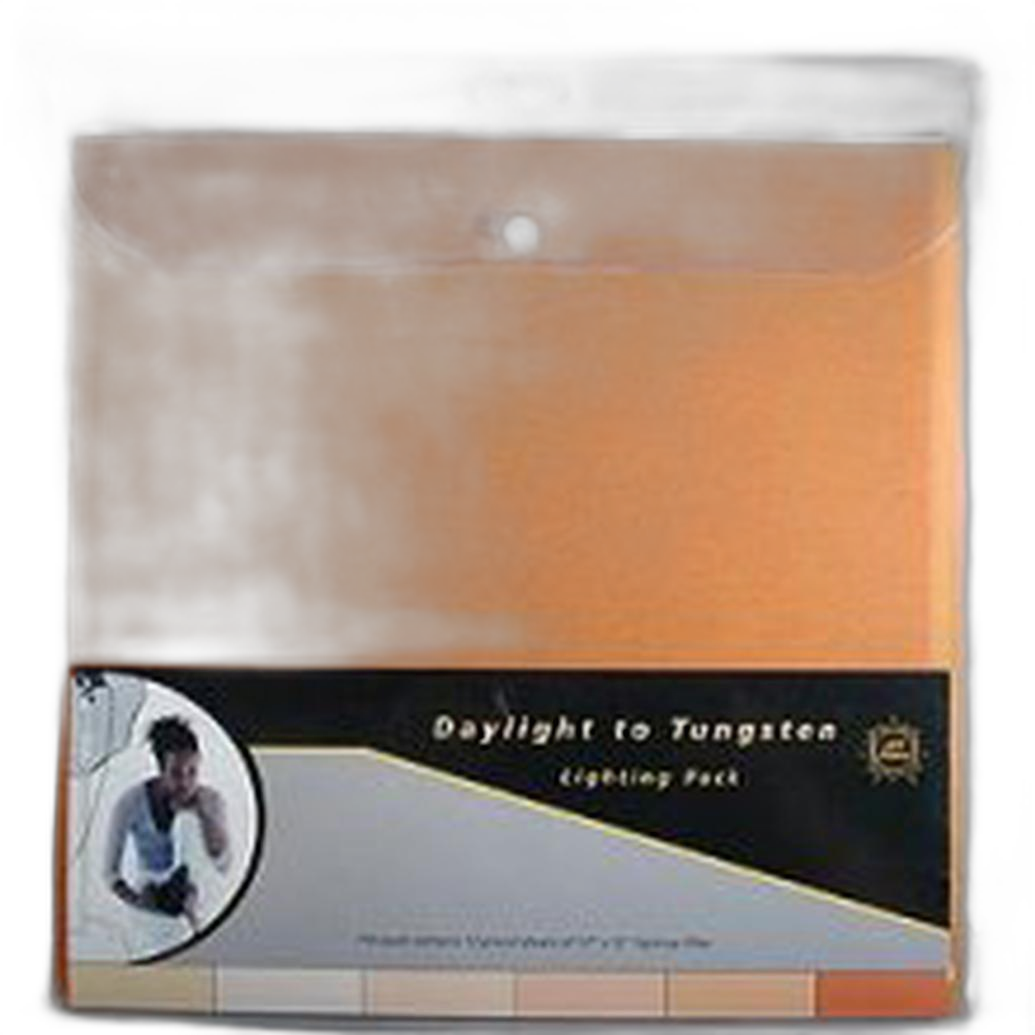
If you are trying to create a more stylized look, accessories can help. For example, LEE Filters Rose Purple Lighting Effect Gel Filter can add a creative accent to a background light for YouTube sets, music content, or branded interviews. Meanwhile, LEE Filters Daylight to Tungsten Filter Lighting Pack - 12 Sheets is useful when matching different color temperatures in mixed-light environments.
How to choose lighting for small home studios
Many people searching for affordable lighting kits for YouTube are filming in bedrooms, apartments, offices, or other compact spaces. In these environments, the wrong light can create glare, harsh wall spill, or an uncomfortably bright setup.
For small-room lighting, keep these tips in mind:
- Use soft, controllable sources rather than bare bulbs
- Place the key light close to the subject to maintain softness at lower power
- Avoid aiming lights directly at white walls unless you want more overall fill
- Separate the subject from the background when possible
- Use practical lamps or subtle colored lights to add depth
Small-space creators often benefit from learning lighting theory before spending more money. Unique Photo's workshop-style educational offerings can help you understand how to shape light, modify contrast, and adapt to real-world locations. Products like NJCS: Advanced Creative Lighting with Robert Harrington and ExpoImaging and Posing and Lighting Bootcamp: Reception Lighting w. Magda and Simon can inspire practical solutions that translate beyond portrait or event work and into video production environments.
Color temperature and mixed lighting in YouTube and interview spaces
Another common challenge in budget studio setups is mixed lighting. You may have daylight from a window, warm household bulbs, and an LED panel all affecting the scene at once. If their color temperatures do not match, skin tones can look inconsistent and your background may shift oddly between blue and orange.
To solve this, you can:
- Turn off room lights that conflict with your main source
- Block window light if you need consistency
- Match your fixtures to daylight or tungsten intentionally
- Use correction gels when needed
The LEE Filters Daylight to Tungsten Filter Lighting Pack - 12 Sheets is a useful accessory for creators who want more control over practical lights or mixed-location shoots. When used correctly, correction gels can make even a modest setup look much more professional.
Portable lighting kit considerations for mobile interviews
If you shoot interviews on location, portability matters almost as much as light quality. You want stands, modifiers, and accessories that pack efficiently and survive transport. A cheap kit is not truly affordable if it breaks after a few shoots.
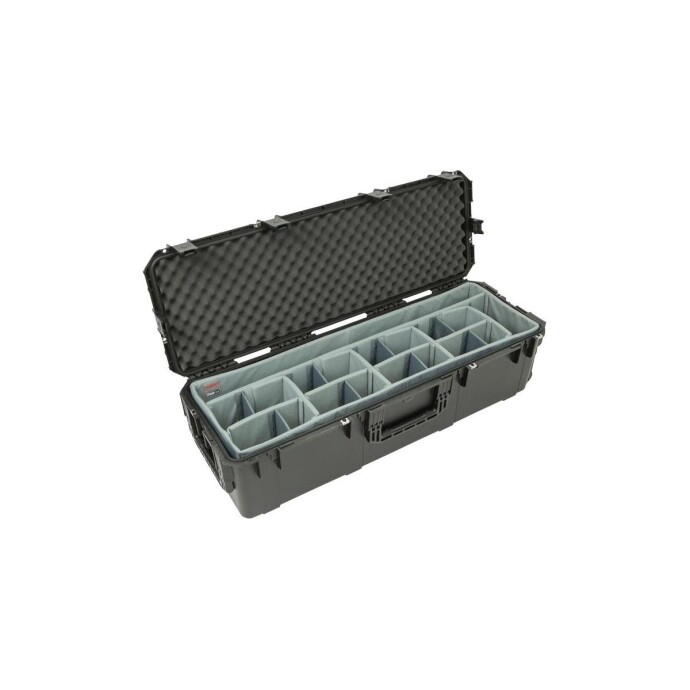
For creators and small production teams who travel with lighting equipment, protective storage is worth considering. The SKB iSeries 3i-4213-12 Case with Think Tank Designed Lighting/Stand Dividers is a practical option for organizing stands and lighting accessories securely. While it is not a light itself, it supports a more professional and durable workflow for video production.
How to improve cheap lighting kits with technique
Even the most affordable setup can perform better with smart technique. If you are trying to get more value from a starter kit, focus on these improvements:
- Feather the light: aim the edge of the beam at the subject for a softer effect
- Raise the key light: slightly above eye level usually looks more natural
- Control background brightness: avoid flattening the whole scene with too much spill
- Create separation: move the subject away from the wall when possible
- Use practicals: lamps, signs, and monitor glow can add depth inexpensively
This is where education becomes a smart budget investment. Instead of replacing your gear immediately, learning from lighting-focused classes and workshops at Unique Photo can help you unlock better results from what you already own.
Affordable lighting kit buying tips for beginners
If you are shopping for your first budget lighting kit for YouTube videos or interviews, keep your purchase simple and scalable. Start with quality essentials and add more as your production needs increase.
Here is a smart buying approach:
- Buy a good key light first
- Add diffusion or choose a soft source
- Use a reflector or bounce for fill before buying another light
- Add a second light for background or hair light duties
- Pick up gels or correction tools if you shoot in mixed lighting
- Protect your gear with a reliable transport or storage case
This staged approach helps you avoid overspending while still building a kit that can support YouTube production, interviews, livestreaming, webinars, and commercial content.
Final thoughts on affordable lighting kits for YouTube and interview setups
The best affordable lighting kits for YouTube and interview setups are the ones that fit your space, your workflow, and your production style. For many creators, a two-light arrangement with soft output and basic color control is more than enough to create clean, professional-looking video. As your needs grow, you can expand with background lights, gels, cases, and more advanced modifiers.
Unique Photo is a strong resource not only for lighting accessories and support gear, but also for hands-on education that helps creators make smarter buying decisions. If you are building your first setup, consider exploring lighting workshops, color correction accessories, and protective cases alongside your core video gear.
For internal linking opportunities, consider pointing readers to related Unique Photo pages such as lighting accessories, video production gear, light stands and cases, and Unique University classes and workshops. These kinds of supporting links can help readers continue building a better home studio or interview kit with confidence.