
Get the most from your negatives: who this guide is for
Whether you are archiving family albums, building a high-resolution film workflow, or prepping images for print and sharing, this guide walks you through how to digitize film negatives for the best quality. We cover method selection, preparation, capture settings, color inversion, and finishing so you can get clean, detailed scans that honor your film.
Choose your digitizing method
Each approach has strengths. Select based on your film formats, quality needs, and time.
| Method | Effective resolution | Speed | Best for | Notes |
|---|---|---|---|---|
| Flatbed scanner with film holder | Approx. 1600–2400 dpi effective for 35mm; higher for 120 | Moderate | Mixed formats, prints + film, budget-friendly | Convenient; ensure precise film flatness and anti-Newton glass to maximize sharpness |
| Dedicated film scanner | Approx. 3600–4000+ dpi effective for 35mm | Slow | 35mm and slides needing top detail and density | Often best dynamic range for small formats; multi-exposure helps recovering shadows |
| Camera scanning with macro lens | Sensor-limited; 24–100 MP yields ~2800–7000+ dpi equivalent | Fast | High-volume 35mm and 120, flexibility | Requires a stable copy setup and precise alignment; excellent acuity when done right |
Prep your film for pristine scans
- Handle by edges; use clean, lint-free gloves to avoid oil transfer.
- Use a blower and antistatic brush to remove dust before every scan.
- Keep negatives as flat as possible. For curl-prone film, consider holders that tension the film or use anti-Newton glass.
- Avoid aggressive cleaning solutions unless absolutely necessary; if used, test on a small area and let film dry completely.
- Work in a clean, low-dust room with gentle, diffuse lighting to spot flaws.
Capture settings that maximize quality
For camera scanning:
- Use a true macro lens and a stable copy stand. Ensure perfect parallelism between film, lens, and light source.
- Shoot RAW at base ISO with electronic shutter if available. Use a flicker-free, high-CRI light source with diffusion.
- Focus manually with live-view magnification on film grain. Stop down 2–3 stops from wide open for optimal sharpness (often around f/5.6–f/8).
- Expose to protect highlights in dense areas; bracket if needed for very contrasty negatives.
- White balance on the film base (for color negative) or a neutral target in the scene.
For dedicated and flatbed scanners:
- Scan at or near the scanner’s true optical resolution; avoid inflated interpolated settings.
- Enable multi-exposure or multi-sampling for deep shadows on slides or dense negatives.
- Use 16-bit per channel color depth and disable auto-sharpening; apply sharpening later in editing.
- Infrared dust/scratch removal works well on most color films; it typically does not work with traditional black-and-white silver films.
Inversion and color management
- Color negatives: Calibrate white balance on unexposed film base; invert using high-quality tools. Dedicated inversion tools and profiles can yield more accurate colors and smoother tones.
- Black-and-white negatives: Inversion is straightforward; concentrate on tonal placement and grain management.
- Work in a wide-gamut color space and 16-bit depth for your master files to preserve gradation.
- Create or use scanner/camera profiles when possible; consistent lighting and white balance are essential for batch work.
How much resolution do you need?
- 35mm: Around 3600–4000 dpi typically captures most usable detail for fine-grained film, yielding ~20–24 MP.
- 120 film: 2400–3200 dpi often balances quality and file size, though slower-speed films can benefit from more.
- If printing large, prioritize capture quality, then upscale with modern algorithms only if necessary.
File formats and archiving
- Create 16-bit TIFF masters for editing and archiving; export JPEGs or HEIFs for sharing.
- Use consistent, descriptive file naming and add metadata (film stock, camera, date).
- Keep at least two backups on separate drives plus an off-site or cloud copy.
Product recommendations to support your workflow
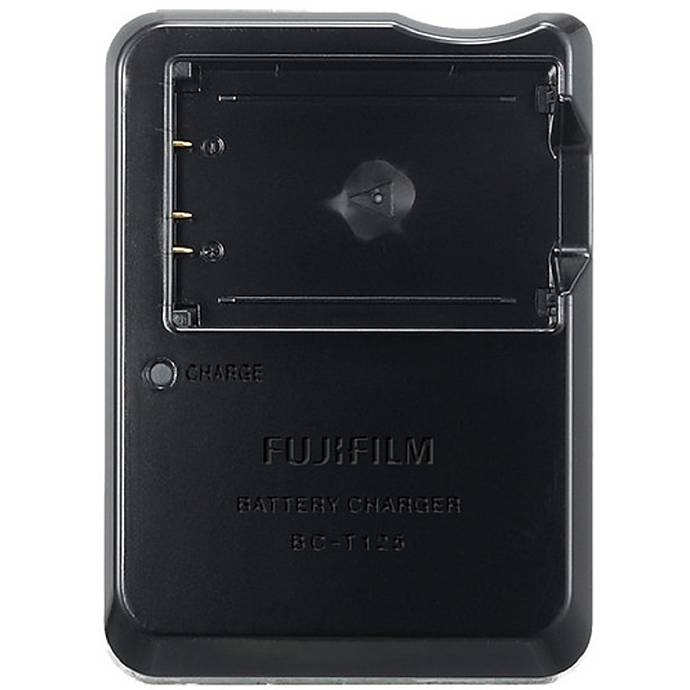
Fujifilm BC-T125 Battery Charger for GFX 50S/50R/GFX100
Power stability is critical for camera-scanning sessions. If you digitize with a compatible Fujifilm GFX body, this dedicated charger helps keep batteries topped for uninterrupted capture and consistent exposure.
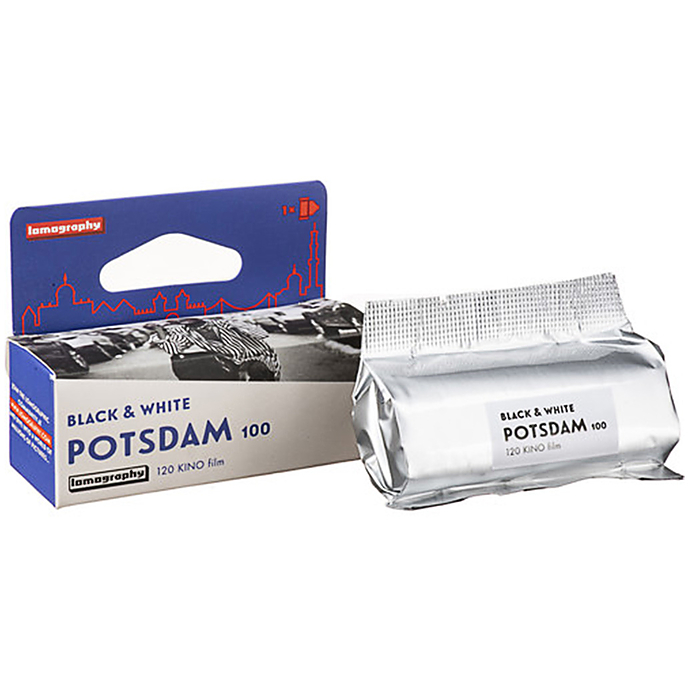
Lomography Potsdam Kino 120 ISO 100 Black and White Film
Testing your digitizing setup with fresh, fine-grain film reveals the true resolving power of your workflow. This 120-format, ISO 100 black-and-white film offers crisp grain structure and rich tones that scan beautifully, making it a great benchmark for dialing in focus and exposure.
Fujifilm DIGITAL PRO Glossy Color Paper (12 in x 354 ft)
Once you have high-quality scans, printing on reliable RA-4 color paper completes the process. For compatible minilab systems, this Fujifilm glossy paper delivers consistent color and a classic wet-lab look to showcase your digitized negatives.

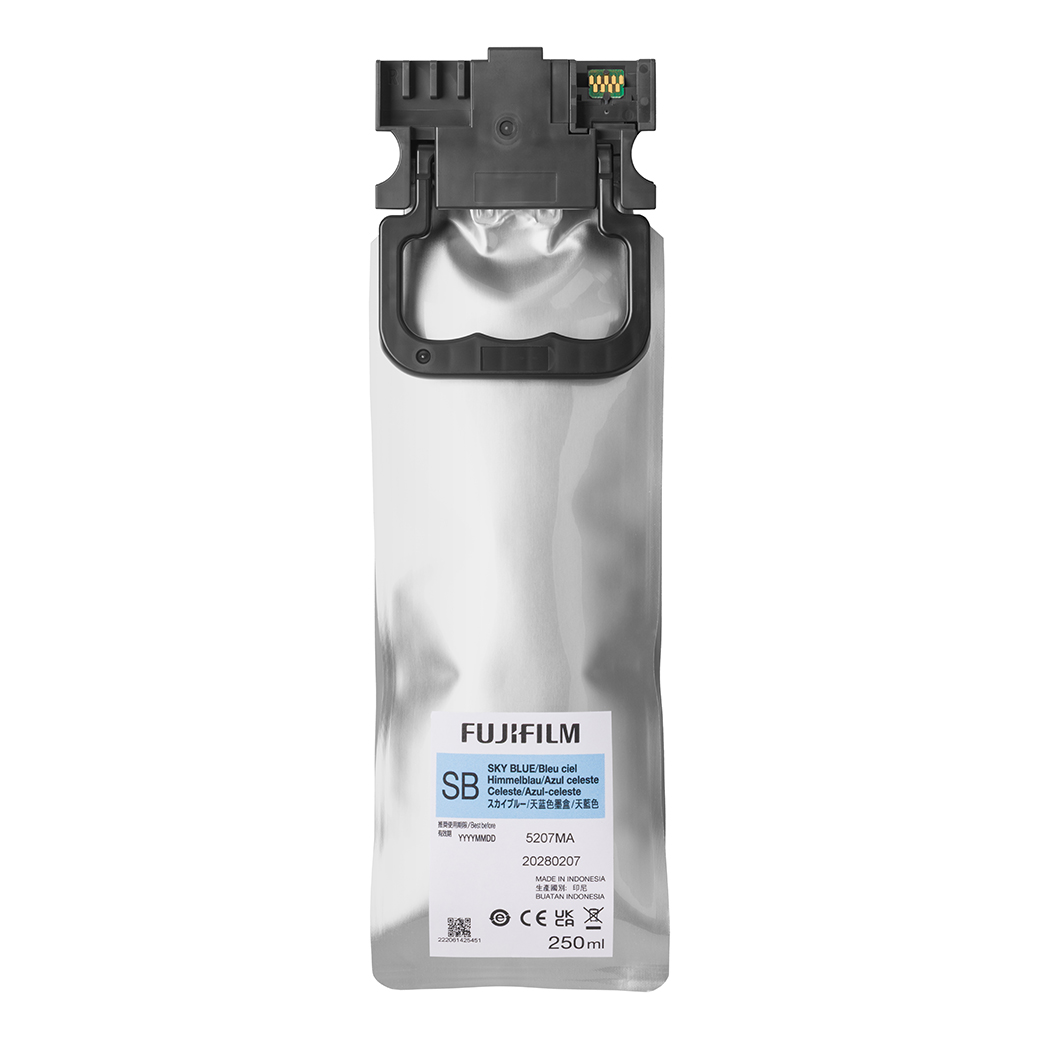
Fujifilm Sky Blue Ink for DX400W
If your workflow includes a compatible Fujifilm dry lab printer, using the correct inks is essential for faithful color. This sky blue cartridge supports accurate hues and smooth gradations when producing prints from your scans.
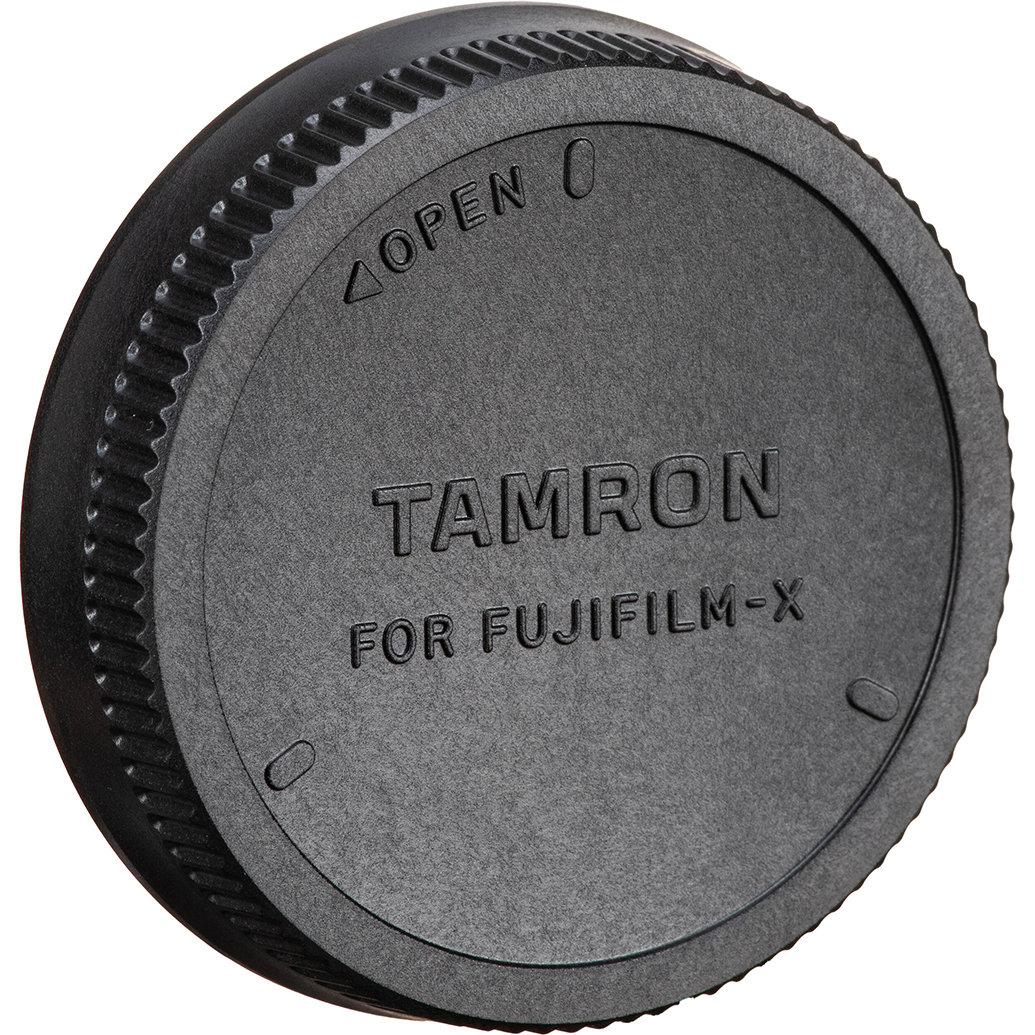
Tamron RMC-FUJI Rear Lens Cap for Fujifilm X Mount
Dust control is everything in film scanning. Protect your macro lens and keep your camera-scanning kit clean between sessions with a proper rear cap, helping minimize contamination that can show up as spots in your images.
Pro finishing tips
- Edit gently: apply capture sharpening once, then creative sharpening for print size.
- Use non-destructive editing and keep your RAW or TIFF masters untouched.
- Soft-proof for your output process; adjust tone curves to preserve highlight detail and shadow separation.
Bottom line
For most photographers and archivists, a well-executed camera-scanning setup offers the best mix of resolution, sharpness, and speed, especially for both 35mm and 120 film. Flatbeds remain versatile for mixed media and larger formats, while dedicated film scanners excel for maximum detail in 35mm. Whichever path you choose, prepare your film carefully, capture at high bit depth, and archive master files.
Need help building your workflow or choosing supplies? Unique Photo carries the film, power accessories, papers, and printer consumables to support top-quality scanning and printing. Visit or contact us and our specialists will help you get the most from your negatives.