Submitting photos for a contest, client review, gallery, publication, or online portfolio can feel simple at first—until technical requirements enter the picture. The right file format, proper resizing, and clean metadata can make the difference between a smooth submission and an avoidable rejection. Below are practical tips to help you prepare your files professionally while keeping image quality intact.
Start by Reading the Submission Requirements Carefully
1. Match the requested file format exactly
Before exporting anything, check whether the recipient wants JPEG, TIFF, PNG, or even RAW sidecars for reference. Most submissions ask for JPEG because it balances quality and manageable file size, while some editorial or fine art workflows may request TIFF for maximum image data. If you are delivering ultra-high-resolution files from a camera like the Hasselblad 907X and CFV 100C Medium Format Mirrorless Camera, choosing the correct export format is especially important because these files can be enormous and easy to overdeliver unnecessarily.
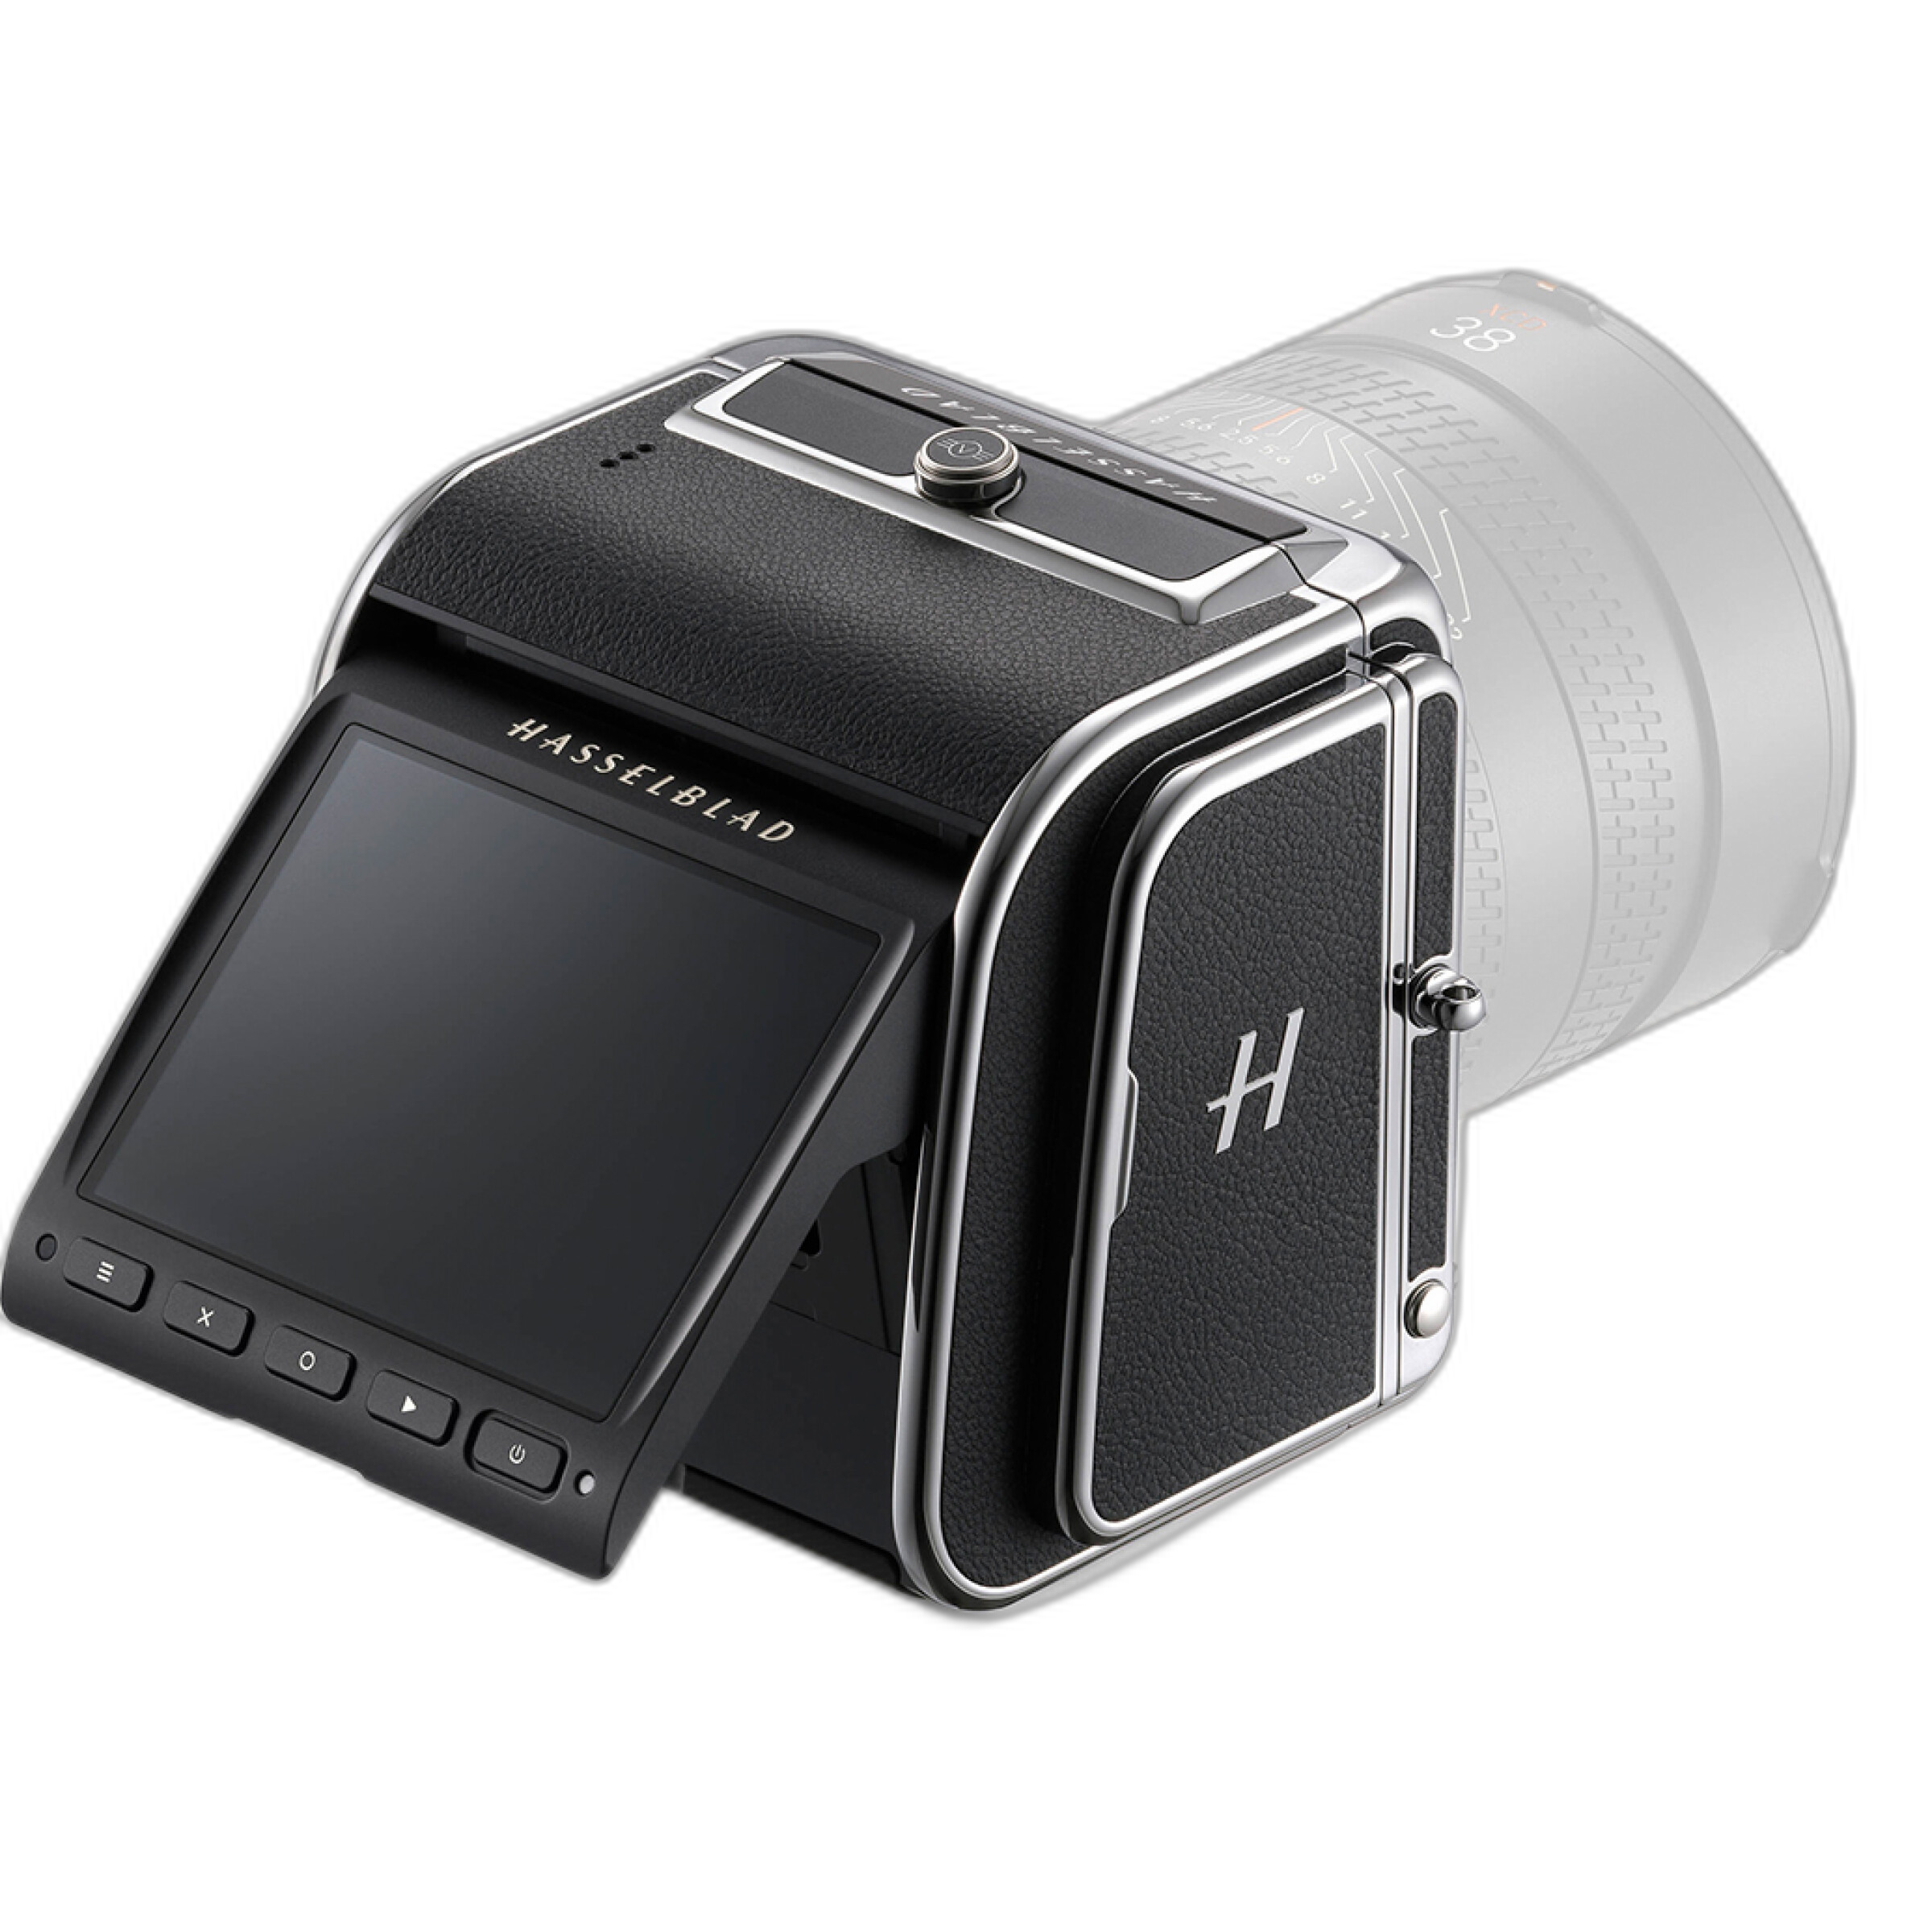
When in doubt, avoid sending multiple versions unless requested. A properly prepared JPEG often keeps the process clean and professional.
Choose the Best Format for the Purpose
2. Use JPEG for most online and contest submissions
JPEG is typically the standard for online uploads because it is widely compatible and easy to transmit. Export at high quality, but not necessarily at the maximum setting if the submission portal has file size limits. A quality setting in the high range usually preserves detail while keeping the file manageable.
3. Save TIFFs for print-focused or archival requests
If a publication, curator, or print lab asks for TIFF, send TIFF. This format is ideal when image integrity matters more than file size. Photographers working with highly detailed files from medium format systems often benefit from this extra flexibility, especially when preparing final selections from cameras such as the Hasselblad 907X and CFV 100C.
4. Keep your original files untouched
Always preserve your RAW scans or master edits separately from submission exports. This is especially helpful if you shoot film and create high-resolution scans from cameras like a used Fuji GA645WI Medium Format Film Point and Shoot or Fuji GF670 Medium Format Film Rangefinder. Your submission file should be a derivative, not your only finished version.
Resize with Intention, Not Guesswork
5. Follow pixel dimensions, not just file size
Many photographers focus only on megabytes, but submission guidelines often specify pixel dimensions first. For example, an organizer may ask for images that are 2400 pixels on the long edge. Resize to that exact requirement before worrying about compression. This gives you more control over sharpness and presentation.
6. Export sharpened versions for the final output size
Resizing changes the way sharpness appears. After reducing your image dimensions, apply output sharpening carefully so your file still looks crisp without introducing halos. This matters even more with detailed files from modern high-resolution systems.
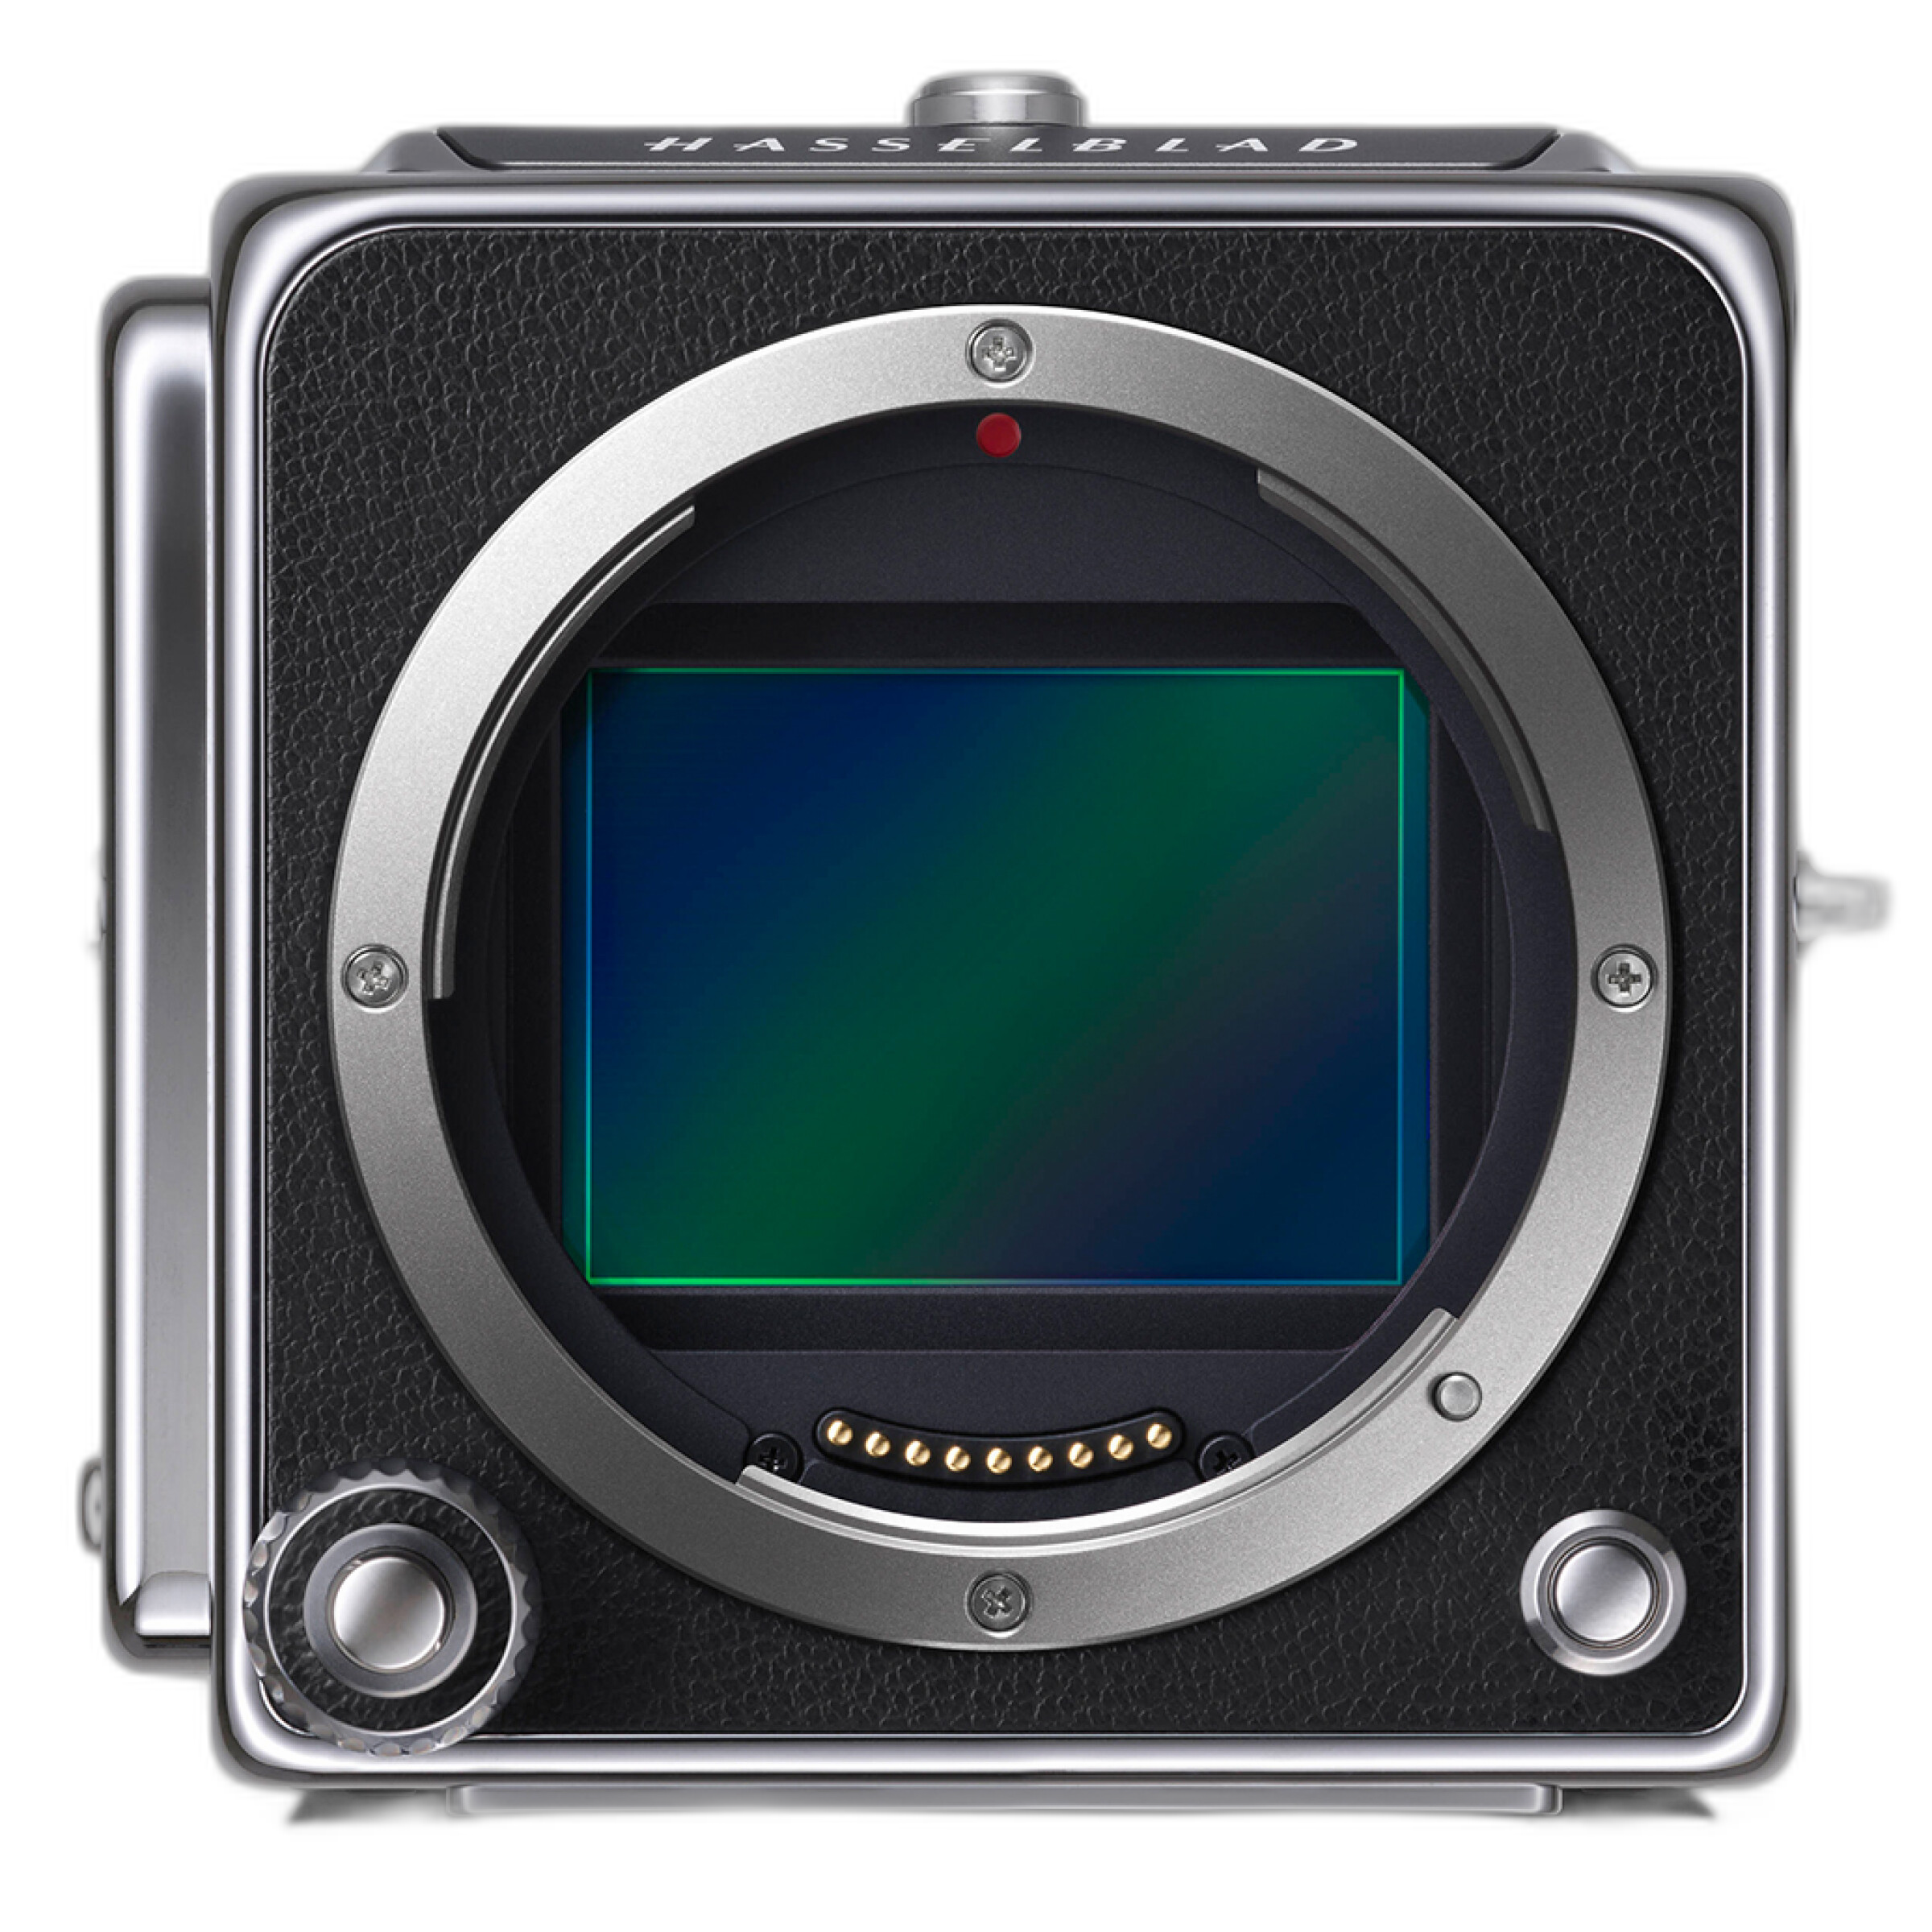
If you are submitting from a used but still incredibly capable setup like the Used Excellent Hasselblad 907X and CFV 100C Medium Format Mirrorless Camera, proper output sharpening helps your final JPEG retain the premium look of the original capture.
7. Keep aspect ratio in mind before cropping
If the submission platform displays thumbnails in a square or requires a specific orientation, make your crop decisions intentionally. A careless crop can cut into important elements or create awkward framing. Prepare a dedicated submission crop when needed rather than forcing your master edit into the wrong shape.
Pay Attention to Color and Consistency
8. Export in sRGB unless another color space is requested
For web submissions, sRGB is usually the safest choice because it displays more consistently across browsers, devices, and upload systems. Adobe RGB and ProPhoto RGB can cause unexpected color shifts when viewed in unsupported environments. If the instructions do not specify color space, sRGB is usually the right call.
9. Check brightness and contrast on a calibrated workflow
An image that looks perfect on one screen may appear too dark or oversaturated elsewhere. If you frequently prepare images for delivery, a consistent editing setup matters. And if your workflow includes making proofs or prints to evaluate files before submission, protecting that print pipeline with support products such as the Epson 4-Year Preferred Plus Service Plan for P5000 Printers can help keep your production process dependable over time.
Use Metadata to Your Advantage
10. Fill in copyright, creator, and contact fields
Metadata is one of the easiest professional touches to overlook. Include your name, copyright notice, website, and contact email in the IPTC fields whenever allowed. This helps editors, jurors, and clients identify your work after download.
11. Remove unnecessary metadata if privacy matters
Not every submission requires full location data or detailed capture information. If privacy or anonymity is important, review your metadata before exporting. Some contests want blind judging, while other workflows prefer stripped-down files. Keep a preset ready for both scenarios.
12. Use clear, consistent file names
A good filename makes your work easier to process. Instead of something generic like DSC_0045.jpg, use a naming structure such as YourName_Project_Image01.jpg. This becomes even more important if you are sending multiple images or alternate versions.
Make Delivery Easier and More Reliable
13. Test your transfer workflow before deadline day
Large files can be frustrating to upload at the last minute. If you routinely send images directly from camera to workstation in fast-paced environments, tools like the Canon WFT-E8A Wireless File Transmitter for EOS 1DX Mark II DSLR Camera can help streamline movement of files in supported workflows. Even when your final submission happens from a computer, a more efficient transfer process can save time when working under deadline.
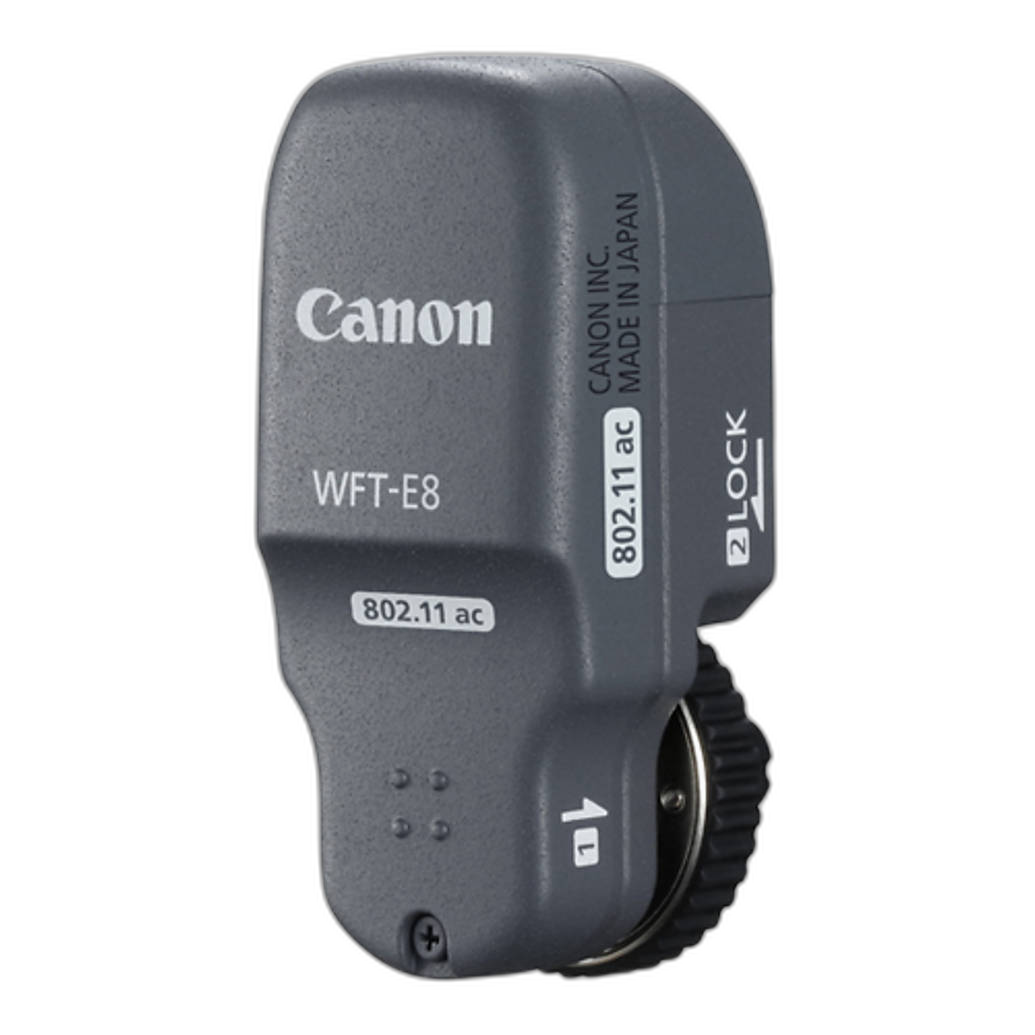
Whatever your setup, upload a test file early so you can catch naming issues, size errors, or portal limitations before the final hour.
14. Keep a submission checklist
- Correct file format
- Correct pixel dimensions
- Proper color space
- Accurate filename
- Metadata reviewed
- Final sharpened export
- Upload tested successfully
A repeatable checklist helps you avoid small technical mistakes that can distract from strong photography.
Conclusion
Preparing your photos for submission is about more than just exporting and uploading—it is about presenting your work in the best possible technical and professional form. When your file format is correct, your sizing is intentional, and your metadata is clean, your images are easier to review and more likely to make the right impression. For cameras, accessories, and workflow tools to support every stage of your photography process, explore more from Unique Photo.