Accurate film exposure can feel simple in even daylight and suddenly become complicated when the scene includes deep shadows, bright windows, backlighting, stage lights, snow, or nighttime streets. Ask a group of photographers how they meter film in difficult conditions, and you will hear a range of practical methods: trust the in-camera meter, meter for the shadows, read incident light, bracket aggressively, or choose a forgiving stock and expose for the look you want. At Unique Photo, these conversations come up constantly among film shooters who want more consistent negatives, cleaner scans, and better prints.
In this guide, we’ll look at common exposure techniques photographers rely on, how different metering approaches affect film results, and which tools and film stocks can help you get accurate exposure when lighting is less than ideal.
How photographers approach film exposure in difficult lighting
Film photographers often talk about exposure as a balance between technical accuracy and visual intent. In challenging light, that balance matters even more. A high-contrast scene may technically exceed the range of the film, so the real question becomes: what matters most in the frame?
Many experienced shooters start by identifying the most important tonal area. For portraits, that may be skin tone. For street photography at night, it may be the highlights from signs and storefronts. For landscapes, it might be textured shadows that still need detail. Once that priority is clear, metering decisions become easier.
Popular approaches include:
- Expose for the shadows when using negative film and you want fuller detail in darker areas.
- Protect highlights more carefully with slide film or scenes where bright areas are critical.
- Rate film differently than the box speed to match your preferred lab, scanner, and contrast style.
- Bracket exposures when the scene is unpredictable or impossible to meter perfectly.
- Use a handheld meter for consistency across multiple setups or mixed light.
At Unique Photo, many film users favor practical consistency over theory alone: they learn what a specific film stock does in real light, then meter with that behavior in mind.
Spot metering vs center-weighted metering vs incident metering for film
One of the biggest recurring discussions around film exposure techniques is which metering mode gives the most reliable results. Each one can work well, but each asks the photographer to think differently.
Spot metering is useful when you need precision. It allows you to meter a small area of the frame and place that tone intentionally. This is especially helpful in stage performance, backlit portraits, and high-contrast street scenes. The downside is that it requires experience. If you meter the wrong tonal area, your overall exposure can be significantly off.
Center-weighted metering is often favored by photographers who want a more intuitive, classic approach. Because it emphasizes the middle of the frame, it works well for portraits and general photography where the subject is central. It can struggle if bright skies or dark backgrounds dominate the composition.
Incident metering measures the light falling on the subject rather than the light reflected from it. For many photographers, this is the most dependable way to meter film in difficult light because it avoids being fooled by very bright or very dark subjects. If you photograph people, controlled scenes, or repeating setups, an incident meter can dramatically improve consistency.
A common takeaway from experienced film shooters is this: reflected meters read scenes, but incident meters read light. That distinction can make all the difference.
Why negative film is forgiving when exposure is uncertain
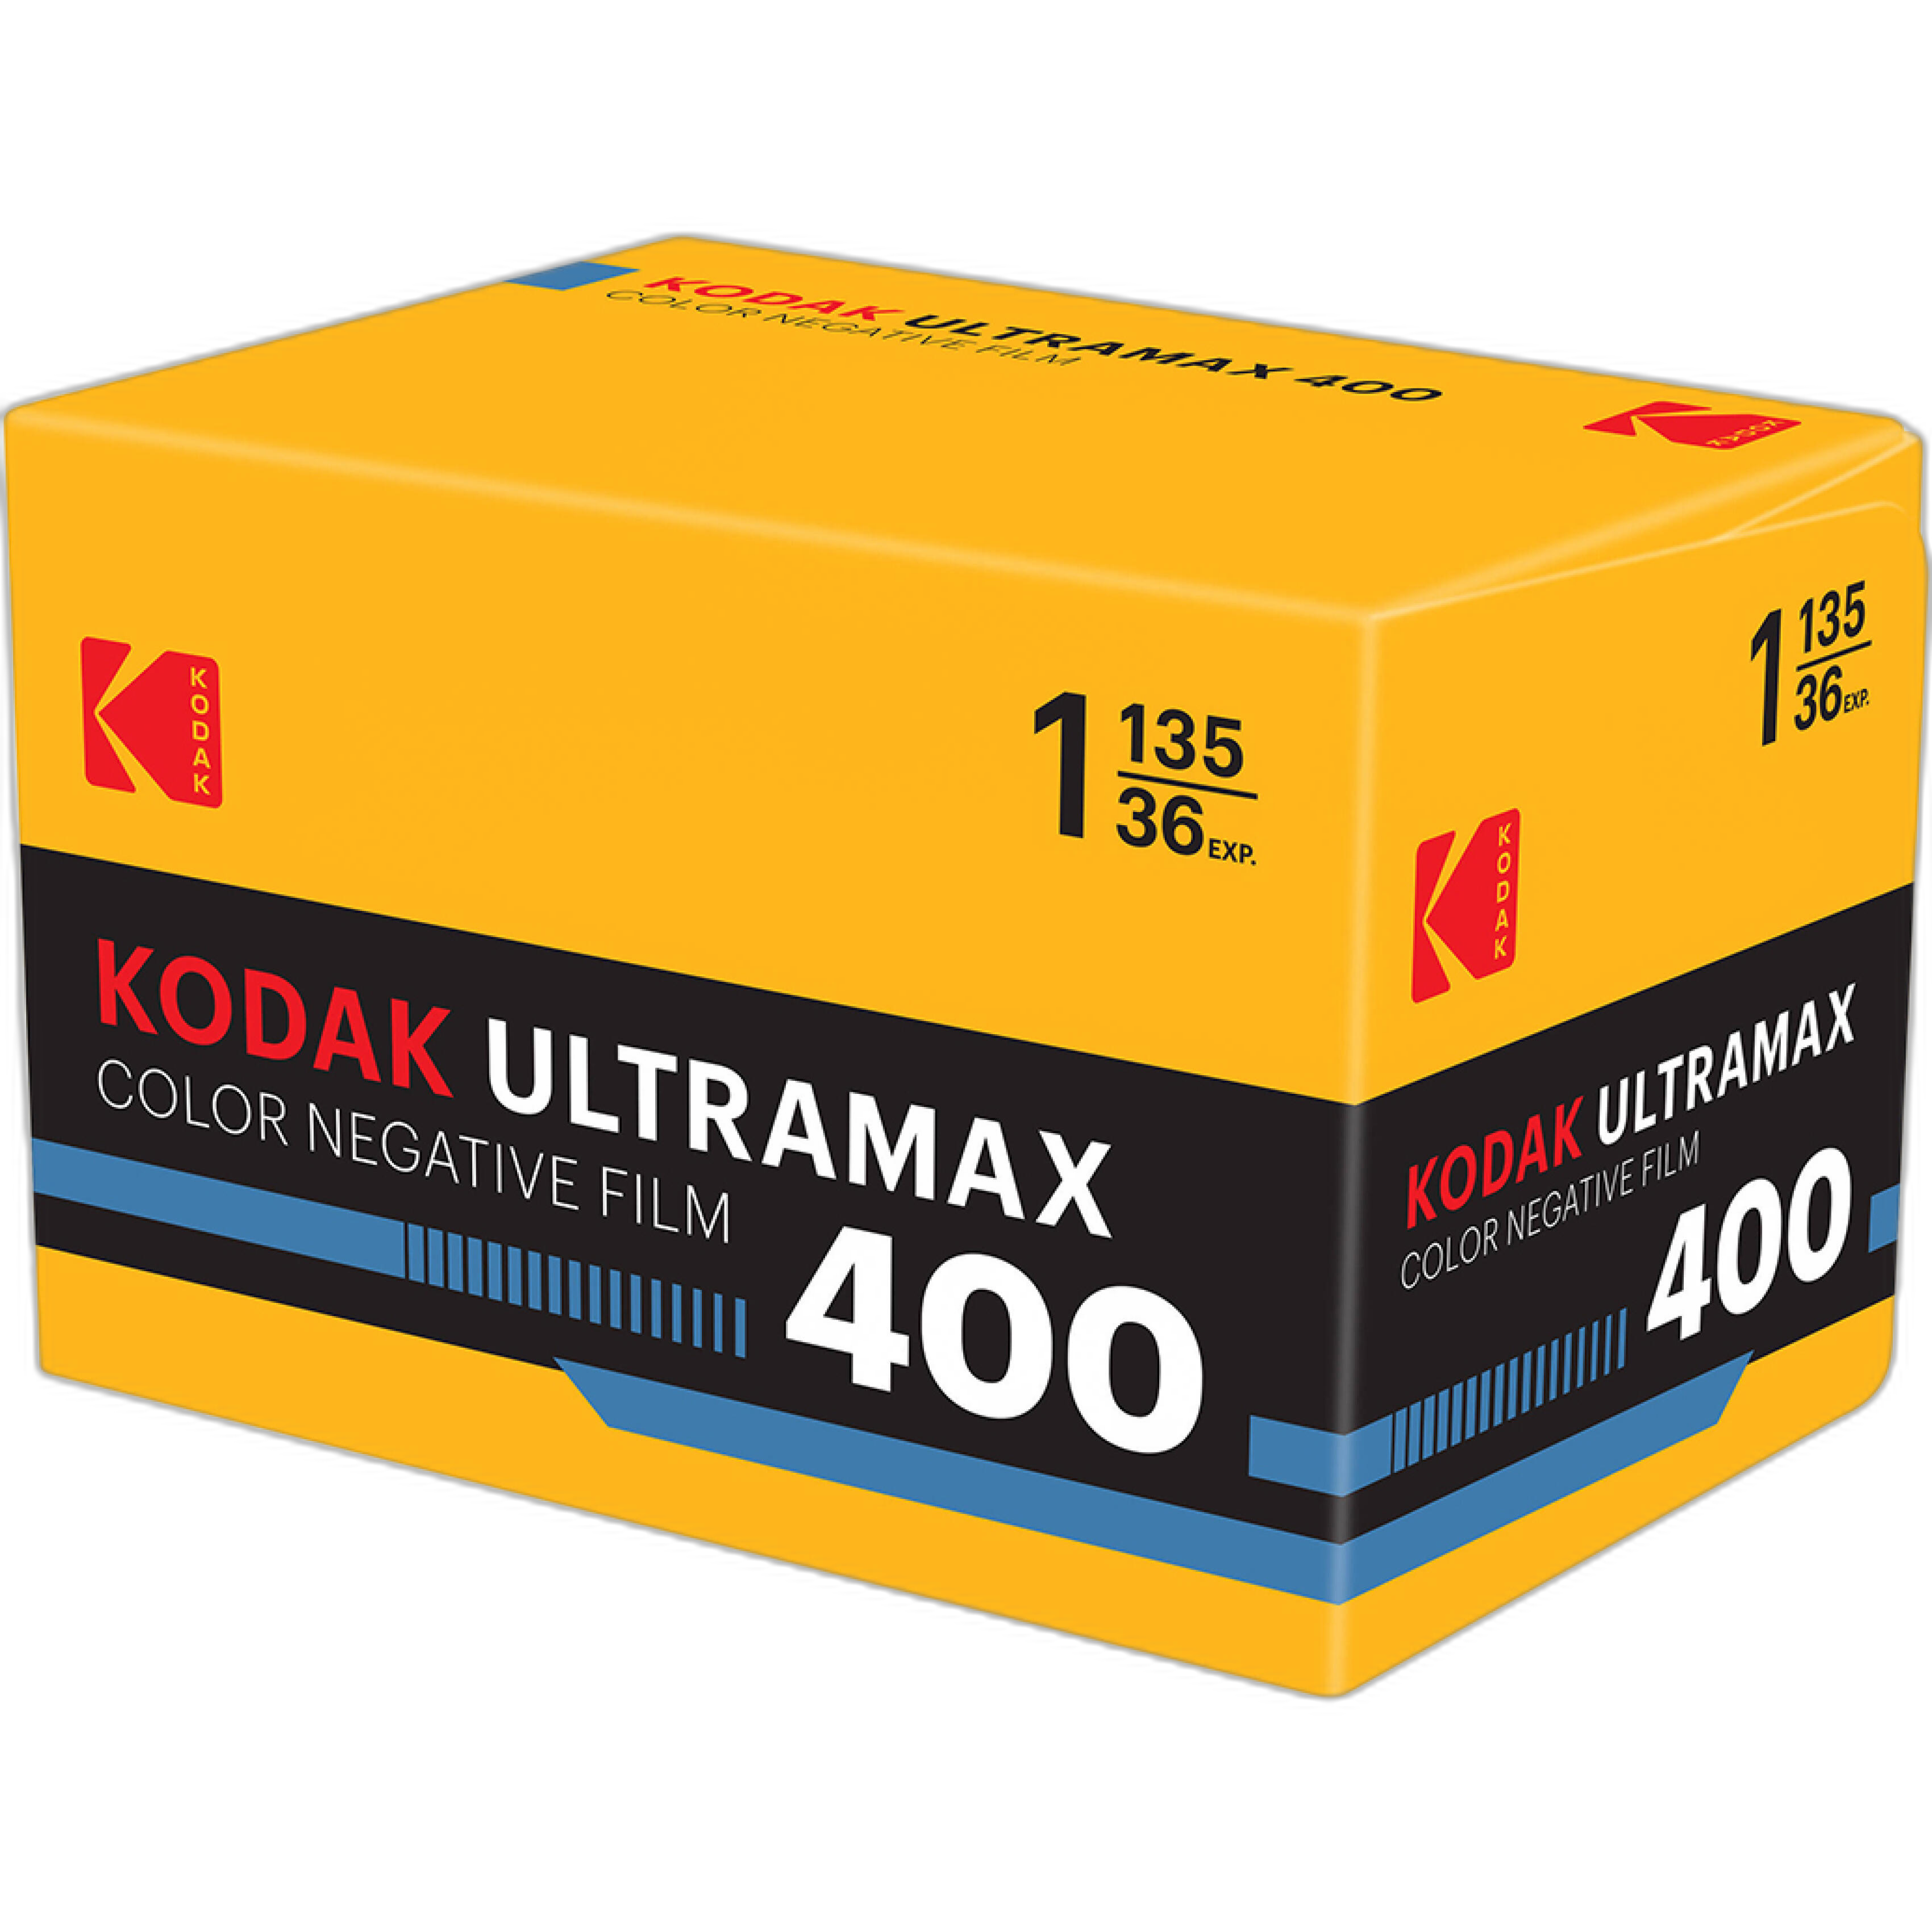
When lighting is changing fast or difficult to interpret, many photographers choose color negative film because of its latitude. A stock like Kodak UltraMax 400 is often discussed as a practical option for mixed conditions, overcast weather, indoor window light, and general-purpose shooting. It handles slight overexposure gracefully and offers flexibility if your meter reading is not perfect.
That forgiving nature is one reason photographers often recommend negative film to anyone learning exposure techniques. A slight overexposure on color negative film frequently preserves pleasing shadow detail and can scan very well. In contrast, underexposure tends to create muddy shadows, weak color, and more visible grain.
For many shooters, the working rule is simple: with negative film, it is usually safer to give a little more exposure than too little. That does not mean overexpose every frame blindly, but in challenging light it can be a smart margin of safety.
How to meter for backlit scenes, bright windows, and high contrast
Backlighting is one of the most common scenarios where photographers disagree on exposure, because there are several valid creative choices. If the subject is more important than the bright background, many photographers meter the face or use an incident reading at the subject position. If the background glow is the main visual element, they may meter to preserve highlights and let the subject go darker.
For interiors with bright windows, photographers often use these strategies:
- Take a meter reading from the subject area, not the window.
- Move closer and fill the frame with the subject when using an in-camera reflected meter.
- Open up 1 to 2 stops from a general room reading if the subject is heavily backlit.
- Bracket one frame at the meter reading and one with extra exposure.
In high-contrast outdoor scenes, some photographers meter shadows and accept bright highlights, especially with negative film. Others meter a midtone and trust the film’s latitude. The preferred approach often depends on whether they plan to darkroom print traditionally or scan and adjust later.
Metering film at night and in mixed artificial light
Night photography introduces another layer of complexity because practical light sources can trick reflected meters. Neon signs, street lamps, LED panels, and storefronts create scenes with isolated highlights surrounded by deep darkness. A camera meter may try to brighten the whole scene too much, causing highlight loss or washed-out mood.
Film photographers often solve this by metering from a midtone area illuminated by the same light as the subject, or by using a handheld meter to evaluate ambient levels more intentionally. Some also keep notes on recurring situations, such as how a favorite 400-speed film behaves under sodium vapor or tungsten light.
If you are shooting handheld in low light, a flexible emulsion like Kodak UltraMax 400 can be a smart choice because it gives more usable shutter speed options than slower stocks. At the same time, photographers seeking a highly specific creative result sometimes choose specialty film and meter with extreme care.
Using slow film creatively: precise exposure with ultra-low ISO stocks
Slow film offers a very different exposure experience. With ultra-low ISO film, the margin for handheld improvisation shrinks, but the creative possibilities expand. A film like Roberts FPP Blue Ultra 35mm ISO 3 is the kind of specialty stock that rewards deliberate metering, tripod use, and careful scene evaluation. In bright daylight or long-exposure work, it can produce a distinct look that encourages photographers to slow down and meter with intention.
When using very slow film in difficult lighting, photographers typically:
- Use a tripod whenever possible.
- Meter incident light for consistency.
- Bracket exposures if reciprocity behavior or scene contrast is uncertain.
- Favor stable daylight over mixed, unpredictable light sources.
Specialty films are less about convenience and more about craft. They are often discussed among photographers who enjoy testing, note-taking, and discovering the exact exposure behavior of a unique emulsion.
When to bracket film exposures and how much to bracket
Bracketing remains one of the most practical answers to uncertain metering. While it costs extra frames, it also saves important images. Many photographers bracket in half-stop or one-stop increments depending on the scene and the film type.
A typical method for negative film is to shoot:
- One frame at the meter reading
- One frame at +1 stop
- One frame at -1 stop if highlights are especially important
Others simplify the process and just shoot one extra frame at +1 stop when shadows are critical. This is particularly common in backlit portraits or interiors with strong windows.
Bracketing is especially useful when:
- The lighting is changing rapidly
- Your subject cannot be repeated
- You are testing a new film stock
- You are unsure how your camera meter handles the scene
For anyone refining their film workflow through scanning or printing, bracketing creates a useful exposure record that can improve future metering decisions.
How photographers use education and tools to improve exposure consistency
Many photographers improve faster when they combine shooting experience with exposure education. Understanding how reflected and incident readings differ, how meter calibration affects results, and how film latitude interacts with scene contrast can dramatically reduce wasted frames.
Unique Photo offers helpful educational resources for photographers who want to strengthen these fundamentals. A title like Understanding Your Camera II: Exposure and Metering is directly relevant for film photographers who want a clearer grasp of how meters interpret light and how to make better exposure decisions in the field.
Even though exposure conversations often happen around still photography, filmmakers and hybrid shooters know the same principles apply across formats. Learning to evaluate contrast, use neutral density intelligently, and control brightness ratios can improve visual consistency everywhere. That broader mindset is one reason educational offerings at Unique Photo remain valuable for photographers at every level.
Instant film exposure considerations in changing light
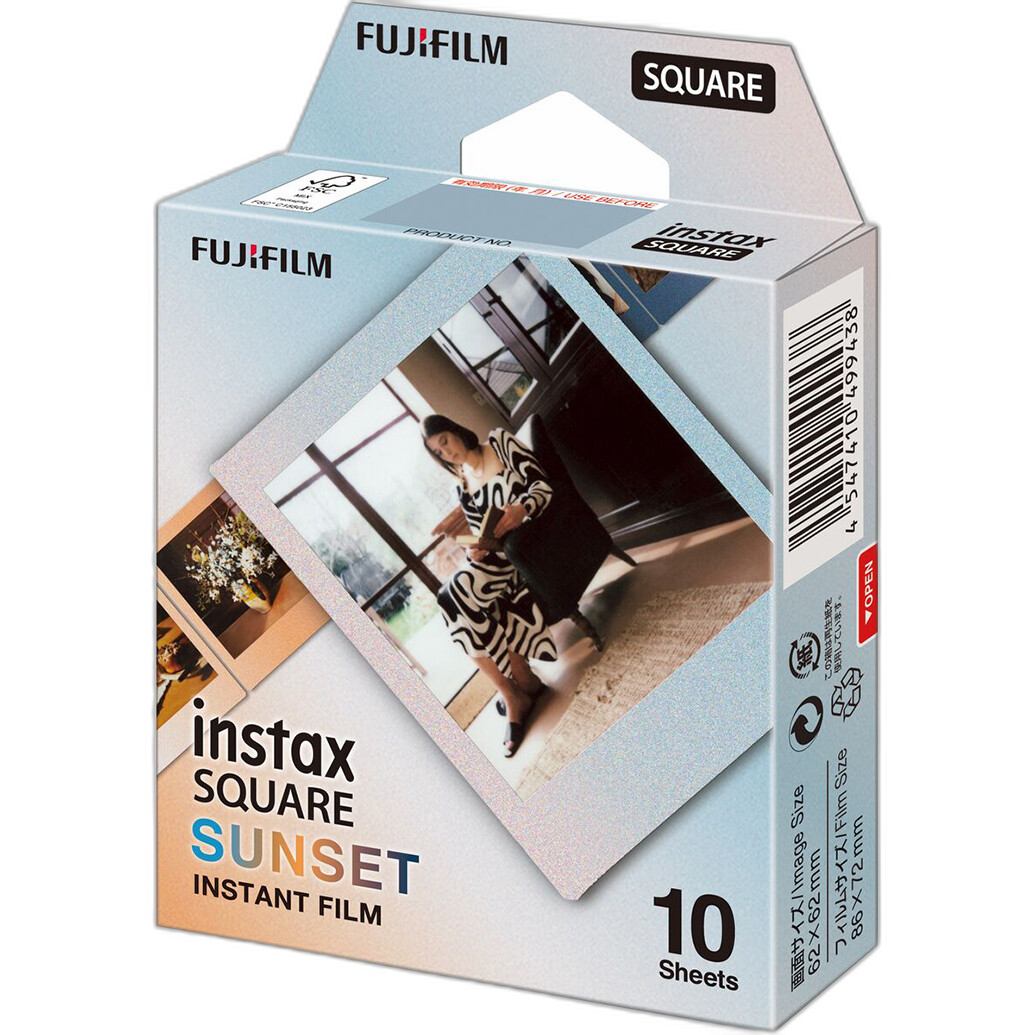
Instant film users also face metering challenges, especially outdoors near sunset or in scenes with bright reflective surfaces. Films like Fujifilm INSTAX SQUARE Sunset Instant Film bring a stylized look that can pair beautifully with warm evening light, but instant formats still benefit from thoughtful exposure placement.
Because instant film has its own tonal behavior and aesthetic response, photographers often watch for blown highlights and strong contrast more carefully than they would with forgiving color negative film. If your camera offers exposure compensation, small adjustments can make a noticeable difference in preserving the atmosphere you want.
Common film exposure mistakes in difficult light
When photographers compare notes on failed frames, the same patterns appear again and again. Avoiding these mistakes can improve results quickly:
- Metering the whole scene instead of the subject in backlit or high-contrast situations
- Underexposing negative film out of fear of bright highlights
- Trusting one meter reading without evaluating the scene
- Ignoring film speed strategy, such as rating a stock differently for personal preference
- Not testing unfamiliar film before important shoots
Another common issue is assuming every meter is perfectly calibrated. Older camera meters can drift, and even modern systems may behave differently depending on the scene. Comparing your in-camera readings with a handheld meter or a known reference can be very helpful.
Best practices for accurate film exposure in challenging conditions
If you want a practical summary of what many experienced photographers actually do, it often comes down to a few repeatable habits:
- Choose a film stock that matches the lighting challenge.
- Know whether your meter is reading reflected or incident light.
- Identify the most important tonal area before taking a reading.
- Bias exposure slightly toward more light with negative film when uncertain.
- Bracket critical frames.
- Review scans or prints and keep exposure notes.
These habits turn exposure from guesswork into a repeatable process. Over time, photographers develop a personal system based on favorite films, preferred labs, and the types of scenes they shoot most often.
Conclusion: building a reliable film metering workflow
Film exposure in challenging lighting is rarely about finding one perfect rule. It is about understanding the scene, knowing your film, and choosing a metering method that supports the result you want. Some photographers trust center-weighted metering and experience. Others rely on handheld incident meters. Many combine both with selective bracketing. The best approach is the one that gives you predictable negatives and the visual style you prefer.
Unique Photo is a strong resource for photographers refining that process, whether you are stocking up on flexible options like Kodak UltraMax 400, experimenting with specialty emulsions, or building your technical knowledge through educational materials on exposure and metering.
For readers exploring the next step, consider linking internally to related pages on film stocks, photography classes and educational resources, and photo printing and lab services at Unique Photo to continue improving your film workflow from capture to final print.