Macro shooters love to compare gear, and Sony and Tamron lenses come up often in forum discussions for good reason: both brands offer strong optical performance, practical autofocus, and real value depending on how you like to shoot. While true 1:1 macro lenses are the classic choice for close-up photography, experienced photographers also know that support gear, technique, lighting, and even your non-macro lenses can dramatically improve results. If you're just getting started or refining your process, these tips will help you build sharper, more compelling close-up images.
1. Start by choosing the right lens for your style
Think beyond the brand debate
When forum members compare Sony and Tamron lenses, the conversation usually comes down to handling, rendering, autofocus feel, and overall value. For macro photography, a dedicated macro lens is ideal, but your everyday lenses still matter because close-up shooters often work in mixed situations: environmental detail shots, flower scenes, habitat images, and wider storytelling frames.
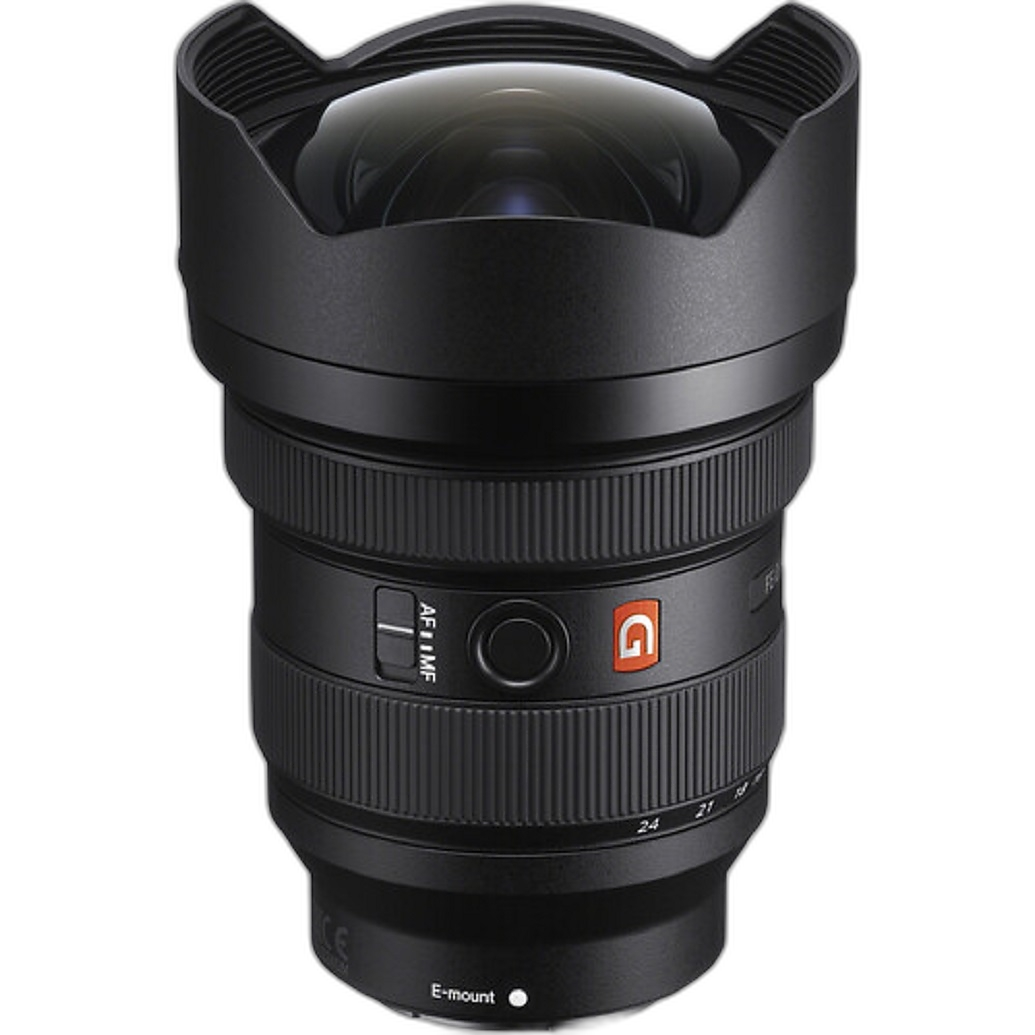
For example, if you want to place small subjects in a dramatic environment, an ultra-wide lens like the Sony FE 12-24mm f/2.8 GM Lens can help create striking perspective-heavy close-up compositions when used carefully near foreground subjects.
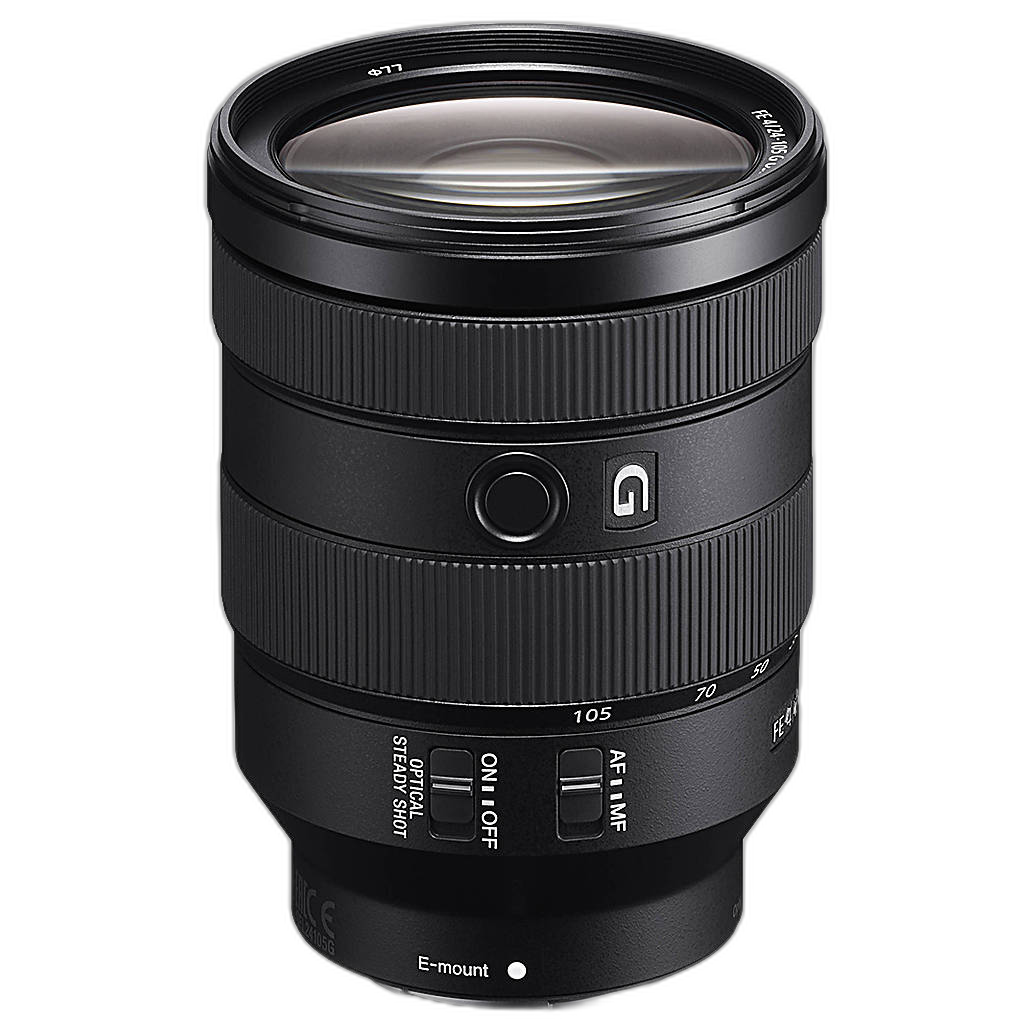
If you want flexibility for detail work, walkaround shooting, and near-close-up compositions, the Sony FE 24-105mm f/4 G OSS Lens is a practical option many photographers appreciate for its versatility and stabilization.
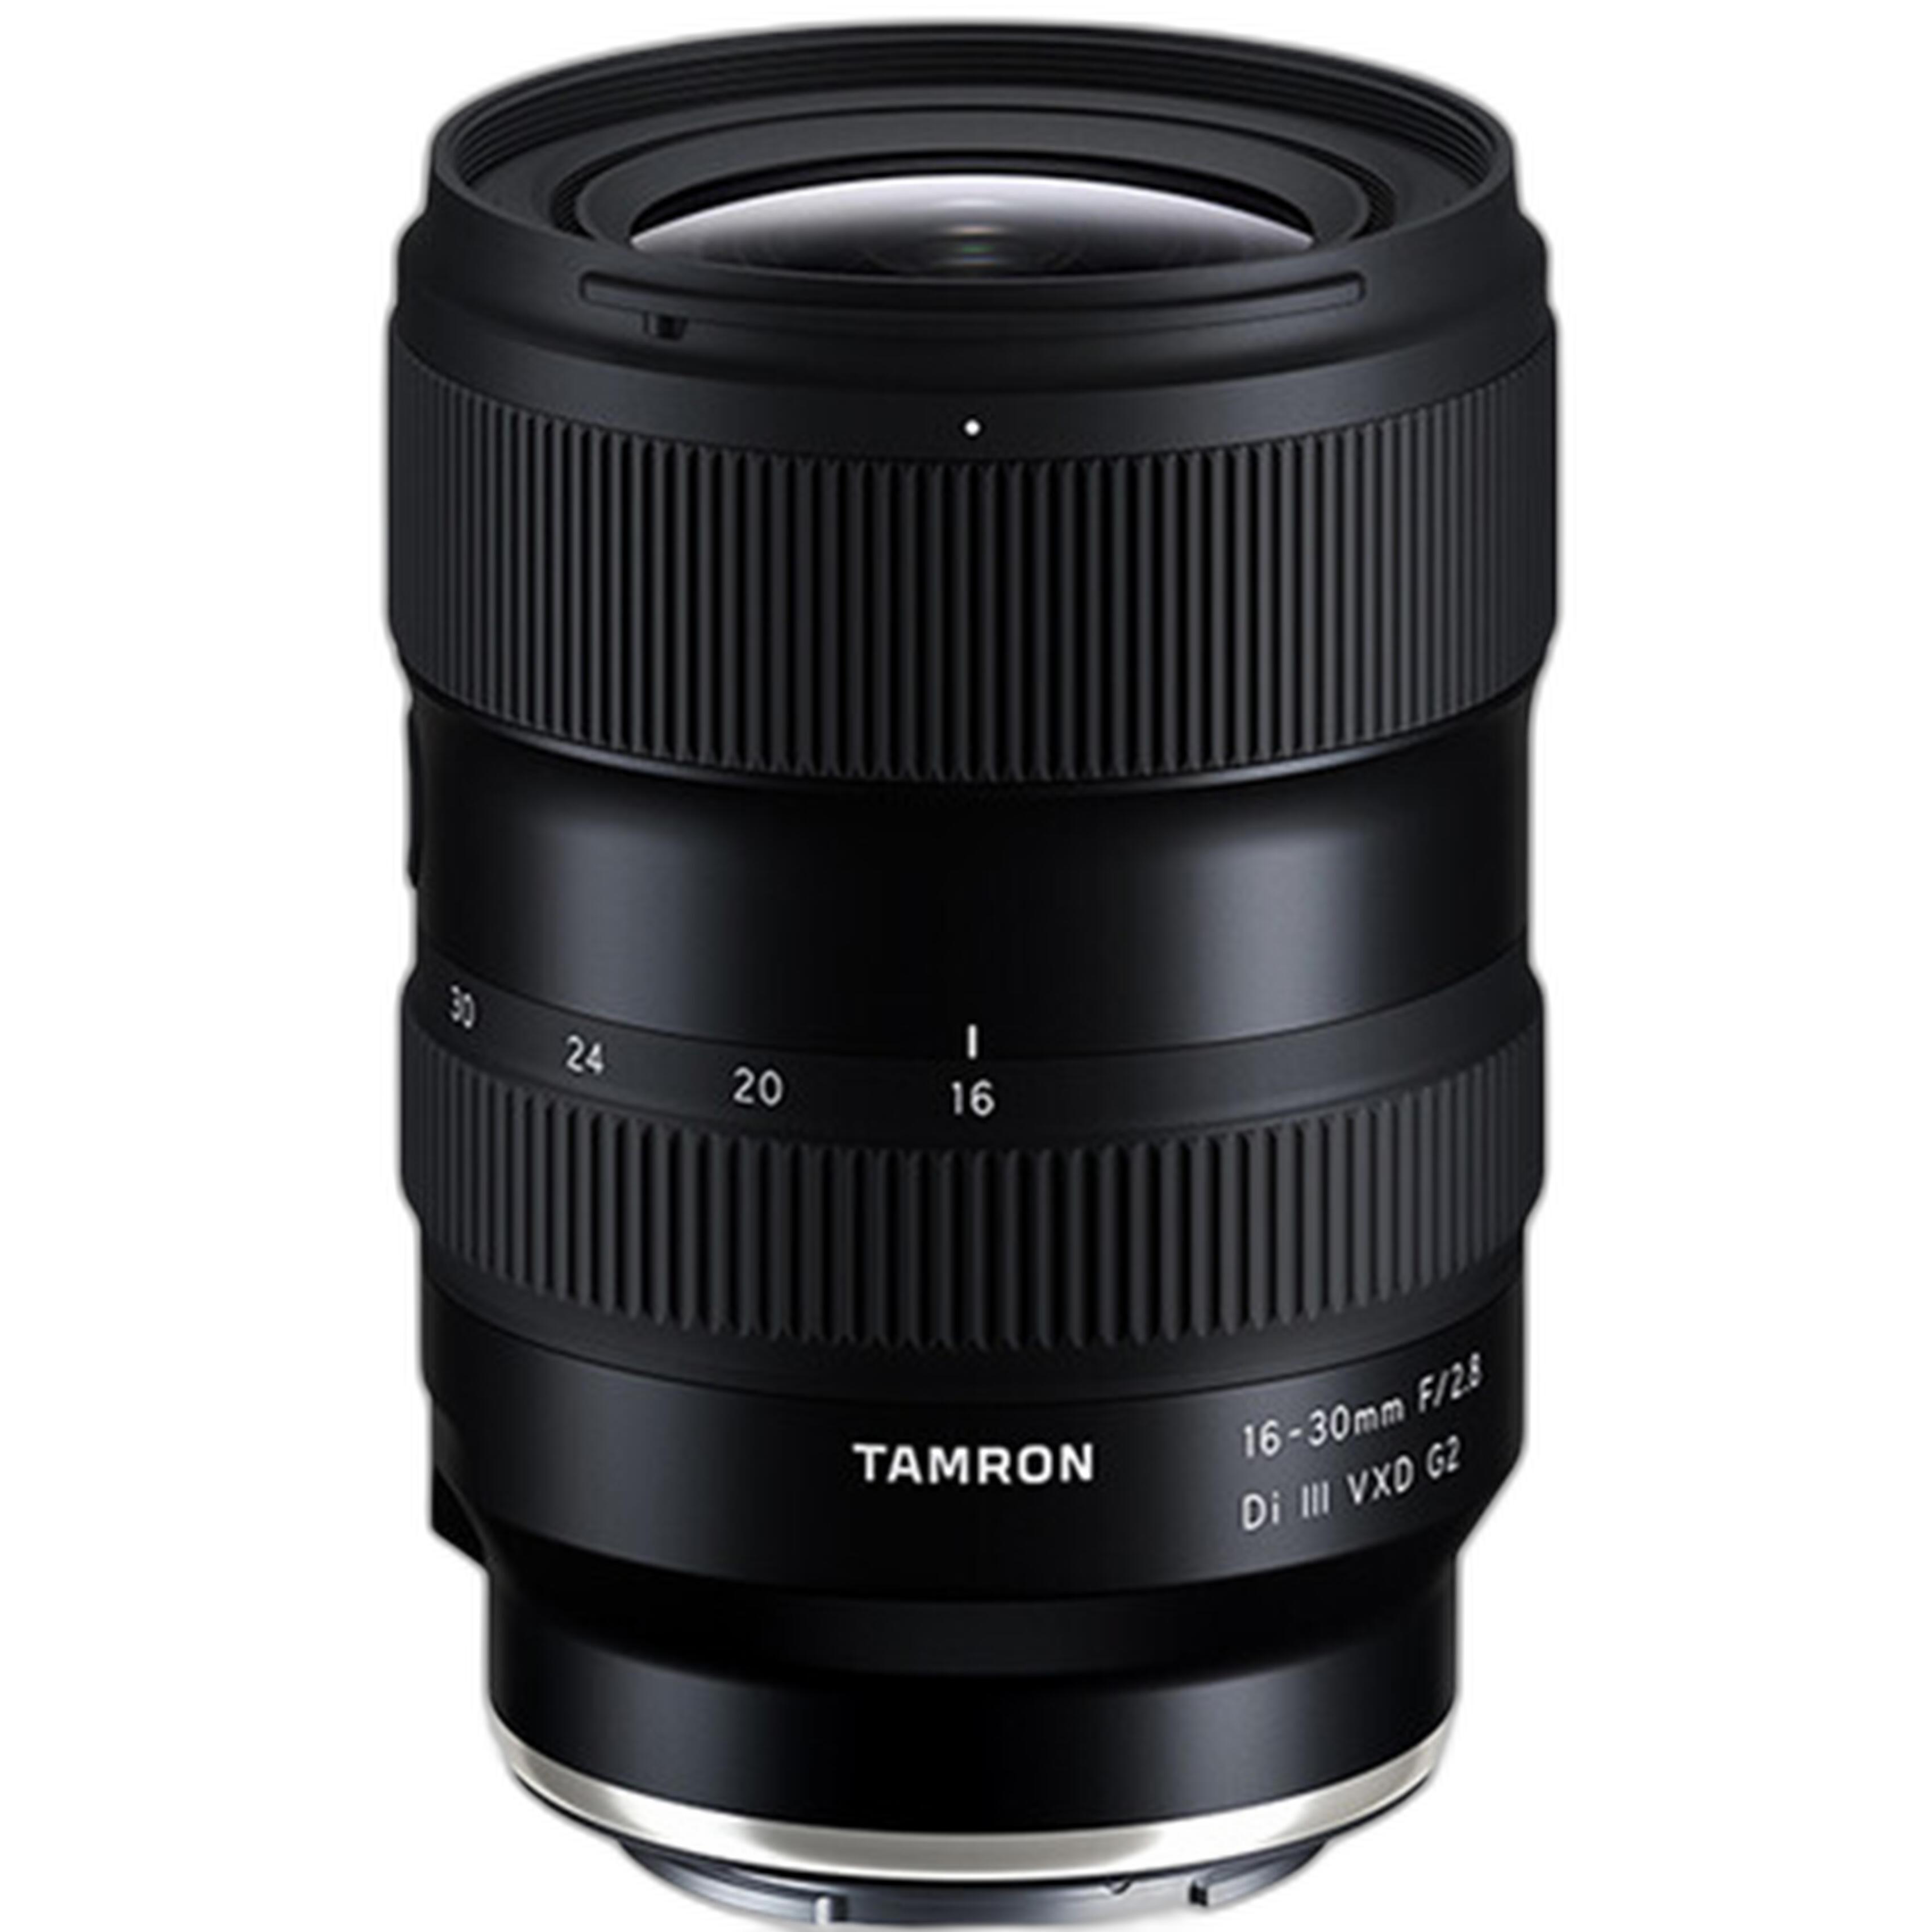
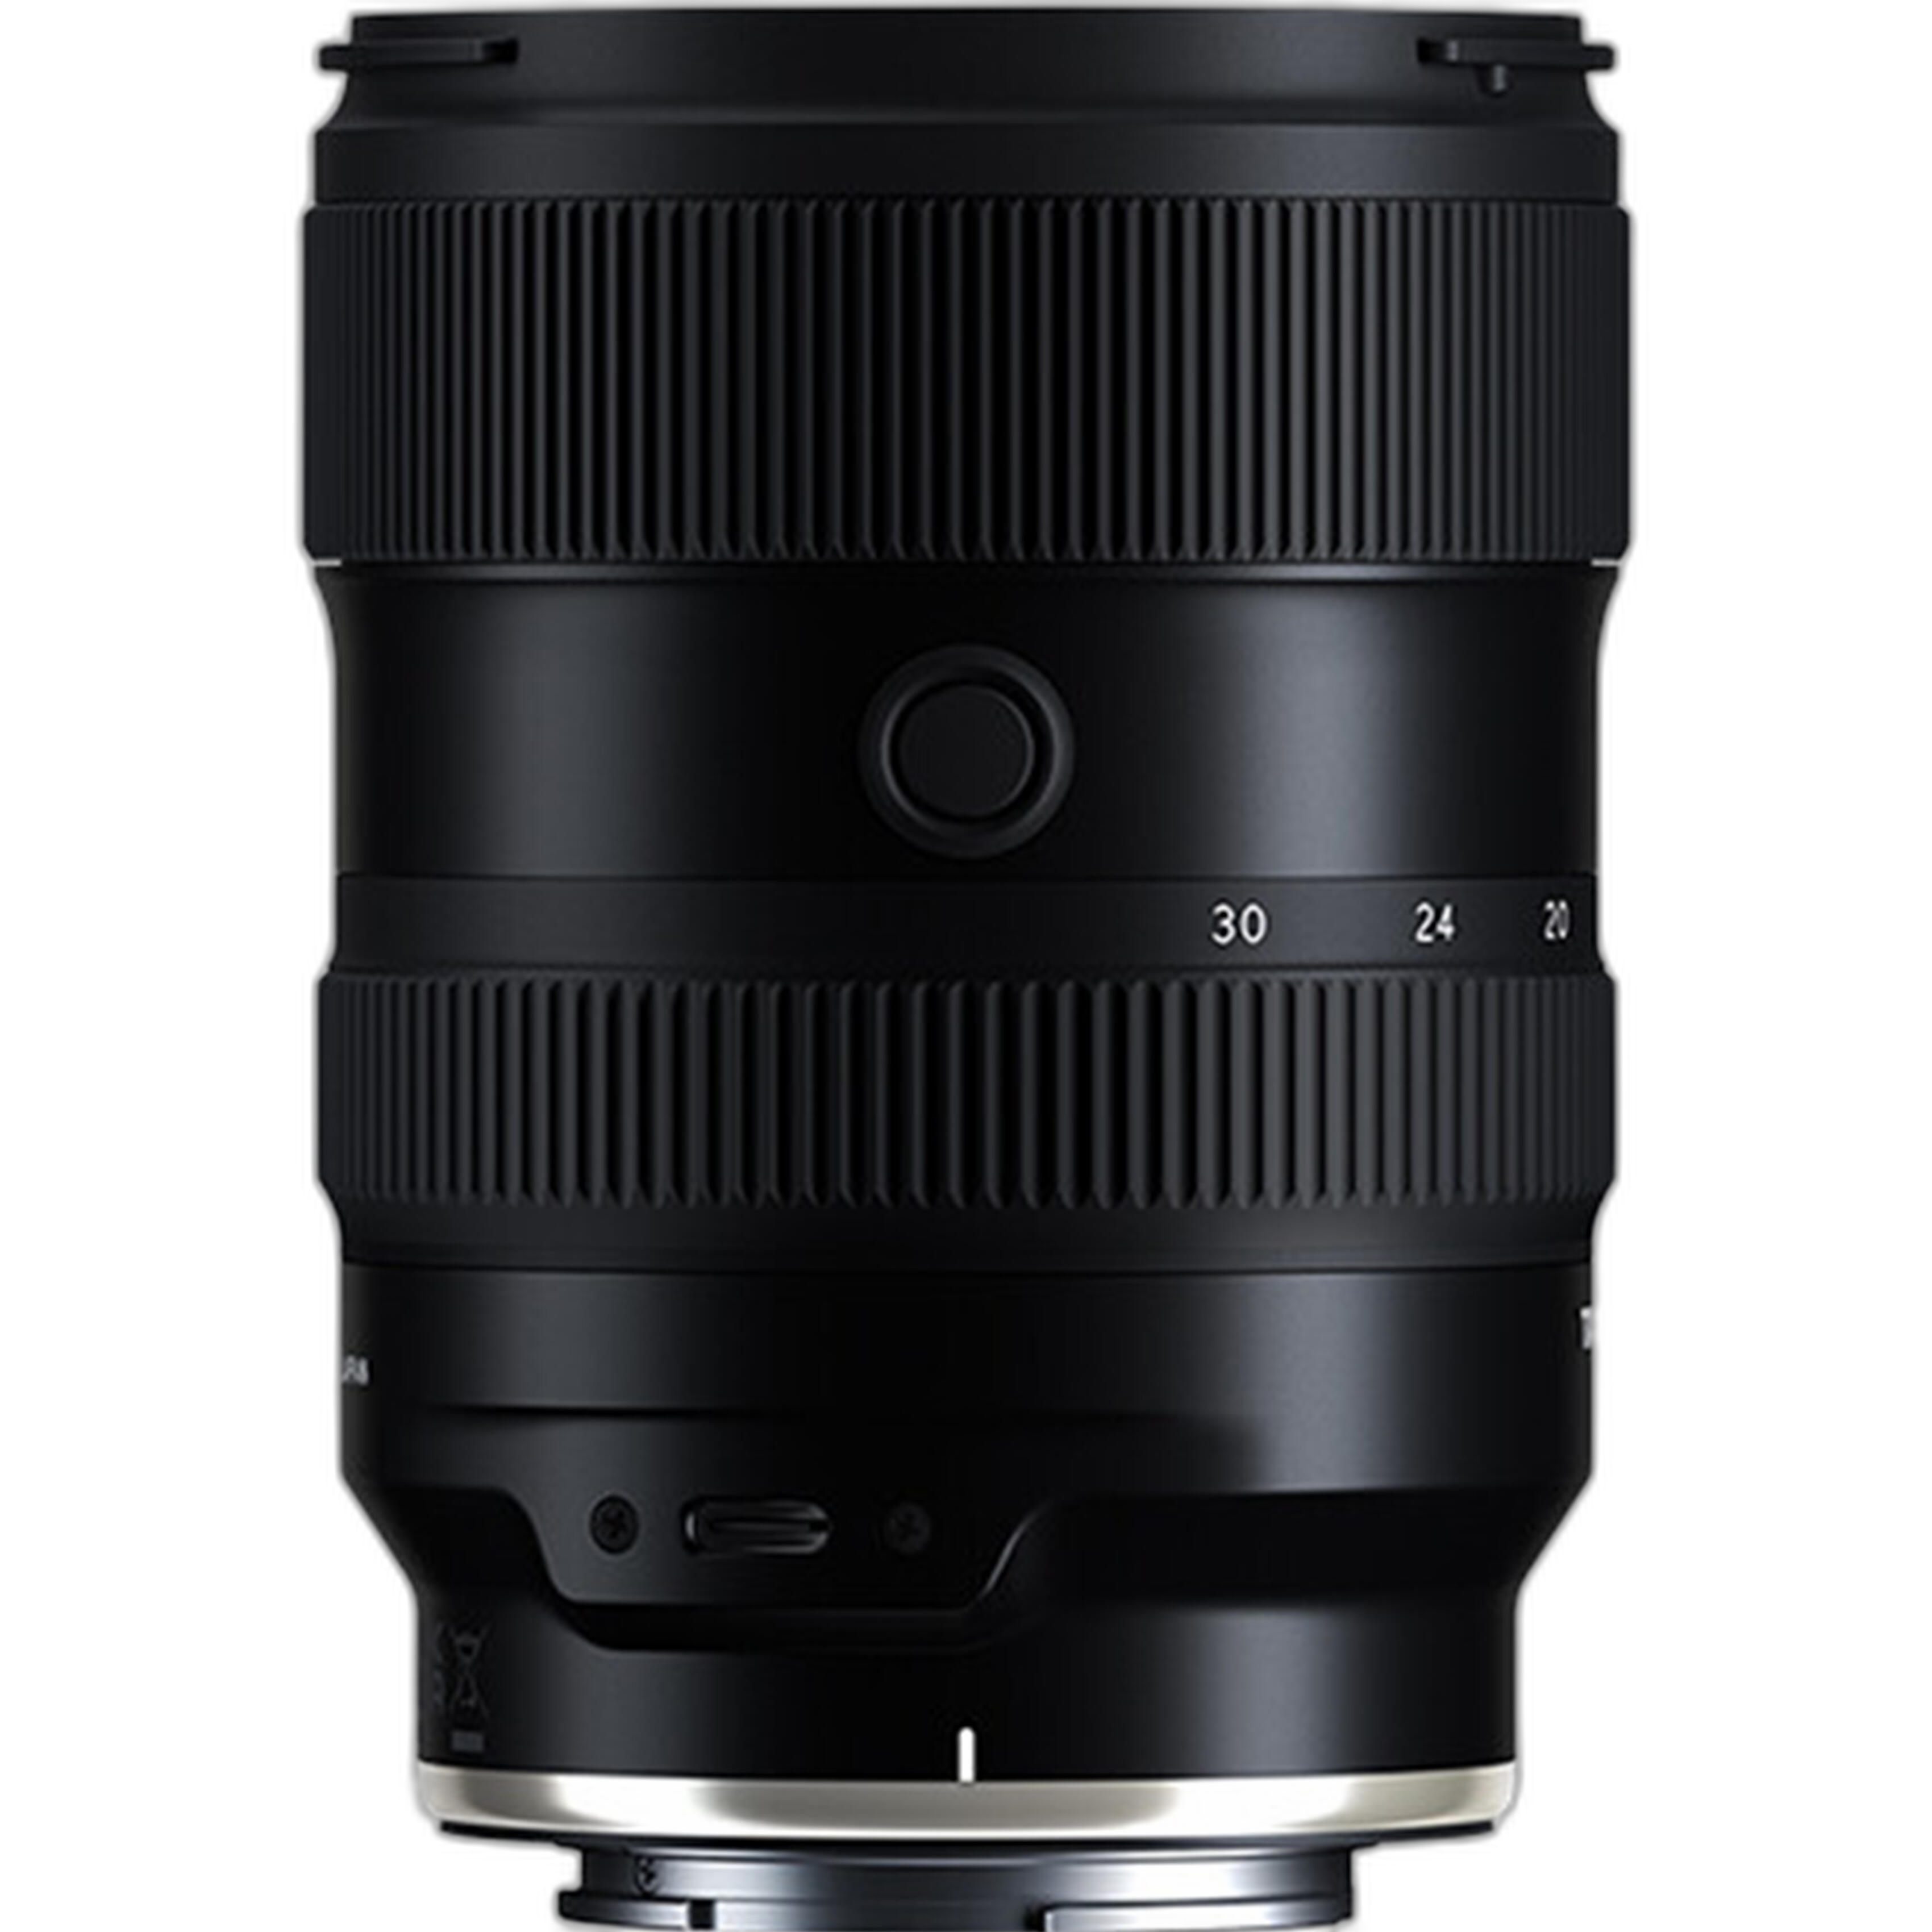
And if your style includes wider nature scenes before moving in for details, the Tamron 16-30mm F/2.8 Di III VXD G2 Lens for Sony E makes sense as part of a broader close-up kit.
2. Prioritize stability before chasing more magnification
Small movement becomes a big problem in macro
- Use a sturdy tripod whenever possible.
- Work with a remote release or self-timer to reduce vibration.
- Turn to a focusing rail or stage for precise forward-and-back movement instead of nudging the tripod by hand.
One tool that can make a real difference is the Kaiser Macro Focusing Stage. It allows extremely fine composition and focus adjustments, which is especially helpful when depth of field is razor thin and you're shooting static subjects such as jewelry, flowers, product details, or studio macro setups.
3. Use manual focus more often than you think
Autofocus is helpful, but precision wins
Even if you prefer modern autofocus lenses, macro photography often rewards manual focusing. Instead of turning the focus ring constantly, many shooters set an approximate magnification, then gently move the camera or focusing stage until the critical detail snaps into focus.
- Magnify your live view for critical sharpness.
- Use focus peaking as a guide, not as the final judge.
- Focus on the most important feature, often the nearest eye, pollen detail, or texture edge.
This is one reason experienced photographers sometimes care less about Sony-versus-Tamron branding in macro discussions and more about how predictable the focus response feels in real shooting conditions.
4. Stop down carefully, but don't overdo it
More depth of field is useful until diffraction softens the image
Beginners often jump straight to the smallest aperture possible, but extreme stopping down can reduce overall sharpness. A better approach is to test a lens at several apertures and find the best balance between depth of field and crisp detail.
- Try f/5.6 to f/11 as a starting range for many close-up subjects.
- For highly three-dimensional subjects, consider focus stacking instead of relying on f/16 or f/22 alone.
- Review images at high magnification to see where detail really holds up.
5. Control your light to reveal texture
Lighting matters as much as lens choice
Forum members frequently point out that better light often improves macro images more than a gear upgrade does. Directional light can reveal texture, while softer light can flatter petals, insects, and reflective surfaces.
- Shoot in early morning for calmer subjects and gentler contrast.
- Diffuse harsh sunlight to avoid blown highlights.
- Experiment with side lighting to bring out texture.
- Use a hood when appropriate to help reduce flare and maintain contrast.
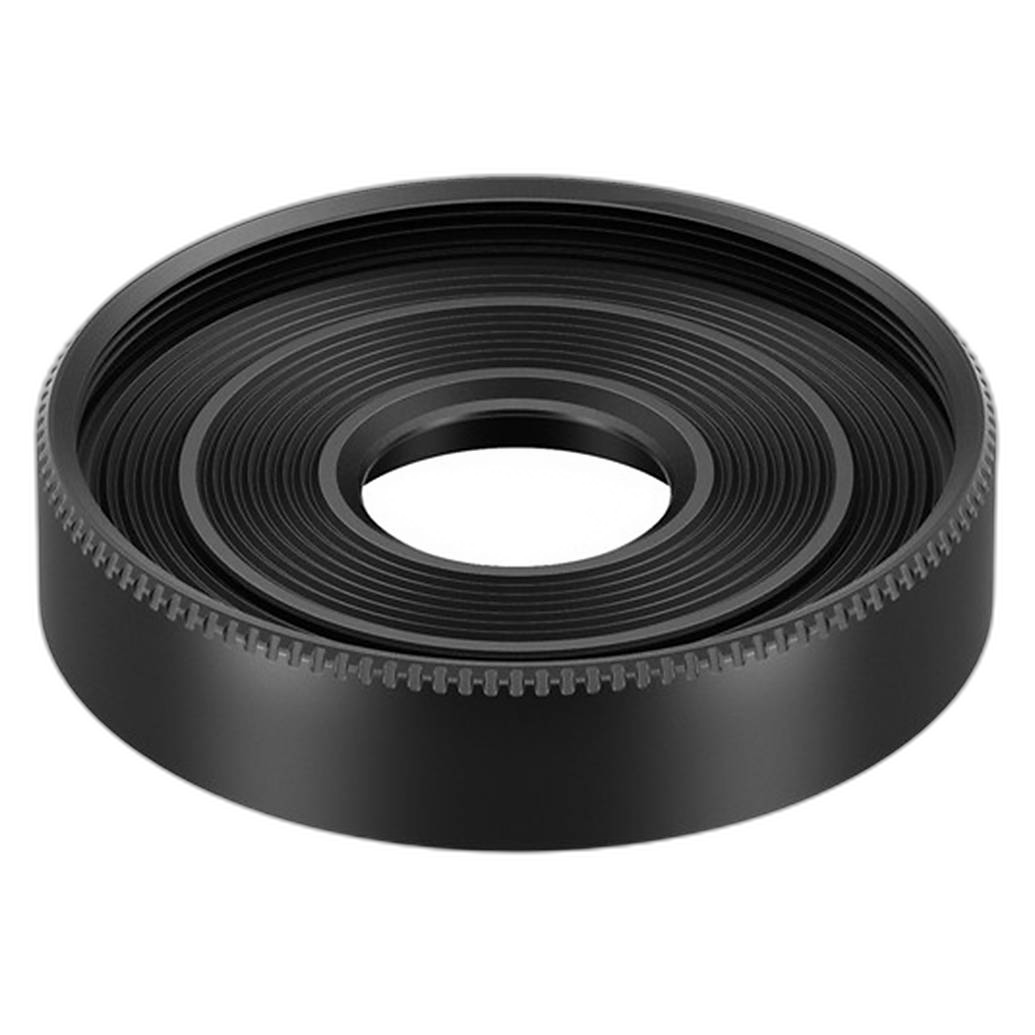
Accessories can support that control as well. For instance, a lens hood such as the Canon ES-22 Lens Hood for EF-M 28mm f/3.5 Macro IS STM Lens shows how even small add-ons can help manage stray light in close-up work.
6. Build your skills with affordable gear if you're new
You do not need the most expensive setup to learn macro well
For beginners, technique development is more important than owning a premium lens on day one. A used option can be a smart way to practice composition, focusing, and lighting without overspending. Something like the Used Canon EF-S 60mm f/2.8 Macro - Good is a reminder that strong macro images often come from careful technique, not just buying the newest release.
If you're comparing Sony and Tamron options for your main system, it still helps to remember that learning on any capable macro setup teaches the same fundamentals: stability, patience, light control, and focus precision.
7. Use wider lenses for environmental macro storytelling
Not every close-up has to be tightly framed
Advanced shooters often mix classic macro images with environmental close-ups that show the subject in context. This is where lenses not traditionally thought of as macro tools can shine.
- Use the Sony FE 12-24mm f/2.8 GM Lens for bold foreground-background relationships.
- Try the Tamron 16-30mm F/2.8 Di III VXD G2 Lens for Sony E for nature scenes where you want to include flowers, rocks, or habitat details with a dramatic sense of place.
- Keep the Sony FE 24-105mm f/4 G OSS Lens nearby for detail isolation after your wider establishing frames.
This combination is especially useful for photographers who shoot both close-up nature and travel, outdoor, or landscape work.
8. Practice focus stacking for pro-level results
When one frame can't hold enough detail, stack multiple frames
Professionals and serious enthusiasts often rely on focus stacking for static macro subjects. Instead of forcing a tiny aperture, capture multiple frames focused at slightly different distances and combine them in post-processing.
- Lock down your tripod position.
- Use consistent lighting.
- Advance focus in small increments.
- A focusing rail like the Kaiser Macro Focusing Stage can make this process much more repeatable.
This technique is one of the biggest steps a photographer can take when moving from decent close-ups to highly polished macro work.
9. Learn in the field with guided instruction
Workshops can speed up your progress
Macro photography is one of those genres where seeing technique in person can be incredibly helpful. If you want to improve faster, a class or field session can make a big difference. Macro and Landscape Photography at Duke Farms with Michael Downey is the kind of learning experience that helps photographers understand composition, subject selection, and close-up technique in real conditions.

10. Match your expectations to your subject
Different macro subjects demand different approaches
- Flowers: prioritize composition and clean backgrounds.
- Insects: use faster shutter speeds and work early when they are less active.
- Products and still life: use a focusing stage, controlled light, and stacking.
- Environmental close-ups: use wider lenses creatively to show scale and setting.
This is where the Sony-versus-Tamron discussion becomes practical. The best lens is the one that supports the way you actually shoot, whether that's patient tripod-based stacking, handheld nature close-ups, or mixed wide-and-tight storytelling.
Conclusion
Forum debates about Sony and Tamron gear are useful, but the biggest improvements in macro photography usually come from better technique, steadier support, smarter lighting, and more intentional composition. Whether you're a beginner learning with affordable gear or a seasoned shooter refining a professional workflow, the right tools and practice can transform your close-up images. Explore lenses, accessories, and educational opportunities at Unique Photo, and keep experimenting—macro rewards patience more than almost any other genre.