Outdoor photography can look effortless when the light is beautiful—but learning how to work with changing sun, open shade, backlight, and contrast is what really elevates your images. Whether you photograph portraits, families, seniors, or lifestyle sessions, mastering natural light starts with observation, timing, and a few smart tools. These practical tips will help you create more consistent outdoor photos while making the most of the light you already have.
Start by Learning to Read Light
1. Observe the direction, quality, and intensity of the sun
Before you lift the camera, take a minute to study the scene. Is the sun direct and harsh, or softened by clouds? Is it coming from behind your subject, from the side, or overhead? Side light adds texture and dimension, backlight can create glow and separation, and open shade can produce soft, flattering portraits.
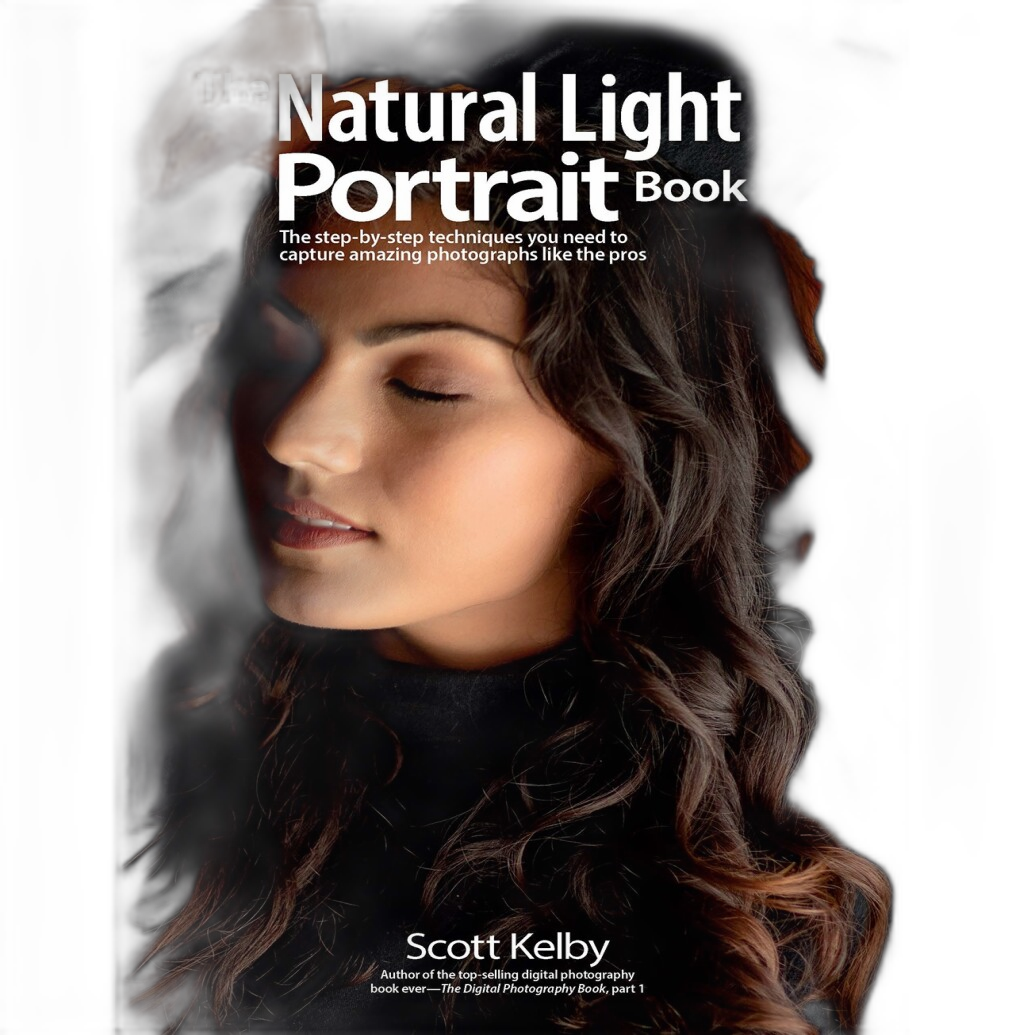
If you want to build a stronger foundation in seeing and shaping available light, books like Rocky Nook's Mastering the Natural Light Portrait by Scott Kelby can be a helpful resource for understanding how professionals approach outdoor portrait situations.
Time Your Session for Better Results
2. Shoot during golden hour whenever possible
Early morning and late afternoon are favorites for a reason. Golden hour light is lower, warmer, and more directional than midday sun, making it easier to create flattering skin tones and pleasing shadows. During these times, you can position subjects for front light, side light, or backlight without fighting extreme contrast.
If your schedule forces you to shoot mid-day, look for tree cover, building shade, or the shaded side of a structure to reduce harsh highlights and deep shadows.
3. Avoid placing your subject in patchy light
Dappled sunlight can be one of the trickiest outdoor lighting situations. Bright spots on the face or clothing pull attention away from your subject and can be difficult to correct in post. Instead of settling for a partially lit scene, move your subject a few feet into even shade or reposition your composition so the background stays bright while the subject remains evenly lit.
Use Shade Creatively
4. Open shade is one of the easiest ways to get flattering portraits
Open shade happens when your subject is in shadow but facing an open area of sky. This gives you soft, wrapping light while still maintaining catchlights in the eyes. Porches, overhangs, the edge of a building, or the shadow side of a wall can all create beautiful open-shade setups.
For photographers who want to refine that polished soft-light style, Rocky Nook - Crafting the Natural Light Look by Sandra Coan fits naturally into the learning process, especially when you want to better understand how light falls on faces outdoors.
Expose with Intention
5. Meter for the subject, not just the scene
Outdoor backgrounds can be much brighter than your subject, especially in backlit conditions. If you rely only on evaluative metering, your camera may underexpose faces. Check your histogram, watch highlights carefully, and don’t hesitate to dial in exposure compensation when the scene demands it.
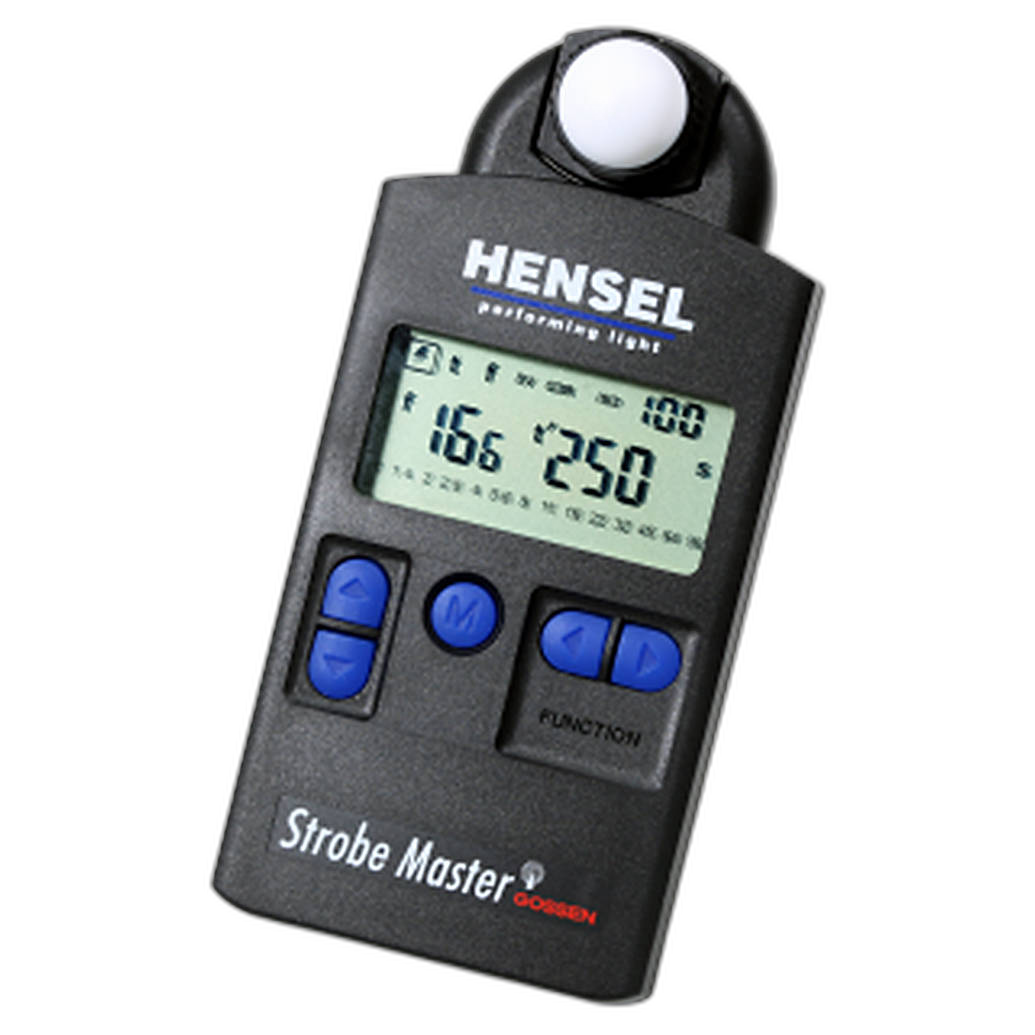
For photographers who want precise readings in changing outdoor conditions, a dedicated tool like the Hensel Strobe Master Light Meter can help you better evaluate exposure, especially when blending ambient light with supplemental flash.
6. Protect highlights while keeping skin tones natural
Bright skies, white clothing, and reflective surfaces can clip quickly in outdoor scenes. In many cases, it’s better to preserve highlights and gently lift shadows later than to lose detail in important bright areas. This is especially useful for backlit portraits, where keeping the sky under control helps maintain a cleaner final image.
Work with Backlight, Not Against It
7. Use backlighting for glow and separation
Positioning the sun behind your subject can create beautiful rim light and a more polished outdoor look. To keep the image from going flat, move slightly until the light wraps around the hair and shoulders without causing excessive flare. A lens hood, a slight shift in angle, or using your subject to block the sun can make a big difference.
Backlight is especially effective for portraits in fields, parks, and beach settings, where the background can become soft and luminous.
Add Flash Only When It Helps the Natural Look
8. Use a portable outdoor flash to balance strong sunlight
Natural light mastery does not mean you can never add light—it means you know when a little support improves the image. A portable flash can lift facial shadows, restore detail, and help your subject stand out from a bright background while still keeping the photo natural in appearance.
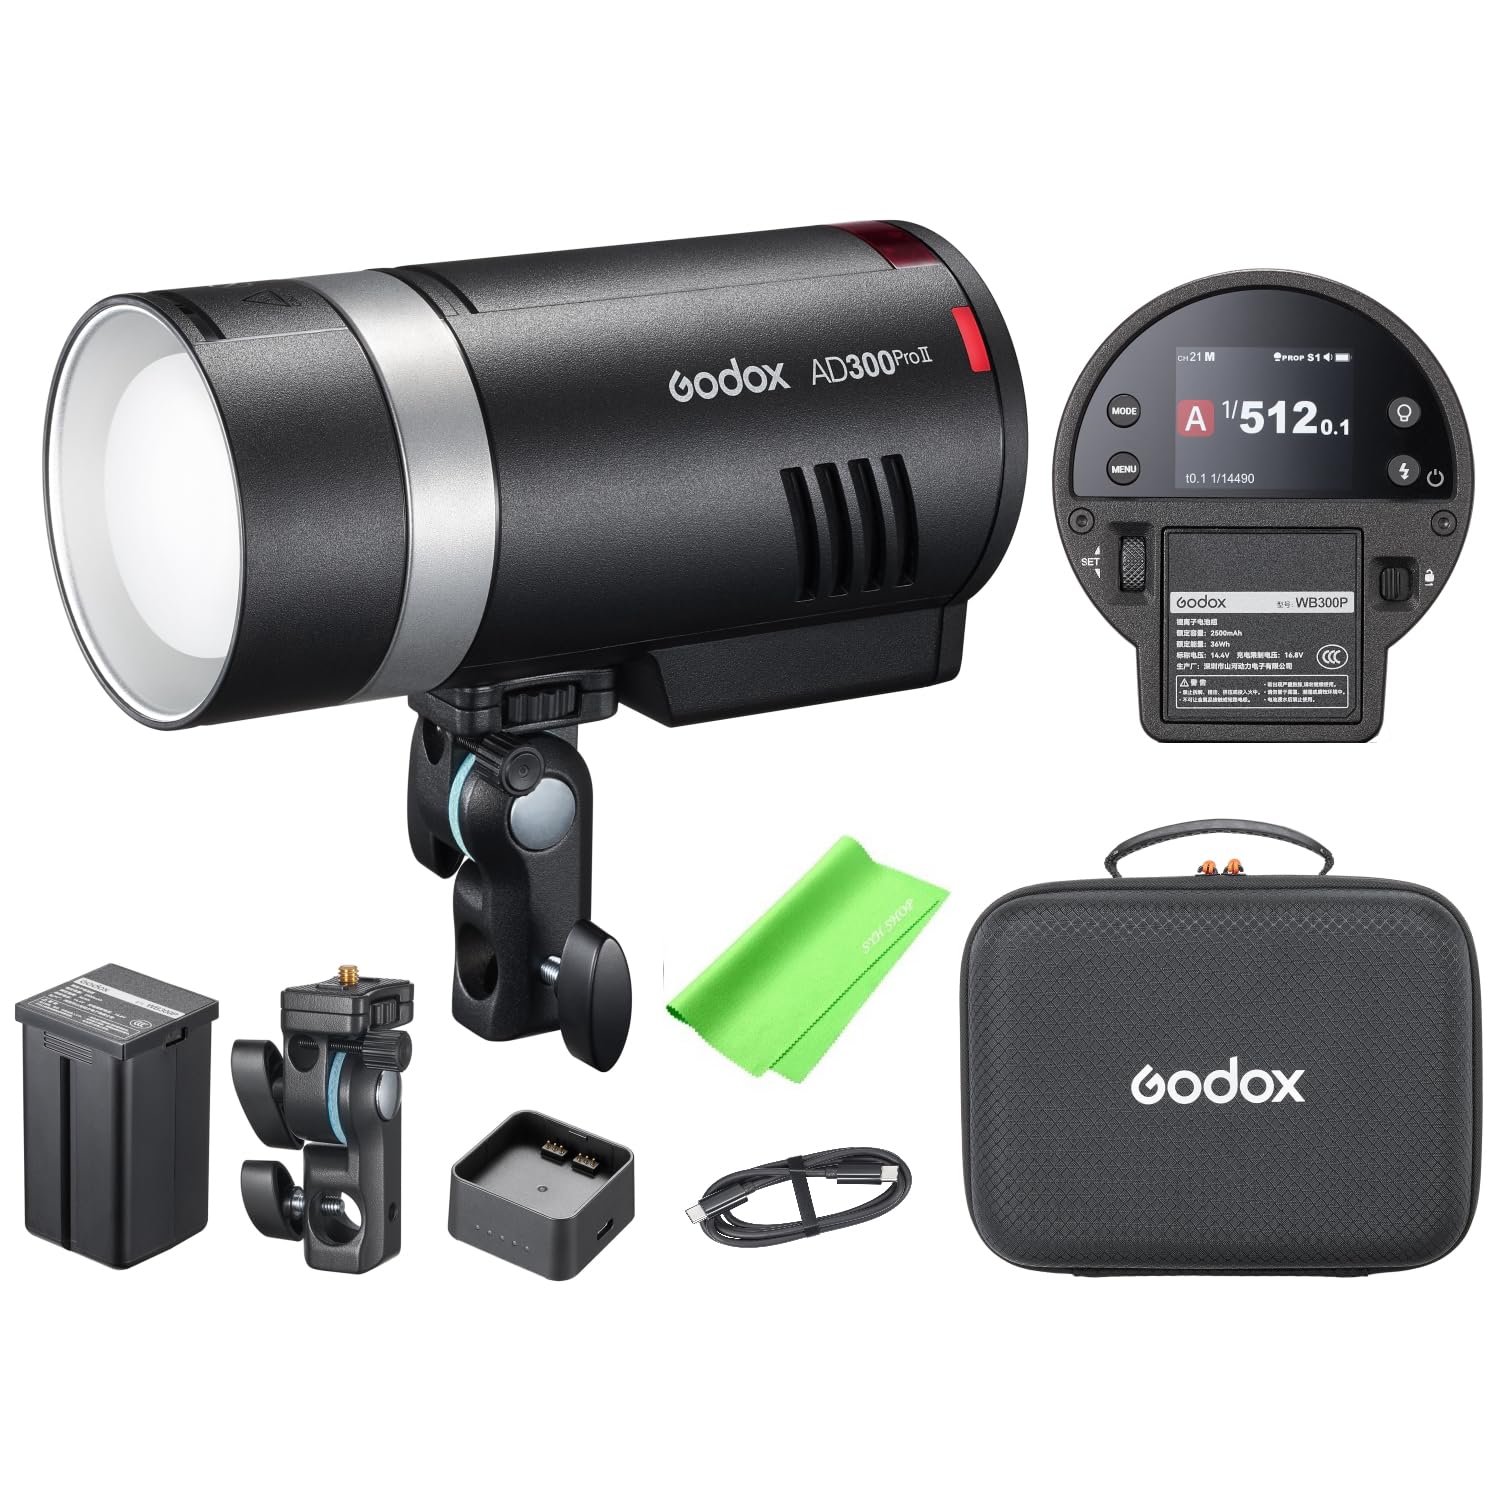
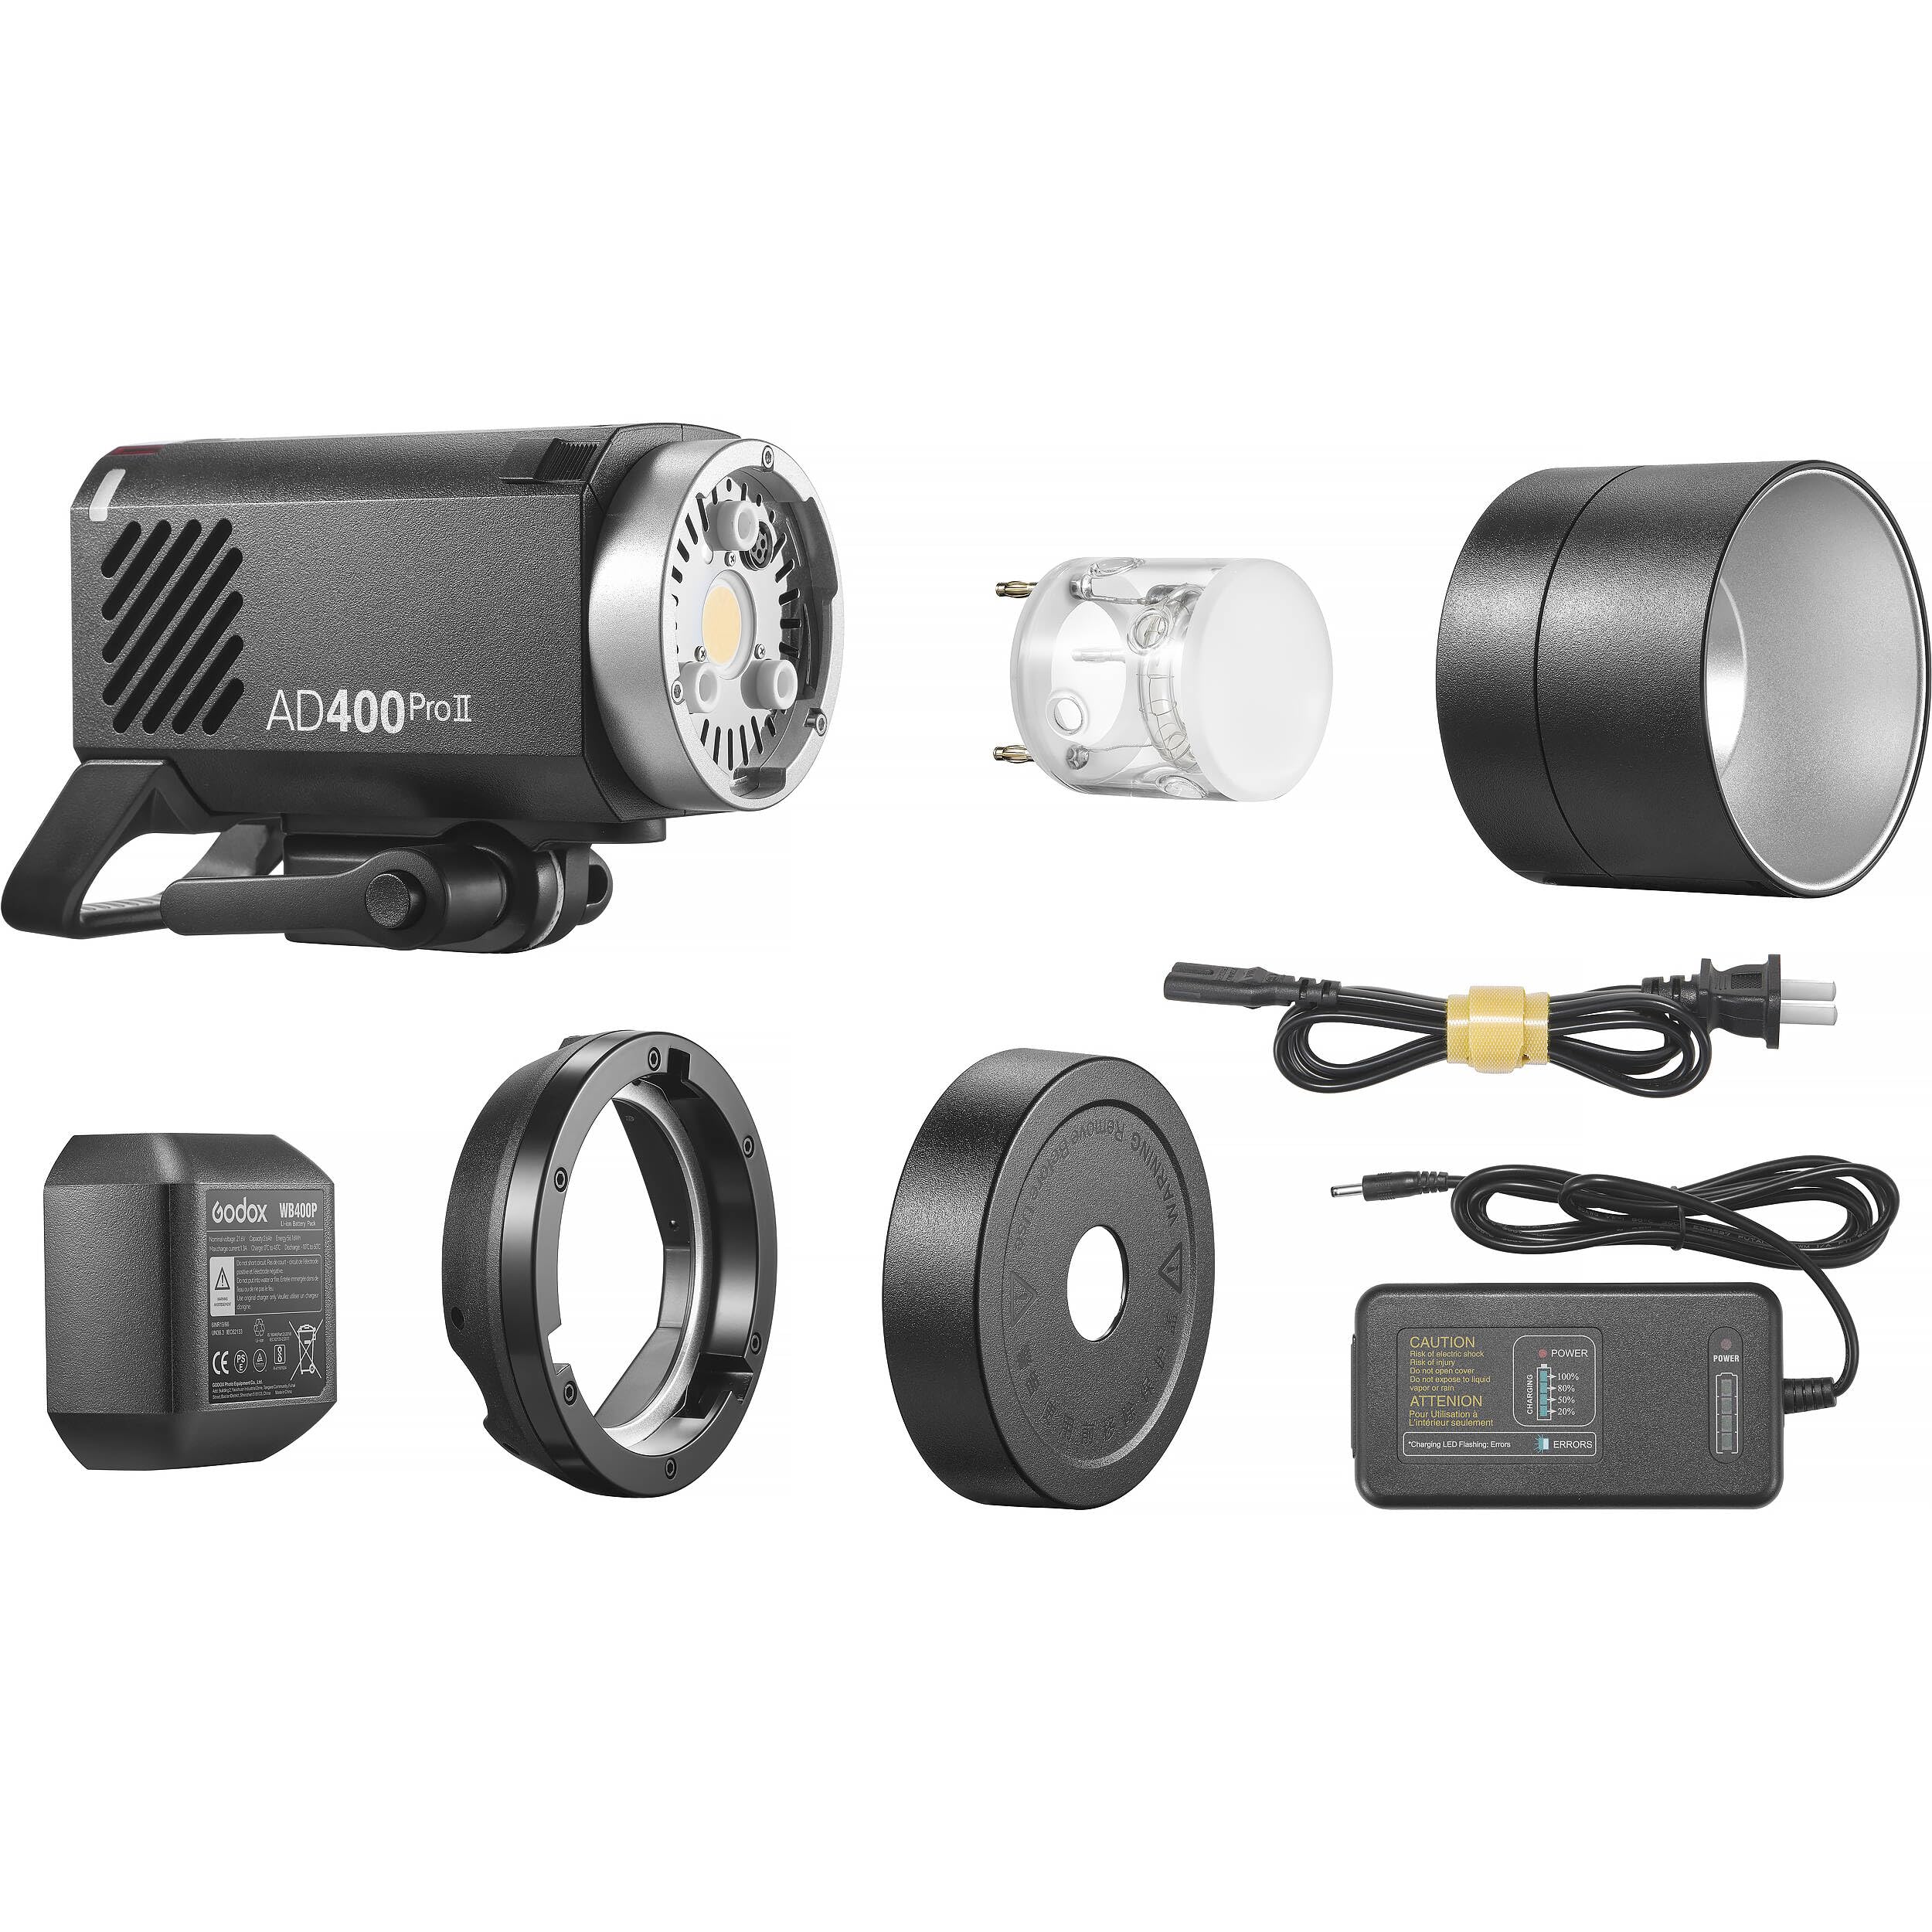
For photographers who regularly shoot outdoors in full sun, the Godox AD300Pro II All-in-One Outdoor Flash is a compact option for subtle fill, while the Godox AD400Pro II All-in-One Outdoor Flash adds more power when you need extra control on brighter days.
9. Match your flash power to the environment
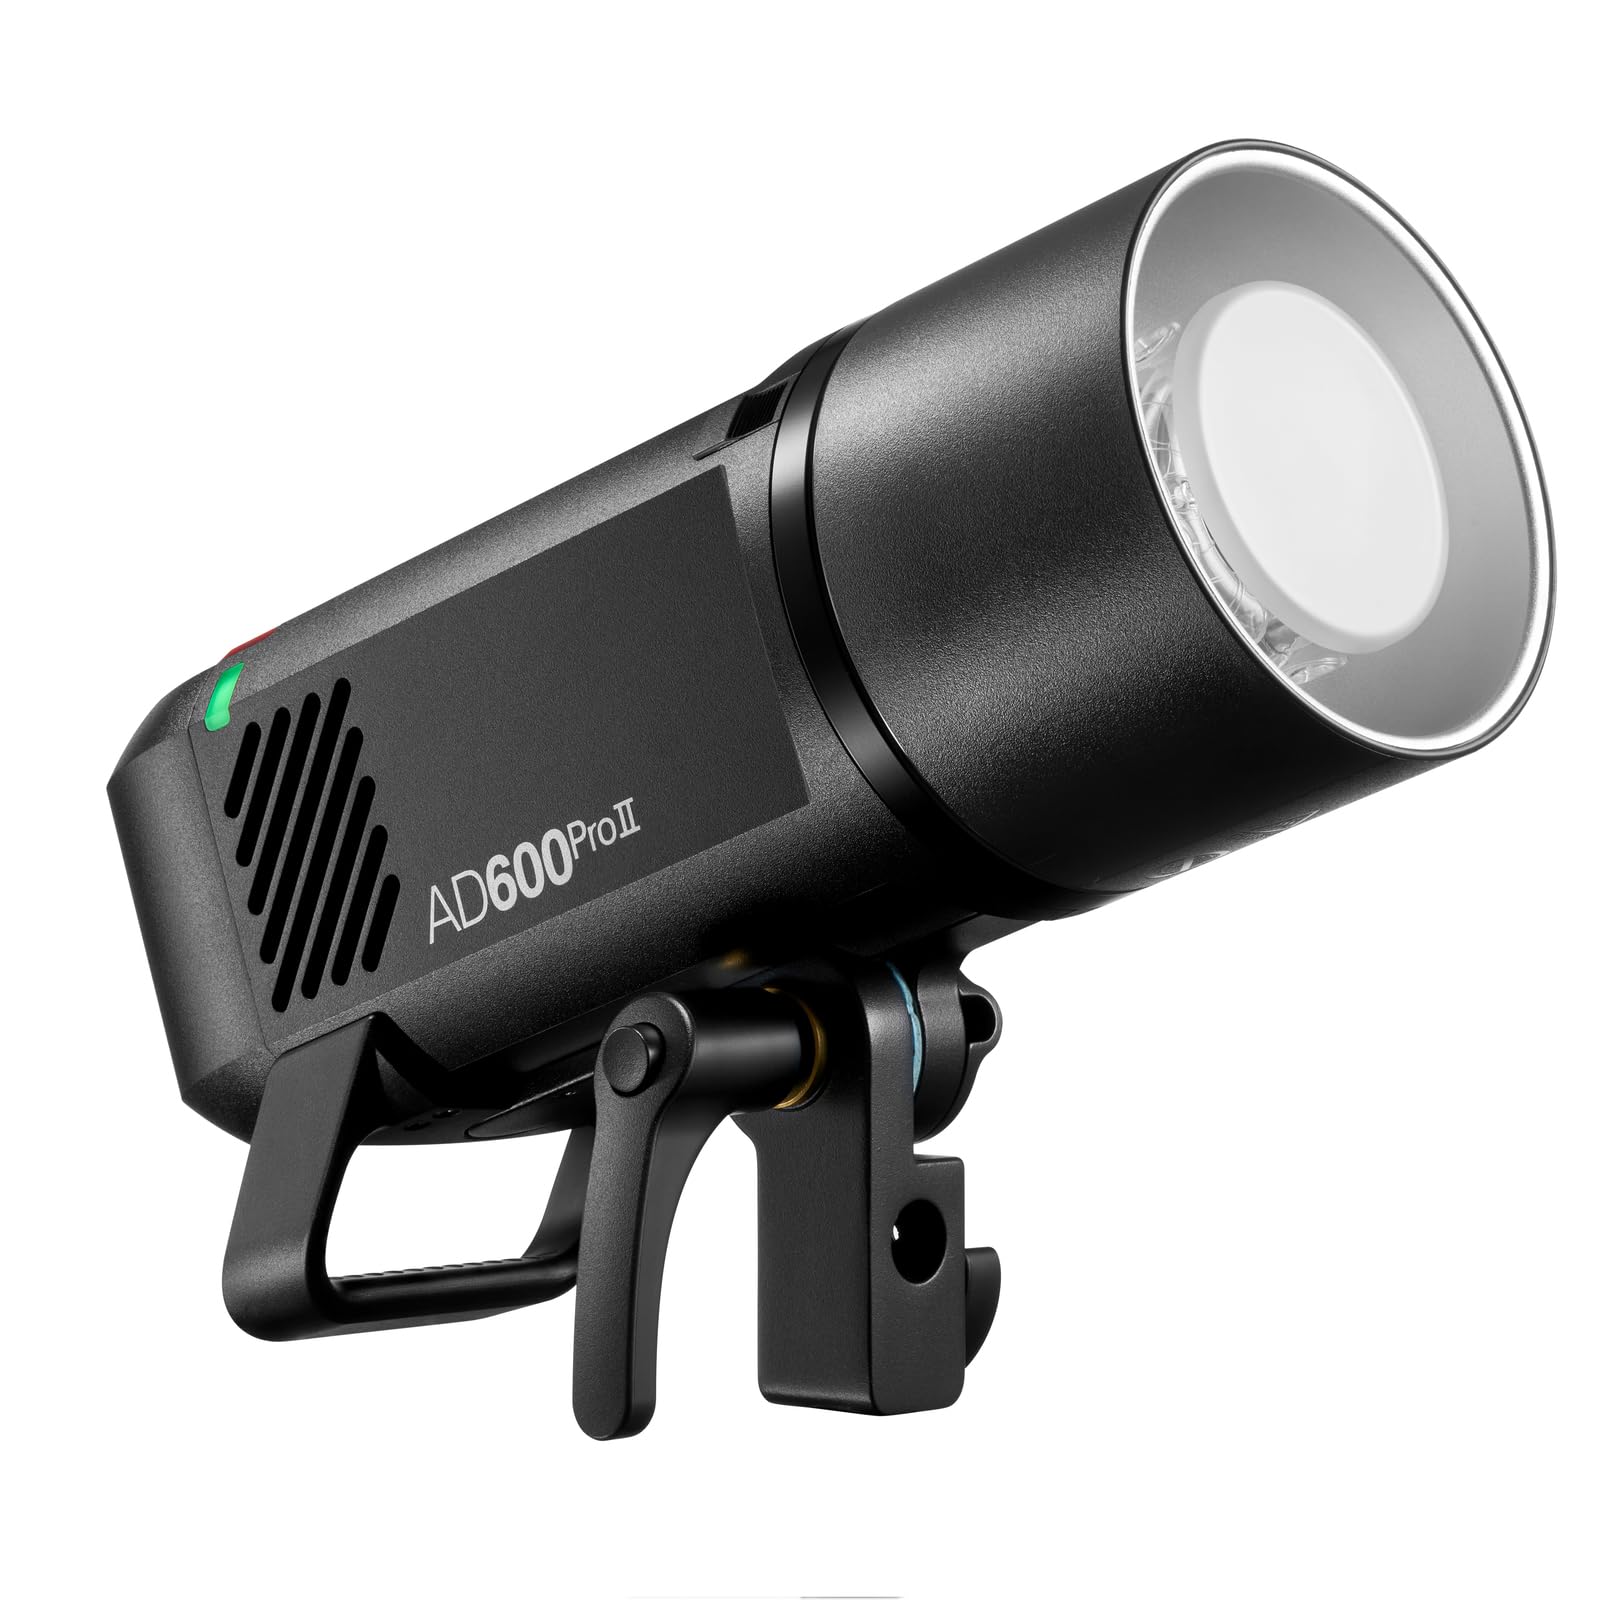
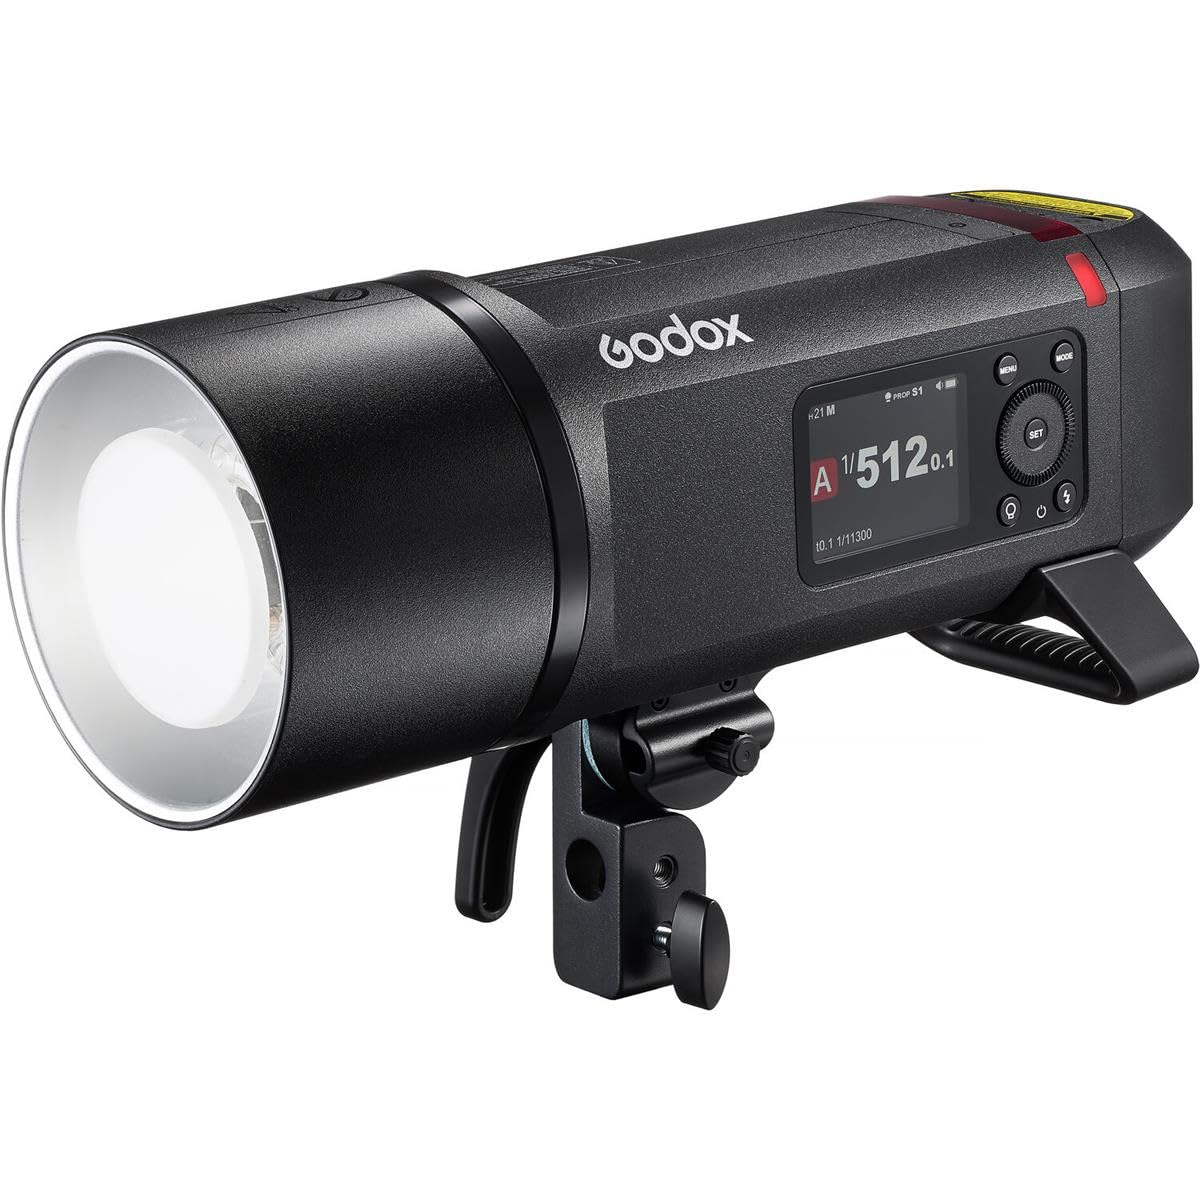
If you’re shooting in open shade, a modest amount of fill is often enough. In direct afternoon sun, you may need more output to compete with ambient light. That’s where more powerful units like the Godox AD600Pro II All-in-One Outdoor Flash or Godox AD800Pro All-in-One Outdoor Flash can be useful for overpowering harsh light or creating a more dramatic portrait look outdoors.
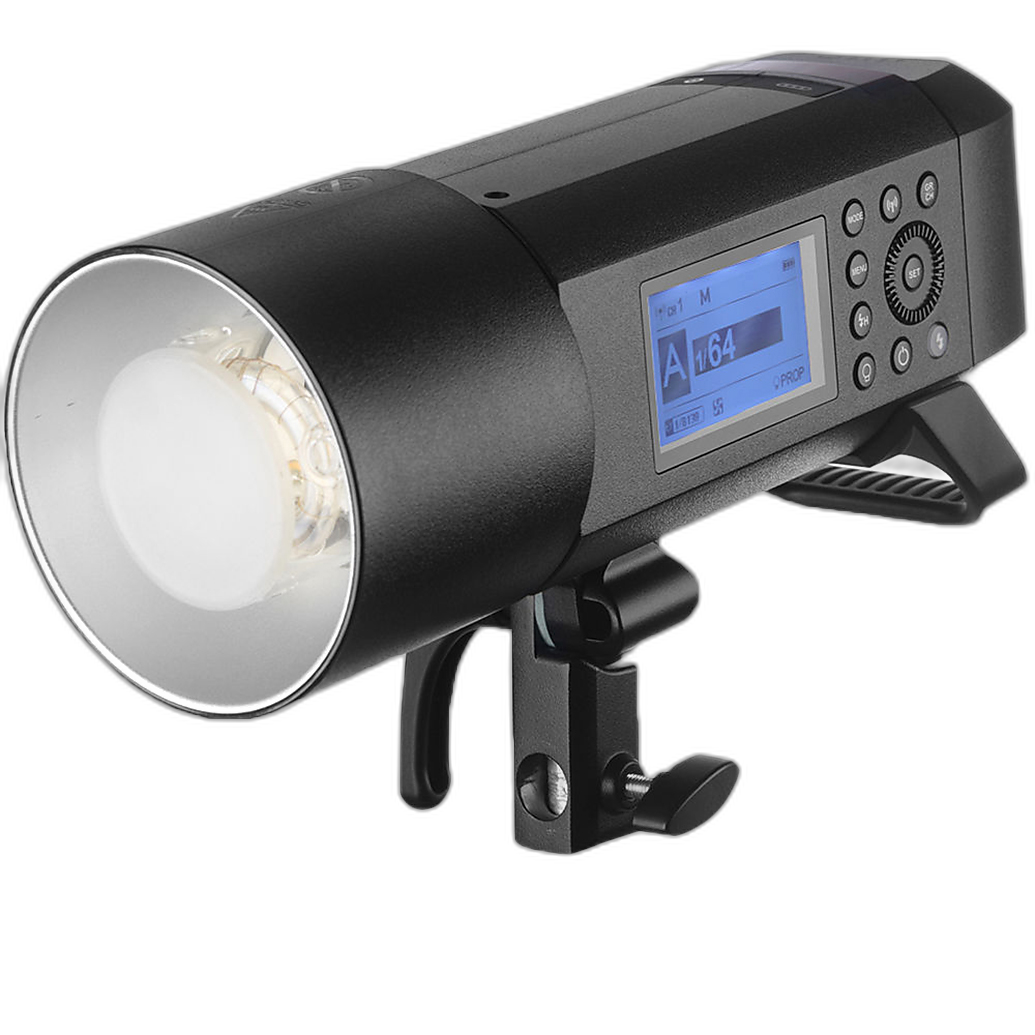
If you’re building an outdoor lighting kit on a budget, a Used Godox AD400Pro Witstro All-In-One Outdoor Flash can also be a practical way to add lighting flexibility while staying focused on natural-looking results.
Keep Your Backgrounds Working for You
10. Choose backgrounds based on how they reflect and contrast light
Natural light is affected by more than the sun alone. Sidewalks, sand, light-colored walls, and even grass can bounce color and brightness back onto your subject. A shaded subject standing near a bright concrete path may receive cleaner fill than one surrounded by dark foliage. As you scout a location, think about what the environment is reflecting back into the scene.
- Light walls can act like giant reflectors
- Green foliage may add a color cast to skin
- Dark backgrounds can make softly lit subjects pop
- Bright skies behind the subject may require exposure adjustments or fill light
Simplify Posing Around the Light
11. Turn your subject before moving your feet
One of the easiest ways to improve outdoor portraits is to rotate the subject relative to the light. A slight turn toward open sky can brighten the eyes. A turn away from the sun can soften facial texture. Before changing lenses or locations, experiment with small adjustments in pose and head angle to see how the light changes across the face.
Practice Consistency
12. Revisit the same location at different times of day
A great exercise for mastering natural light is to photograph the same scene in the morning, midday, late afternoon, and near sunset. This helps you understand how direction, color, shadow depth, and contrast evolve throughout the day. Over time, you’ll start recognizing ideal spots for backlight, shade, and soft directional light almost instantly.
You’ll also become faster on shoots because you’ll know how to adapt rather than react.
Conclusion
Mastering natural light in outdoor photography is really about learning to see light before you shoot. By paying attention to timing, shade, direction, background, and exposure, you can create more flattering and consistent images in almost any outdoor setting. And when conditions are challenging, tools like portable Godox flashes, a reliable light meter, and educational books from Rocky Nook can help you stay in control while keeping your photos natural and polished. If you’re ready to refine your outdoor photography kit or deepen your lighting knowledge, Unique Photo is a great place to explore the gear and resources that support your next shoot.