Natural light is one of the most flattering, affordable, and creative tools for portrait photographers. Whether you’re shooting with a classic film setup or a modern mirrorless body, learning to shape sunlight can elevate every face you photograph. Here’s a complete, practical guide from the team at Unique Photo to help you master natural light portraits—any time of day, in any location.
How to Use Natural Light for Portraits: Core Principles
Successful natural-light portraits come down to three fundamentals:
- Quality of light: Soft vs. hard. Soft light (large source, close to the subject) gives gentle transitions and flattering skin. Hard light (small source, far away) gives crisp shadows and high drama.
- Direction of light: Front, side, and backlight shape the face differently. Slightly off-axis side light often provides the most flattering dimension.
- Control of contrast: Use reflectors, diffusers, and negative fill (black flags) to open or deepen shadows for mood and definition.
At Unique Photo, we recommend treating the sun as a studio light you can sculpt—observe, position, and control it with simple tools and smart subject placement.
Best Time of Day for Portrait Photography: Golden Hour vs. Midday Shade
Golden hour (shortly after sunrise and before sunset) is ideal because the sun is low, warm, and soft. The low angle creates natural rim light and luminous skin tones. Position your subject facing slightly toward the sun or use the sun as a backlight with a reflector to fill the face.
If you must shoot at midday, move into open shade—under a building overhang, tree canopy, or on the shadow side of a wall. Open shade gives even light while maintaining directional quality when you angle your subject toward the brightest patch of sky.
Window Light Portrait Techniques at Home or Studio
Windows are free, oversized softboxes. For classic results:
- Feather the light: Angle your subject so the brightest window area skims across the face for sculpted cheekbones and smooth falloff.
- Distance to window: Closer equals softer. Step back for more contrast and defined shadows.
- Use curtains or sheers as diffusion to smooth highlights.
- Control spill with negative fill on the shadow side to retain shape.
Open Shade and Negative Fill for Sculpted Faces
Open shade can sometimes look flat. Introduce negative fill—a black card, flag, or V-flat—on the shadow side to deepen contrast and bring back dimensionality. Place it just out of frame, parallel to the cheek, to chisel jawlines and define features without artificial light.
Backlighting, Rim Light, and Hair Light Outdoors
Backlighting separates your subject from busy backgrounds and adds glow to hair. Expose for the face (use spot meter or exposure compensation), then use a reflector to fill shadows. For stronger separation, place a dark background behind your subject so the rim light outlines the shape clearly.
Overcast Light: Using Clouds as a Giant Softbox
Cloudy days are perfect for consistent, shadow-free portraits. To avoid flatness, shape the scene:
- Angle the subject toward the brightest patch of cloud.
- Use negative fill for contrast and cheek definition.
- Add a pop of color or texture in the wardrobe or background to create visual interest.
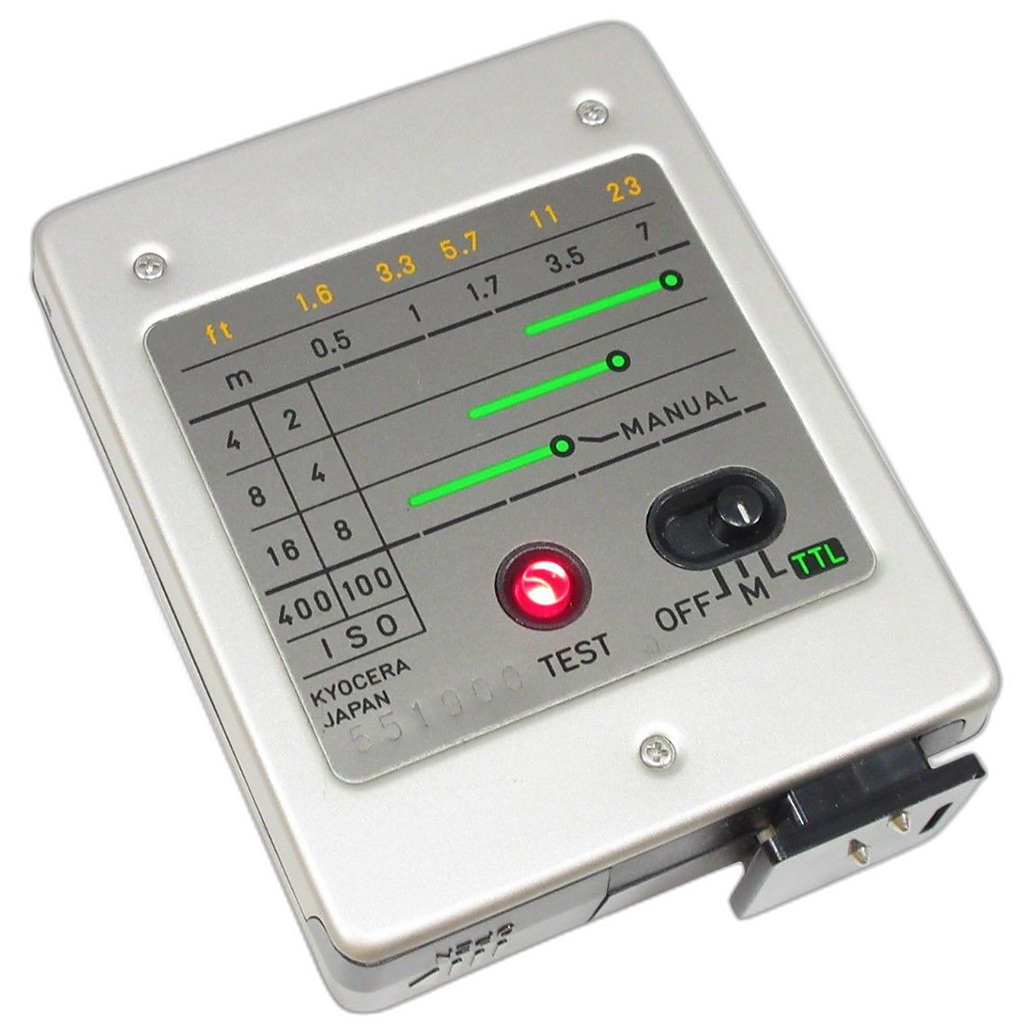
Essential Tools for Shaping Sunlight (Reflectors, Diffusers, and Flags)
Natural light becomes truly versatile when you control it. We recommend carrying:
- 5-in-1 reflector (white, silver, gold, black, translucent) for fill, warmth, or diffusion.
- Scrim/diffusion panel to soften harsh midday sun.
- Flags/V-flats for negative fill and spill control.
- Clamps and collapsible stands to position modifiers safely.
Want a fast track to mastering these tools? Unique Photo hosts education from working pros—resources like Portrait Lighting Made Easy with Joel Grimes (Westcott) can accelerate your learning with repeatable setups and on-location demos.
Camera Settings for Natural Light Portraits
- Aperture: f/1.4–f/2.8 for creamy background blur (watch focus precision); f/4–f/5.6 for environmental portraits with context.
- Shutter speed: Keep at or above 1/200–1/500 for sharp handheld portraits. Use IBIS/IS to your advantage.
- ISO: Start at base ISO; raise as needed to maintain sharpness.
- Meters and monitoring: Use face/spot metering for backlight, check the histogram, and enable highlight alerts to avoid clipping skin.
- White balance: Daylight as a baseline; warm it slightly for golden hour, cool it for shade if needed. Shoot RAW for flexibility.
- Exposure compensation: +0.3 to +1.0 EV when backlit to protect faces; -0.3 to -0.7 EV in bright side-light to preserve highlights.
Best Lenses for Natural-Light Portraits (Bokeh, Compression, and Character)
Lens choice shapes the look of natural light as much as the sun does:
- Fast 50s for classic portraits: Compact, bright, and versatile. A 50mm at f/1.8–f/1.2 delivers creamy bokeh and low-light performance—great for sunsets and windows.
- Short telephotos (85–135mm): Flattering compression and smooth background separation.
- Wider primes (35–50mm) for environmental portraits that place subjects in context without losing the subject’s dominance.
Explore character-rich, budget-friendly glass in Unique Photo’s Used Department:
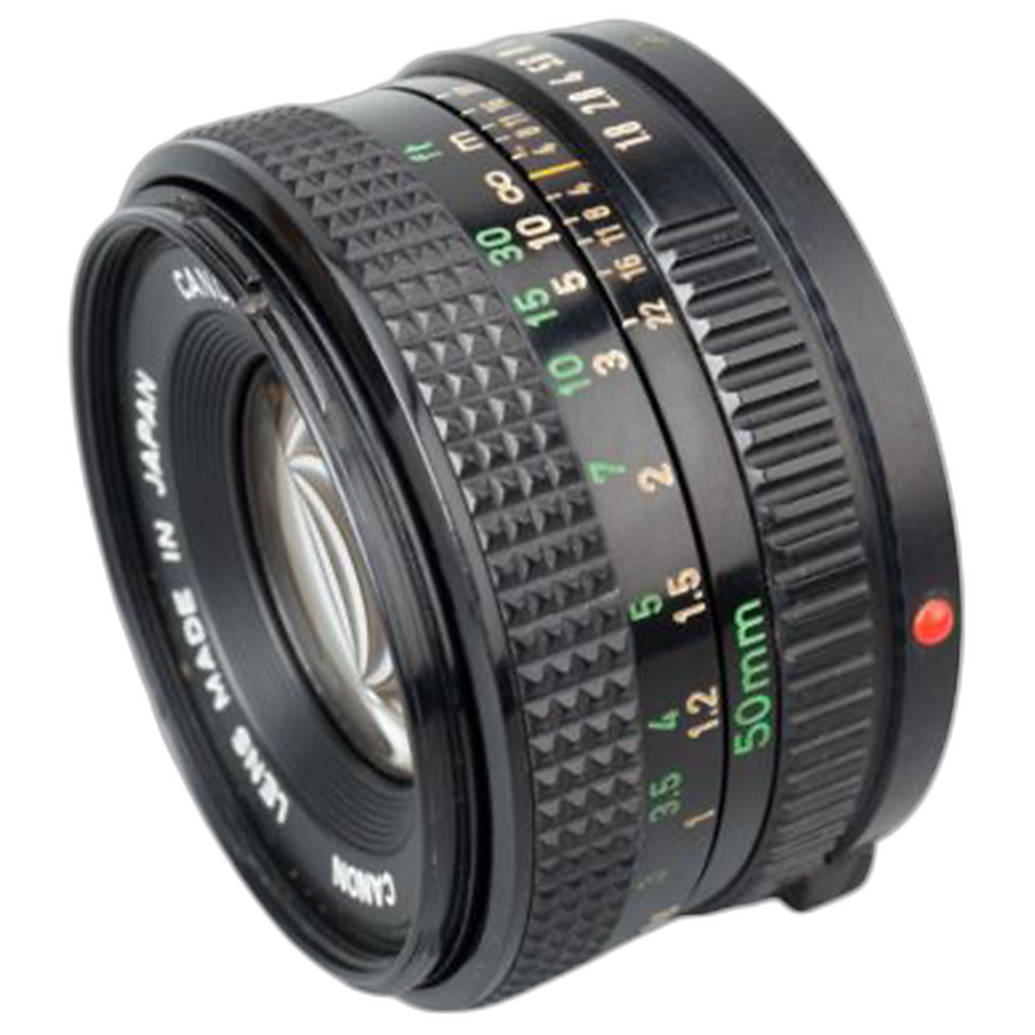
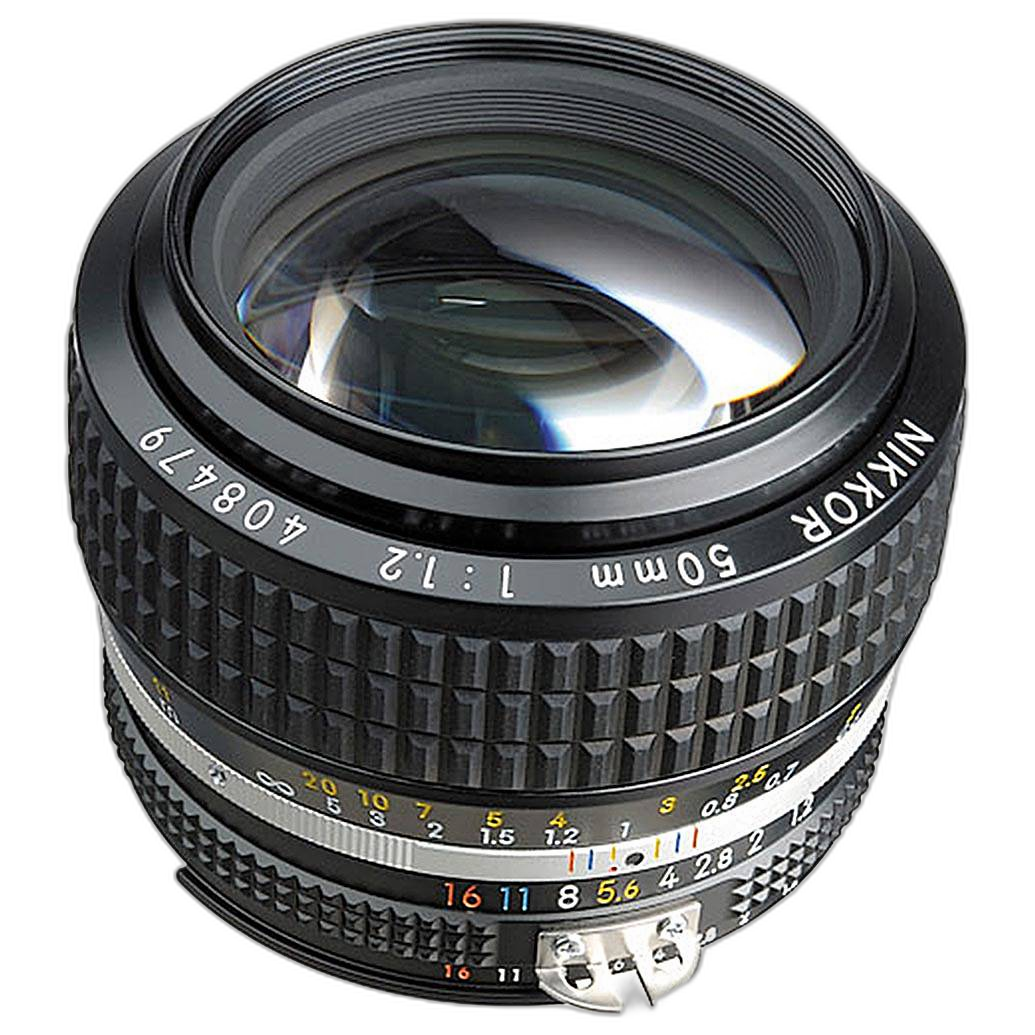
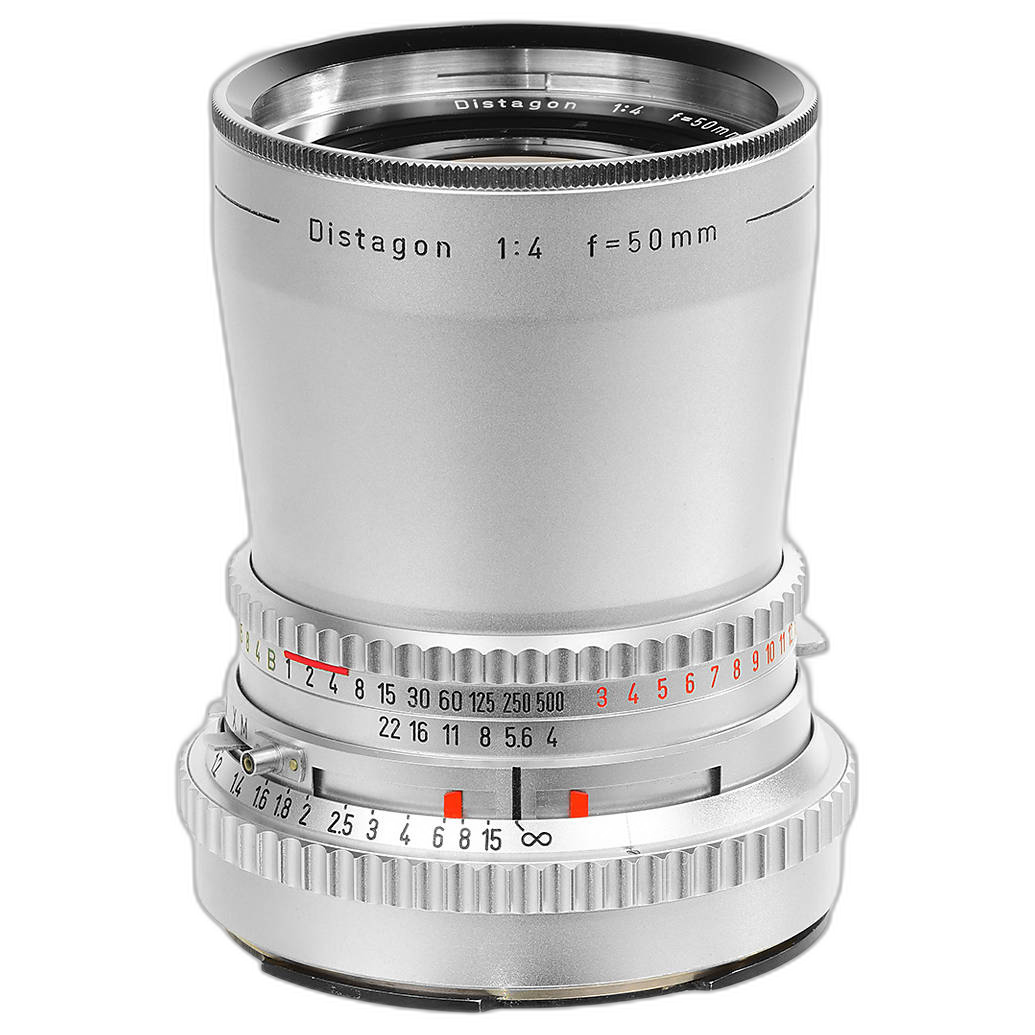
Availability of used gear changes frequently—check product pages on Unique Photo to see current stock or trade in your gear.
Posing and Micro-Positioning to Control Light
- Turn the face toward the light for luminous skin; turn away slightly to add drama.
- Raise the light (or position higher sky) for natural catchlights at 10 or 2 o’clock.
- Move the subject closer to backgrounds to increase background detail; farther to blur it more.
- Chin-forward, slight down to sculpt jawlines without flattening the face.
Common Natural-Light Mistakes to Avoid
- Relying only on open shade—use negative fill for shape.
- Ignoring background brightness—bright patches steal attention.
- Underexposing faces in backlight—use exposure comp and reflectors.
- Missing catchlights—adjust pose or subject angle toward the source.
Quick Natural-Light Portrait Checklist
- Pick location with controllable background and clean edges.
- Decide mood: soft (diffuse) or dramatic (hard/side light).
- Set aperture for depth-of-field; lock shutter speed for sharpness.
- Shape light with reflector, diffuser, or negative fill.
- Check histogram and highlight alert; adjust exposure comp.
- Refine pose, catchlights, and background balance.
FAQ: Natural Light Portraits
Q: Is golden hour always best?
A: It’s the easiest starting point, but overcast skies, windows, and open shade can deliver equally stunning results with proper light shaping.
Q: Do I need a reflector?
A: It’s not mandatory, but a 5-in-1 reflector is the most cost-effective way to control contrast outdoors.
Q: What’s the best focal length?
A: 50–85mm is a great range for flattering portraits. Choose faster apertures (f/1.2–f/2) for low light and shallow depth-of-field effects.
Conclusion: Build Your Natural-Light Portrait Kit with Unique Photo
Mastering natural light is about observation and control. With smart timing, careful positioning, and simple tools, you can create professional portraits anywhere. Visit Unique Photo online or in-store to explore used lenses, education, and accessories that help you shape sunlight with confidence.
Internal linking suggestions:
- Reflectors & Diffusers (5-in-1 reflectors, scrims, translucent panels)
- Flags, V-Flats, and Grip (clamps, stands, arms)
- Used Lenses (fast 50s, 85s, classic film-era glass)
- Film Cameras & Used Cameras (rangefinders and SLRs for natural light)
- Education & Workshops (Portrait lighting classes and events)
From lens selection to lighting education, Unique Photo is here to support your natural-light portrait journey.