When photographers trade notes in forums, the same themes come up again and again: which editing software gives you the best value, how to speed up your workflow, and how to keep your files organized before your photo library gets out of control. The good news is that beginners do not need the most complicated setup to edit efficiently. A few smart habits, the right software approach, and a couple of workflow-friendly tools can make a huge difference from day one.
If you are comparing programs like Lightroom, Photoshop, or DaVinci Resolve for hybrid photo and video work, these practical tips can help you streamline your process and spend less time hunting for files or repeating the same edits.
Start With the Software That Matches Your Real Needs
1. Pick editing software based on workflow, not hype
One of the biggest forum debates is whether subscription software is worth it. For many beginners, the best value comes from choosing a program that fits how you actually shoot. If you mainly batch-edit photos, look for software with strong cataloging, presets, and quick global adjustments. If you also create video content, DaVinci Resolve often enters the conversation because it combines editing, color tools, and finishing features in one ecosystem.
The real time-saver is consistency. Learn one core editing platform well before jumping between multiple apps. That alone can cut down decision fatigue and make your workflow easier to repeat.
Build a Repeatable Import and Folder System
2. Use a simple folder structure you can follow every time
Beginners often overcomplicate file management. A clean structure like Year > Month > Project Name is usually enough. Inside each project folder, create subfolders for RAW files, selects, exports, and social media versions. The key is using the same format every single time.
- 2026
- 2026-08 Family Session
- RAW
- Selects
- Edits
- Exports
Forum users regularly recommend naming files and folders in a way that makes sense months later, not just today. That means avoiding vague labels like “final” or “best edits” unless you pair them with dates or version numbers.
3. Rename files on import
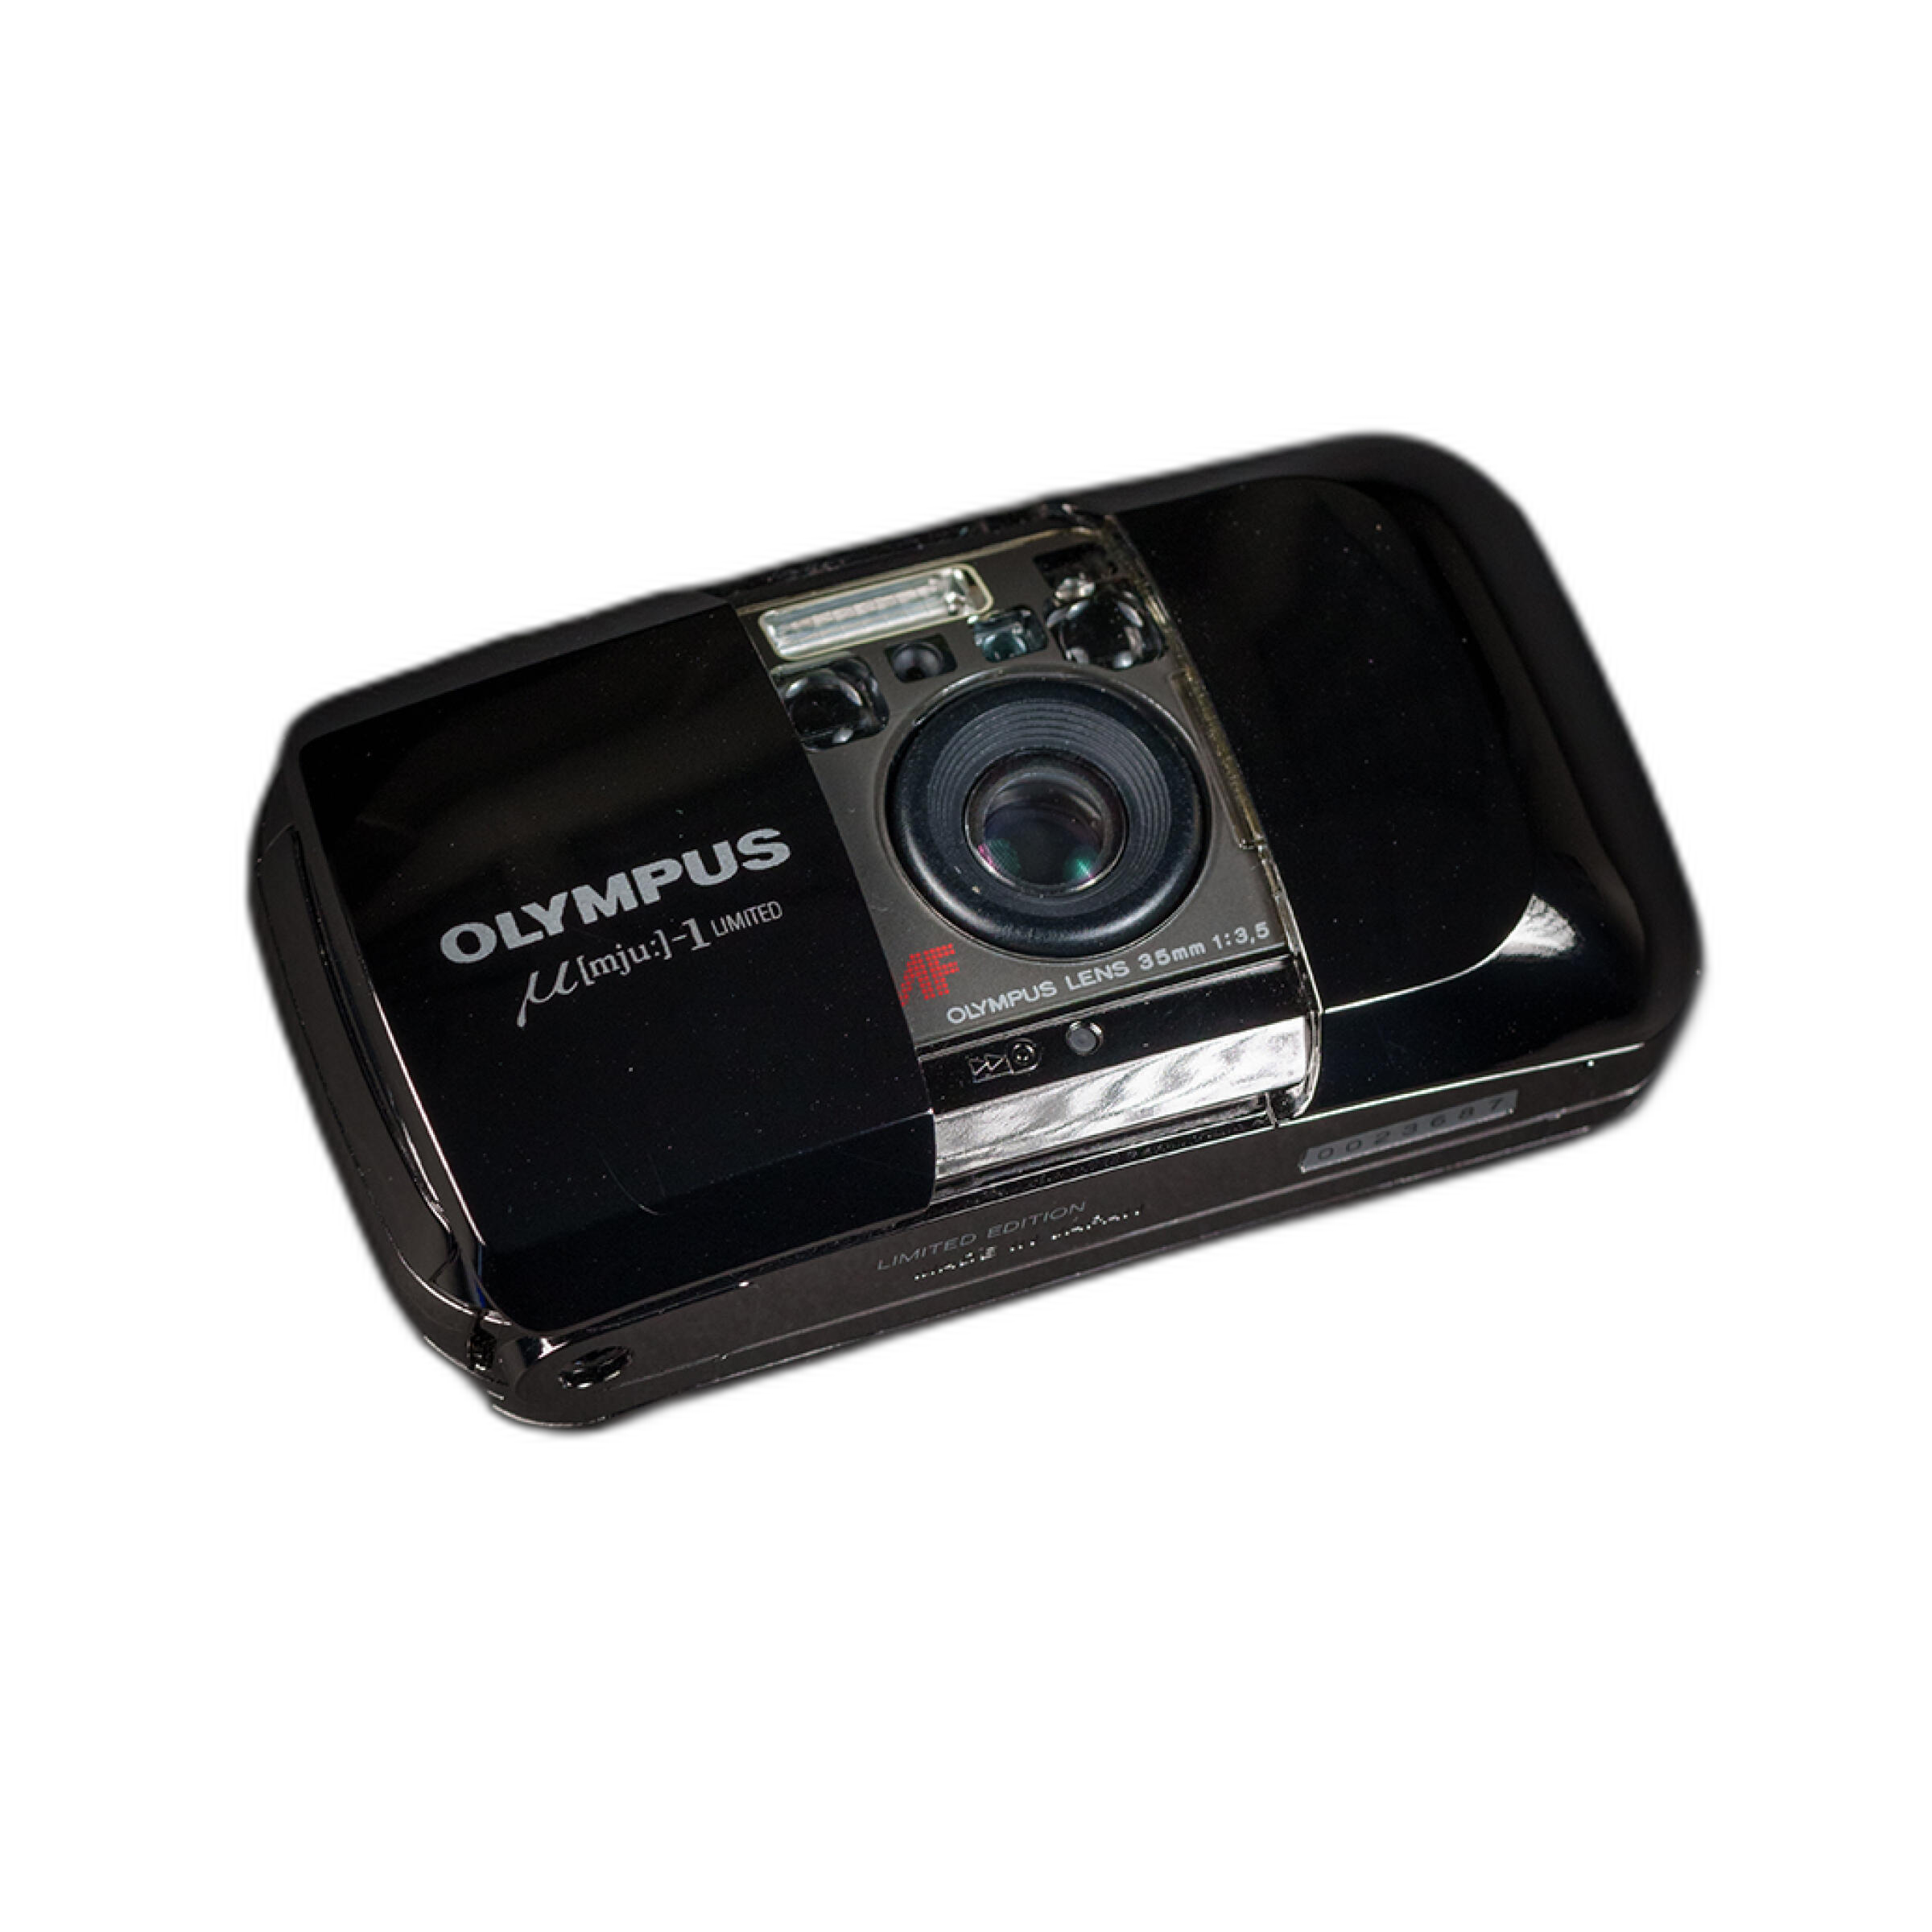
Instead of leaving images with default camera file names, rename them during import with a pattern like 2026-08-03_portrait-session_001. It makes backups, search, and client delivery much easier. This becomes especially useful if you shoot with more than one camera or mix digital work with scans from gear like a used compact film camera.
Speed Up Editing With Better Control Surfaces
4. Use tactile controls to reduce repetitive mouse work
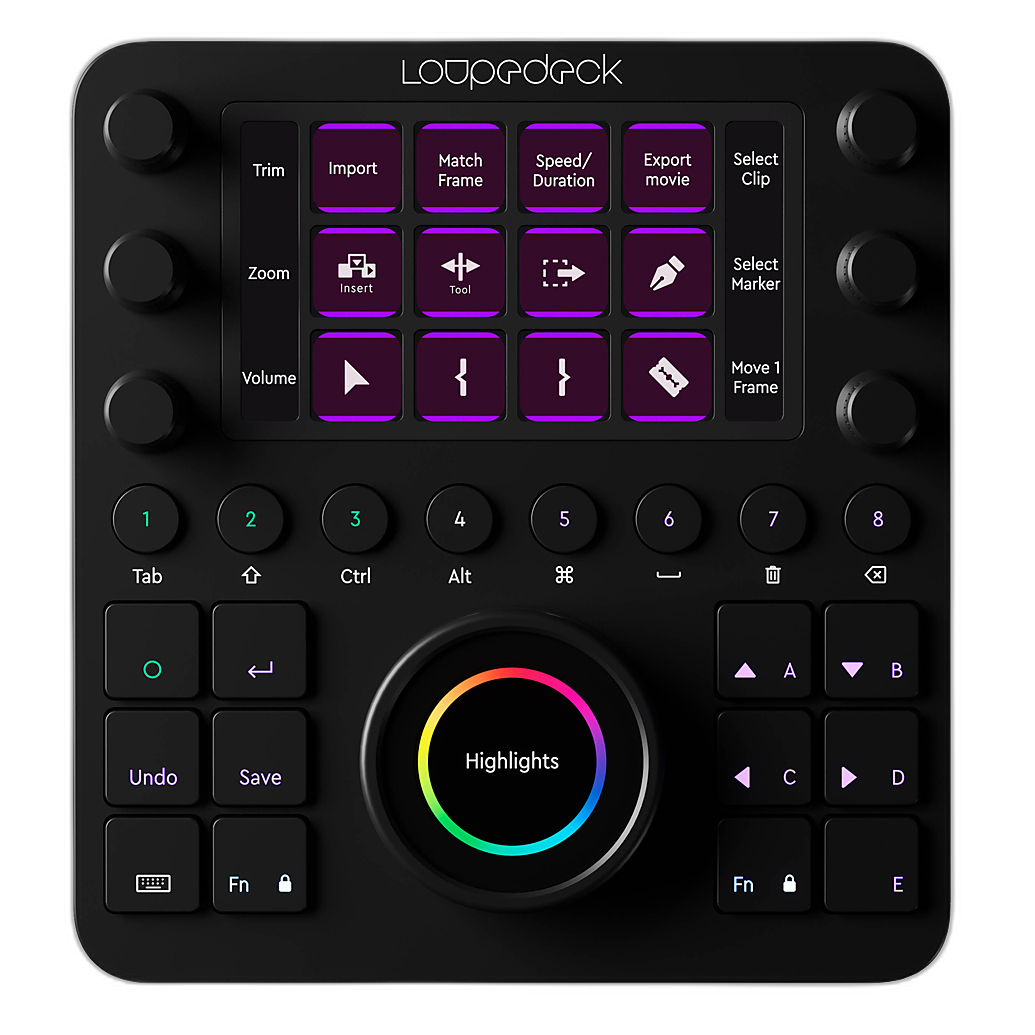
Many photographers eventually realize that the mouse is slowing them down. If you spend hours adjusting exposure, contrast, color, or timeline controls, an editing console can make the process feel much more fluid. The ExpoImaging Loupedeck Creative Tool is a natural fit for creatives who want customizable controls for editing tasks, shortcuts, and repeated actions across different applications.
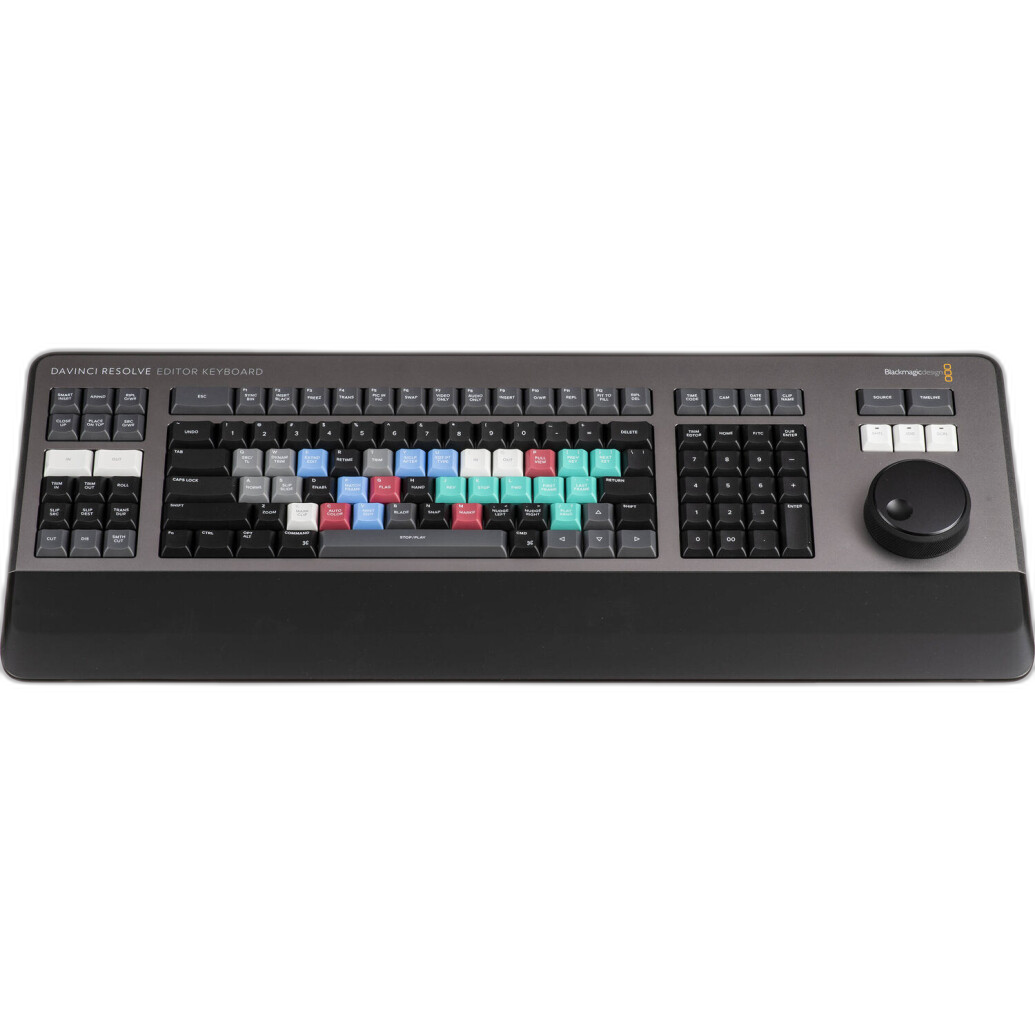
For users leaning into DaVinci Resolve, the Blackmagic DaVinci Resolve Editor Keyboard can be a major workflow boost, especially if your projects include both stills and motion work. The goal is not buying gear for the sake of it, but reducing friction in the edits you perform every day.
5. Upgrade only when your bottleneck is obvious
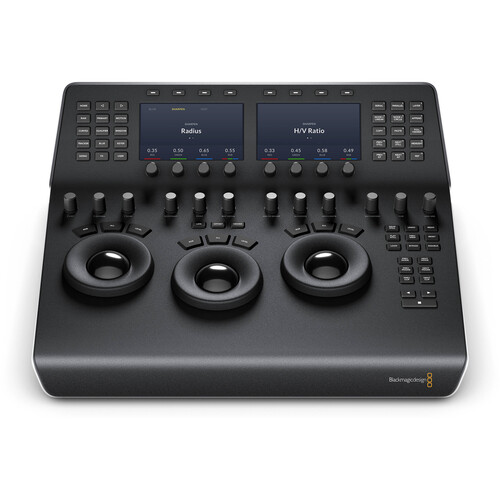
Value for money is one of the most common editing discussions online. A good rule is this: upgrade when a tool clearly saves time on tasks you repeat constantly. If you edit casually once a week, software shortcuts may be enough. But if you are doing frequent color work, culling, exports, and revisions, stepping up to dedicated hardware like the Blackmagic DaVinci Resolve Mini Panel can make sense for advanced users who want more precise, hands-on control.
Keep Your Color Consistent From Screen to Export
6. Calibrate your monitor before judging your edits
Beginners often spend hours tweaking images without realizing the display is the problem. If your screen is too cool, too warm, or too bright, your final images may look different everywhere else. That is why color management is one of the most underrated investments in a reliable workflow.
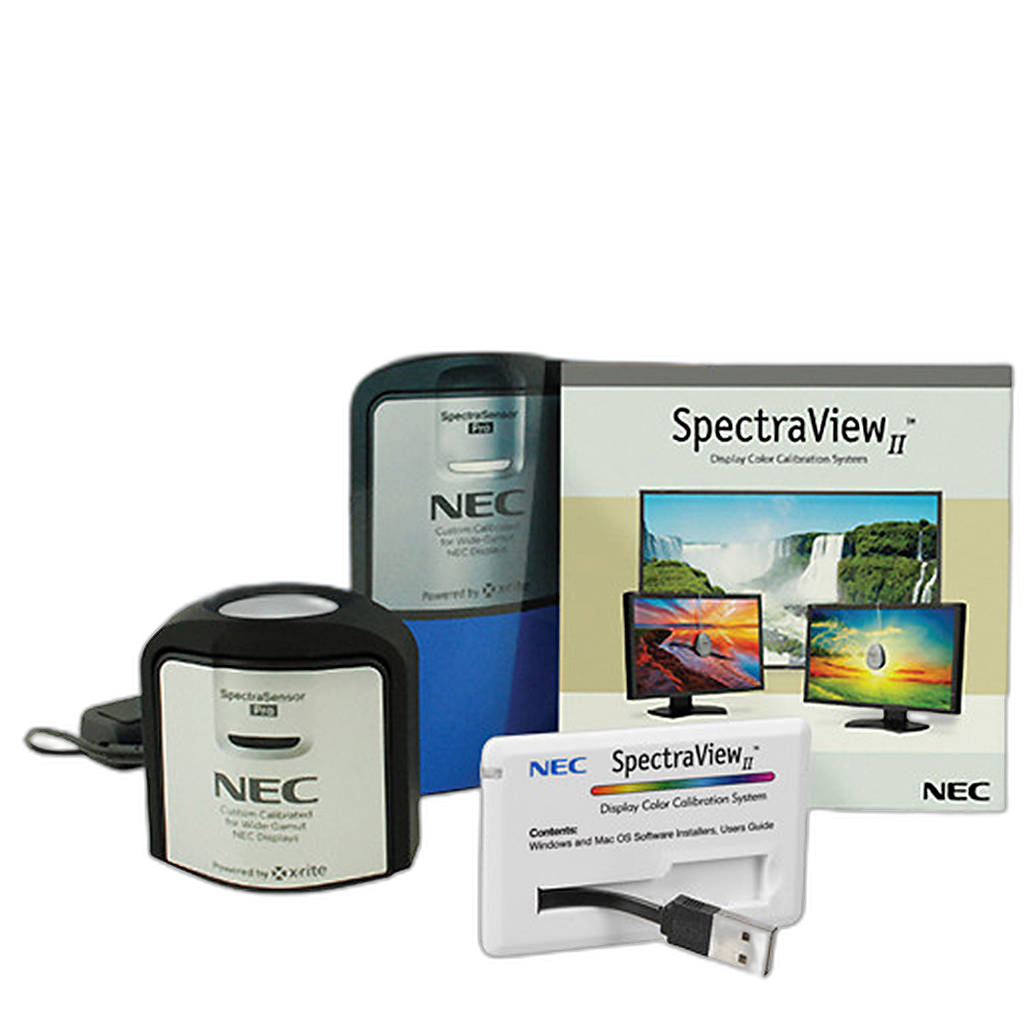
The NEC Color Sensor and SpectraView II Software Kit is a smart addition for photographers who want more dependable color and brightness when editing. It is especially helpful if you print your work or deliver files to clients who expect consistency.
Edit Faster by Doing Less, More Intentionally
7. Cull aggressively before you start detailed edits
One of the simplest beginner workflow improvements is to narrow your selection early. Do not color-correct 200 images if only 25 are worth finishing. Use flags, stars, or color labels to sort images into quick groups:
- Rejects: obvious misses, blinks, duplicates
- Selects: promising images worth reviewing
- Finals: the shots that get full editing attention
This approach saves time, reduces storage clutter, and makes your final gallery stronger.
8. Create a few reusable presets, not dozens
Presets can save time, but too many can slow you down. Build a small set for your most common situations, such as daylight portraits, indoor mixed light, black-and-white conversions, or film-style scans. Start with a preset, then fine-tune manually. That balanced approach is often what experienced forum users recommend because it keeps your edits efficient without making every image look the same.
Back Up and Archive With a Plan
9. Follow the rule of three copies
No workflow discussion is complete without backup advice. Keep at least three copies of your images: your working drive, a local backup, and one offsite or cloud copy. File organization only helps if the files are actually safe.
For finished projects, archive both the original captures and the final exported versions. If you revisit old work later, you will be glad you saved the source files instead of only the JPEGs you posted online.
10. Export versions for specific uses
Another beginner mistake is exporting one massive file and trying to use it everywhere. Save separate exports for print, web, and social platforms. Label them clearly so you do not accidentally upload the wrong version. A little discipline at export time can prevent confusion later.
Conclusion
The best photo editing workflow is not the one with the most software, the most plugins, or the most expensive gear. It is the one that helps you import, organize, edit, and deliver your images with less friction. Start simple, stay consistent, and upgrade only when your workflow truly demands it.
If you are ready to refine your editing setup, from color management tools to hands-on control surfaces, Unique Photo offers gear that can help you build a smoother and more enjoyable post-production process.