Film photographers often reach a crossroads after development: should you digitize negatives through scanning or camera scanning, or head into the darkroom for traditional printing first and digitize later? The answer depends on your goals, archive needs, budget, and preferred workflow. In this guide, Unique Photo breaks down the strengths of scanning vs darkroom printing and shares best practices for digitizing negatives with maximum quality and consistency.
For photographers who want to preserve family archives, share work online, make inkjet prints, or build a hybrid analog-digital workflow, digitizing negatives is often the most practical choice. Traditional darkroom printing, however, still offers unmatched hands-on control and a distinctly analog aesthetic. Many photographers ultimately do both.
Scanning vs darkroom printing: which workflow is best?
If your main goal is speed, repeatability, archiving, and online sharing, scanning negatives is usually the better workflow. A high-quality scan gives you a digital master file that can be edited, backed up, printed later, and delivered to clients or labs. This makes scanning especially appealing for hybrid shooters and anyone managing large volumes of film.
Darkroom printing is ideal when your priority is traditional interpretation, tactile craftsmanship, and optical printing aesthetics. In the darkroom, you are working with light, contrast filters, paper response, and chemistry in a way that feels materially different from digital editing. Many black-and-white photographers prefer darkroom printing for finished fine-art prints, then digitize the final print for web use.
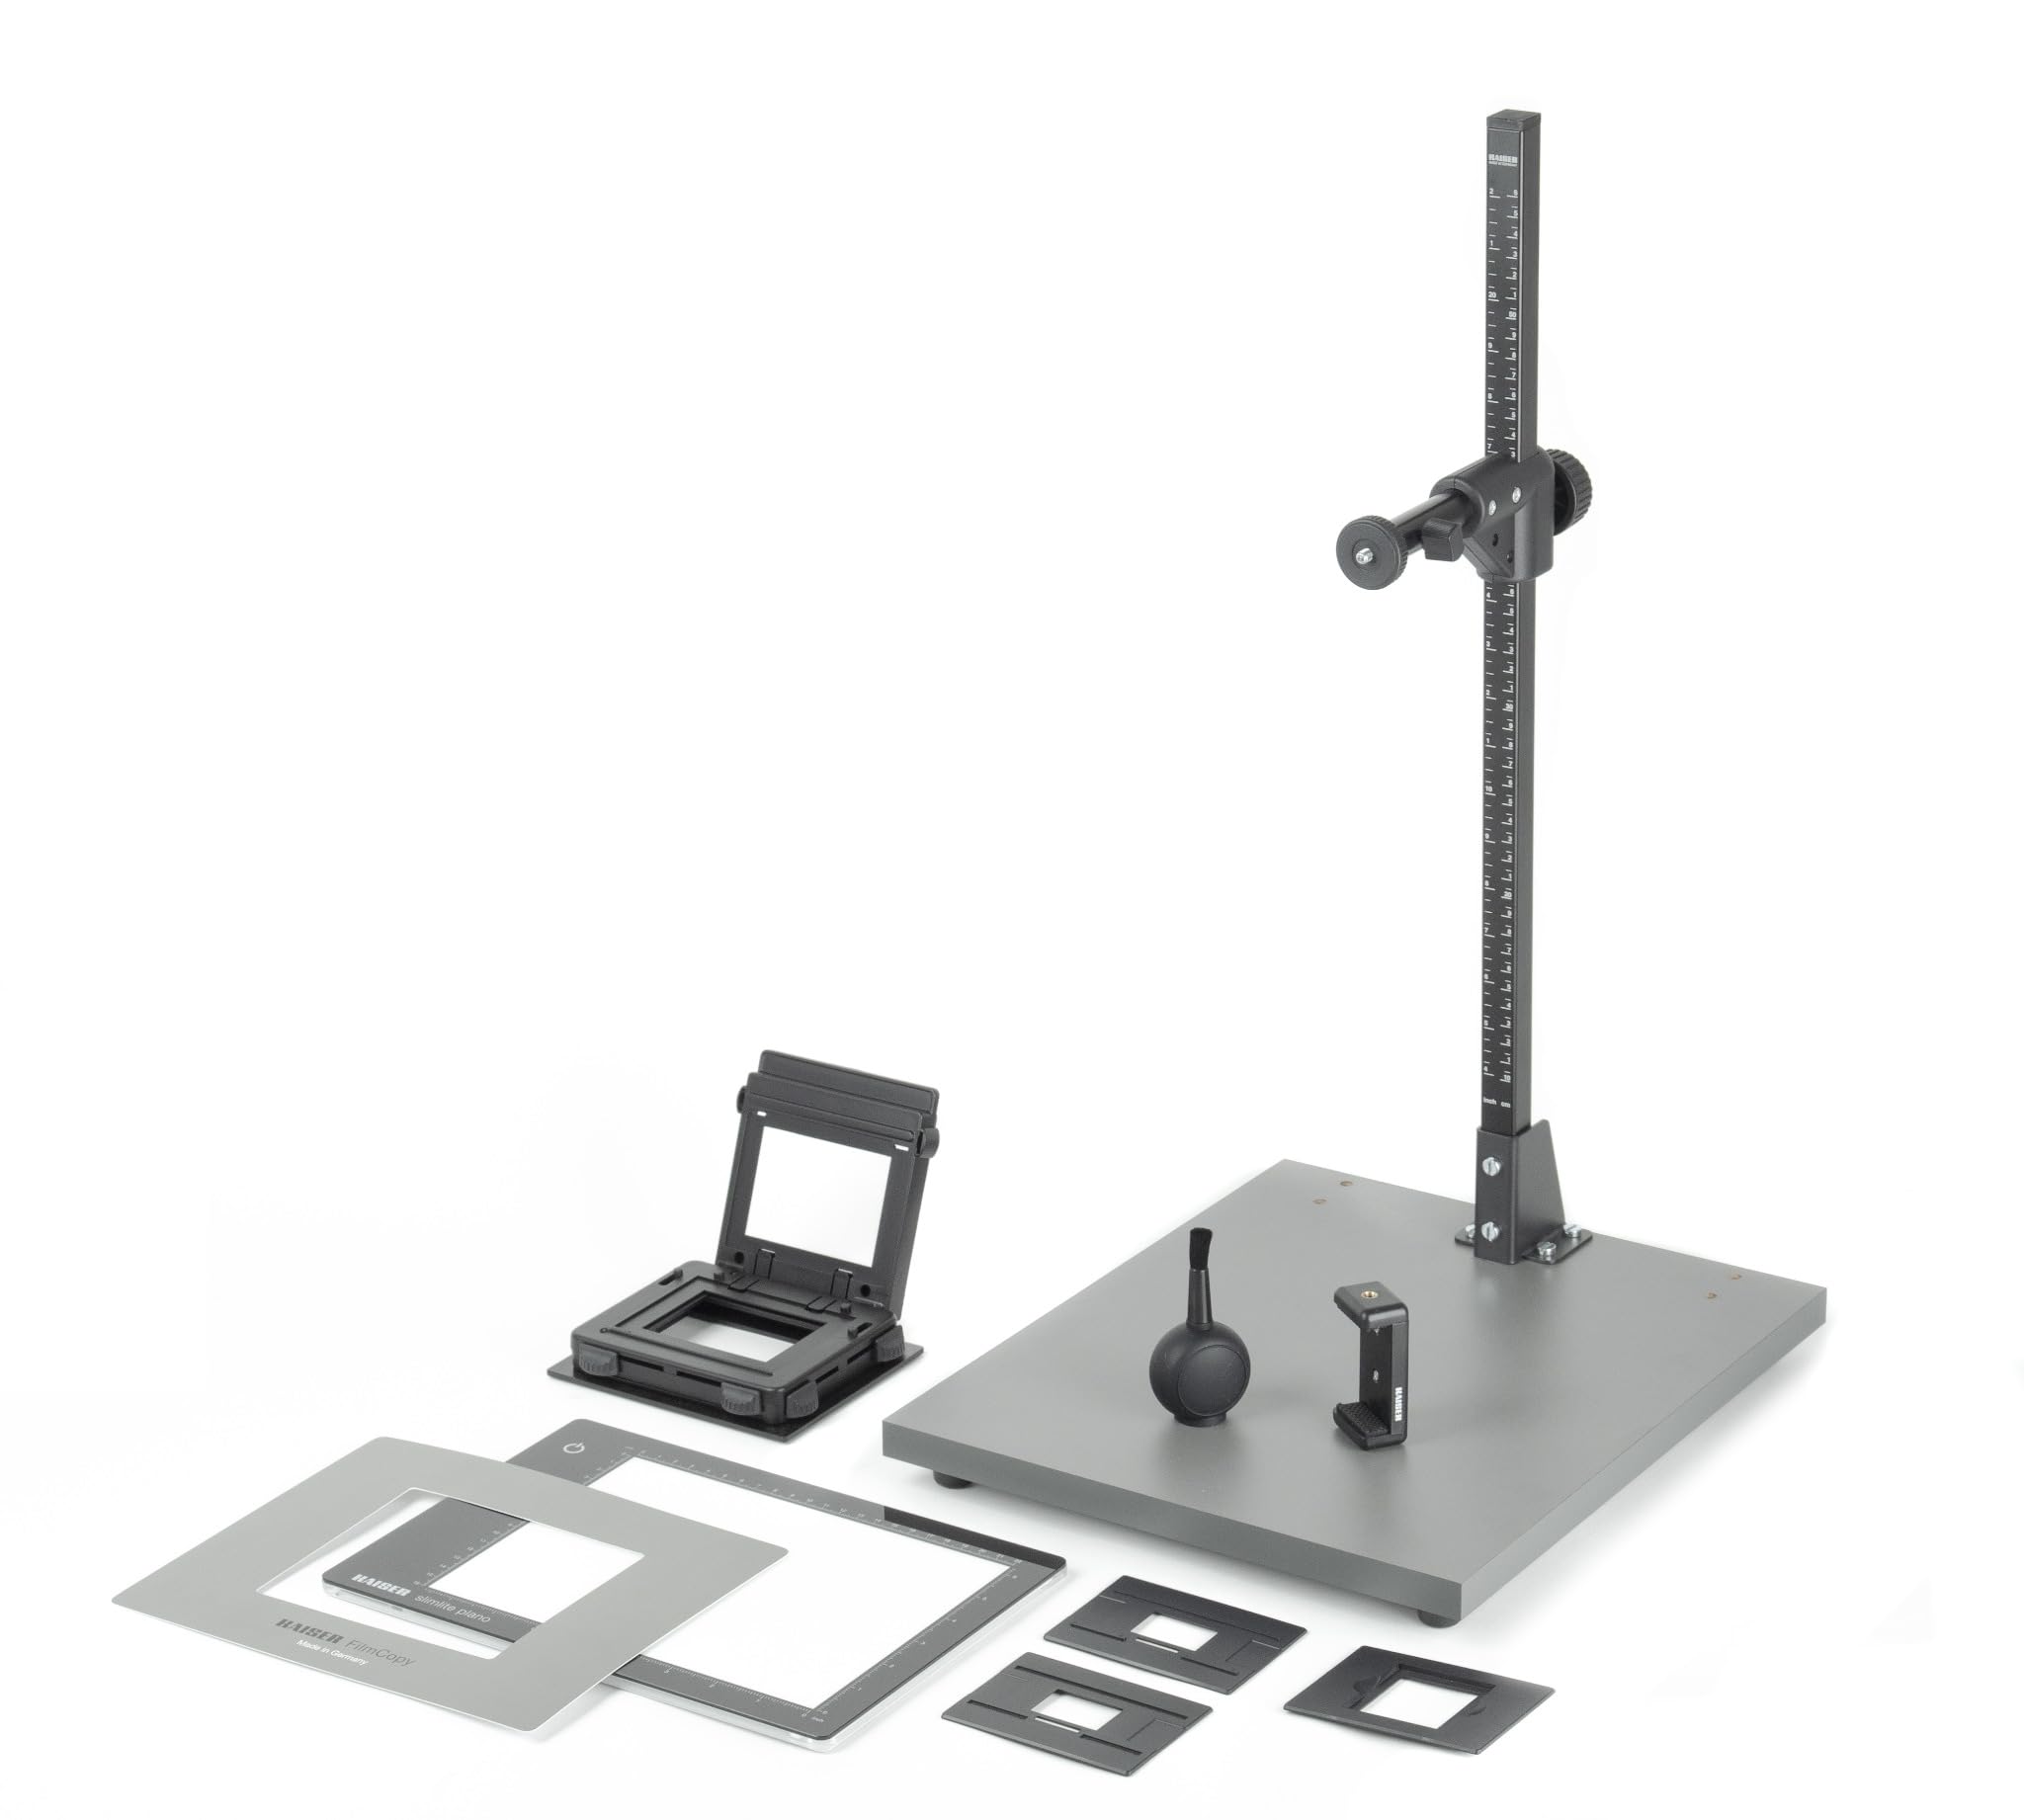
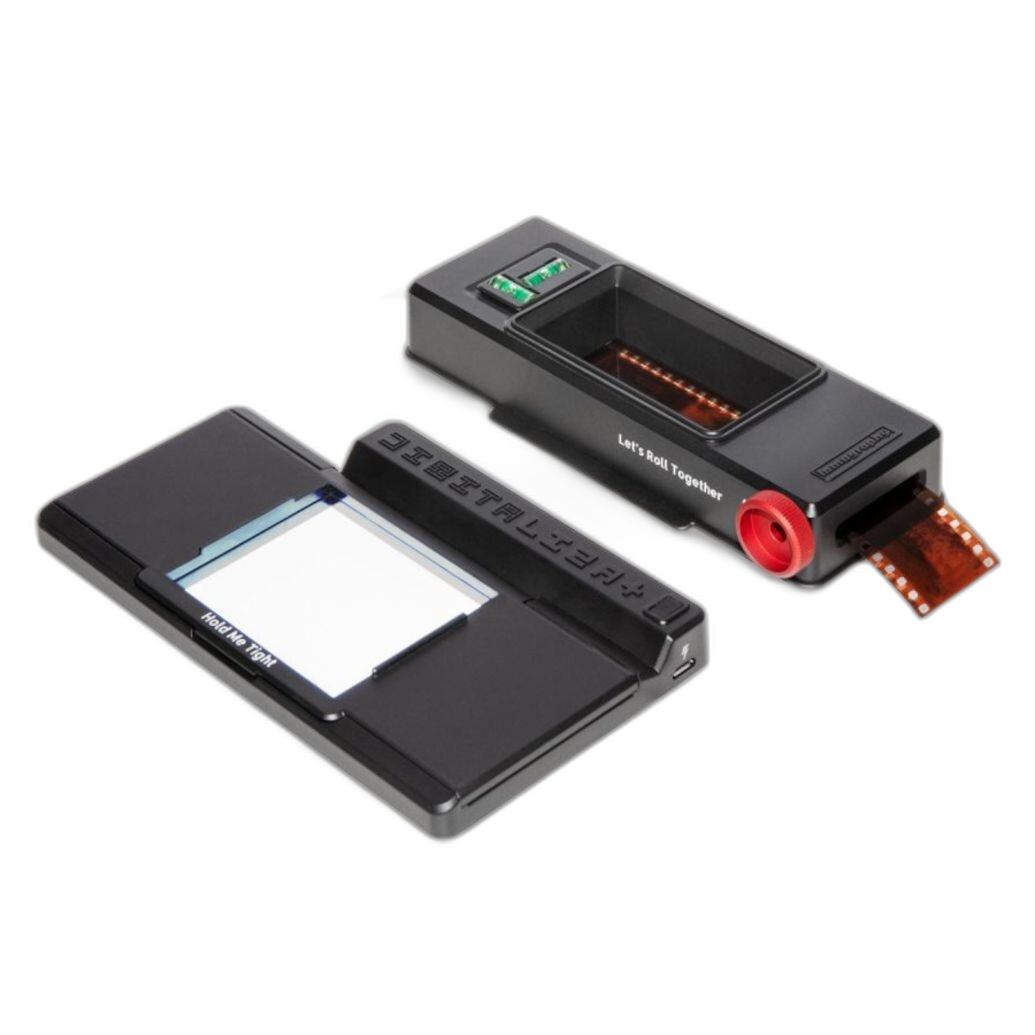
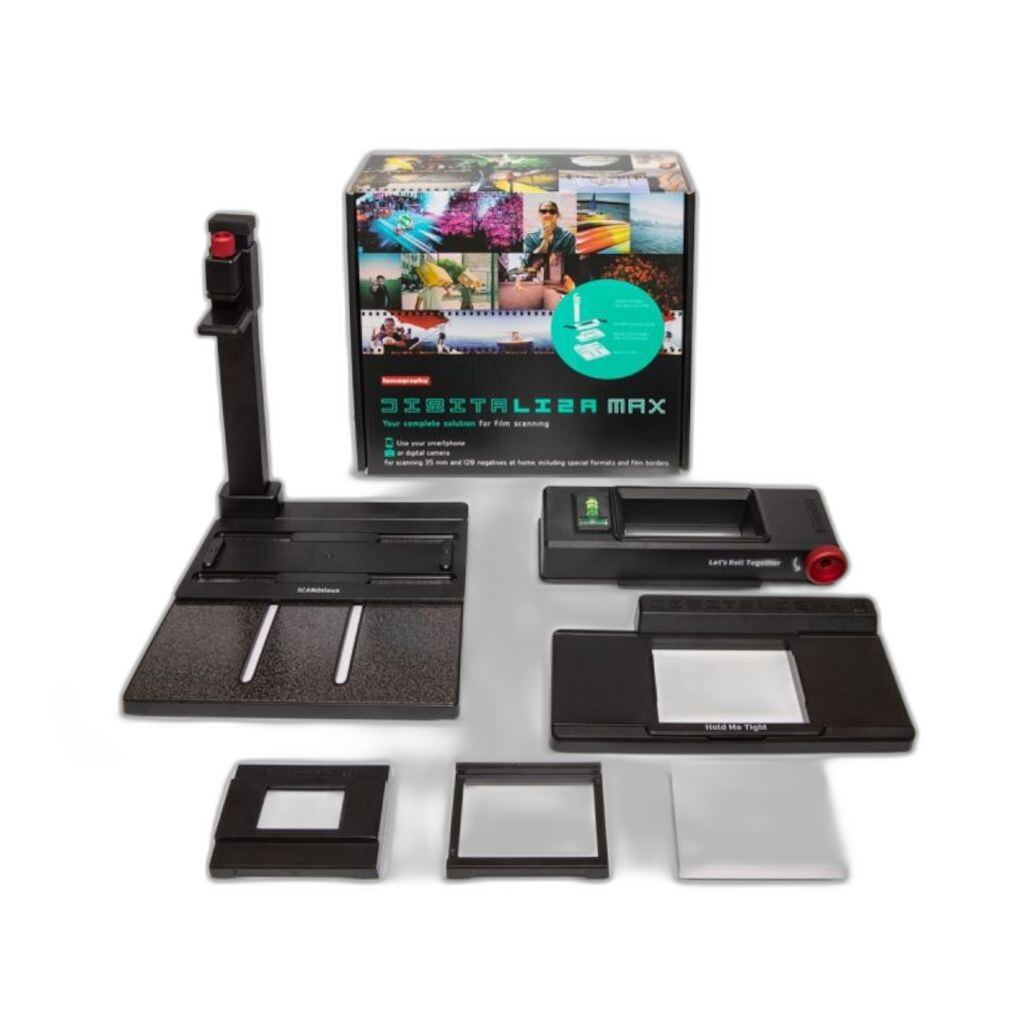
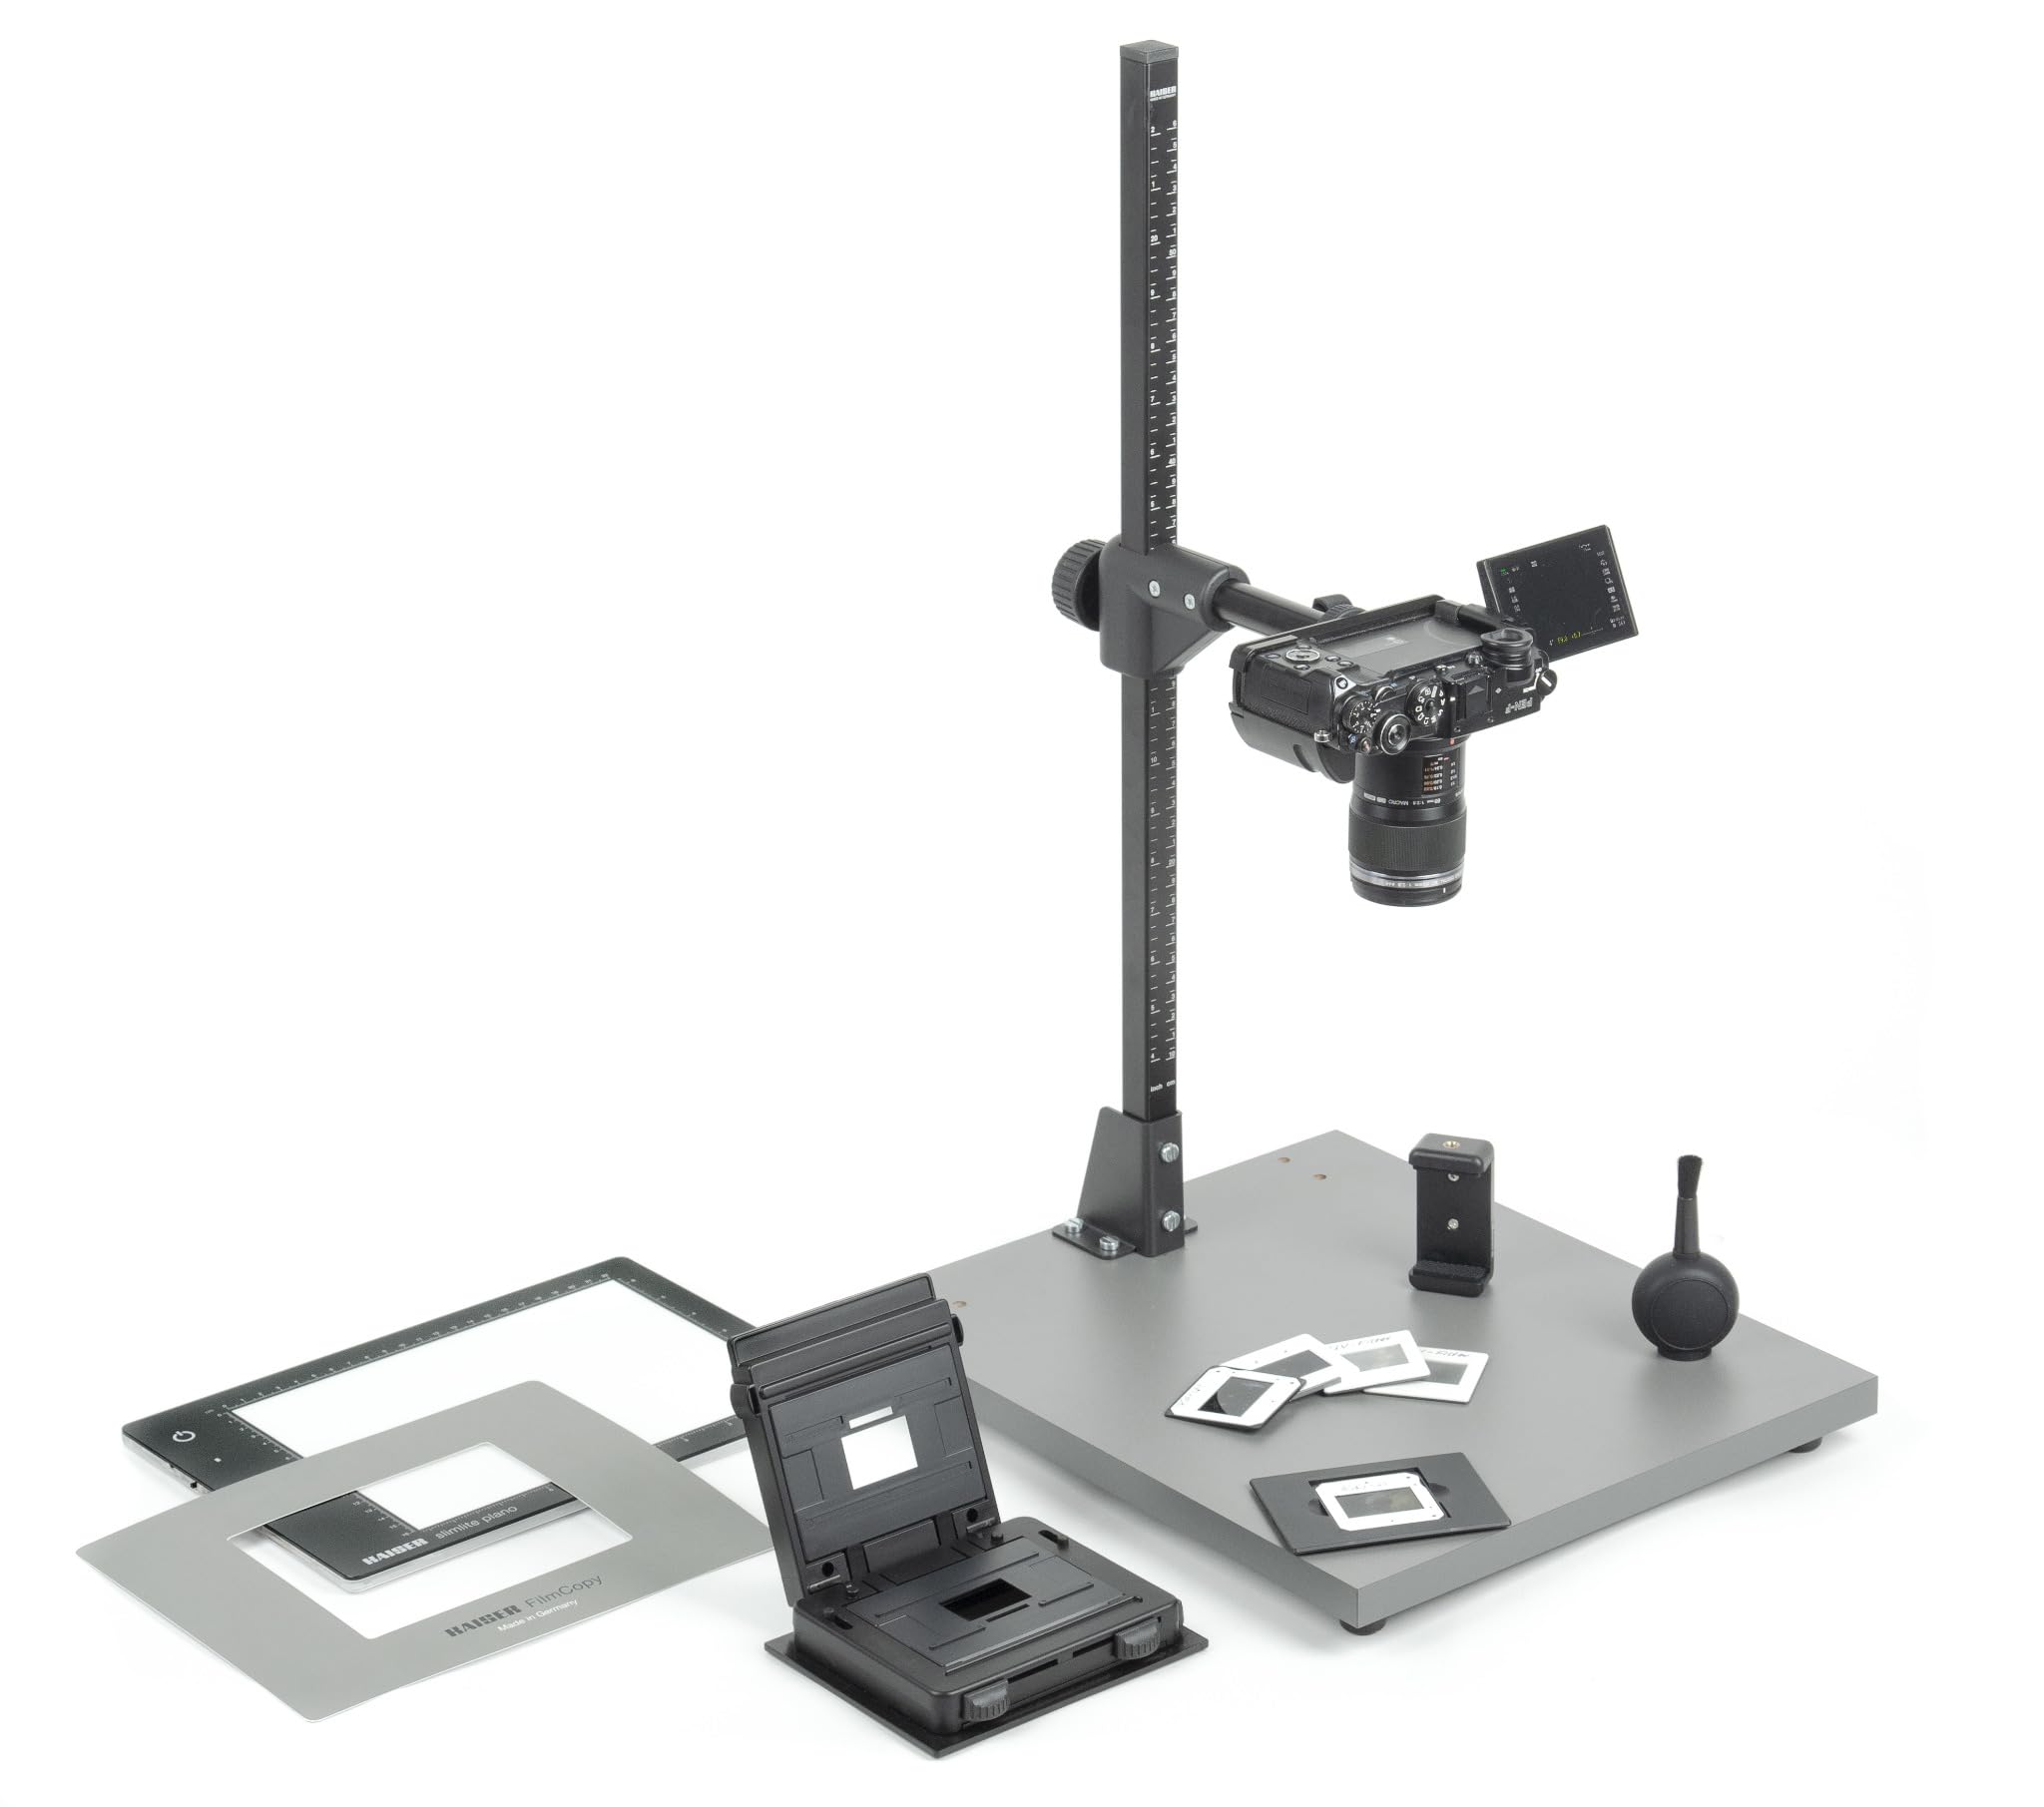
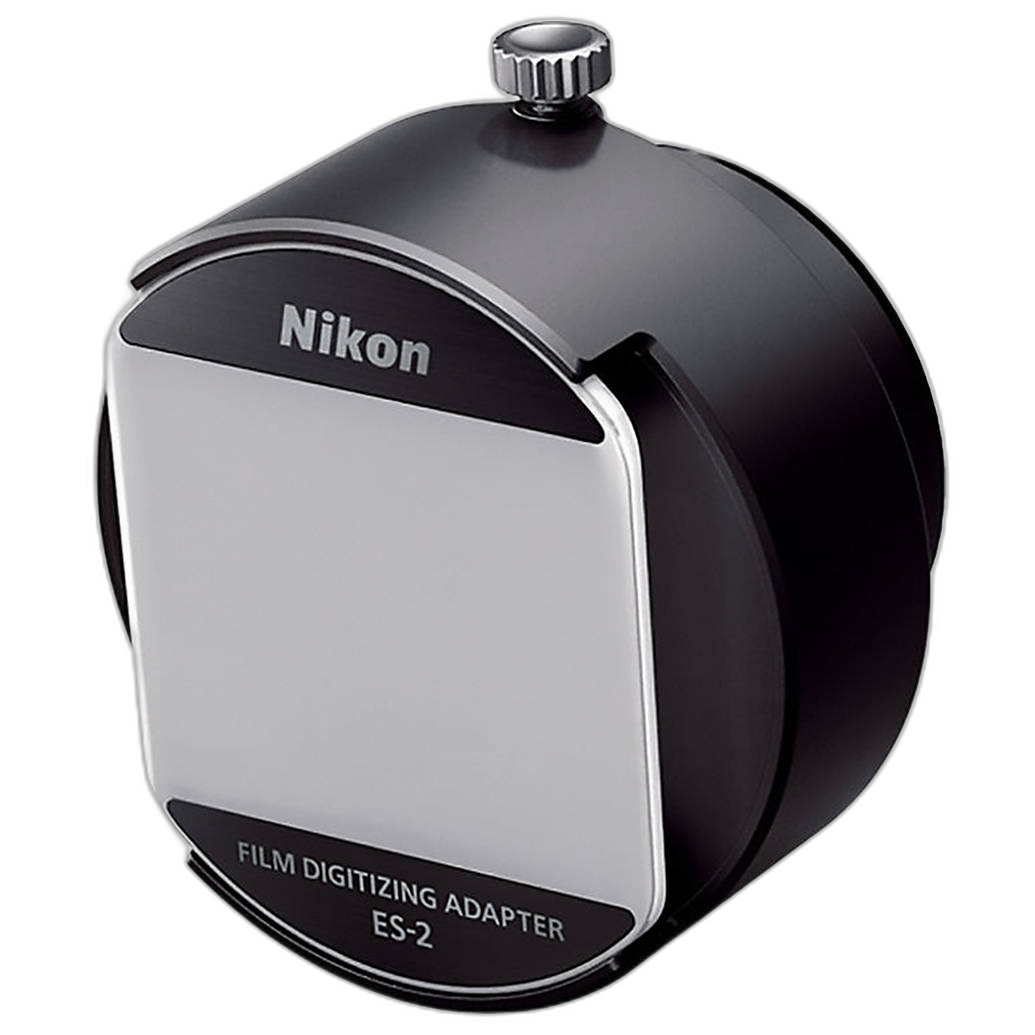
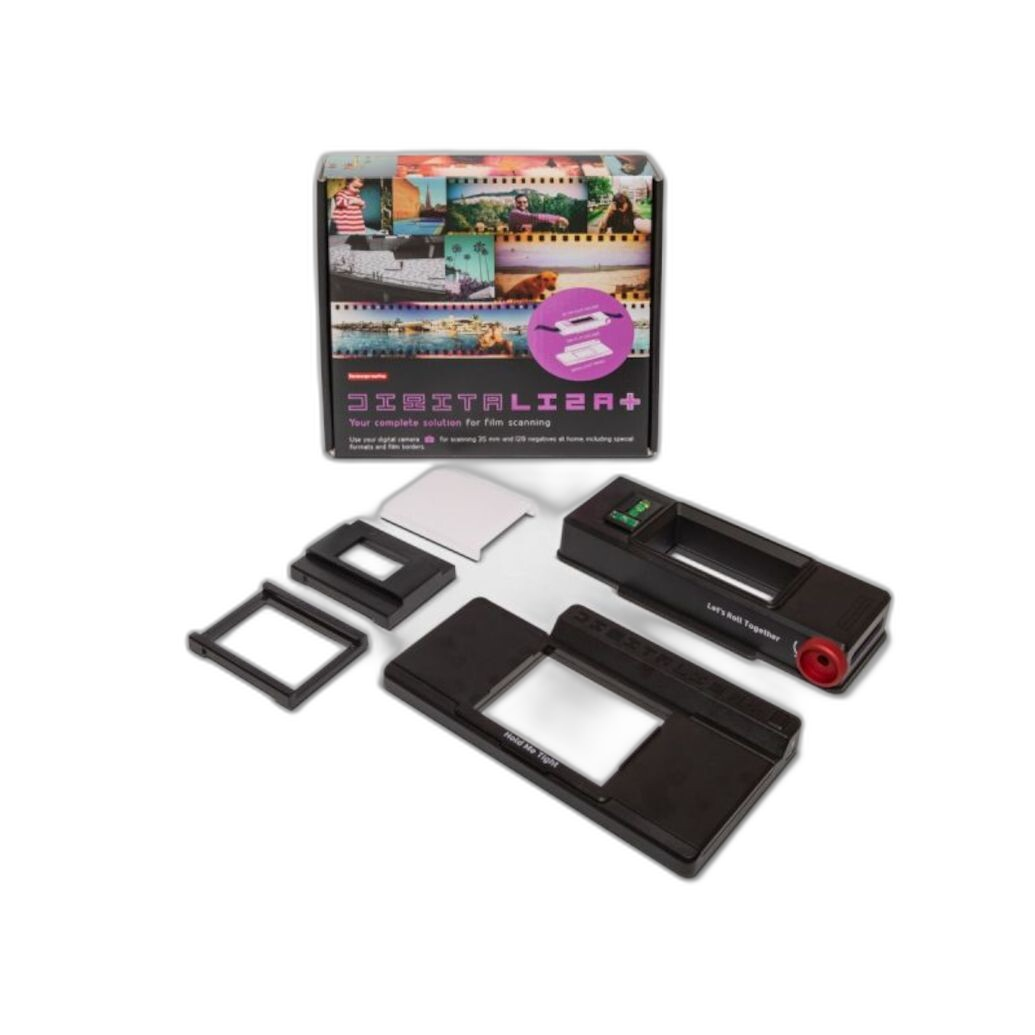
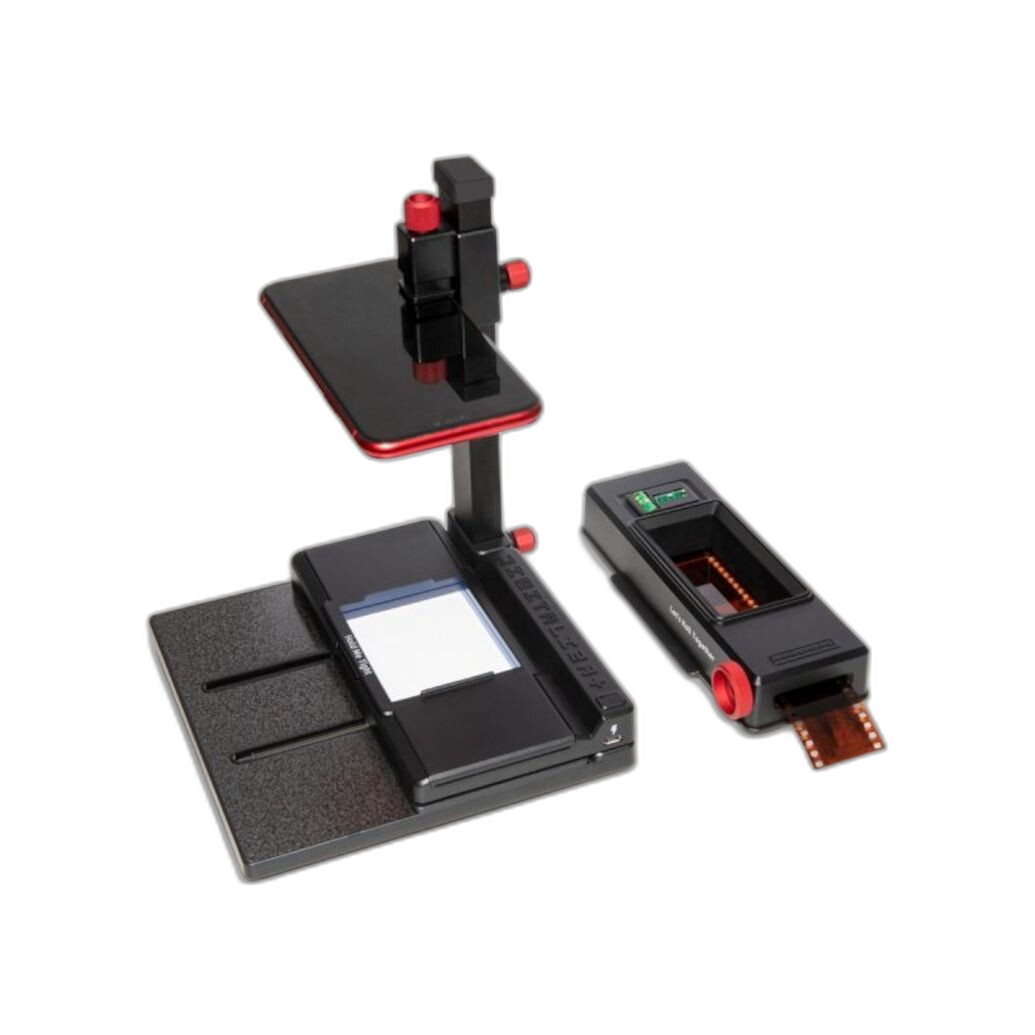
In practical terms, digitizing negatives is more flexible for most photographers today. Unique Photo carries several tools that make camera scanning efficient, including the Kaiser DigiCopy Vario Camera Scannning/Copy System for Slides/Negatives, the Lomography DigitaLIZA+ Scanning Kit, the Lomography DigitaLIZA Max Scanning Kit, and the Nikon ES-2 Film Digitalizing Adapter Set.
Why digitizing negatives is often the best first step
For many film shooters, the best practice is to digitize negatives before deciding which images deserve larger prints. A good scan gives you:
- A preservation copy of the original frame
- The ability to color-correct and adjust exposure non-destructively
- Easy sharing for clients, social media, and portfolios
- A practical path to making inkjet prints
- An efficient contact-sheet replacement for reviewing rolls
This workflow is especially helpful for color negative film, where darkroom printing can be more complex and equipment-intensive than black-and-white enlargement. By digitizing first, you can evaluate the frame carefully and decide whether a future darkroom print is worth the time and materials.
Best practices for digitizing negatives at home
If you want the cleanest, sharpest files, your setup matters as much as the film itself. Whether you use a dedicated scanner or a camera scanning rig, these best practices can dramatically improve results.
1. Start with clean, properly handled negatives
Dust is one of the biggest quality killers in film digitization. Handle film by the edges, wear lint-free gloves when possible, and clean negatives before capture. Use a blower first, then an anti-static brush or film-safe cloth if needed. Avoid aggressive wiping that could scratch the emulsion.
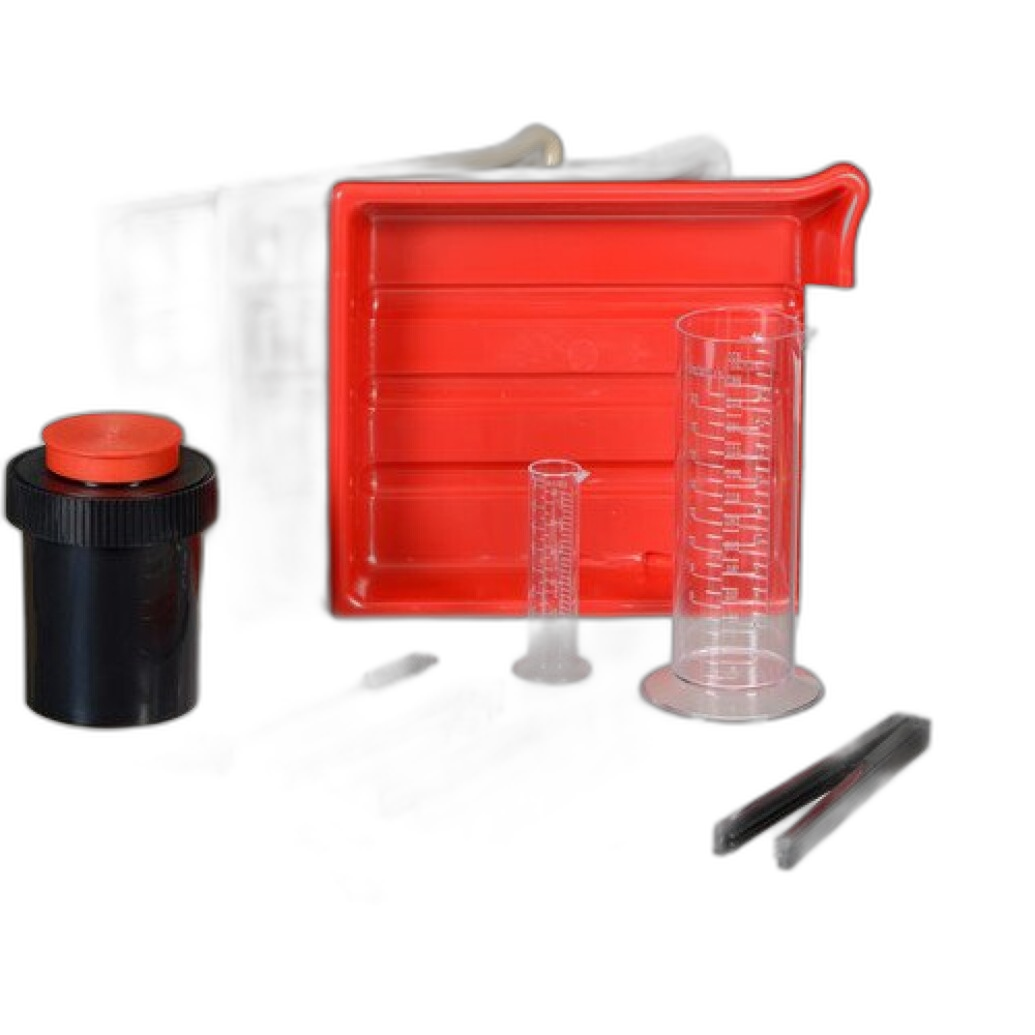
Proper negative storage also matters. Sleeved, flat negatives scan more easily and reduce post-processing time. If you are building a complete analog workflow from development to digitization, a starter option like the Photographic Darkroom Film and Paper Developing Kit can help you establish a controlled home process before scanning.
2. Keep film flat during scanning
Film flatness directly affects sharpness. Curled negatives can throw parts of the frame out of focus, especially with camera scanning setups. Use a reliable film holder or carrier designed to keep the strip evenly tensioned and centered over the light source.
Products such as the Lomography DigitaLIZA+ Scanning Kit and Lomography DigitaLIZA Max Scanning Kit are popular because they simplify film positioning for a range of formats. The Max version is especially appealing if you want added versatility in a hybrid workflow.
3. Use consistent, even backlighting
One of the most important camera scanning best practices is using a stable, color-neutral light source. Uneven illumination can introduce density and color issues that are difficult to correct later. Your light should be bright enough for efficient capture but diffuse enough to avoid hotspots.
A copy stand style system can make a major difference in repeatability. The Kaiser DigiCopy Vario Camera Scannning/Copy System for Slides/Negatives is a strong option for photographers who want more stability and alignment in their setup.
4. Maintain perfect camera alignment
If you are camera scanning negatives, the sensor plane must be parallel to the film plane. Even slight misalignment can create soft edges or uneven focus. A rigid setup with controlled film placement and a stable camera mount is essential.
For photographers already invested in Nikon macro-capable systems, the Nikon ES-2 Film Digitalizing Adapter Set is a compact solution for 35mm film digitization. Unique Photo also offers a used option for shooters looking to build a cost-effective setup.
5. Expose for maximum detail
When digitizing negatives, avoid clipped highlights and shadows in the capture file. Shoot RAW when using a digital camera, and expose to preserve the full tonal range of the negative. Dense negatives may need slightly different exposure than thinner ones, so check histograms and make adjustments roll by roll.
For black-and-white film, preserving highlight detail is especially important because dense areas of the negative correspond to bright image values in the final positive conversion. For color negative film, proper exposure also helps make inversion and color balancing easier.
6. Use a careful inversion and color correction workflow
Scanning negatives is only half the process; converting them into high-quality positive images is where much of the final look is determined. If you are digitizing color negatives, pay close attention to orange mask removal, white balance, and channel balance. Software tools can help, but consistency starts with a controlled capture setup.
For black-and-white negatives, the process is usually simpler, but you still want to optimize contrast and midtone separation without losing shadow or highlight detail. A well-organized post workflow is what turns a technically good scan into a strong finished file.
Camera scanning vs dedicated film scanners
Many photographers searching for the best way to digitize negatives compare camera scanning with flatbeds and dedicated film scanners. Here is the short version:
- Camera scanning: fast, flexible, high-resolution, excellent for large archives, and ideal if you already own a digital camera and macro lens.
- Dedicated film scanners: often easier for consistent batch workflows, sometimes include built-in software features, and can be excellent for photographers who prefer an all-in-one device.
- Flatbed scanners: useful for larger formats and proofing, but often less sharp for 35mm than good camera scanning or dedicated film scanning options.
Today, camera scanning is one of the most popular ways to digitize negatives because it combines speed and image quality. Tools from Kaiser, Lomography, and Nikon available through Unique Photo support this modern hybrid approach.
When darkroom printing still makes the most sense
Darkroom printing remains deeply relevant, especially for photographers who value the expressive side of analog craftsmanship. If you love dodging, burning, variable contrast papers, and the unique rendering of an enlarger print, the darkroom is not obsolete at all.
Darkroom printing can be the better choice when:
- You want a fully analog black-and-white workflow
- You are making exhibition or fine-art prints with traditional materials
- You enjoy the interpretive process of printing by hand
- You want to learn fundamental photographic tonal control
That said, even darkroom-focused photographers often digitize negatives or final prints for archiving and sharing. Hybrid workflows are common because they combine the strengths of both methods.
Best practices for a hybrid film workflow
The most practical approach for many photographers is a develop, digitize, edit, and print selectively workflow. This lets you archive every frame efficiently while reserving darkroom time for standout images.
A smart hybrid workflow usually looks like this:
- Develop the film carefully and consistently
- Clean and sleeve negatives
- Digitize using a stable scanning setup
- Edit and organize files with consistent naming and metadata
- Choose keepers for inkjet or darkroom printing
- Back up scans in at least two locations
This approach gives you the convenience of digital access without giving up the aesthetic and craft advantages of analog printing.
How to get sharper, cleaner scans from 35mm and medium format film
If you are specifically trying to improve 35mm negative scans or medium format digitization, focus on the details that have the biggest impact:
- Use a macro lens or a high-quality scanning lens setup
- Stop down enough for sharpness, but avoid excessive diffraction
- Use a remote release or self-timer to prevent vibration
- Keep ISO low for the cleanest file
- Use a holder that masks the frame cleanly and keeps the film flat
- Check focus at high magnification rather than relying on guesswork
For many photographers, systems like the Nikon ES-2 Film Digitalizing Adapter Set simplify 35mm capture, while larger modular holders such as the Lomography DigitaLIZA Max Scanning Kit may better suit broader format needs.
Archiving negatives after digitization
Digitization is not a replacement for proper archival storage. Your negatives remain the physical source material, and preserving them matters. Store film in archival sleeves in a cool, dry environment away from direct sunlight and humidity. Label rolls clearly with film type, date, and location when possible.
Your digital files also need a real archive strategy. Save high-resolution masters, create smaller derivative files for web use, and keep backups on separate drives or cloud storage. Good archiving ensures your work is accessible long after the initial scan session.
Should you scan negatives or print them in the darkroom first?
If you are unsure where to begin, the simplest recommendation is this: scan first, print later. Digitizing negatives gives you an immediate way to evaluate, share, and preserve your images. Once you identify your strongest frames, you can decide whether they deserve a traditional darkroom print, an inkjet print, or both.
For photographers committed to a traditional black-and-white practice, darkroom printing can absolutely remain the primary creative endpoint. But for most film shooters today, digitization is the foundation of a versatile and efficient workflow.
Final thoughts on scanning vs darkroom printing
Scanning vs darkroom printing is not really an either-or decision. The best practice for digitizing negatives is to build a workflow that supports your creative goals. If you need speed, flexibility, and reliable digital files, a camera scanning setup can be ideal. If you love the handmade look of silver gelatin prints, the darkroom remains indispensable. And if you want the best of both worlds, a hybrid process is hard to beat.
Unique Photo offers film digitizing tools, film accessories, and darkroom essentials that can help you refine every stage of the process, whether you are just starting to scan negatives at home or upgrading a more advanced hybrid workflow.
For next steps, consider exploring related categories and resources at Unique Photo such as film scanner accessories, darkroom supplies, negative handling tools, and educational books that help strengthen your overall analog workflow. If you are building out your process, look into solutions like the Kaiser DigiCopy Vario, Lomography DigitaLIZA kits, or Nikon ES-2 adapter systems for more efficient negative digitization.