Recommended Workflow for Editing RAW Files: Lightroom vs Capture One
Choosing the right RAW editing workflow can have a major impact on speed, image quality, file organization, and long-term consistency. Two of the most popular platforms for photographers are Adobe Lightroom and Capture One. Both are highly capable, but they approach cataloging, color, tethering, and detailed image adjustments a little differently. In this comparison, we’ll look at how each fits into a practical RAW editing workflow, who each platform is best for, and where supporting education and tools from Unique Photo can help you get more from your files.

Quick Comparison: Lightroom vs Capture One
| Category | Lightroom | Capture One |
|---|---|---|
| Best For | All-around photo workflow, cataloging, cloud integration, broad ecosystem support | Color-critical editing, tethered shooting, session-based workflows, studio work |
| Library Management | Excellent catalog tools, keywording, collections, smart collections | Good organization with catalogs and sessions, especially strong for project-based work |
| RAW Processing | Consistent, versatile, easy to learn | Highly regarded detail and color control, especially for selective adjustments |
| Color Editing | Strong HSL and masking tools | Exceptional color editor and layer-based color refinement |
| Tethering | Capable, but varies by camera support and workflow needs | Industry favorite for many studio and commercial shooters |
| Ease of Use | Beginner-friendly and widely taught | Powerful but can feel more technical at first |
| Workflow Style | Ideal for high-volume import, cull, edit, export | Ideal for controlled shoots and precise finishing |
| Retouching Depth | Good local adjustments, often paired with Photoshop for advanced work | Strong layer-based adjustments, still often paired with Photoshop for deep retouching |
A Recommended RAW Editing Workflow
No matter which software you choose, a solid RAW workflow usually follows the same core sequence: import, organize, cull, apply global corrections, refine local adjustments, export, and archive. The difference is in how smoothly each platform handles those steps for your kind of photography.
For event, travel, wildlife, and general photography, Lightroom is often the easiest place to build a streamlined end-to-end workflow. For commercial, studio, product, and tethered capture, Capture One often provides more direct control during both capture and editing.
1. Import and Ingest
Your workflow starts before editing. Fast, reliable card ingestion matters, especially when working with large RAW files from modern cameras. A dedicated reader can make this step more efficient, and the Lexar Professional Workflow Dual-Slot SD UHS-II Reader is the kind of accessory that helps keep turnaround times down for photographers moving large batches of files.
Lightroom shines here for photographers who want to import, rename, apply metadata, add keywords, and build previews in one familiar process. Capture One also handles import well, but many users prefer its session structure for individual jobs and client shoots.
2. Organization and Cataloging
If your archive spans years of shoots across multiple genres, Lightroom usually has the edge. Its catalog system, collections, smart collections, and search tools make it a natural fit for photographers who need to retrieve images quickly later.
Capture One supports both catalogs and sessions, which is a huge advantage for photographers who separate jobs by client or production day. Sessions can be especially clean for commercial teams who want each shoot self-contained.
3. Culling and First Pass Edits
For large volumes of images, Lightroom offers a very approachable workflow for flagging, rating, and making broad initial adjustments. Exposure balancing, white balance correction, lens corrections, and cropping can all be applied efficiently across groups of images.
Capture One is also fast here, but users often appreciate it most when they want finer image-by-image evaluation with stronger control over color and tonal response early in the process.
4. Color and Tonal Refinement
This is one of the biggest decision points. Lightroom gives you a highly effective toolset with profiles, tone curve, HSL controls, masking, and presets. For many photographers, that is more than enough to create a polished, repeatable look.
Capture One is often favored by photographers who are especially demanding about color separation, skin tones, product accuracy, or nuanced tonal transitions. Its color tools and layer-based adjustments are a major selling point, particularly in portrait, fashion, and product photography.
5. Local Adjustments and Finishing
Lightroom has become much stronger in masking and selective adjustments, making it increasingly capable for advanced finishing without leaving the application. That said, many photographers still round-trip into Photoshop for heavier retouching, compositing, or precision cleanup.
Capture One’s layer-based workflow feels natural for users who want to build adjustments in a more structured way. It is powerful for selective correction, though Photoshop remains a common companion for deeper pixel-level edits.
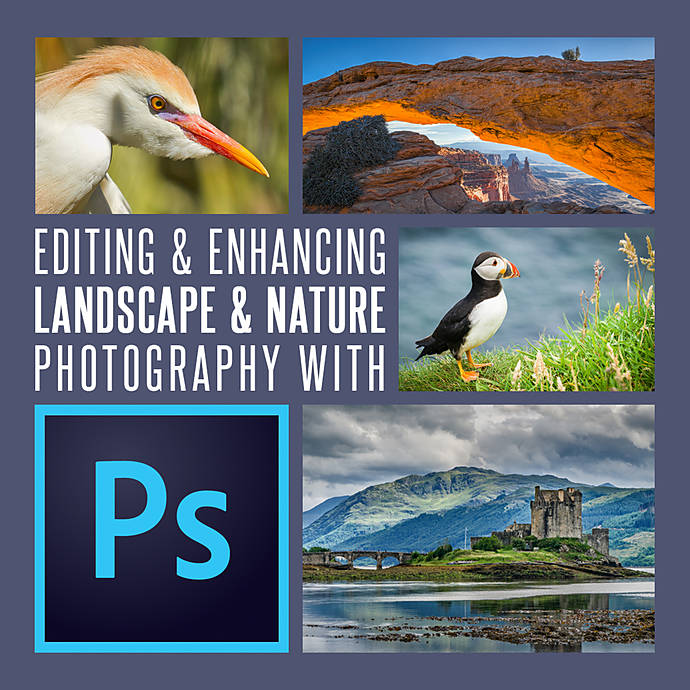
For photographers looking to expand beyond RAW conversion into advanced finishing techniques, structured instruction can make a big difference. Educational options like Editing and Enhancing Landscape and Nature Photography with Photoshop can complement either Lightroom or Capture One by strengthening your finishing skills after RAW development.
6. Tethering and Studio Workflow
This is where Capture One frequently takes the lead. For photographers shooting tethered in studio environments, it has long been a preferred choice thanks to stable capture tools, clear session organization, and strong on-set image review. Product, portrait, and commercial photographers often build entire workflows around this strength.
Lightroom supports tethering in some workflows, but it is not usually the first recommendation for photographers whose daily work depends on a robust tethered environment.
7. Export, Delivery, and Archiving
Lightroom keeps export presets and batch output very simple, which is a big advantage for social, web, print, and client delivery in multiple formats. Capture One also supports strong export options, especially when creating process recipes for repeatable commercial output.
If your priority is clean batch delivery across many jobs, both are excellent. If your priority is long-term searchable archives, Lightroom often feels more natural. If your priority is client-specific sessions and immediate controlled output, Capture One has a compelling edge.
Best Workflow by Photographer Type
| Photographer Type | Recommended Choice | Why |
|---|---|---|
| Beginner to intermediate hobbyist | Lightroom | Easier learning curve, broad training availability, simple library management |
| High-volume event or travel photographer | Lightroom | Fast ingest, culling, cataloging, and batch editing |
| Wildlife and nature photographer | Lightroom | Great for large libraries and efficient editing workflows |
| Studio portrait photographer | Capture One | Excellent tethering and precise color control |
| Commercial or product photographer | Capture One | Session-based workflow and nuanced color handling |
| Photographer who relies heavily on Photoshop finishing | Either | Both serve well as RAW processors before advanced retouching |
Learning Curve and Training Resources
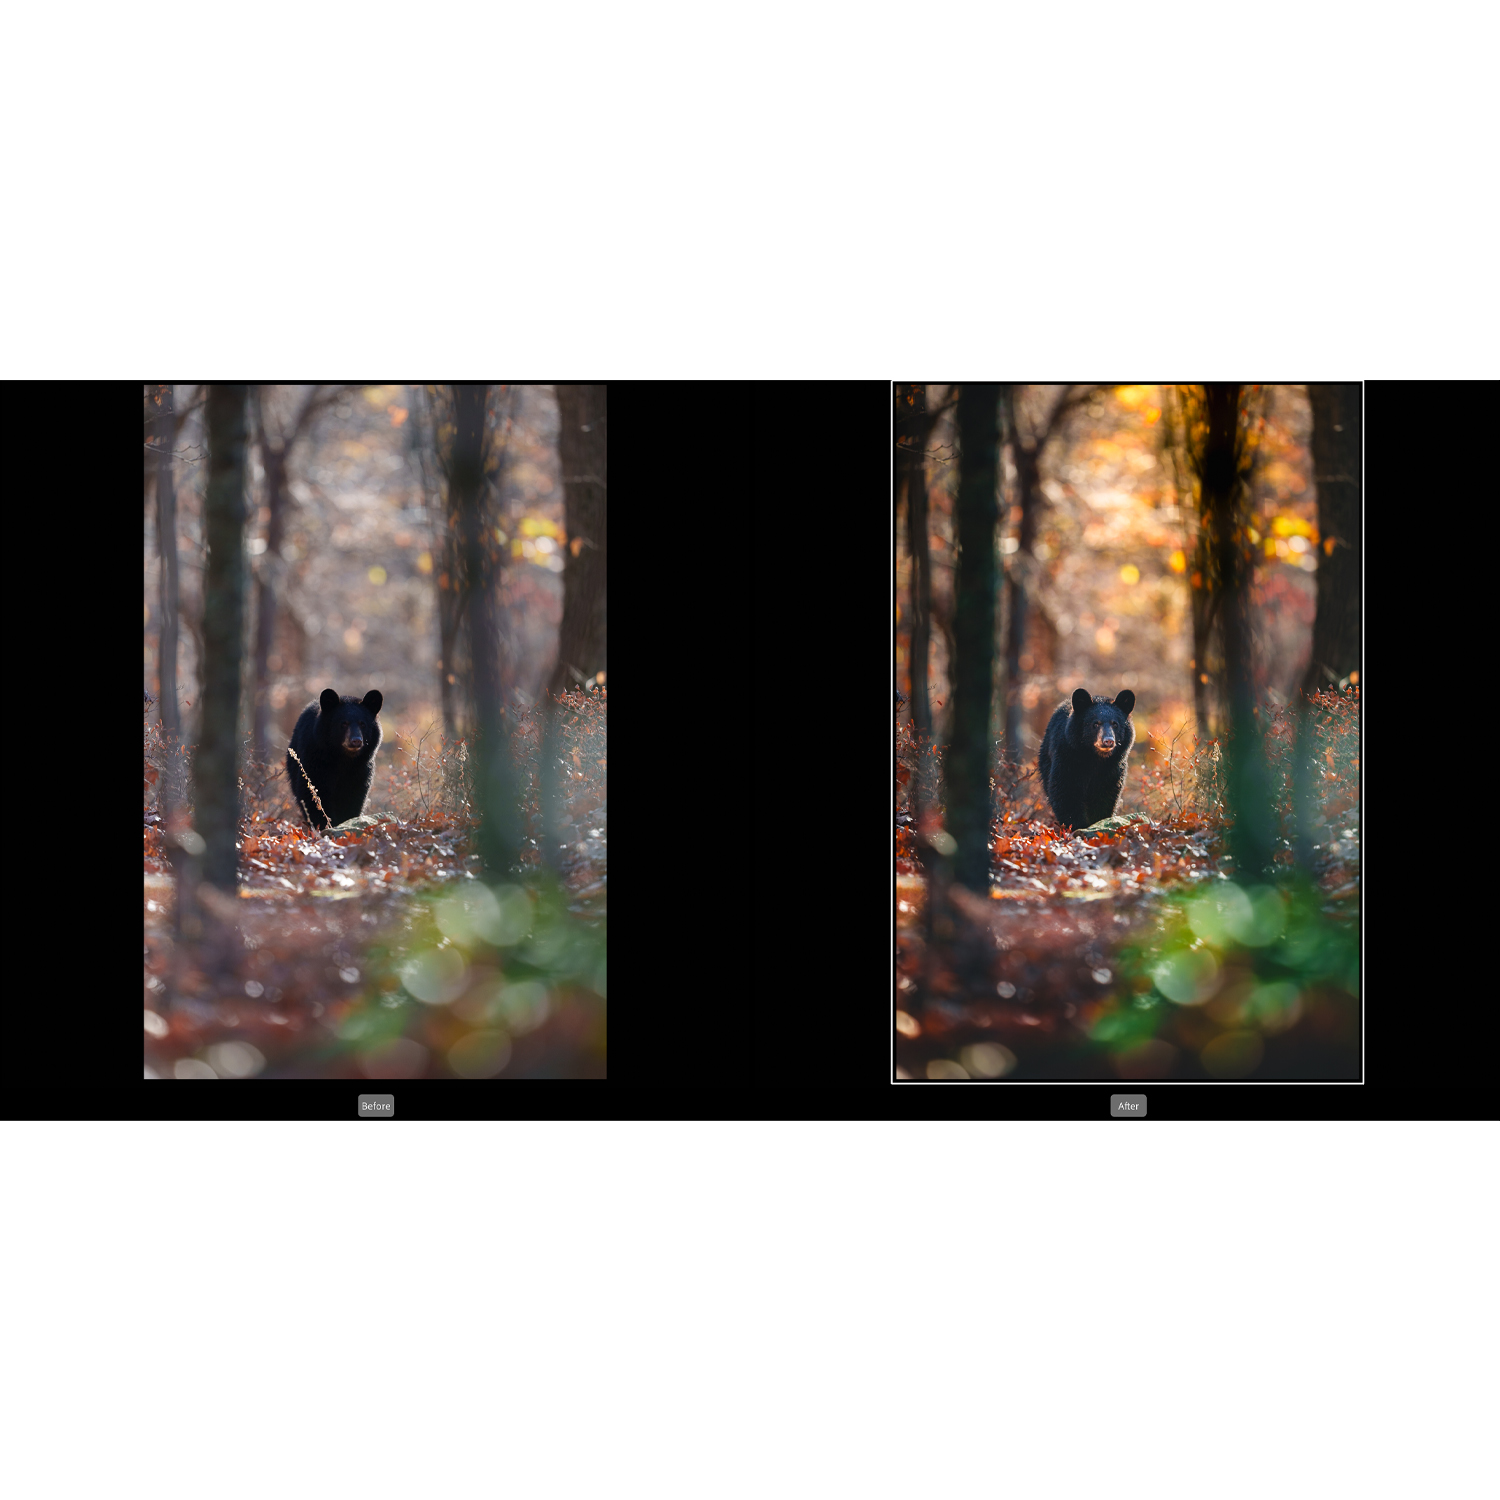
One reason Lightroom remains so widely recommended is accessibility. It is commonly taught, widely used, and easier for many photographers to pick up quickly. If you shoot outdoor subjects, birds, or natural landscapes, a focused class such as NJCS: Lightroom Photo Editing for Nature and Wildlife with Bobby Stormer can help shorten the learning curve and improve consistency in your edits.
Capture One rewards deeper exploration, especially for color workflow and studio use, but it can take more time to feel fully efficient inside it. Photographers who know they need that level of control are often happy to invest the extra effort.
Our Pick
Our Pick: Lightroom for most photographers, Capture One for studio and color-critical specialists.
If you want one recommendation for the broadest range of photographers, Lightroom is the safer and more flexible choice. It delivers an excellent balance of import speed, catalog organization, RAW editing power, masking, and export efficiency. It is especially well suited to photographers managing large libraries or high shooting volume.
If your work revolves around tethered capture, client sessions, product photography, or highly refined color control, Capture One may be the better workflow platform. Its strengths are real and substantial, particularly in professional studio environments.
Final Thoughts
There is no universal winner between Lightroom and Capture One—only the better fit for your workflow. Lightroom is the stronger all-around recommendation for most photographers thanks to its approachability and comprehensive library tools. Capture One stands out when precision color work and tethered studio shooting are central to the job.
If you are refining your editing workflow, Unique Photo offers not only helpful education in Lightroom, Photoshop, and post-production, but also the gear and accessories that support an efficient end-to-end process. Whether you are building a wildlife workflow, sharpening your retouching skills, or optimizing your studio setup, Unique Photo is a great place to continue that journey.