Entering a photo contest is about more than capturing a strong image in-camera. The final presentation matters just as much. Thoughtful post-processing can help your work look polished, technically sound, and submission-ready without crossing the line into over-editing. If you are preparing images for juried exhibitions, online competitions, or print-based calls for entry, this guide covers recommended post-processing techniques for contest submissions and how photographers can build a cleaner, more professional workflow with help from Unique Photo.
Whether you shoot portraits, landscapes, wildlife, street photography, or creative composites, contest judges often respond best to files that feel intentional, refined, and faithful to the photographer’s vision. The goal is not to make an image look excessively processed. The goal is to improve clarity, color, tonal balance, and presentation so the subject and storytelling stand out.
How to prepare RAW files for photo contest editing
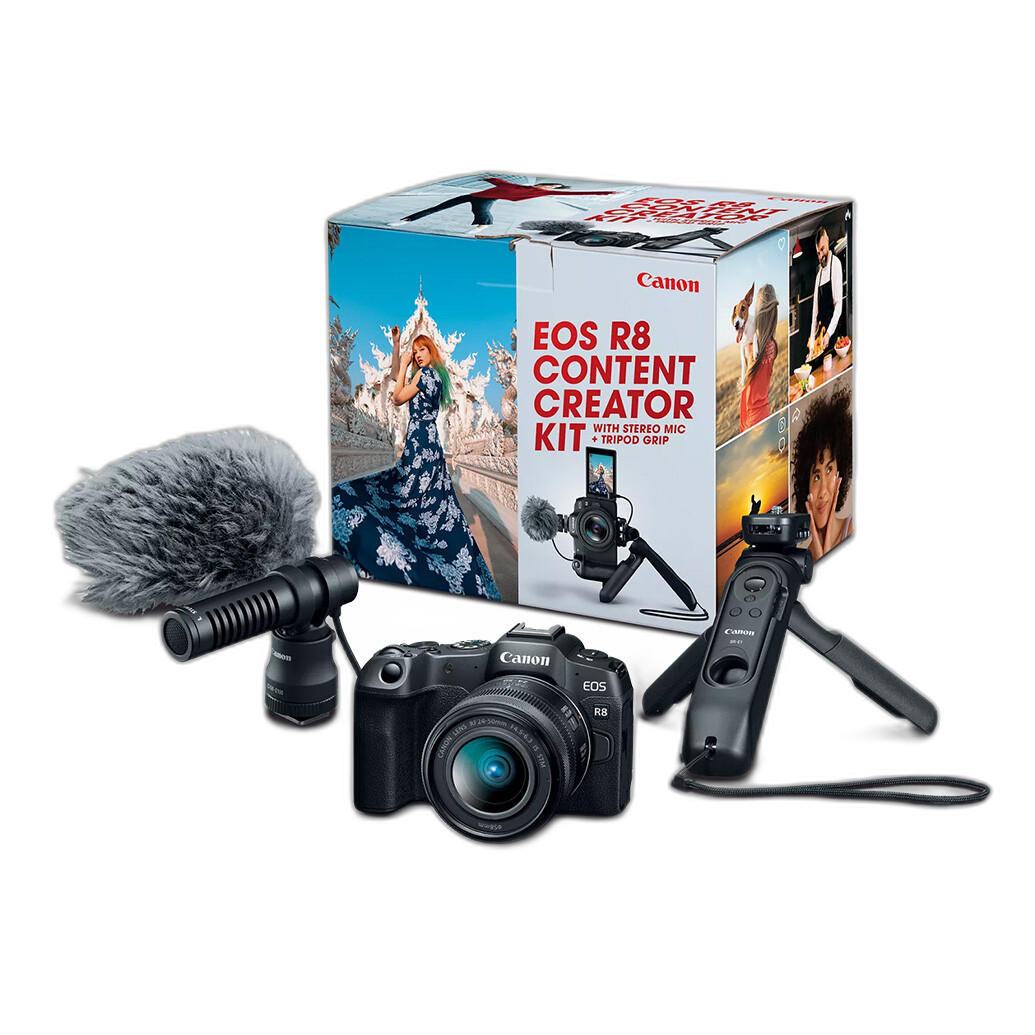
One of the best starting points for contest-ready editing is working from a RAW file whenever possible. RAW files preserve more highlight detail, shadow information, and color data than JPEGs, giving you greater control during post-processing. If your current kit is due for an upgrade, cameras like the Canon EOS R8 Content Creator Kit can provide excellent image quality and flexible files for detailed editing workflows.
Before making any local adjustments, start with global corrections:
- Set an accurate white balance.
- Adjust exposure so highlights are preserved and shadows remain natural.
- Refine contrast carefully instead of pushing sliders too far.
- Correct lens distortion and chromatic aberration.
- Apply modest sharpening and noise reduction as a foundation.
A clean RAW conversion creates a strong base for every later step. At this stage, avoid dramatic presets that may introduce clipped tones, unrealistic color, or distracting effects. Contest submissions generally benefit from restraint.
Best color correction techniques for contest submissions
Color is one of the first things judges notice. Even a compelling composition can lose impact if skin tones look off, shadows shift too blue, or saturation feels heavy-handed. For photo contest post-processing, color correction should support realism or a deliberate artistic style without becoming distracting.
Recommended techniques include:
- Use neutral references in the image to set white balance.
- Fine-tune HSL sliders selectively rather than increasing global saturation.
- Reduce oversaturated reds, oranges, and greens that can look artificial in print and on calibrated displays.
- Check skin tones separately from background colors.
- Compare your edit across multiple screens when possible.
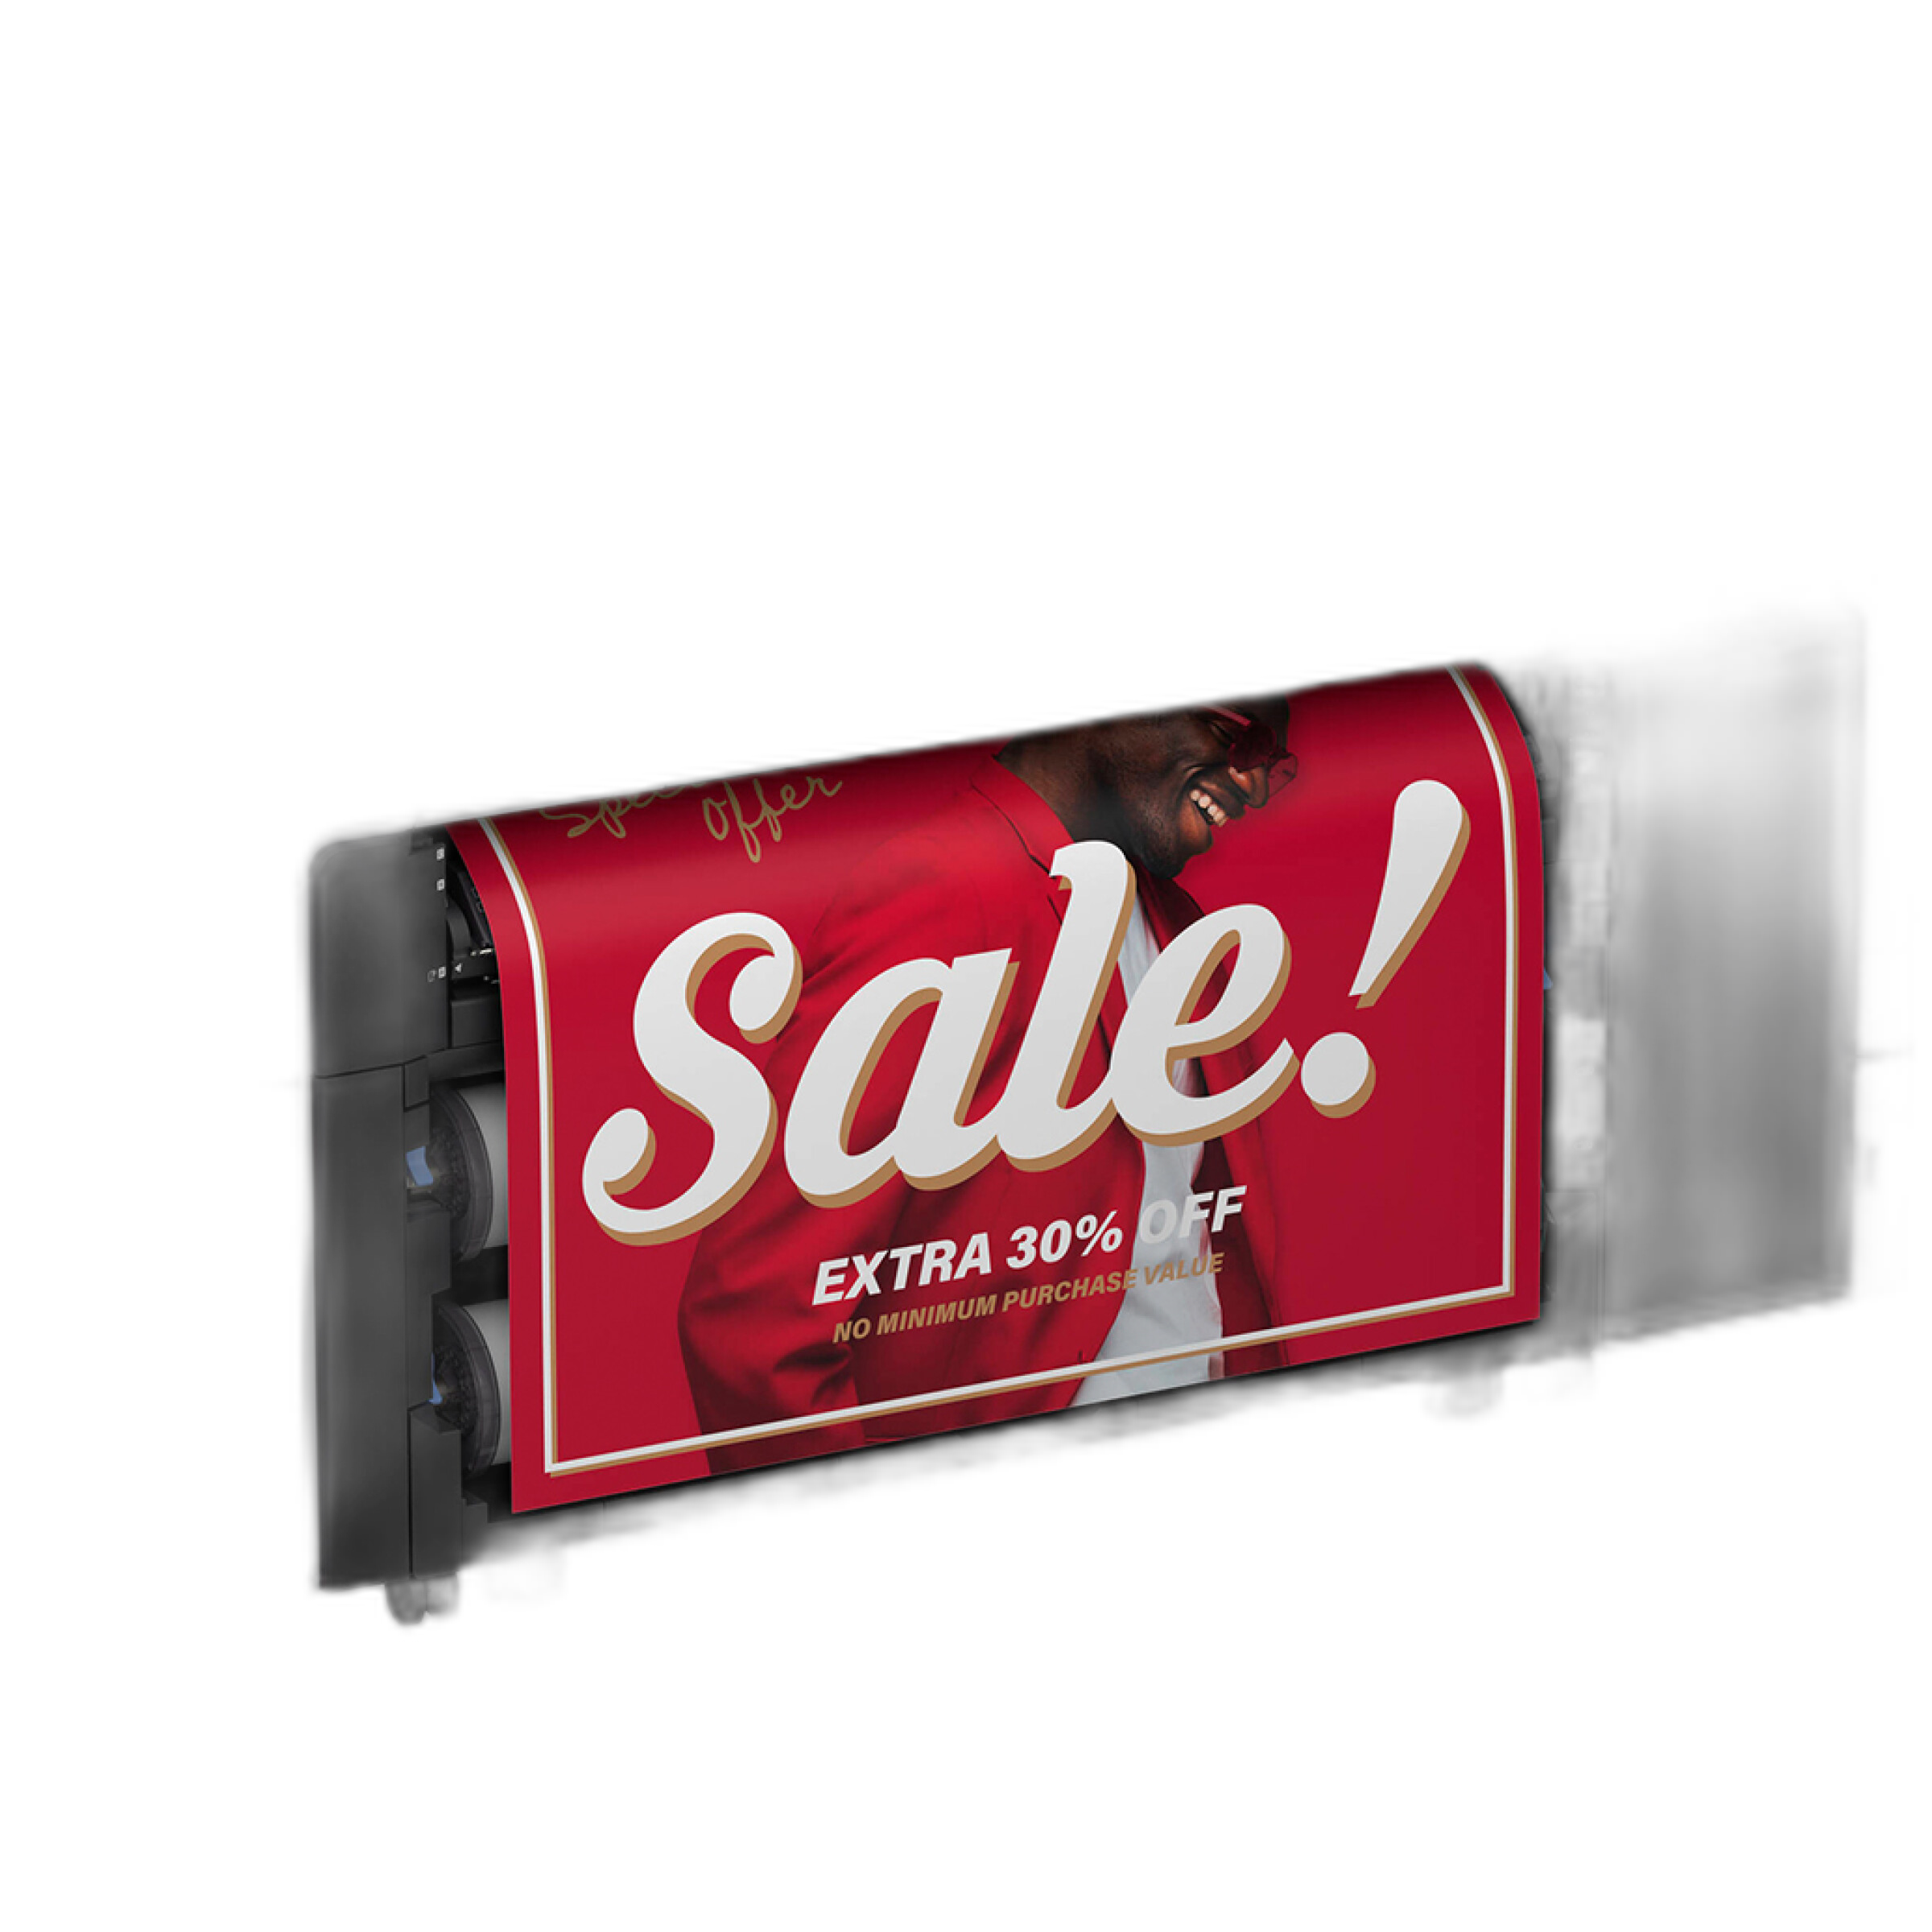
If your submission is intended for print judging, color management becomes even more important. Printing a proof can reveal issues that are easy to miss on-screen, especially in shadow transitions and saturated hues. For photographers producing larger proofs or presentation materials, an advanced printer like the Epson SureColor T7770DM 44in Large-Format Multifunction CAD/Technical Printe represents the kind of output solution professionals rely on for detailed evaluation and presentation workflows.
How much retouching is acceptable in photography contests?
This is one of the most common contest questions, and the answer depends entirely on the rules. Some competitions allow only basic tonal and color adjustments. Others welcome composites, extensive retouching, or digital art techniques. Before editing, read the contest guidelines carefully.
In general, acceptable post-processing for many contests includes:
- Exposure and contrast correction
- White balance adjustment
- Dodging and burning
- Sharpening and noise reduction
- Minor cropping and straightening
- Sensor dust removal
Potentially restricted edits may include:
- Adding or removing major elements
- Sky replacement
- Heavy skin smoothing
- AI-generated content
- Compositing multiple frames without disclosure
If the category is documentary, photojournalism, or nature, judges may reject images that appear manipulated beyond basic darkroom-style corrections. If the category is fine art or commercial illustration, more extensive editing may be acceptable. Unique Photo regularly serves photographers across all genres, and the best practice is always to match your editing style to the rules and intent of the competition.
Sharpening and noise reduction tips for contest-ready images
Sharpening and noise reduction should enhance detail, not call attention to the editing process. Oversharpened edges, crunchy textures, and plastic-looking surfaces can make even a strong image feel amateur.
Use a three-part approach:
- Capture sharpening: Apply light sharpening to counter the softness of RAW capture.
- Creative sharpening: Direct attention to important areas such as eyes, texture, or architectural detail.
- Output sharpening: Adjust final sharpening based on whether the image will be viewed online or printed.
For noise reduction, be especially careful with shadow areas and high-ISO files. Preserve texture in hair, foliage, feathers, and fabric. Judges often prefer natural grain over heavy-handed smoothing. Zoom to 100%, but also step back and evaluate the image at normal viewing size. Contest photos should look strong both technically and aesthetically.
Cropping and composition refinement for photo competitions
Cropping is not just a corrective tool. It is a critical step in shaping how a judge experiences your image. Small changes in framing can improve balance, remove distractions, and strengthen subject emphasis.
When cropping contest images:
- Maintain the aspect ratio required by the contest.
- Eliminate edge distractions and bright pull-points.
- Keep horizon lines and architectural elements straight.
- Do not crop so aggressively that file quality suffers.
- Reassess visual weight and negative space after each crop.
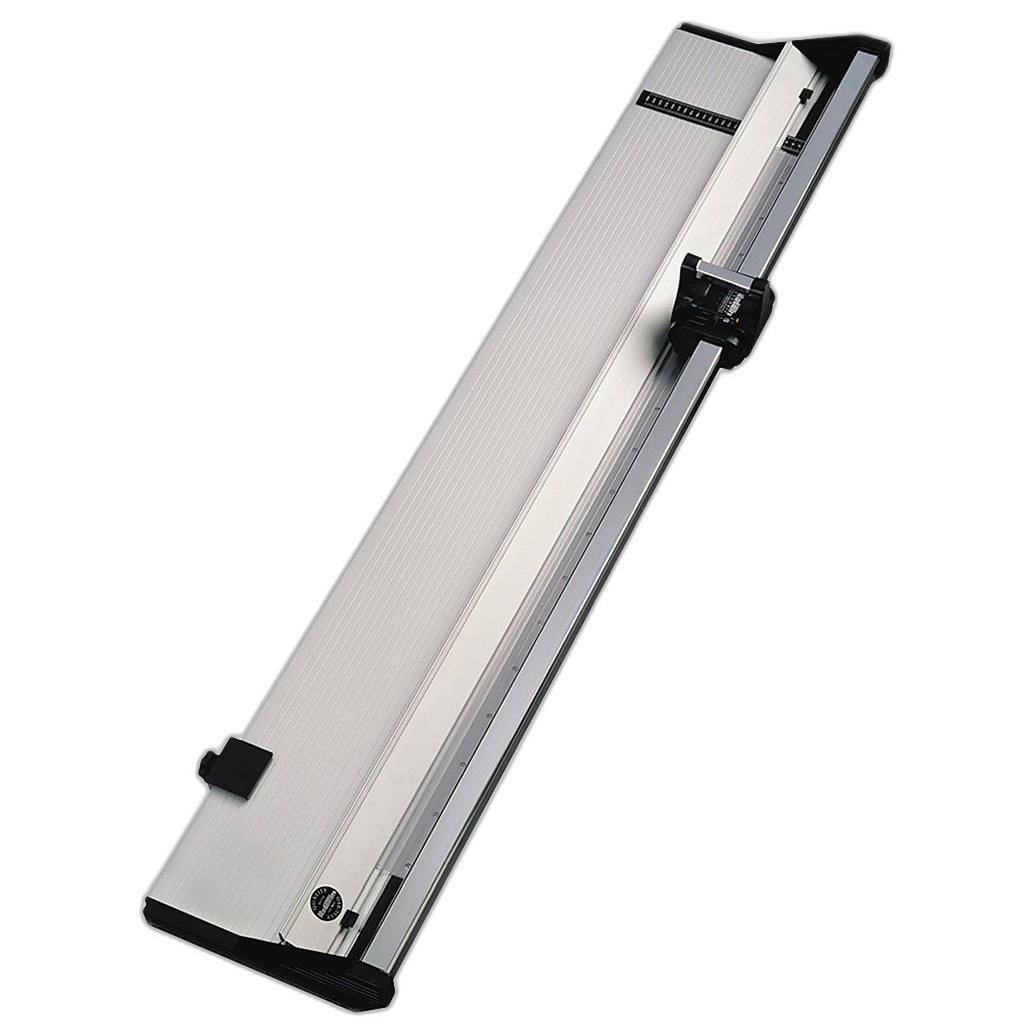
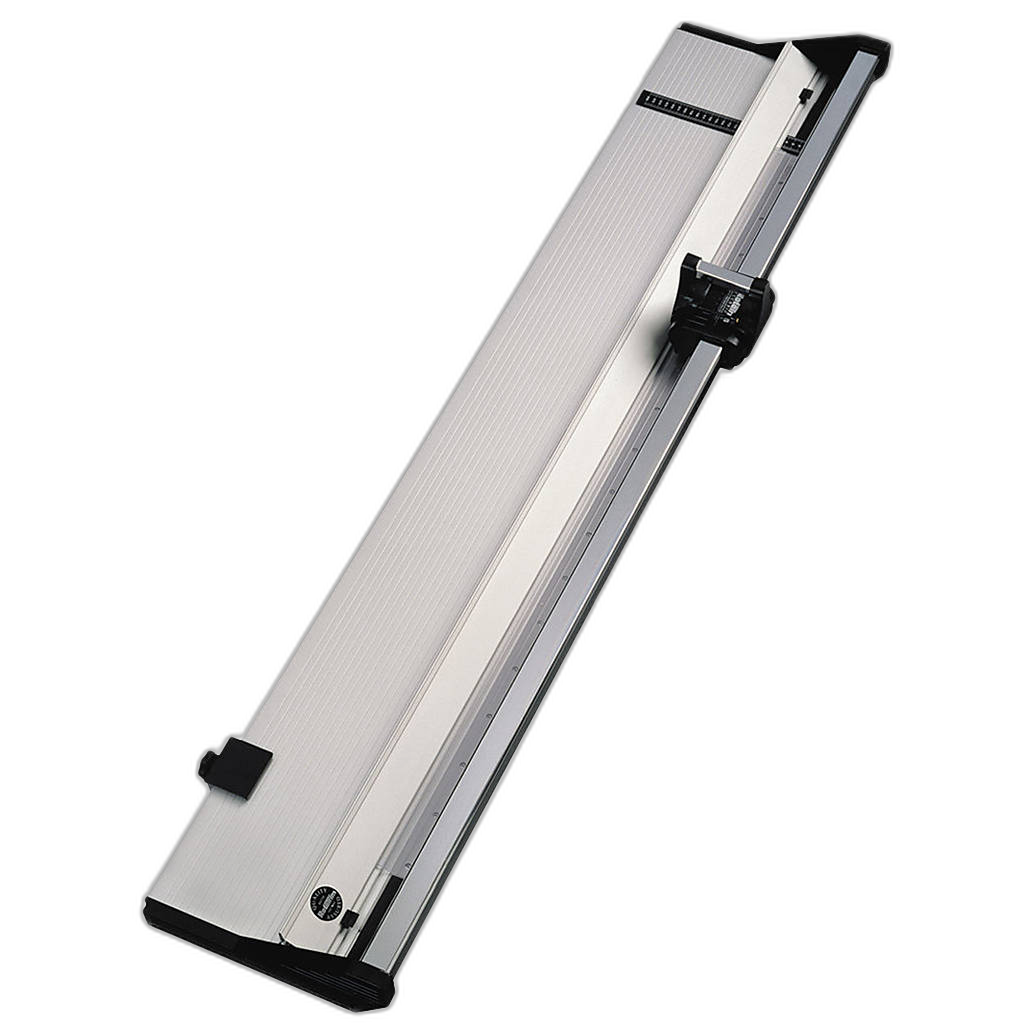
If you are submitting a print, physical trimming quality matters too. A clean edge can make presentation feel far more professional. Tools like the Rotatrim Technical Series 1550, Rotatrim Technical Series 2150, and Rotatrim Technical Series 2500 are practical options for photographers who want precise, polished print finishing.
Dodging and burning techniques that improve contest images
Dodging and burning remain among the most effective and accepted ways to guide the viewer’s eye. Instead of relying on dramatic clarity or contrast adjustments, subtle local light shaping can add depth and direct attention more elegantly.
Good dodging and burning can:
- Brighten a subject’s face or eyes slightly
- Control overly bright background areas
- Enhance dimensionality in landscapes and still lifes
- Add visual separation between subject and environment
- Support mood without introducing halos or artifacts
Use low-opacity brushwork or luminosity-based masks for smooth transitions. The most successful edits are often the ones viewers never consciously notice.
Preparing images for online photo contests vs print contests
Not all contests evaluate images the same way. A submission optimized for Instagram-sized viewing may not perform well in a print competition, and a file prepared for fine-art print can appear flat or oversharpened online if exported incorrectly.
For online contests:
- Resize exactly to the requested pixel dimensions.
- Export in the required file type, usually JPEG.
- Use the proper color space, often sRGB.
- Apply output sharpening for screen viewing.
- Check for compression artifacts after export.
For print contests:
- Soft-proof using the intended paper or printer profile if available.
- Inspect detail and tonal transitions at print size.
- Be conservative with saturation and deep shadow adjustments.
- Use proper resolution, commonly 240 to 300 ppi.
- Trim and mount carefully if presentation is required.
Unique Photo can be a valuable resource for photographers preparing both digital and print contest entries, especially when you need gear, printing solutions, or finishing tools that support a professional result.
File naming, metadata, and export settings for contest submission
Administrative mistakes can disqualify excellent work. After editing, make sure the final export matches every submission requirement exactly.
Checklist for final delivery:
- Rename files according to contest rules.
- Remove or retain metadata depending on anonymity requirements.
- Confirm dimensions, resolution, and file size limits.
- Embed the correct color profile.
- Double-check that watermarks are removed unless specifically permitted.
- Review the final image on a separate screen before uploading.
Many competitions use blind judging. If the rules prohibit identifying information, make sure your metadata, filename, and visible content do not reveal your identity.
Common post-processing mistakes that hurt contest entries
Even advanced photographers can lose points through avoidable editing choices. The most common mistakes include:
- Over-saturated colors
- Excessive HDR effects
- Crushed blacks and clipped highlights
- Heavy vignetting
- Overdone skin retouching
- Visible cloning errors
- Halos from aggressive sharpening or masking
- Poor monitor calibration leading to inaccurate final color
When in doubt, take a break and review the image later with fresh eyes. Better yet, ask for feedback from a trusted peer before submitting. Strong contest editing is usually subtle, intentional, and technically disciplined.
Advanced compositing and category-specific editing considerations
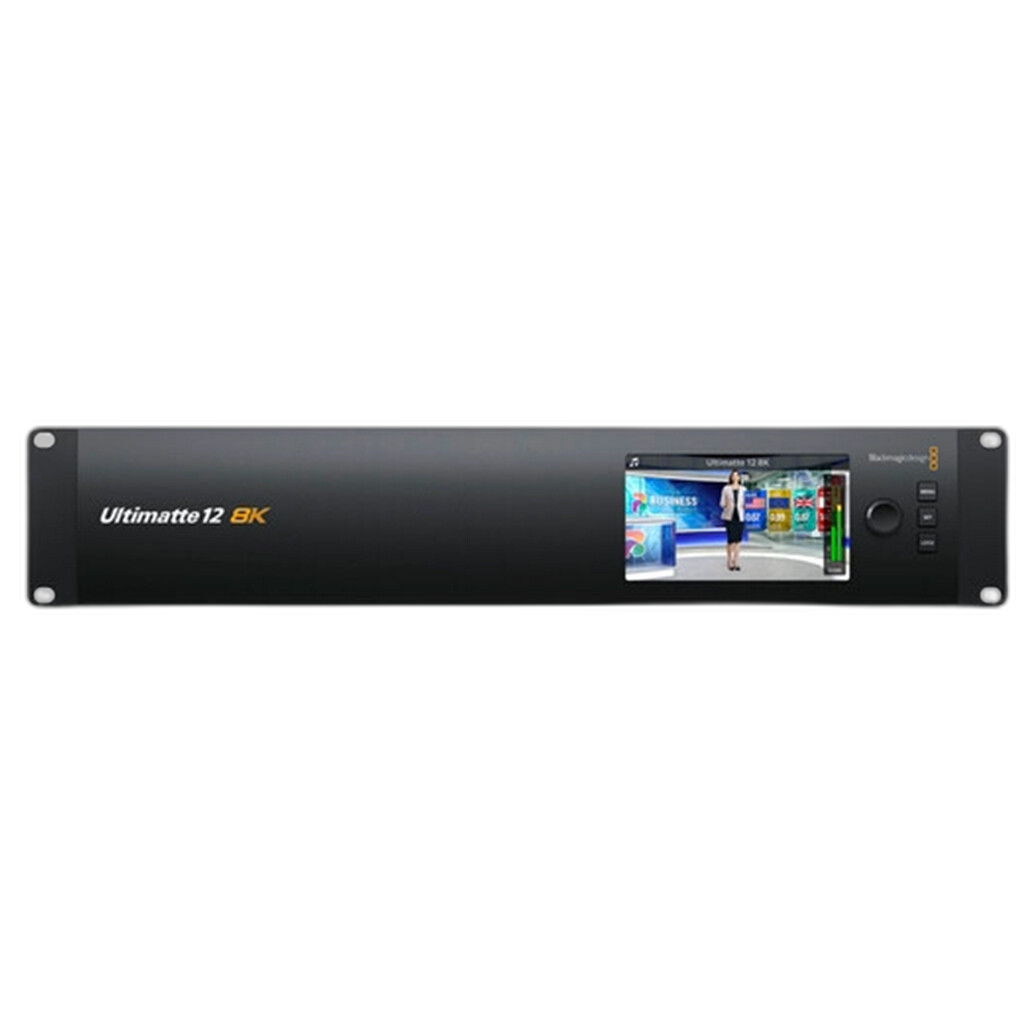
Some contests allow conceptual or commercial-style image construction. In those cases, advanced compositing, background replacement, and layered production techniques may be part of the creative vision. Video and virtual production tools such as the Blackmagic Design Ultimatte 12 8K Keyer/Advanced Compositing Processor reflect the broader professional ecosystem surrounding high-end compositing workflows, though still-image contestants should always verify whether such edits are allowed in their chosen category.
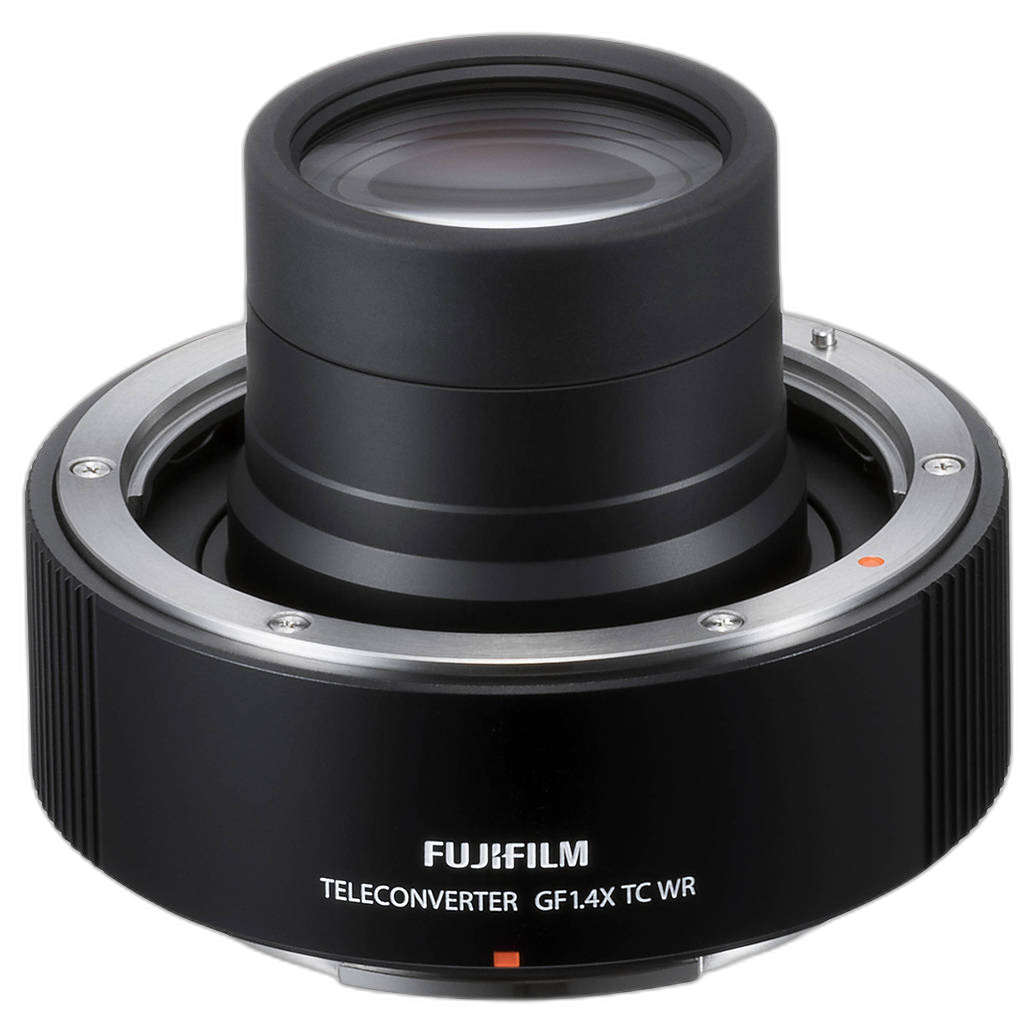
Likewise, genre-specific capture choices can influence post-processing flexibility. Wildlife and distant-subject photographers, for example, may use tools like the Fujifilm GF 1.4X TC WR Teleconverter for G-Mount Lenses to frame tighter in-camera and reduce the need for excessive cropping later.
Final checklist for contest submission success
Before you upload or print your final image, run through a simple final review:
- Read the contest rules one more time.
- Compare your edit against the category’s allowed adjustments.
- Inspect the file at full size for artifacts or dust spots.
- Evaluate color and brightness on a calibrated or trusted display.
- Export to the required specs.
- Proof the print or digital file before submission.
- Submit early to avoid last-minute errors.
The best post-processing techniques for contest submissions are the ones that strengthen your image without distracting from it. Clean tonal work, accurate color, subtle local adjustments, thoughtful sharpening, and polished presentation can all help your work stand out for the right reasons.
If you are refining your contest workflow, Unique Photo is a great place to explore cameras, printing solutions, and presentation tools that support professional results. You can also consider internal links to related resources such as camera buying guides, printer and paper recommendations, lens accessories for sharper in-camera composition, and print finishing tools for exhibition-ready presentation.