Travel photography moves fast. One moment you are shooting sunrise from a train platform, and the next you are grabbing a quick street portrait before dinner. That is why the RAW vs JPEG decision is less about theory and more about workflow. The best format is often the one that helps you keep shooting, stay organized, and get your images shared or edited without slowing down your trip. Here are practical tips for choosing the right format on the road and building a travel workflow that actually works.
Why RAW vs JPEG Matters on a Trip
At home, you may have time to fine-tune every file. While traveling, you are balancing battery life, memory card space, backup strategy, editing time, and sometimes limited internet. RAW files give you more editing latitude, while JPEG files are faster to transfer, easier to share, and lighter on storage. The smart move is to match the format to the situation.
Practical Tips for Choosing RAW, JPEG, or Both
1. Use RAW when the light is difficult or changing fast
If you are photographing sunrise, sunset, interiors, night markets, or mixed lighting in cities, RAW gives you more room to recover highlights and adjust white balance later. Travel scenes often combine bright skies with deep shadows, and that extra flexibility can save images that would otherwise be hard to fix.
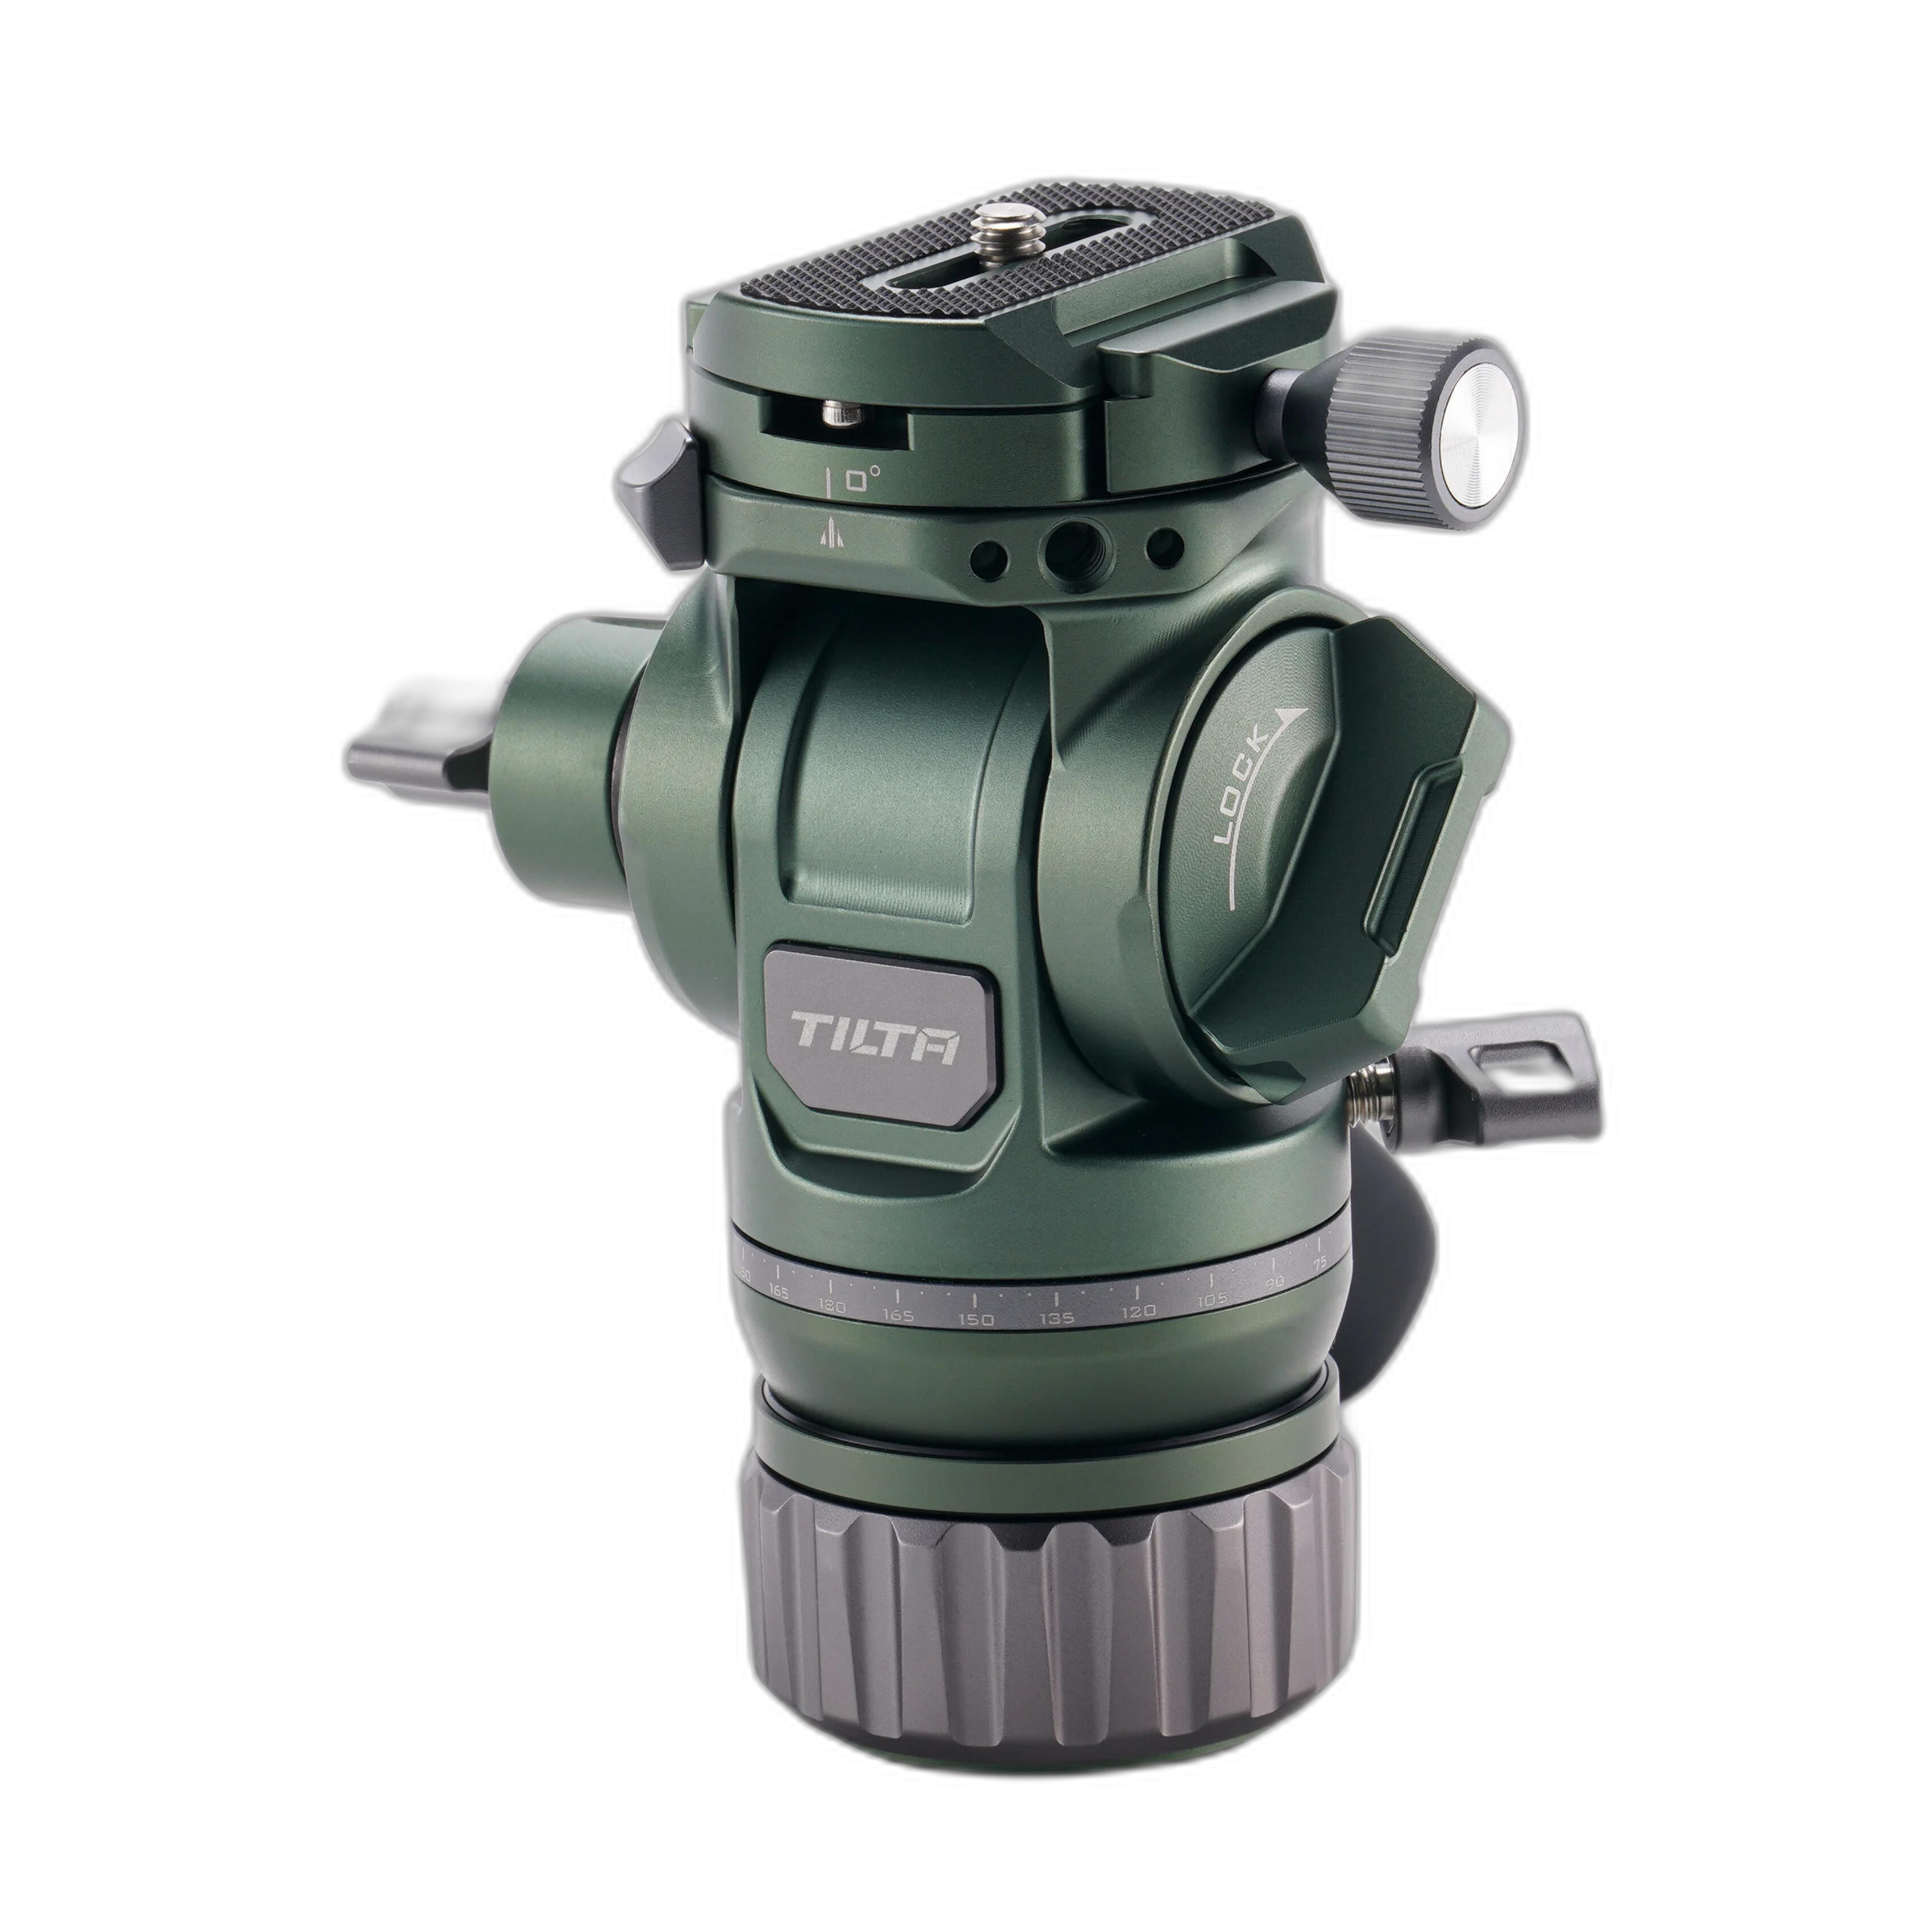
This is especially useful when shooting landscapes or locked-off city scenes from a support setup. If you travel with a compact tripod kit, a head like the Tilta Travel Video Fluid Head with Flat Base Forest Green - 5KG can help stabilize precise compositions for scenic stills and hybrid content, especially when you want to keep horizons clean and framing consistent.
2. Choose JPEG when speed matters more than editing latitude
JPEG is ideal when you want to move fast and deliver faster. Think family travel days, walking tours, food snapshots, or casual street scenes you plan to share the same day. Modern cameras produce excellent JPEGs, and dialing in picture profiles, contrast, and white balance before you shoot can get you very close to a finished look.
If your goal is quick posting from a phone or tablet, JPEG keeps your workflow light. Smaller files mean quicker imports, easier cloud uploads, and less time spent sorting through oversized folders in a hotel room.
3. Shoot RAW+JPEG for your most important travel days
If you are visiting a once-in-a-lifetime location, RAW+JPEG is often the safest compromise. The JPEG gives you an instant shareable file, while the RAW acts as your insurance policy for hero shots. This works well for weddings you attend while traveling, major landmarks, guided excursions, or wildlife encounters where reshooting is not an option.
The tradeoff is storage, so reserve RAW+JPEG for high-value days rather than leaving it on for an entire multi-week trip unless you have a strong card and backup strategy.
4. Let your destination shape your file format
- City travel: JPEG or RAW+JPEG works well for volume shooting and quick social sharing.
- Nature and landscapes: RAW is usually the better choice for dynamic range and color correction.
- Food and casual daily moments: JPEG often makes the most sense.
- Architecture and interiors: RAW helps when correcting exposure and color casts.
When you know what kind of scenes dominate your itinerary, you can choose more intentionally instead of treating every day the same.
5. Use JPEG when you want to edit less on vacation
Not every trip needs to become a full post-production project. If you know you would rather enjoy the destination than spend each evening editing, JPEG helps keep photography fun and manageable. Set your camera to a look you like, expose carefully, and focus on storytelling rather than heavy file recovery later.
This is one of the most overlooked benefits of JPEG: it protects your time.
6. Save RAW for images you may print later
If you are creating work for prints, photo books, portfolio updates, or client delivery, RAW is a better long-term choice. Travel images often become more valuable over time, especially from special destinations. A RAW file gives you more control when revisiting an image months later with fresh editing ideas or better software tools.
Workflow Tips That Make Travel Easier
7. Build a simple nightly backup routine
The format you choose affects how much data you need to manage. RAW-heavy trips demand discipline. A simple routine works best: back up cards each night, confirm the transfer, then keep cards unformatted until you have a second copy if possible. If you are mostly shooting JPEG, this process is quicker and easier, which may matter on fast-moving travel days.
8. Rate images in-camera or immediately after import
Whether you shoot RAW or JPEG, culling is where workflow either stays efficient or becomes overwhelming. Use in-camera ratings if your system supports it, or flag favorites during import. Travel photographers often overshoot because everything is new, so a fast first pass saves a lot of editing time later.
9. Keep a small support kit for better files in either format
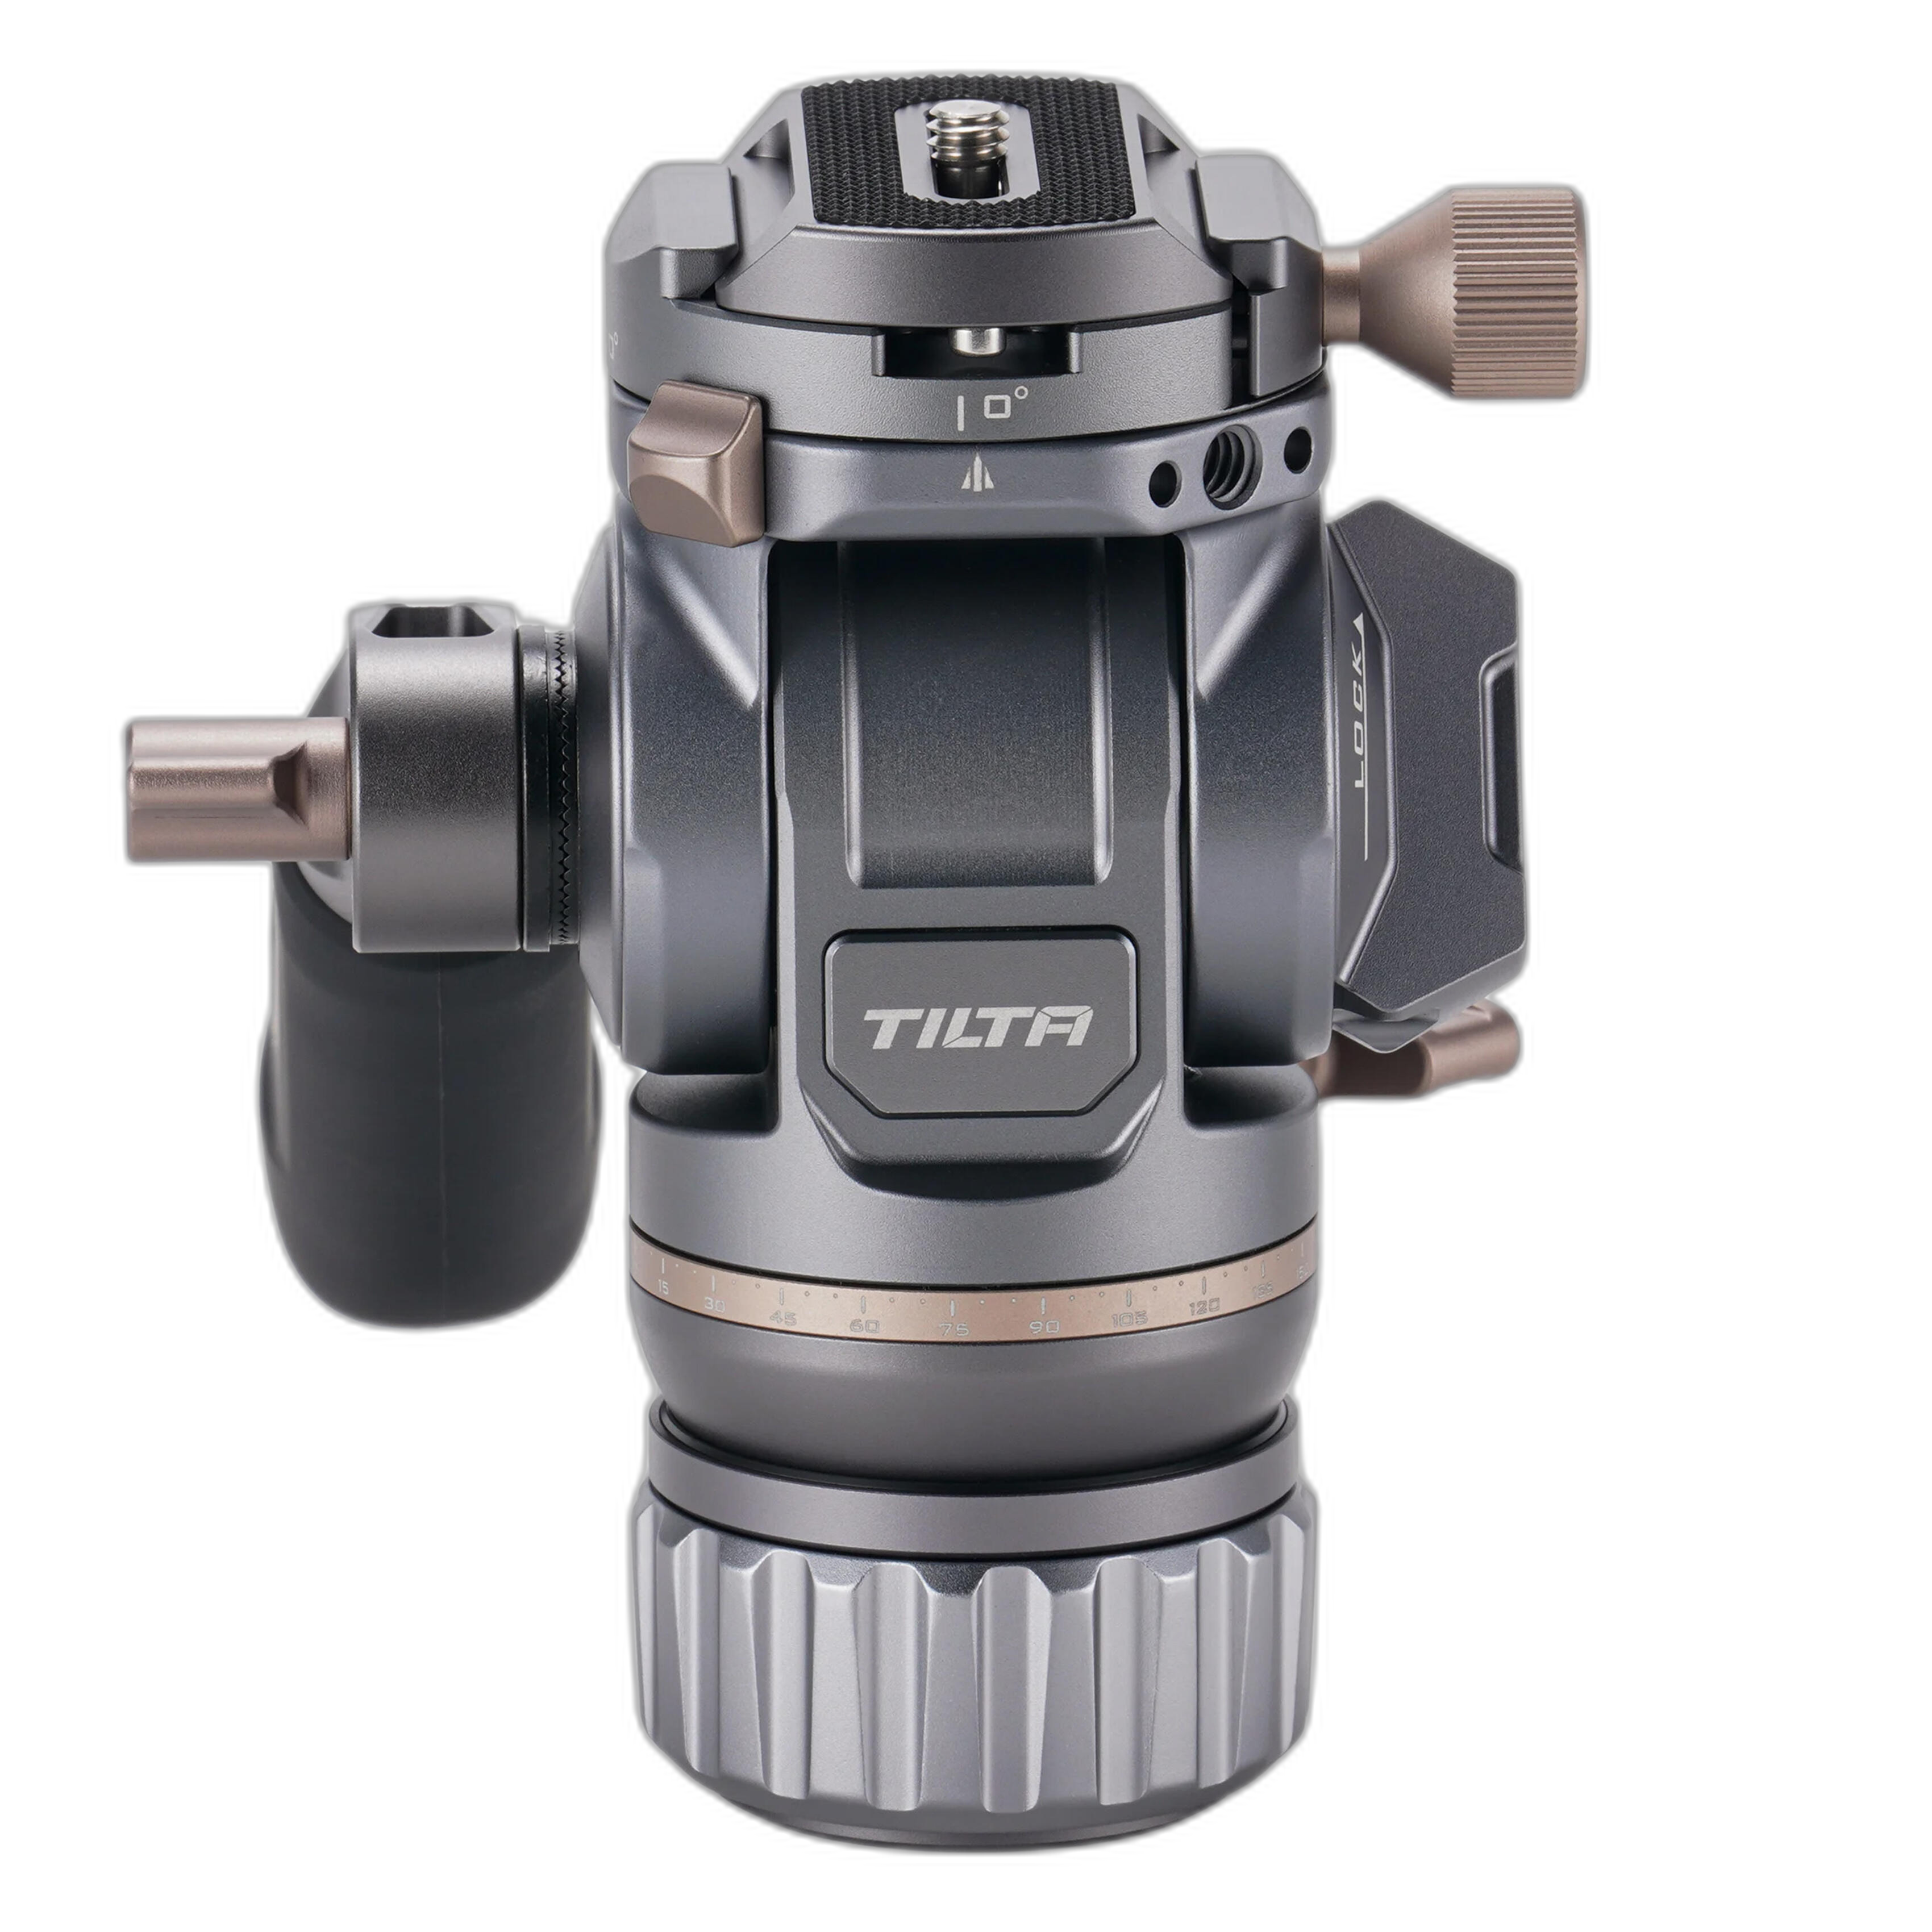
Good technique improves both RAW and JPEG results. A stable platform can help you lower ISO, refine composition, and capture cleaner files in low light. The Tilta Travel Video Fluid Head with Flat Base Space Gray - 5KG is a practical example for travelers who shoot both stills and video and want smoother control in a portable setup.
Even if you mostly shoot JPEG, getting it right in-camera is the whole game, so stability matters.
10. Create better portraits and detail shots with simple light control
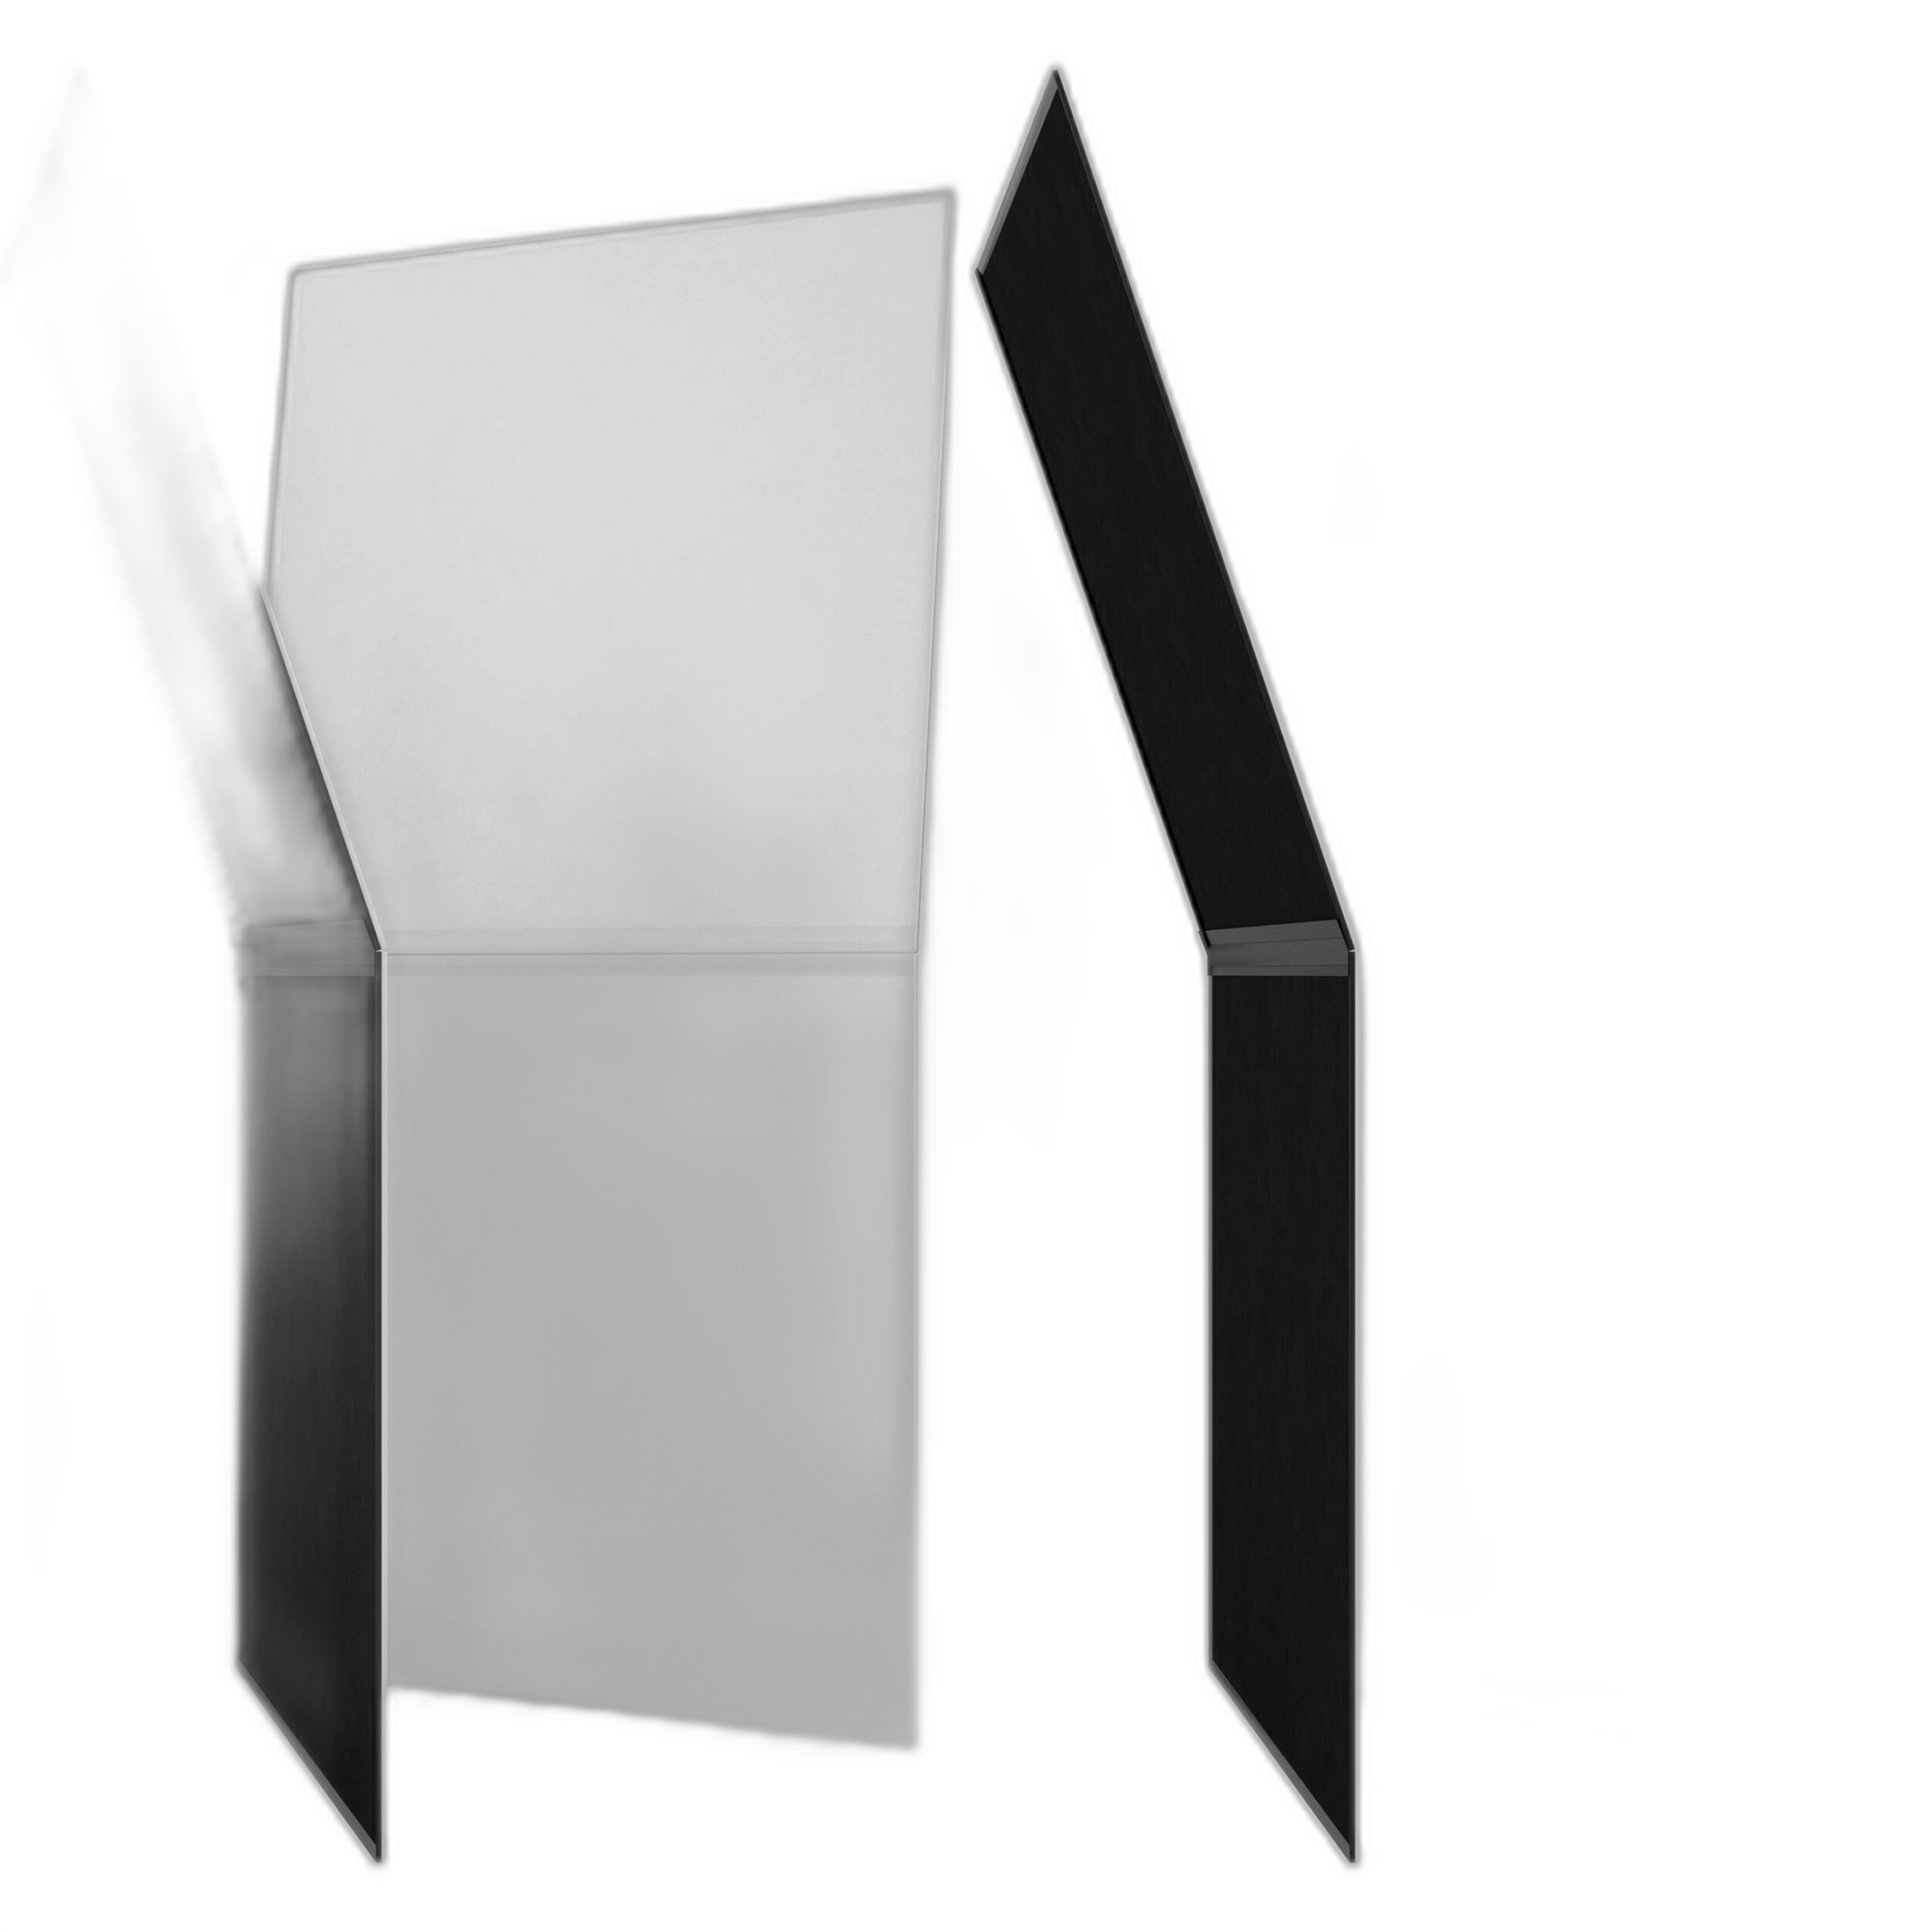
Travel photography is not only landscapes and landmarks. You may also photograph souvenirs, food, travel gear, or portraits in a rental space or hotel room. In those situations, controlling light can reduce the need for heavy RAW corrections later. A foldable reflector surface like the V-FLAT WORLD Foldable V-Flat 2.0 2-Pack Bundle can help bounce or subtract light for cleaner shadows and more polished detail images while remaining easier to store than larger studio tools.
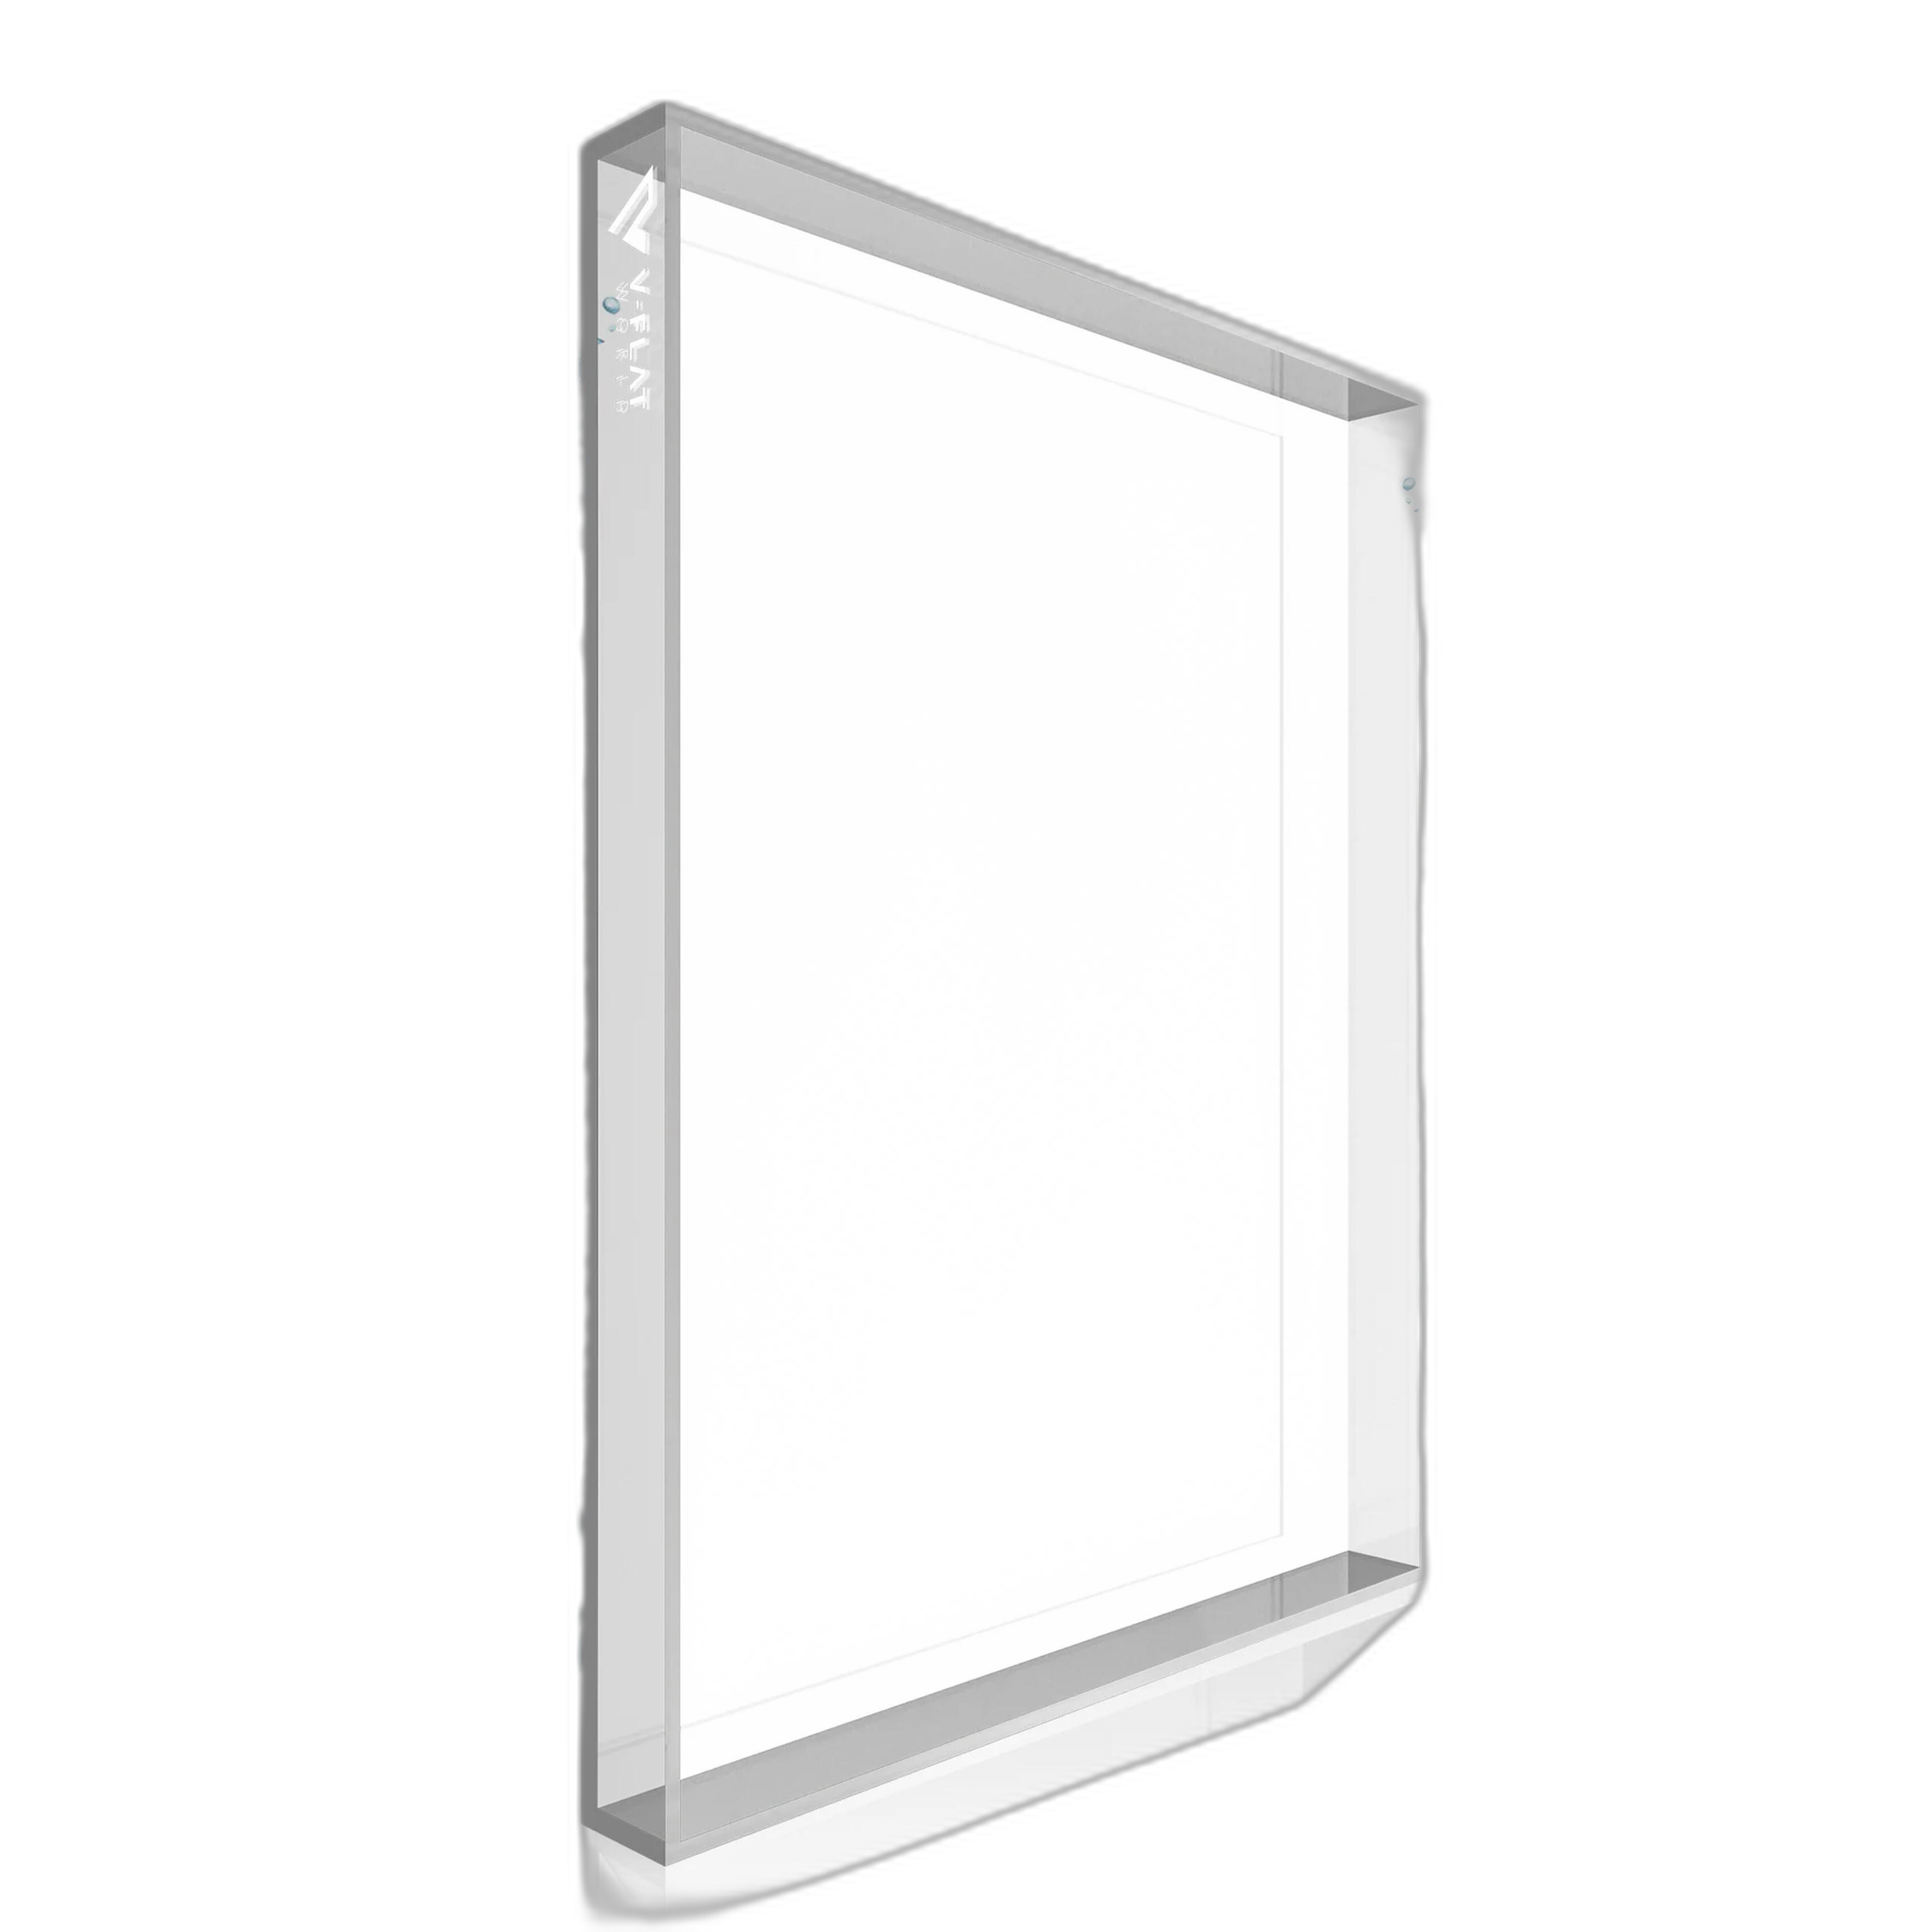
For more compact tabletop travel content, especially product-style souvenir or food shots, the V-Flat World Photography Aqua Tray (24inx19in) can be useful for creating stylized reflective scenes when you have time to experiment creatively off the main itinerary.
11. Use JPEG for social, RAW for the final edit
A smart hybrid approach is to share JPEGs while traveling and save your RAW edits for after you return. This keeps you present during the trip but preserves the quality and flexibility you want for final selects. Many photographers find this is the best balance between enjoying travel and protecting image quality.
12. If your camera has great film simulations or picture styles, lean into JPEG
One reason JPEG is more popular than ever is that many cameras now produce beautiful color straight out of camera. If you already love your camera's rendering, JPEG may be a creative choice rather than a compromise. Test your settings before the trip so you know how skin tones, skies, and shadows will look in real travel conditions.
13. Use RAW when white balance is unpredictable
Street scenes at night, temples with mixed illumination, museums, and restaurants can all produce strange color casts. RAW makes correcting those files much easier. If you expect inconsistent lighting all day, RAW can reduce frustration later and help keep a series looking consistent.
14. Think about your device limitations before you leave
If you plan to edit on a laptop, tablet, or phone while traveling, be honest about what your device can handle. Large RAW files can slow down imports and previews, especially on older mobile gear. JPEG may be the better travel companion if you want a lighter, faster setup on the road.
A Simple Real-World Recommendation
If you want an easy starting point, try this:
- RAW: landscapes, interiors, low light, and any must-keep images
- JPEG: casual sightseeing, social sharing, food, and everyday moments
- RAW+JPEG: special excursions, portraits, and once-in-a-lifetime scenes
This approach keeps your workflow flexible without creating unnecessary editing backlog.
Conclusion
RAW vs JPEG is not about which format is universally better. It is about choosing the right tool for the moment, the destination, and the way you actually like to work. Keep your workflow realistic, protect your best files, and do not let overcomplication get in the way of enjoying the trip. For travel-friendly gear and creative tools to support your photography, explore more options at Unique Photo.