Introduction
Push and pull processing can dramatically change how your film handles difficult lighting, contrast, grain, and color. But knowing when to push, why to pull, and which processing route makes sense is just as important as choosing the film itself. In this comparison, we’re looking at several useful options related to film processing: a home C-41 chemistry kit, a prepaid E-6 mailer, lab-based negative processing, and an educational workshop for black-and-white processing. We’ll also briefly clear up a common point of confusion: some camera lenses use a “push/pull” zoom design, which is completely different from push/pull film processing.
Whether you’re trying to save underexposed negatives, tame overly contrasty scenes, or decide between DIY and lab processing, this guide breaks down the strengths of each option.
Side-by-Side Comparison
| Product | Best For | Film Type / Use | Main Advantage | Push/Pull Relevance |
|---|---|---|---|---|
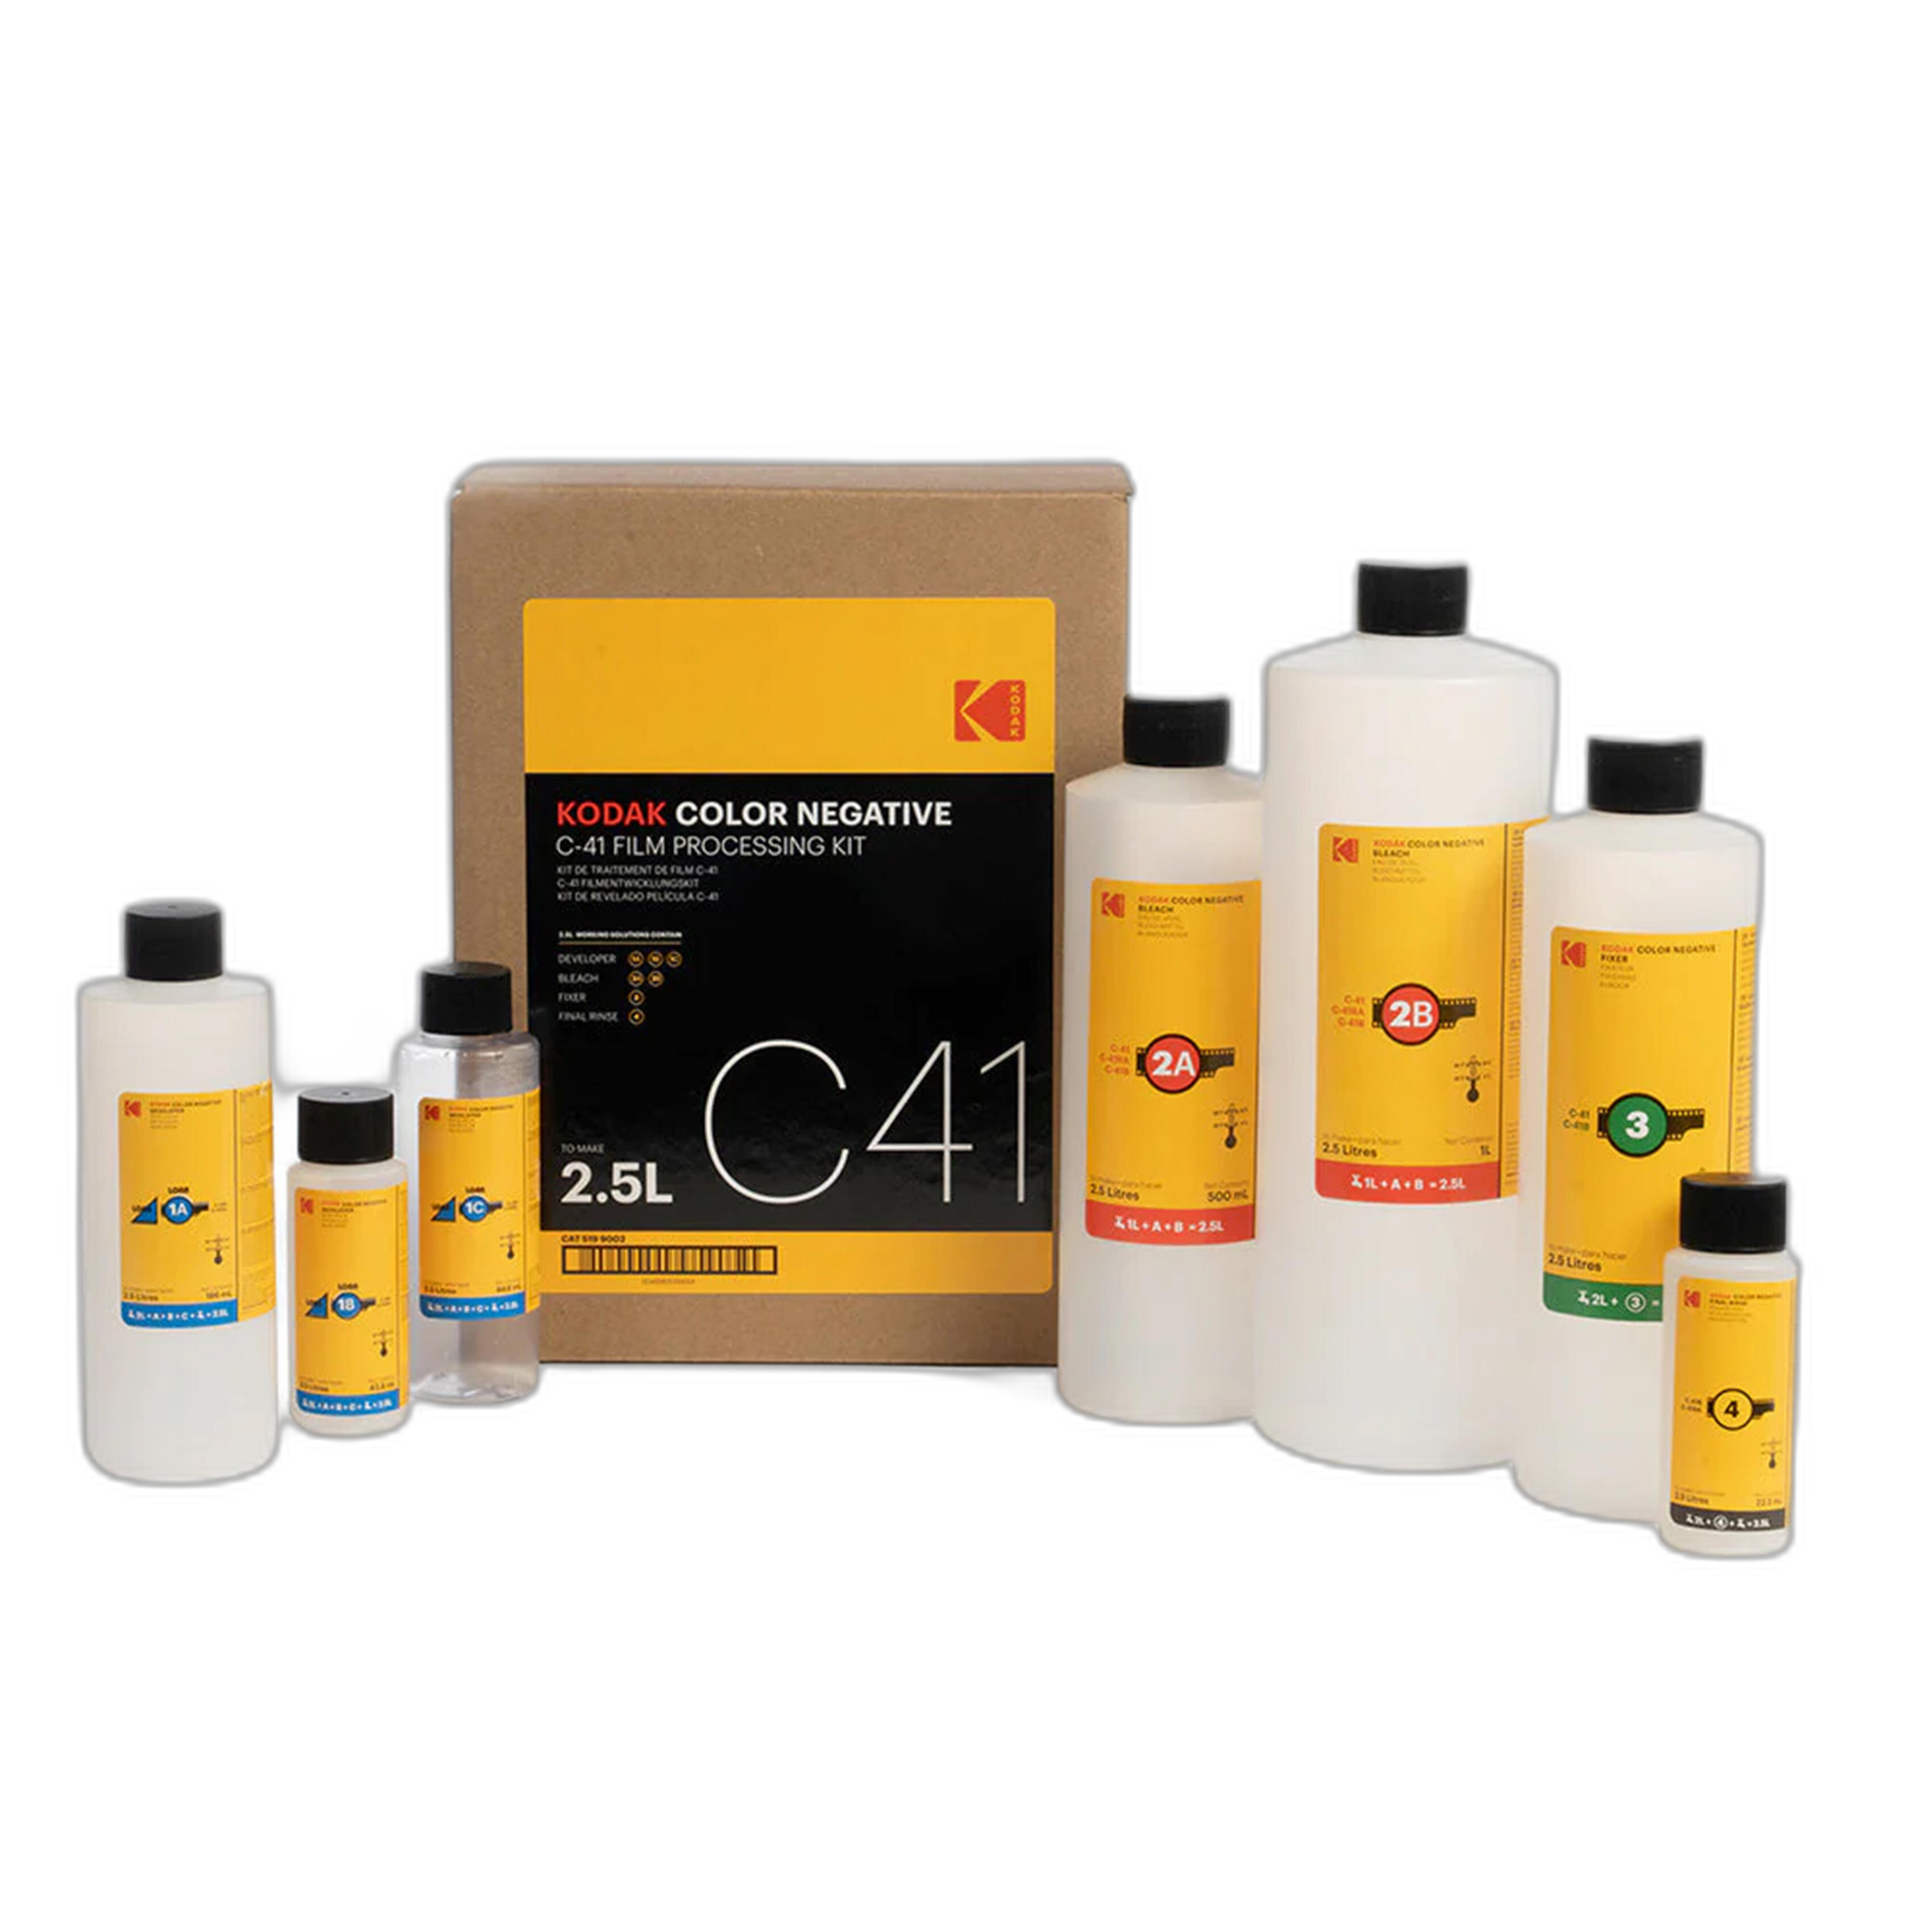
| Kodak Color Negative C-41 Film Processing Kit - 2.5 Liters | Home processors | C-41 color negative film | Control and repeatability at home | Useful when experimenting with development adjustments and managing your own workflow |
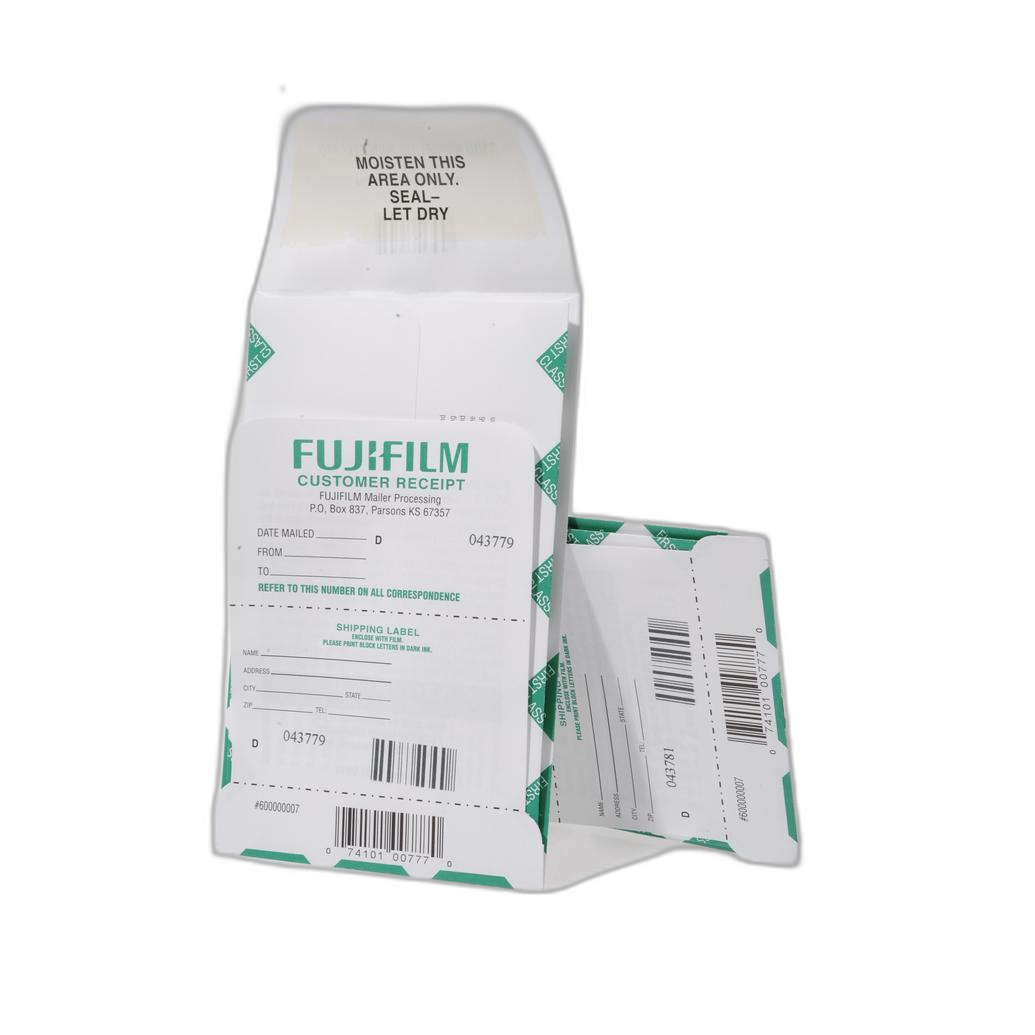
| Fujifilm Pre-Paid Processing Mailer 36 Exp(or 120) E-6/FujiChrome/Ektachrome | Slide film shooters who want convenience | E-6 slide film | Simple send-out processing | Best when you want reliable handling for transparency film, where exposure precision matters greatly |
| 220 NEGATIVE PROCESSING UNIQUE PHOTO LAB | Shooters using 220 negative film | Negative film lab processing | Professional lab service | Helpful when you want consistency rather than DIY experimentation |
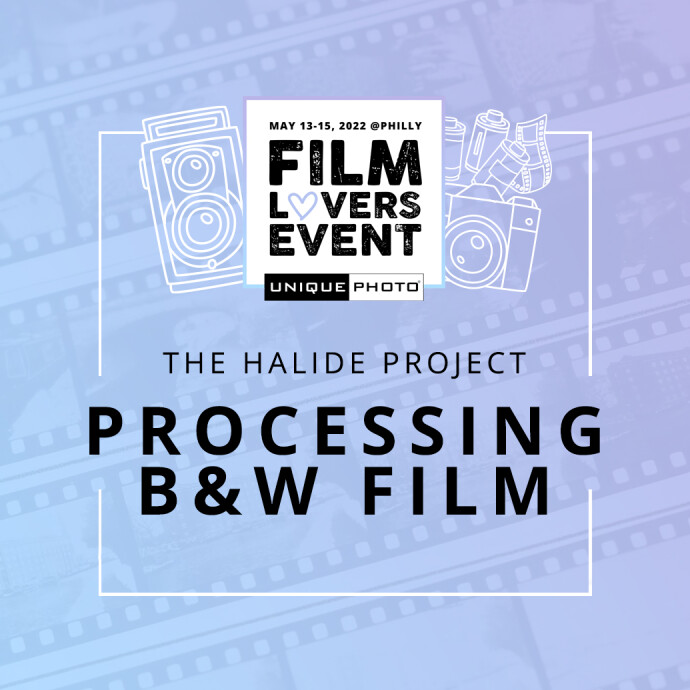
| Film Lovers Event: Processing B and W Film at The Halide Project (Philly) | Learners and black-and-white enthusiasts | B&W film education | Hands-on instruction | Excellent for understanding how push/pull impacts contrast, shadow detail, and grain |
| Used Canon EF 100-400mm f/4.5-5.6 L USM Push/Pull - Fair | Lens buyers | Push/pull zoom lens design | Fast focal length changes | Not related to push/pull film processing; included only to clarify terminology |
| Used Nikon 70-210mm f/4-5.6 AF Nikkor Push/Pull - Good | Lens buyers | Push/pull zoom lens design | One-touch zoom operation | Not related to push/pull film processing; included only to clarify terminology |
What Push and Pull Processing Actually Mean
Pushing film usually means rating your film at a higher ISO than box speed and then compensating in development. A common example is shooting ISO 400 film at ISO 800 or 1600, then extending development to build density. Photographers do this when they need more shutter speed, smaller apertures, or simply have limited light.
Pulling film is the opposite approach: rating the film at a lower ISO than box speed and then reducing development. This is often done to control contrast in bright, harsh scenes or to preserve highlight detail.
In practical terms:
- Push when: light is low, subject motion demands faster shutter speeds, or you want a grittier, higher-contrast look.
- Pull when: the scene is extremely contrasty, you want smoother tonal transitions, or you intentionally overexposed and want to rein in highlights.
Category-by-Category Analysis
Best Option for DIY Color Negative Processing
The Kodak Color Negative C-41 Film Processing Kit - 2.5 Liters is the strongest choice here for photographers who want hands-on control over their color negative workflow. If you’re exploring exposure adjustments and want to understand how development affects your negatives, home processing gives you the closest connection to the result.
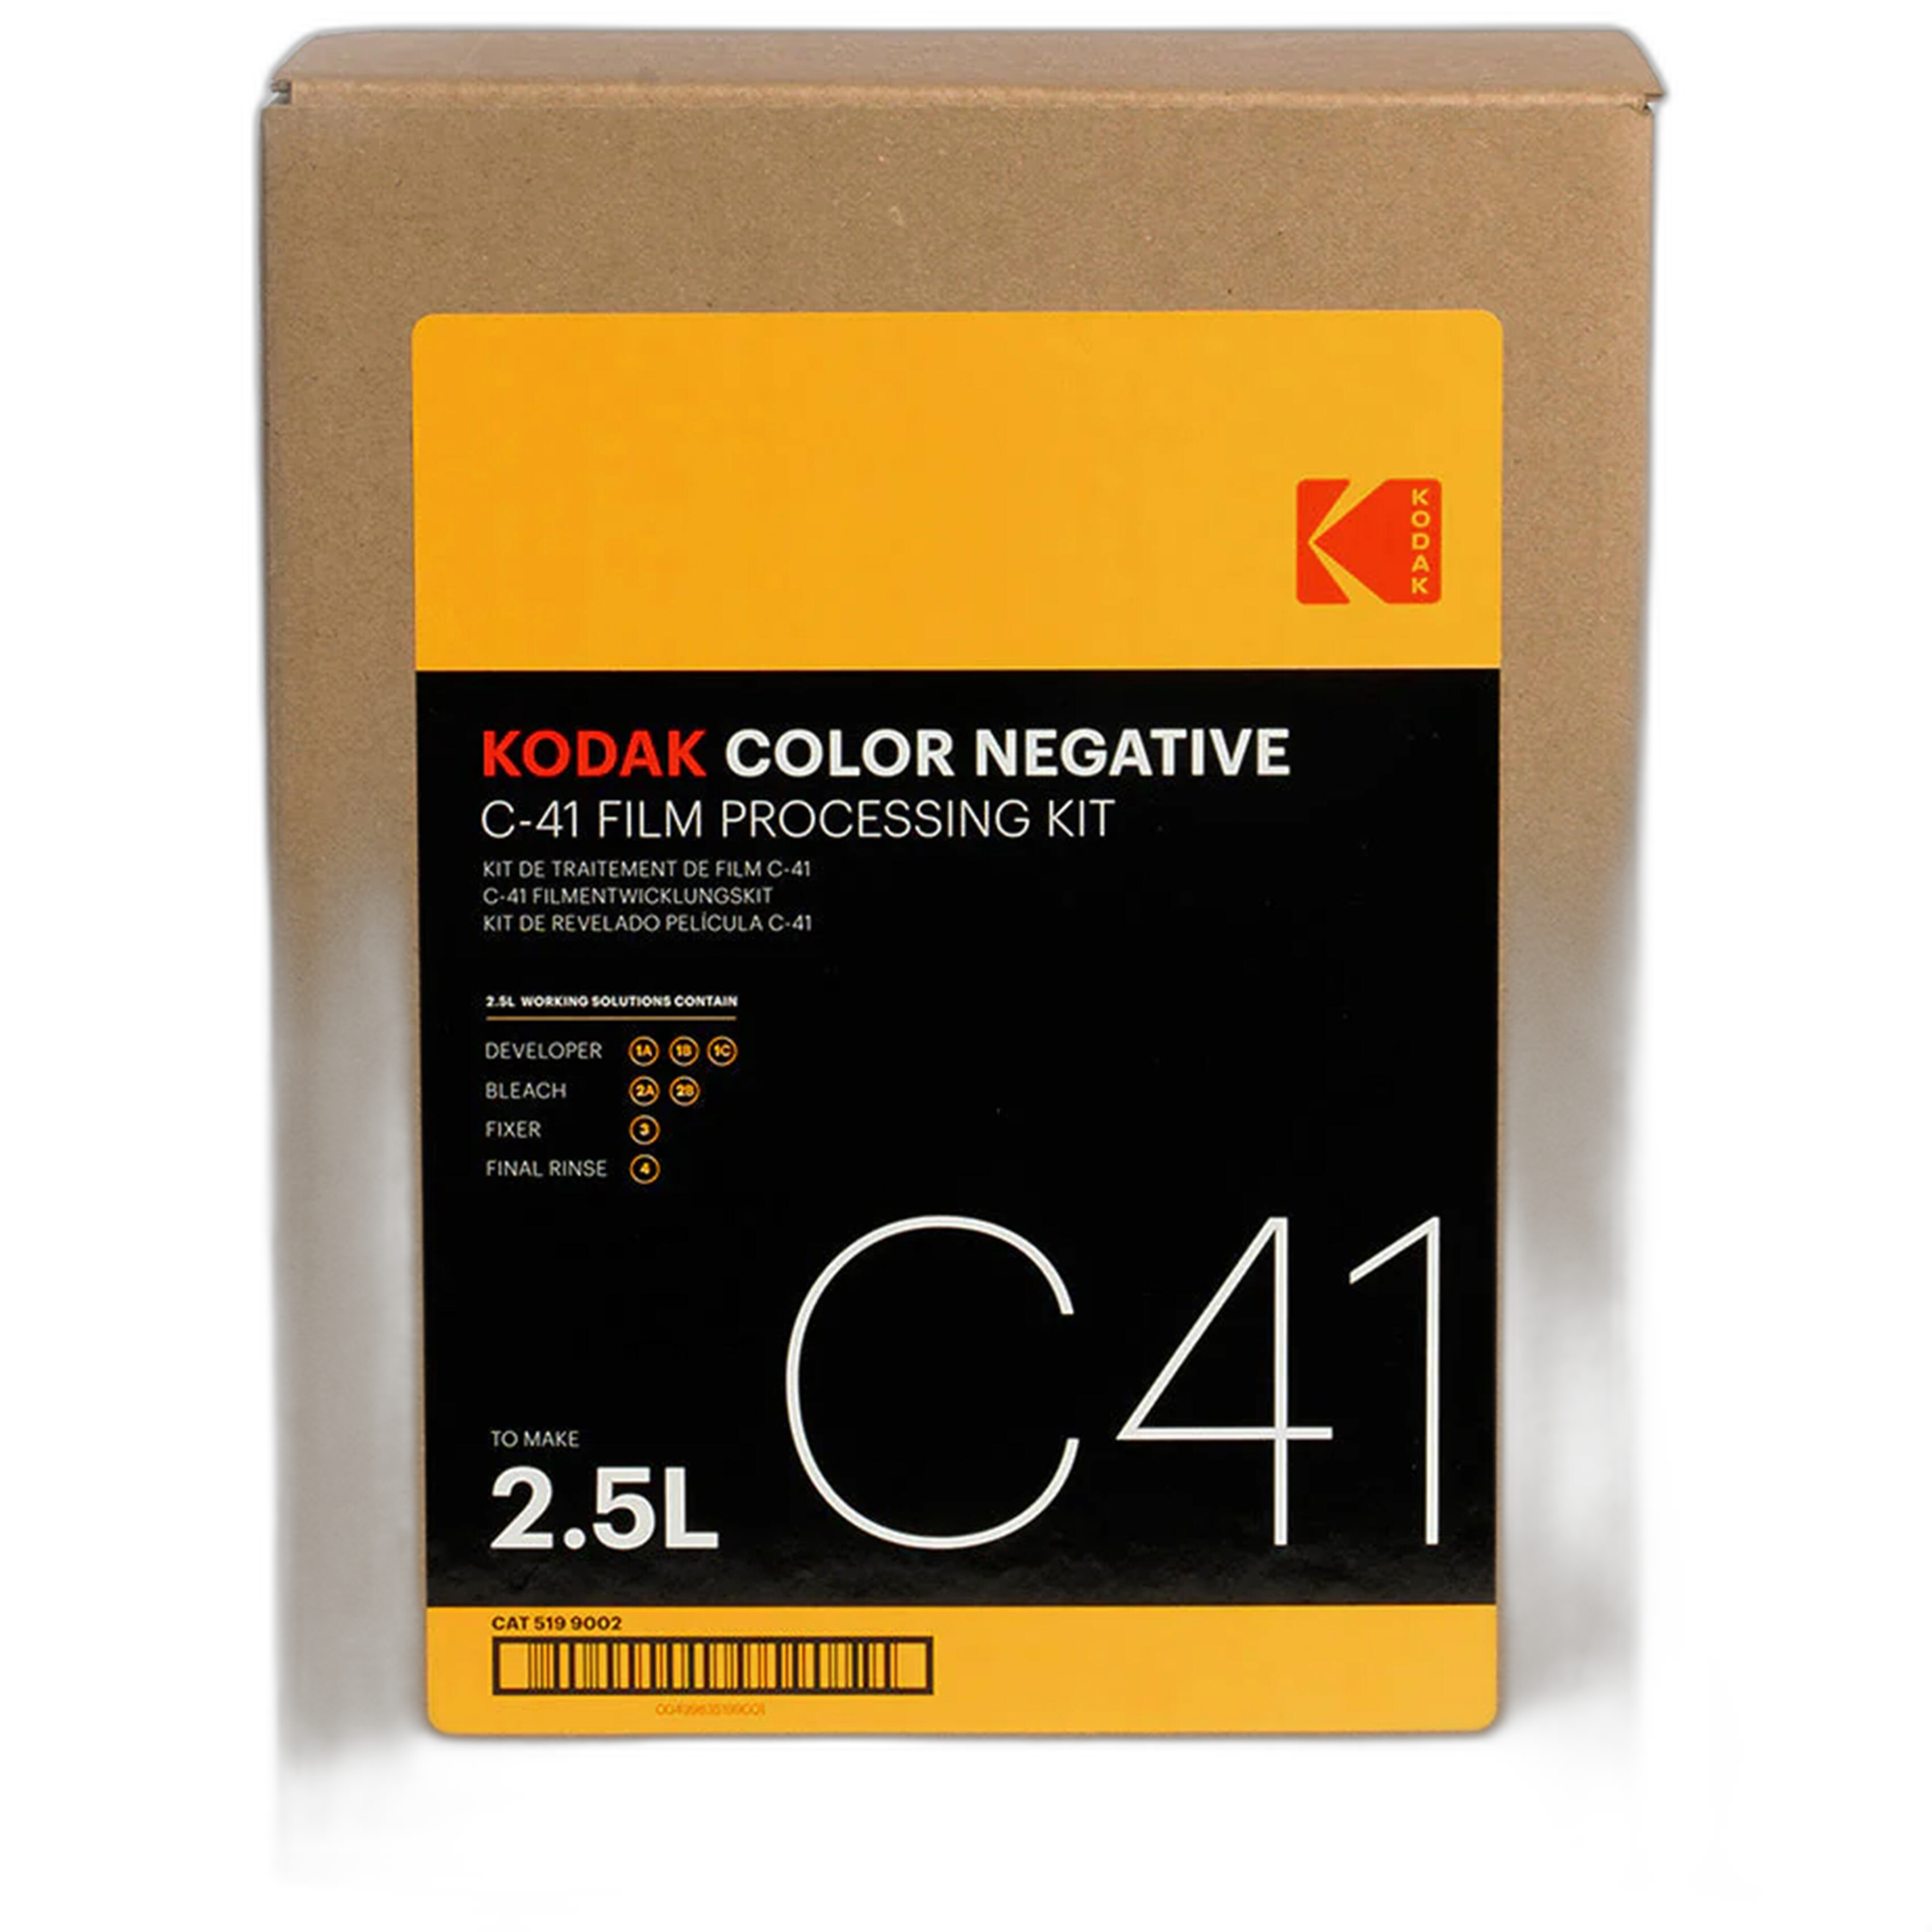
That said, push/pull processing with C-41 is often less forgiving than many photographers expect. Color negative film has generous exposure latitude, so many shooters can simply overexpose or slightly underexpose and scan accordingly without making major process changes. If your goal is consistency rather than experimentation, standard processing is often the better move. Still, for experienced users who want repeatability at home, this Kodak kit is the comparison’s most direct DIY solution.
Best Option for Slide Film Shooters
The Fujifilm Pre-Paid Processing Mailer 36 Exp(or 120) E-6/FujiChrome/Ektachrome is ideal for photographers shooting E-6 transparency film and wanting a simple, streamlined lab path. Slide film is far less forgiving than color negative film, which makes exposure accuracy especially important.
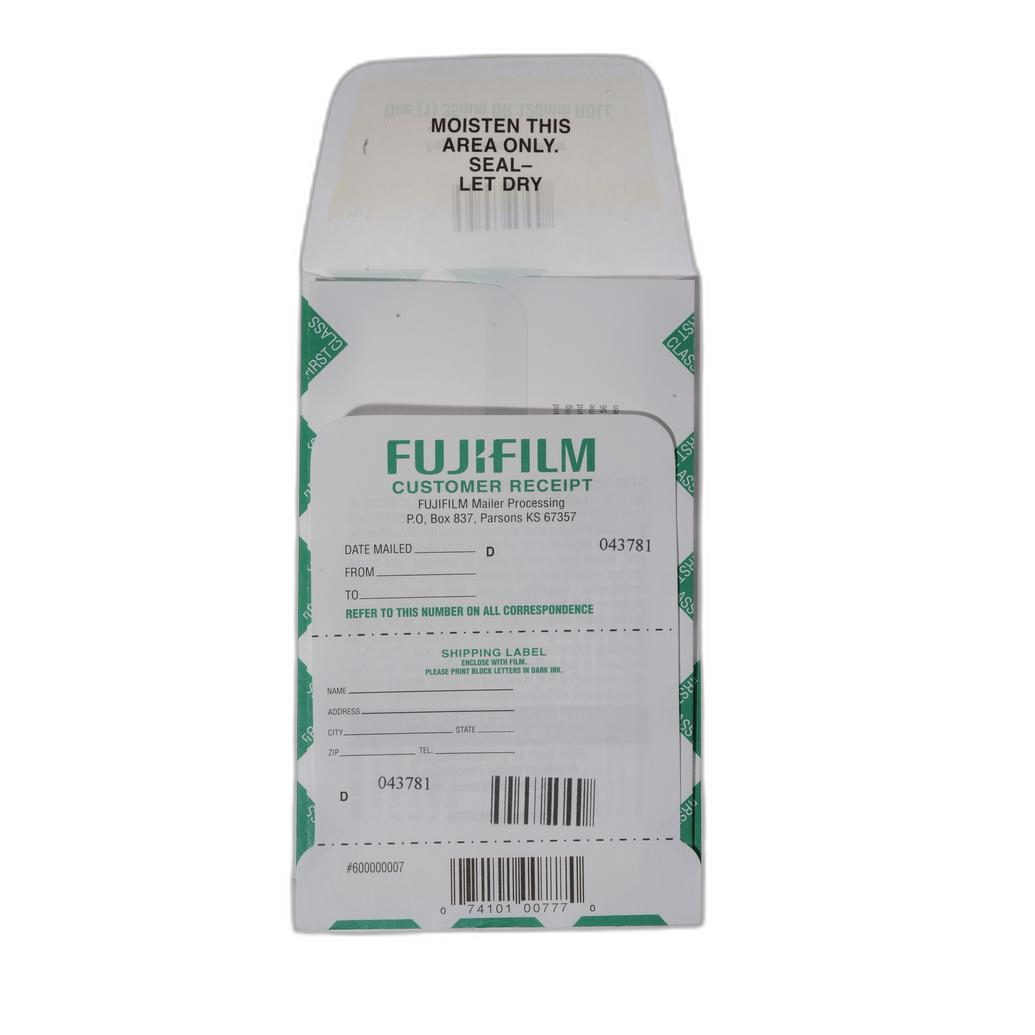
When considering push or pull with E-6, caution is key. Pushing slide film can help in low light, but it often increases contrast and can shift color. Pulling may help in specific bright conditions, but transparency film generally rewards precise metering more than aggressive correction later. If you want dependable handling without setting up chemistry yourself, this mailer is the easiest processing choice in the lineup.
Best Option for Lab Consistency on Negative Film
220 NEGATIVE PROCESSING UNIQUE PHOTO LAB makes the most sense for photographers who want professional processing on 220 negative film without taking on the complexity of chemistry, timing, temperature control, and agitation. If your main concern is dependable results rather than testing technique, a lab workflow is often the smartest choice.
This is particularly true if you’re still learning when push or pull processing is genuinely necessary. Many exposure issues can be handled in scanning or printing, especially with negative film. Lab processing gives you a stable baseline so you can better judge whether you need actual development changes in future rolls.
Best Option for Learning the Why Behind Push/Pull
The Film Lovers Event: Processing B and W Film at The Halide Project (Philly) stands out as the most educational option in this comparison. Black-and-white film is one of the best places to learn push and pull processing because the visual effects are easier to see and control: more contrast, altered grain, compressed or expanded tonality, and changes in shadow separation.
If you want to understand not just how to change development, but why you would choose one direction over another, this kind of hands-on learning is invaluable. For photographers serious about craft, education may be more useful than jumping straight into chemicals.
Clearing Up the "Push/Pull" Lens Confusion
Two products in the available set use the term push/pull, but in a completely different way: the Used Canon EF 100-400mm f/4.5-5.6 L USM Push/Pull - Fair and the Used Nikon 70-210mm f/4-5.6 AF Nikkor Push/Pull - Good. These are zoom lenses with a one-touch sliding zoom mechanism, not film-processing tools.
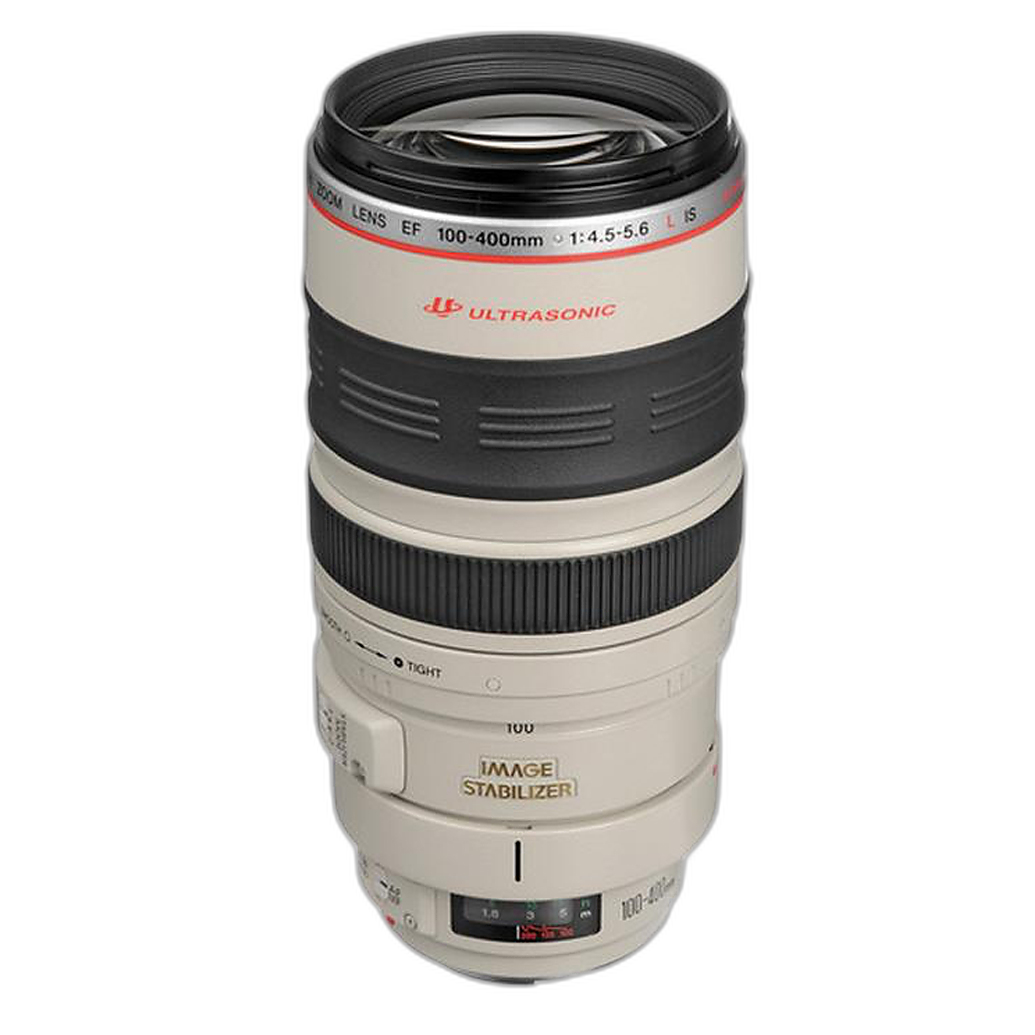
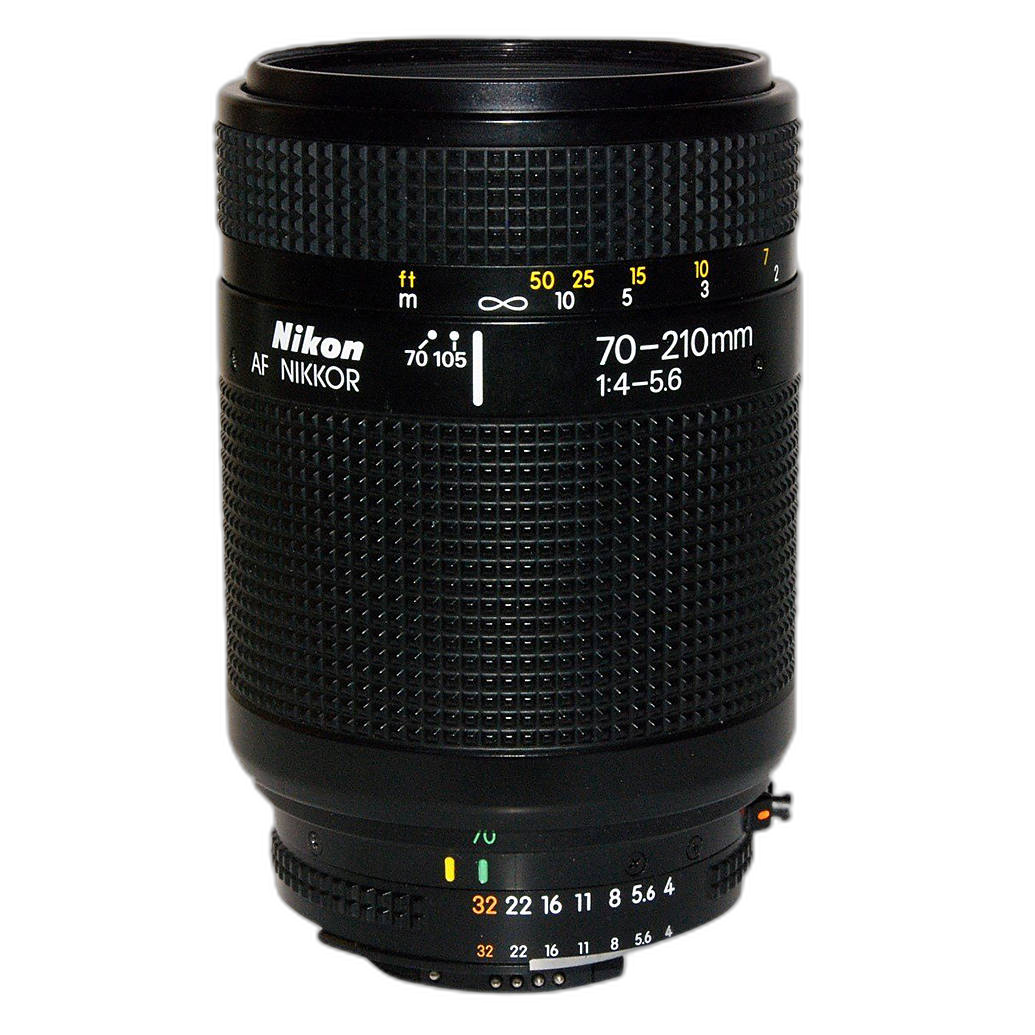
They’re worth mentioning only because photographers searching for push/pull processing advice often run into gear labeled the same way. In lens terms, push/pull refers to focal length adjustment. In film terms, it refers to exposure rating and development changes.
When You Should Push Film
Pushing is usually the right move when:
- You need faster shutter speeds in low light
- You’re shooting handheld and can’t afford blur
- You want a denser, contrastier aesthetic
- Your subject matter benefits from grit, mood, or urgency
Black-and-white film tends to respond especially well to pushing because the increased contrast and grain often enhance the image character. Color negative can also be pushed, but color shifts and rougher grain may become more noticeable. Slide film can be pushed, but it’s generally less forgiving and demands more discipline.
When You Should Pull Film
Pulling is a better fit when:
- You’re working in harsh daylight with extreme contrast
- You want smoother highlights and more open tonal values
- You intentionally overexposed for shadow detail
- You prefer a softer, less contrast-heavy rendering
Pulling is often less common than pushing, but it can be very useful in bright scenes where preserving highlight detail matters more than maximizing speed.
Our Pick
Our Pick: Film Lovers Event: Processing B and W Film at The Halide Project (Philly)
If the question is truly “When and why should I push or pull process?”, the best answer is to start with education and hands-on understanding. This event is the strongest recommendation because it helps photographers build judgment, not just buy supplies. Once you understand what push/pull does to tonality, contrast, and grain, you’ll make better choices whether you process at home with a kit, send E-6 to a lab, or use a professional service for negatives.
If you already know you want to process color negative film yourself, the Kodak C-41 kit is the runner-up pick.
Conclusion
Push and pull processing are powerful tools, but they’re most effective when used intentionally. Push when you need speed or want a bolder look; pull when you want to control contrast and hold highlights. For many photographers, the smartest route is learning the visual tradeoffs first, then choosing between DIY chemistry, a mail-in option, or a trusted lab workflow. Unique Photo offers all three paths: products for home processing, convenient mailers, lab services, and educational opportunities to help you get the most from film.