Travel photography is all about moving freely, reacting quickly, and still coming home with images that feel intentional. The trick is building a lightweight kit that does more with less. Whether you're heading out for city walks, national parks, road trips, or long flights, a smart setup can reduce fatigue and help you stay ready for the moments that matter. Here are practical tips for keeping your travel photo gear lean without sacrificing versatility.
Start with a Small, Purpose-Driven Kit
1. Pack for the shots you actually make
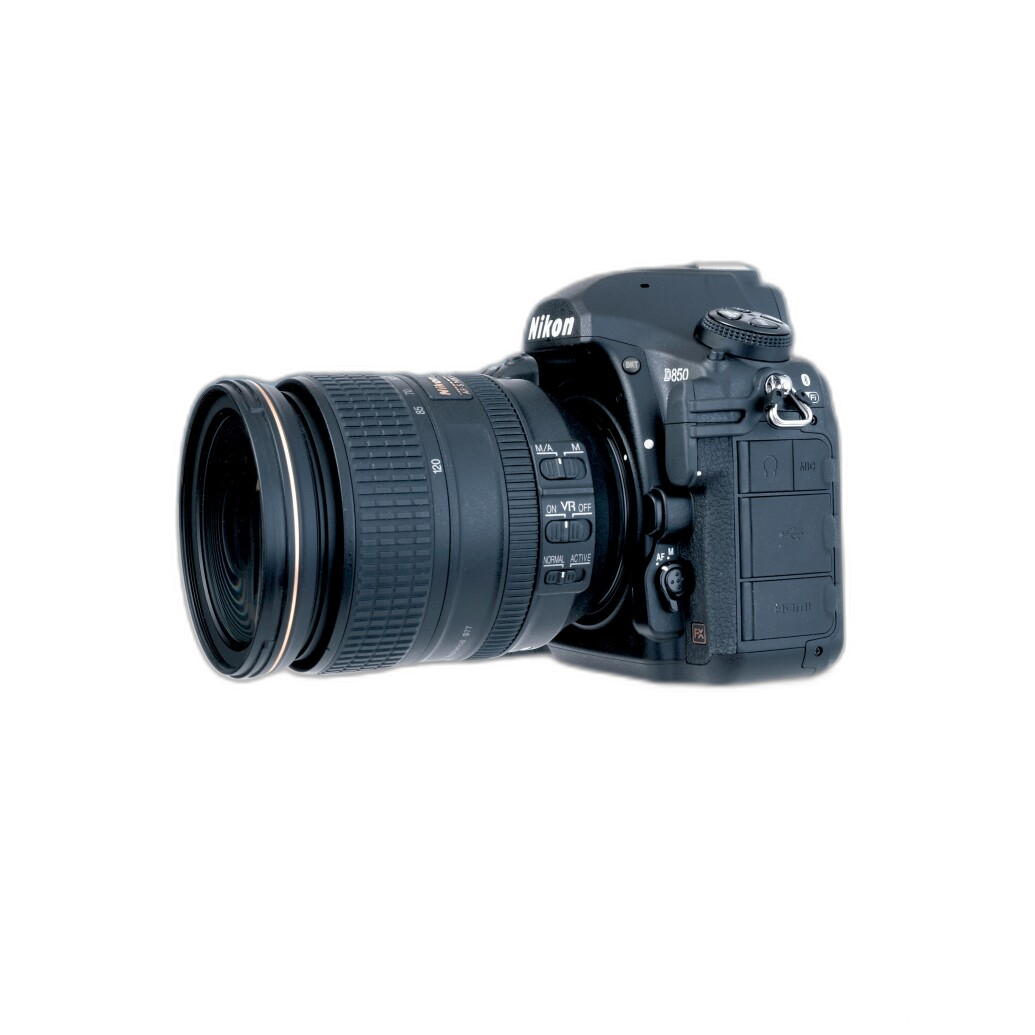
Before any trip, think about your real shooting habits instead of every possible scenario. If you mostly photograph landscapes, street scenes, food, and portraits, you probably do not need a full rolling case of accessories. A camera body, one versatile zoom, one fast prime, spare batteries, memory cards, and a compact support option often cover a surprising amount of ground. If you shoot with a DSLR and want to get more from your camera before you leave, a resource like the Rocky Nook Nikon D850 Guide to Digital SLR Photography by David Busch can help you fine-tune settings and workflows so you rely more on knowledge and less on extra gear.
2. Build around weight, not just focal length
Many travelers choose lenses based only on range, but total carry weight matters just as much. A lighter setup means you are more likely to keep the camera with you all day instead of leaving it behind in the hotel. If you use a cage or video support accessories as part of a hybrid photo-video kit, choosing compact components can make a noticeable difference in comfort over a long travel day.
Keep Support Gear Compact and Efficient
3. Use lightweight rig components only when they solve a real problem
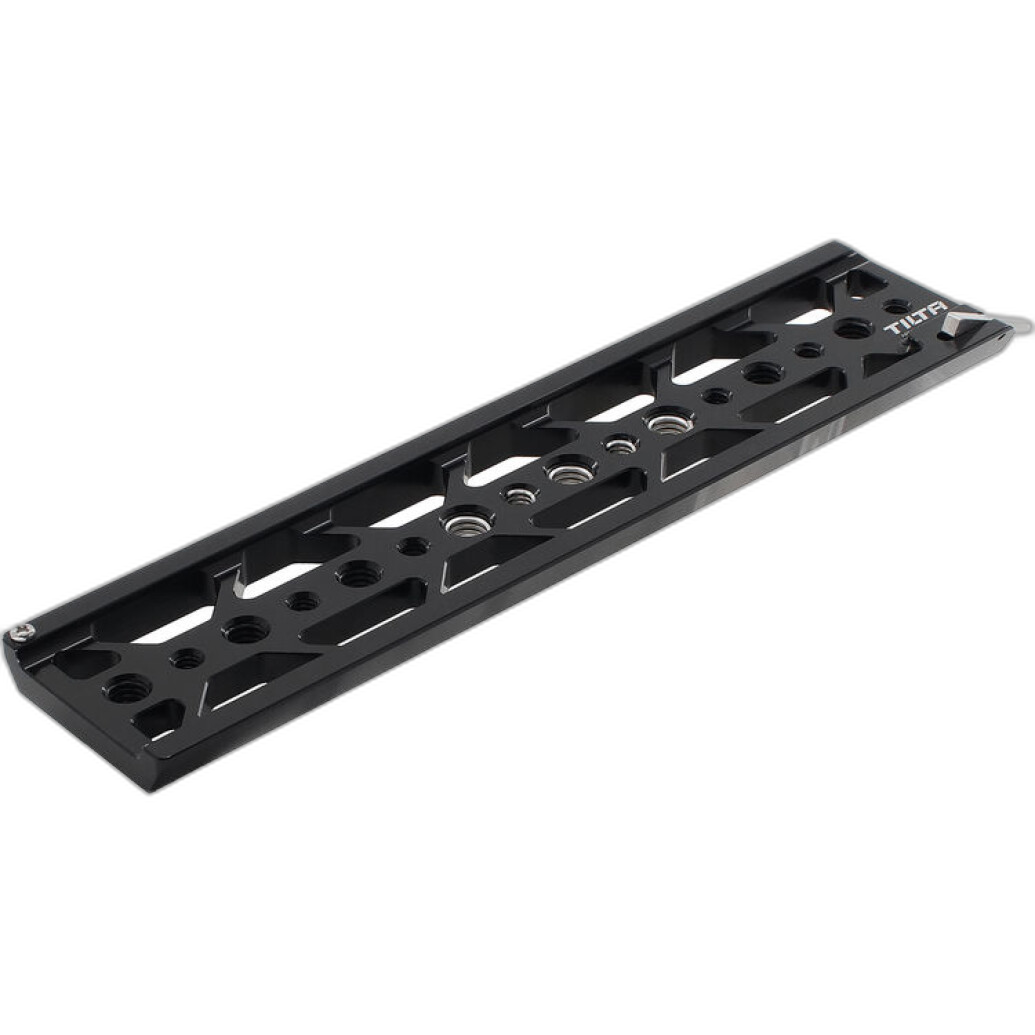
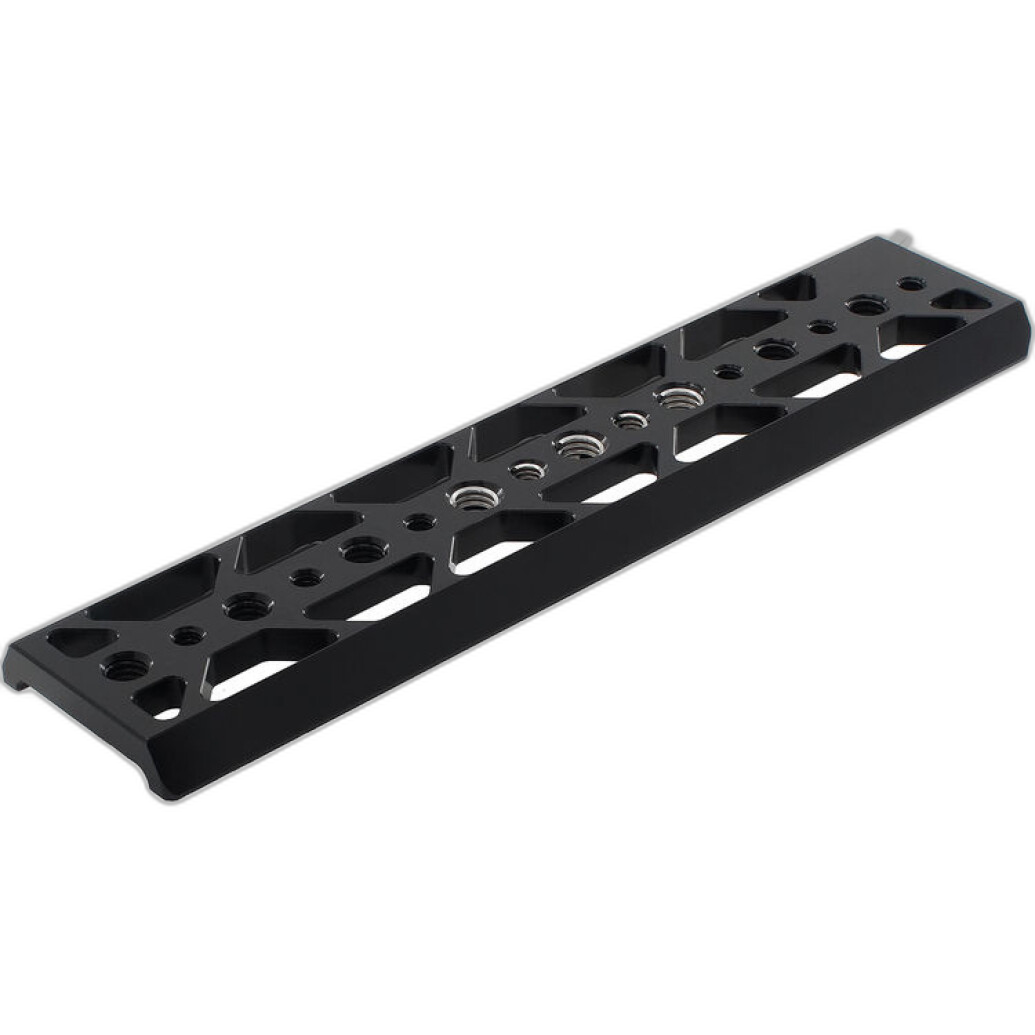
For photographers and creators who travel with a modular setup, trimming bulk from support hardware is an easy win. The Tilta 10 Lightweight Dovetail Plate (Black) is a good example of a streamlined rigging accessory that helps maintain compatibility in a more travel-friendly form. Instead of overbuilding your kit, bring only the plate or support piece you know you will actually use for tripod transitions, balance, or quick setup changes.
4. Avoid duplicate accessories
One of the most common packing mistakes is redundancy. Two clamps, three mounts, multiple brackets, and backup items for backup items can add pounds quickly. Lay everything out before your trip and remove anything that does not have a clear purpose. A cleaner bag also helps you work faster when the light changes and you need to move.
Prepare for Specific Travel Shooting Scenarios
5. Think in mini-kits for different days
Instead of carrying your full setup every day, divide your gear into smaller mission-based kits. A city day might mean one camera, one walkaround lens, extra battery, and compact strap. A sunrise landscape day may justify a tripod, filters, and weather protection. A night session could call for a different set of tools entirely. Planning this way keeps your daily bag lighter and helps prevent overpacking from the start.
6. Learn techniques that reduce the need for more gear
Sometimes the lightest accessory is skill. If you want to expand your range without carrying specialized equipment everywhere, educational experiences can be a smart addition to your preparation. Macro and Landscape Photography at Duke Farms with Michael Downey is the kind of class that can help photographers get more from natural light, composition, and field technique rather than relying on excess gear in the bag.

Plan for Storytelling, Not Just Coverage
7. Pack to tell a complete travel story
A lightweight travel setup works best when it supports storytelling. That means thinking beyond sweeping vistas and also making room for details, people, signs, meals, interiors, and transitions along the way. If your kit helps you move easily, you are more likely to notice and capture those in-between moments that make a travel gallery feel personal and complete.
8. Study how other photographers work on the road
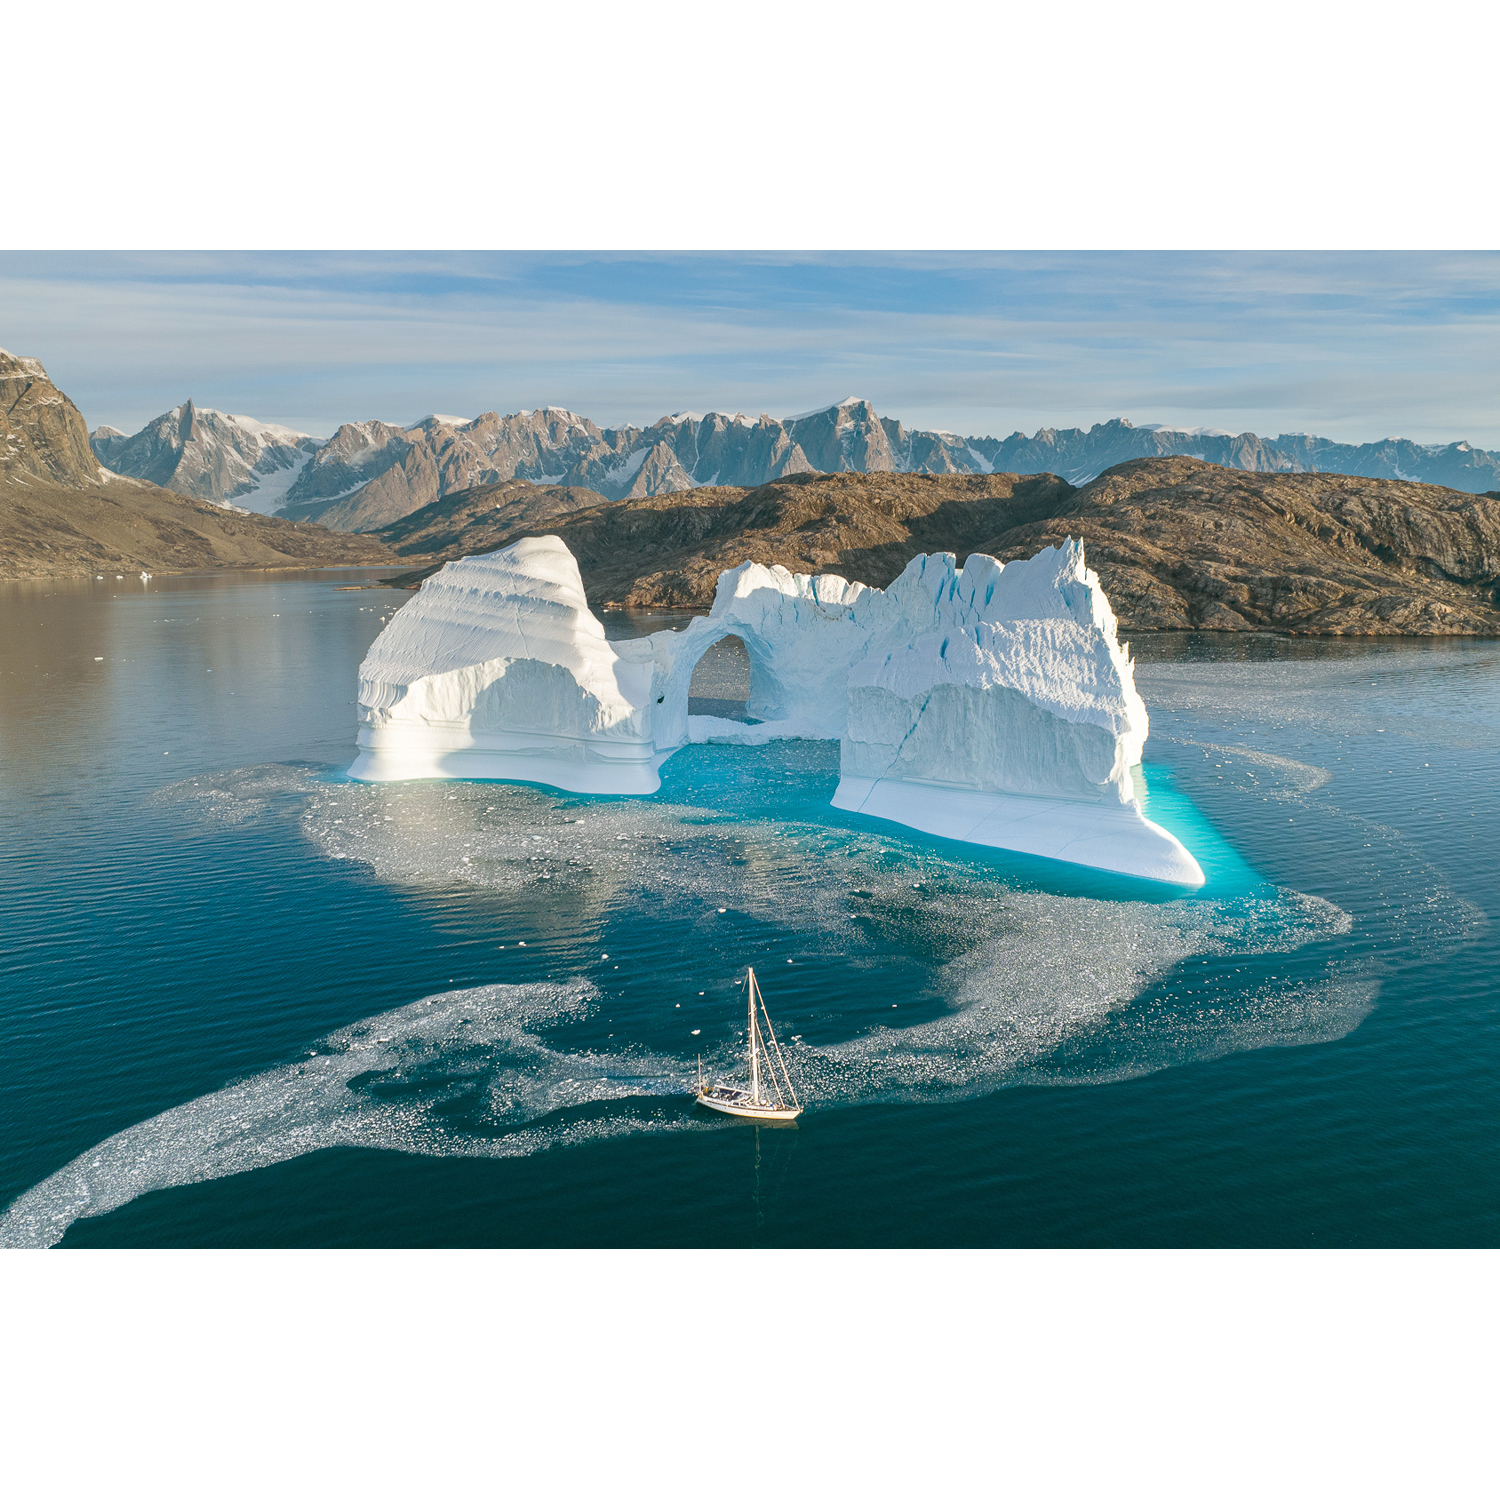
Travel photography improves quickly when you see how experienced shooters make decisions under real-world conditions. Programs like EXPO: Stories from the Road - Photography Across Worlds w. Matthew Borowick can offer insight into editing your kit, adapting to unfamiliar environments, and focusing on images with meaning instead of simply collecting scenes.
Make Room for Night and Post-Trip Possibilities
9. Leave a little flexibility for low-light and night shooting
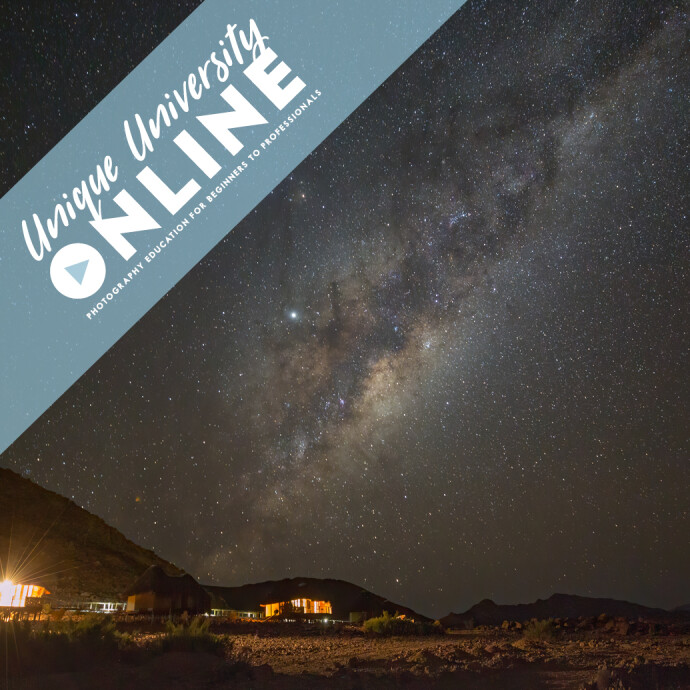
If your travels include dark skies, city lights, or remote destinations, a lightweight kit can still be capable after sunset. You may not want to bring a full dedicated astrophotography bag, but learning efficient techniques for exposure, stability, and planning can help you do more with minimal equipment. UUOnline: Astrophotography 4-Part Series with Temu Nana (Session 2) is a useful example of training that can help travelers prepare for night images without turning every trip into a gear-heavy expedition.
10. Keep your editing workflow as lightweight as your bag
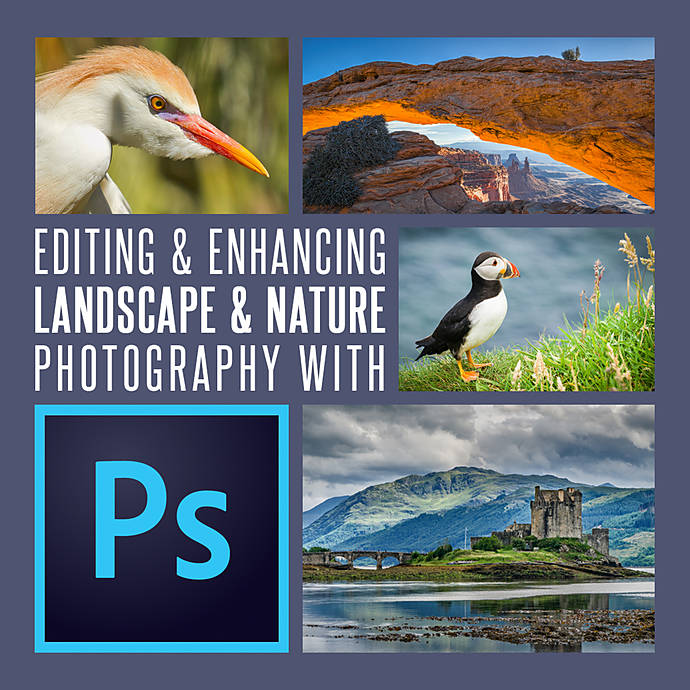
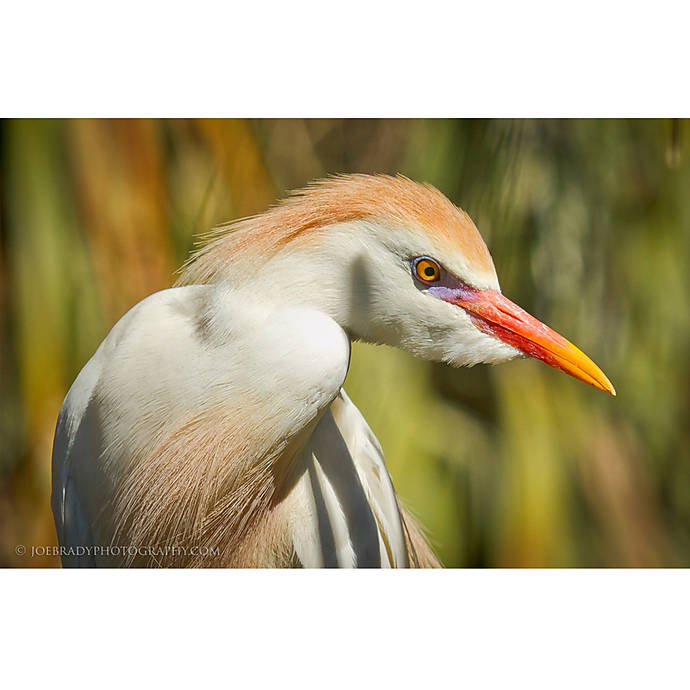
A travel photography system does not end when you get home. Efficient editing helps you process more images without feeling buried by the trip. Learning how to refine landscape and nature files well can reduce the pressure to overcompensate in the field with extra filters or complicated capture setups. Editing and Enhancing Landscape and Nature Photography with Photoshop is a strong resource for photographers who want cleaner post-processing results from a smart, streamlined shooting approach.
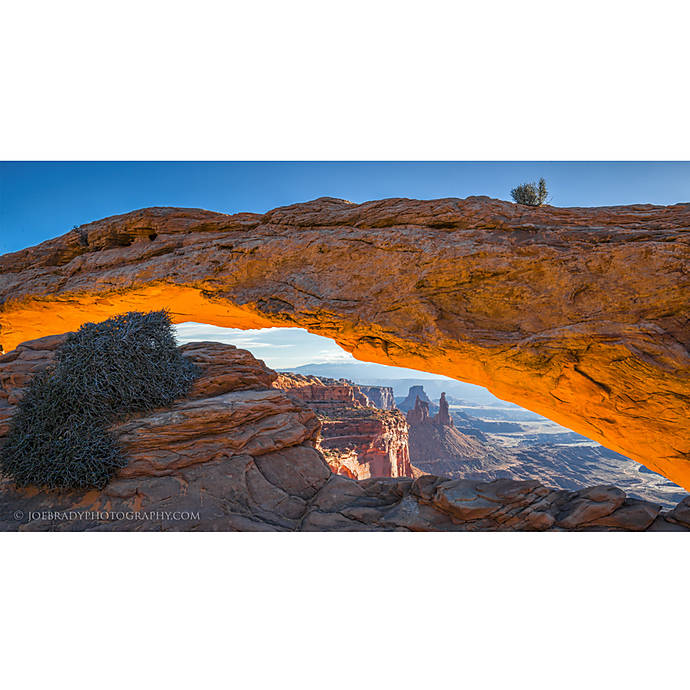
Travel Lighter, Shoot More
The best travel photography setup is the one you will gladly carry from sunrise to night market, from airport gate to trailhead. By choosing lighter accessories carefully, reducing duplication, and investing in knowledge as much as hardware, you can build a kit that feels agile and capable. If you are refining your next travel loadout, Unique Photo offers gear, classes, and inspiration to help you travel lighter and shoot more confidently.