Sony Lens Compare Beta can be a helpful shortcut when you’re trying to narrow down lens choices, but the best recommendations usually come from the way you use the tool. Photographers who get the most from it tend to approach it like a starting point, not a final verdict: they compare with intention, test realistic shooting scenarios, and bring their own priorities into the process. Here are practical tips, settings, and strategies for getting more personalized and genuinely useful results.

Start with Your Real Shooting Style
1. Define what you actually photograph most often
Before opening Sony Lens Compare Beta, list your three most common subjects: portraits, street, sports, travel, events, video, landscapes, or close-up detail work. Recommendations become much more useful when you compare lenses through a real-world use case instead of chasing broad “best lens” answers. A travel shooter may value compact size and versatile range, while a portrait photographer may care more about subject separation and rendering.
If you’re still building that Sony foundation, a class like UUOnline (Sony Takeover): Getting Started with Sony can help you better understand the system so your comparisons line up with how Sony bodies and lenses work together in practice.
2. Rank your priorities before you compare
Photographers often get better recommendations when they decide what matters most in advance. Try ranking factors like this:
- Sharpness
- Autofocus speed
- Weight
- Low-light ability
- Price range
- Zoom flexibility vs. prime simplicity
- Video-friendly focus behavior
When you know your top two or three priorities, it becomes easier to ignore impressive but less relevant specs.
Compare Lenses in Pairs, Not Huge Lists
3. Narrow the field to two or three realistic options
One of the most effective strategies photographers share is to avoid comparing too many lenses at once. If you load up a broad mix of focal lengths, apertures, and use cases, the results can get muddy. Instead, compare lenses that truly compete for the same role in your bag.
For example, don’t compare a lightweight walkaround zoom, a fast portrait prime, and a specialty telephoto all in one session. Break comparisons into categories such as:
- Standard zoom vs. standard zoom
- 35mm vs. 50mm prime
- Portrait prime vs. portrait prime
- Travel zoom vs. travel zoom
This makes the Beta’s strengths much more apparent and helps the recommendation feel personal rather than generic.
4. Use a “main choice vs. stretch choice” method
A smart trick is to compare the lens you expect to buy against one aspirational option. This shows you whether the performance gain is worth the extra size or cost. Sometimes the recommendation confirms that your original pick is already the smartest fit. Sometimes it reveals a meaningful jump that justifies stretching your budget.
Think in Shooting Conditions, Not Just Specs
5. Match your comparisons to the light you usually work in
A lens that looks great on paper may not be the best fit for dim receptions, indoor sports, or nighttime street photography. When using Sony Lens Compare Beta, think about where you shoot most often:
- Bright outdoor light
- Mixed indoor light
- Studio conditions
- Low-light events
- Backlit scenes
If flash is part of your workflow, your lens choice may shift. A photographer comfortable shaping light can sometimes prioritize focal length and handling over maximum aperture. Learning more about lighting through sessions like Getting Your Flash Off of Your Camera for Portraits with Joe Brady or EXPO: Getting the Most Out of Your Canon Speedlite can sharpen the way you evaluate lens recommendations, even if your camera system is Sony.

6. Don’t overlook video needs if you shoot hybrid
Many photographers now shoot both stills and video, and that changes what a “good recommendation” looks like. If you create reels, interviews, behind-the-scenes clips, or client video, pay attention to factors beyond still-image sharpness. Focus breathing, autofocus smoothness, focal length flexibility, and balance on a rig all matter.
That’s why hybrid creators often get better results from Sony Lens Compare Beta when they ask, “Would I enjoy using this for both photo and video?” rather than only comparing test-chart performance. Workshops like PCS: Video for Photographers with Shiv Verma (Lumix) can also help refine your hybrid priorities so lens comparisons become more meaningful.
Use Your Existing Gear as the Reference Point
7. Compare against the lens you already own
One of the best ways to personalize recommendations is to benchmark every option against your current lens. Ask yourself:
- What am I missing now?
- Do I need more reach, more width, or more speed?
- Am I upgrading for image quality, autofocus, portability, or creative look?
This prevents unnecessary purchases and helps the Beta point you toward a lens that solves a real problem. If your current setup is already covering most of your needs, the right recommendation may be to wait.
8. Keep notes while you compare
A simple way to make recommendations more useful is to write down quick reactions during each comparison. Some photographers even keep those notes in a small pouch with memory cards and accessories so the decision-making process stays organized. Something like the 12x8 Personalized Accessory Pouch can be a practical way to keep comparison notes, spare batteries, and field essentials together when you’re testing gear in real shooting situations.

Look Beyond Sharpness
9. Pay attention to handling and balance
Photographers often say the most useful recommendations come when they remember that a lens is something you carry and use for hours, not just something you inspect at 100%. Weight, balance on your camera body, zoom ring feel, and general portability can matter as much as technical image quality.
A slightly less ambitious lens that you actually bring everywhere may be the better recommendation than a heavier option that stays home.
10. Consider rendering, not only resolution
The Beta may help you compare lenses logically, but photographers know there’s more to a lens than edge sharpness. Think about the kind of images you like to make. Do you prefer crisp, clinical detail or a softer, more organic rendering? Do you want dramatic subject isolation or a more documentary feel? The right recommendation should support your style, not just win a spec comparison.
Test the Recommendation in Your Workflow
11. Plan a follow-up test with editing in mind
Lens choices show up differently once files reach your editing software. Contrast, flare behavior, color rendering, and fine detail can influence how much post-processing your images need. Photographers often make better use of Sony Lens Compare Beta when they follow the recommendation with sample image review inside their normal editing workflow.
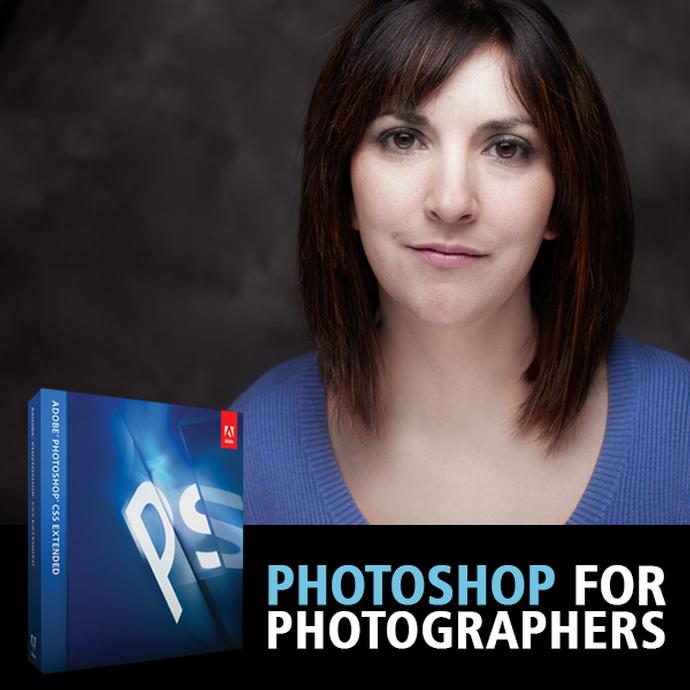
If you spend a lot of time refining images, educational options like Photoshop for Photographers with Adobe Certified Instructor Blake Taylor can help you better understand how lens characteristics affect post-production decisions.
12. Use the tool to start conversations, not end them
Many photographers get the most personalized recommendations when they use Sony Lens Compare Beta first, then validate those findings with other resources: sample galleries, hands-on experience, classes, and conversations with knowledgeable staff. A tool can narrow the field, but your final choice gets stronger when it’s backed by experience and context.
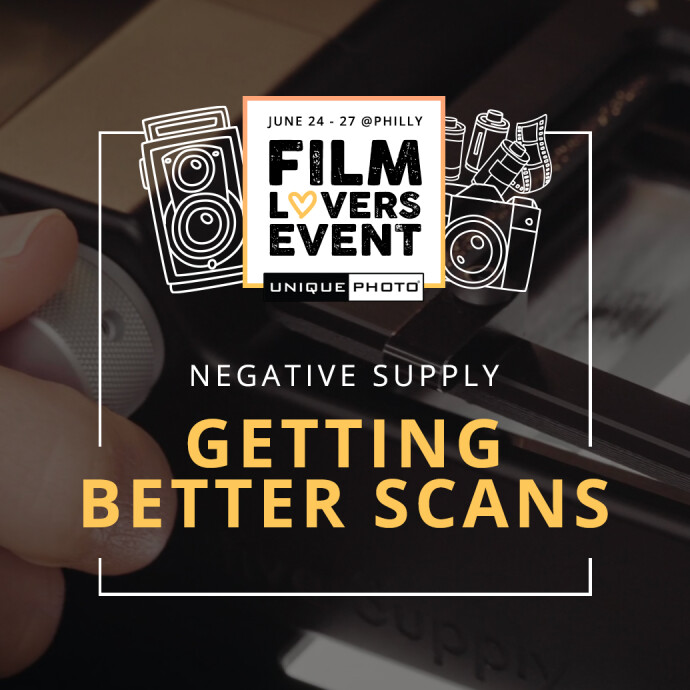
That same mindset applies across photography education. Whether you’re learning capture, lighting, scanning, or workflow through programs like Film Lovers Event: Getting Better Scans with Your Digital Camera (Philly), the biggest gains often come from combining tools with practical technique.
Conclusion
Sony Lens Compare Beta works best when you give it good information, keep your comparisons focused, and evaluate the results through your own shooting style. The most useful recommendations are the ones that fit your subjects, your workflow, and the way you actually create images. Keep testing, keep refining your priorities, and don’t be afraid to learn from classes, hands-on practice, and expert guidance. For more photography education and gear insight, Unique Photo is a great place to keep building your skills.