Noise Reduction Software FAQ: Best Workflow Tips for Cleaner Photos
Noise reduction is one of the most important steps in a modern photo editing workflow, especially for photographers who shoot events, wildlife, night scenes, concerts, or any high-ISO subject matter. The key is not simply removing grain, but preserving fine detail, natural texture, and accurate color while building an efficient workflow from capture to final export.
At Unique Photo, we help photographers think beyond software alone. Cleaner files start with solid exposure, continue with calibrated editing tools, and benefit from a distraction-free workspace when you are making critical adjustments.
What is noise reduction software, and when should photographers use it?
Noise reduction software is designed to minimize unwanted luminance and color noise that appears in digital images, most often in low light, underexposed files, or high-ISO captures. It can be used lightly for everyday cleanup or more aggressively for difficult files from night photography, indoor sports, weddings, astro work, or documentary shooting in available light.
In most cases, noise reduction should be applied when noise begins to distract from the image itself. A little texture is normal and often desirable, but blotchy color speckling, rough shadow noise, and muddy detail can reduce image quality significantly. The best approach is selective and intentional: use enough correction to improve the file without making skin, fabric, foliage, or backgrounds look waxy or artificial.
What makes one noise reduction tool better than another?
The best noise reduction tools balance three things: detail retention, natural-looking results, and workflow speed. A strong solution should reduce color blotches and rough grain while maintaining edges, texture, and contrast. This matters most in files with hair, feathers, eyelashes, architectural lines, or fine landscape detail.
Photographers should also consider where the software fits into their editing process. Some tools work best as a first pass on RAW files, while others are more useful later for localized cleanup. Preview quality, masking controls, batch processing, and compatibility with your existing editing software all make a meaningful difference in real-world use.
Equally important is viewing accuracy. If your display is not properly calibrated, you may overcorrect noise or miss subtle color problems in the shadows. For photographers who want more dependable editing decisions, the NEC Color Sensor and SpectraView II Software Kit can help create a more accurate monitor environment for evaluating tonal transitions and color noise.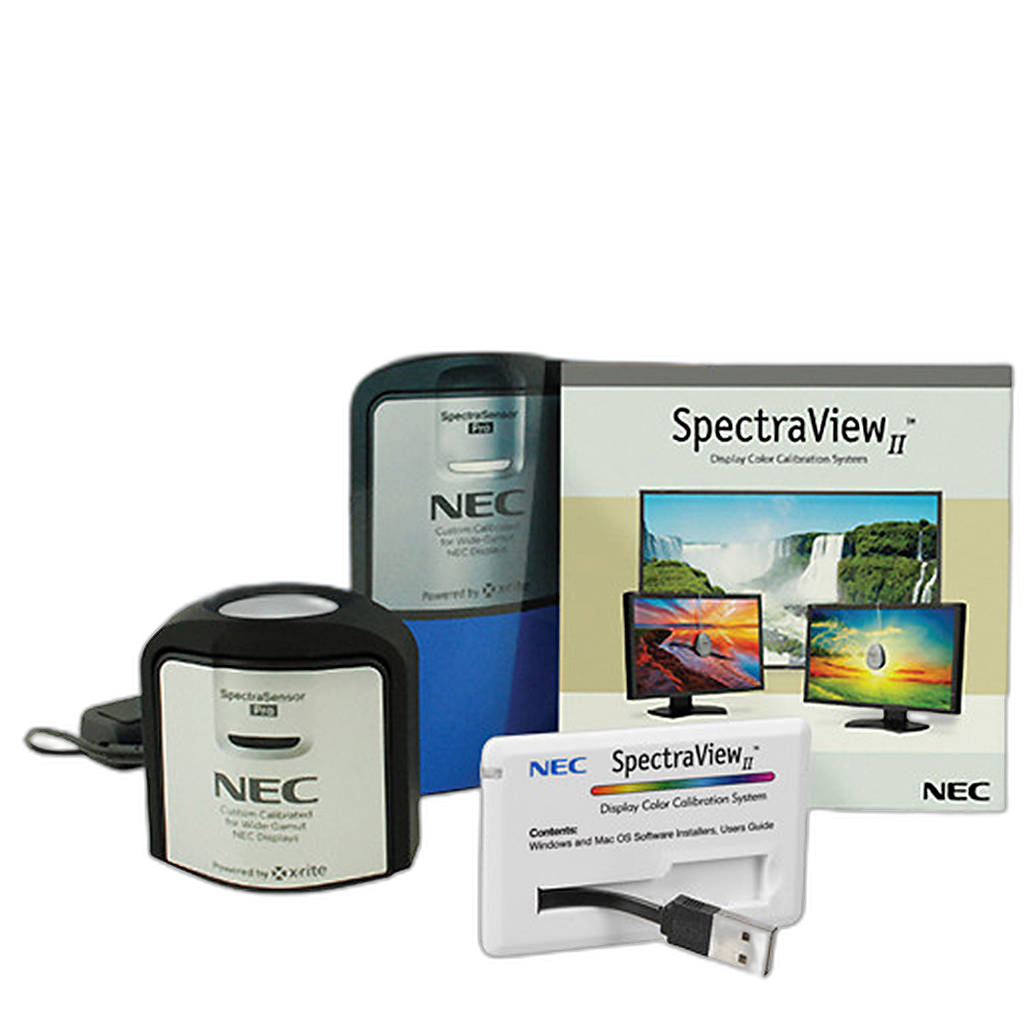
Should noise reduction happen before or after sharpening?
In most workflows, noise reduction should happen before final sharpening. Sharpening enhances edge contrast, which can also make noise more visible if it is applied too early. By reducing unwanted noise first, you give sharpening a cleaner file to work with and reduce the risk of crunchy-looking shadows or exaggerated grain.
A practical workflow often looks like this: make exposure and white balance corrections, apply noise reduction, then add capture sharpening or output sharpening based on the final use of the image. If you are editing portraits, wildlife, or event work, it can also help to mask sharpening so that it emphasizes important subjects while leaving smooth backgrounds alone.
How much noise reduction is too much?
Too much noise reduction usually shows up as smeared detail, plastic-looking skin, flat textures, and a loss of depth in hair, foliage, fabric, or stone. The goal is not to erase every trace of grain. Instead, aim for a natural balance where the image still looks photographic and detailed at normal viewing size.
A good rule is to evaluate the file at multiple magnifications. Zoom in to inspect detail, but also zoom out to judge the overall image. An image that looks clean at 200% may appear unnaturally soft at realistic viewing sizes if the settings are pushed too far. For many photographers, moderate noise reduction paired with thoughtful sharpening delivers the most convincing result.
Can noise reduction software save severely underexposed photos?
It can improve them, but it cannot fully replace good exposure technique. When a file is heavily underexposed and then brightened in post, shadow noise often becomes much more visible. Modern software can reduce that noise impressively, yet severe recovery may still cost color accuracy, microcontrast, and fine detail.
The best strategy is still to capture the cleanest file possible in camera. Expose carefully, protect highlights when necessary, and avoid lifting shadows more than needed. If you regularly shoot in difficult lighting, a consistent editing environment helps you judge exactly how far a file can be pushed before quality starts to break down.
How does monitor calibration help with noise reduction?
Monitor calibration is a major part of accurate noise reduction, even though it is often overlooked. If your display is too bright, too cool, or inconsistent, you may miss shadow noise, over-brighten dark areas, or misjudge color speckling. That can lead to edits that look very different on other screens or in print.
The NEC Color Sensor and SpectraView II Software Kit is especially helpful for photographers who want a more controlled post-production setup. Accurate calibration allows you to evaluate subtle shadow transitions, compare before-and-after results more reliably, and avoid overprocessing difficult files.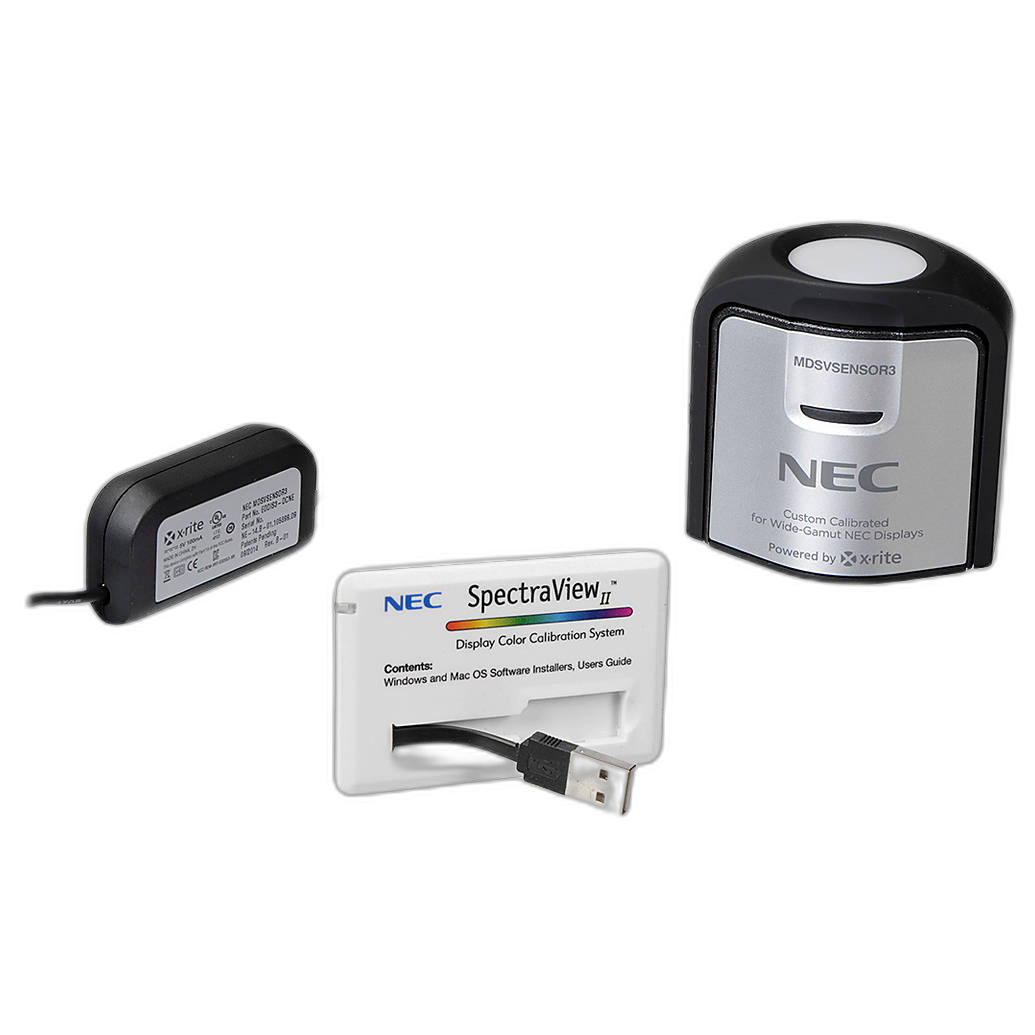
What is a smart noise reduction workflow for high-volume photographers?
For wedding, sports, school, event, and real estate photographers, efficiency matters almost as much as image quality. A smart workflow starts with sorting images by ISO, lighting condition, or camera body so you can apply similar settings in batches. Then apply base corrections, use a consistent noise reduction preset as a starting point, and fine-tune only the files that need extra attention.
If your workflow includes video or hybrid shooting, organized editing tools become even more important. The Blackmagic Design DaVinci Resolve Replay Editor can be a useful companion for creators working in DaVinci Resolve-based environments, particularly when speed and repeatable control matter in postproduction.
For photographers and content creators who spend long editing sessions making critical decisions, reducing distractions in your workspace also helps. The Sony INZONE H9 Wireless Noise-Canceling Gaming Headset offers immersive monitoring and active noise canceling, which can be useful during extended editing sessions in busy studios or home offices.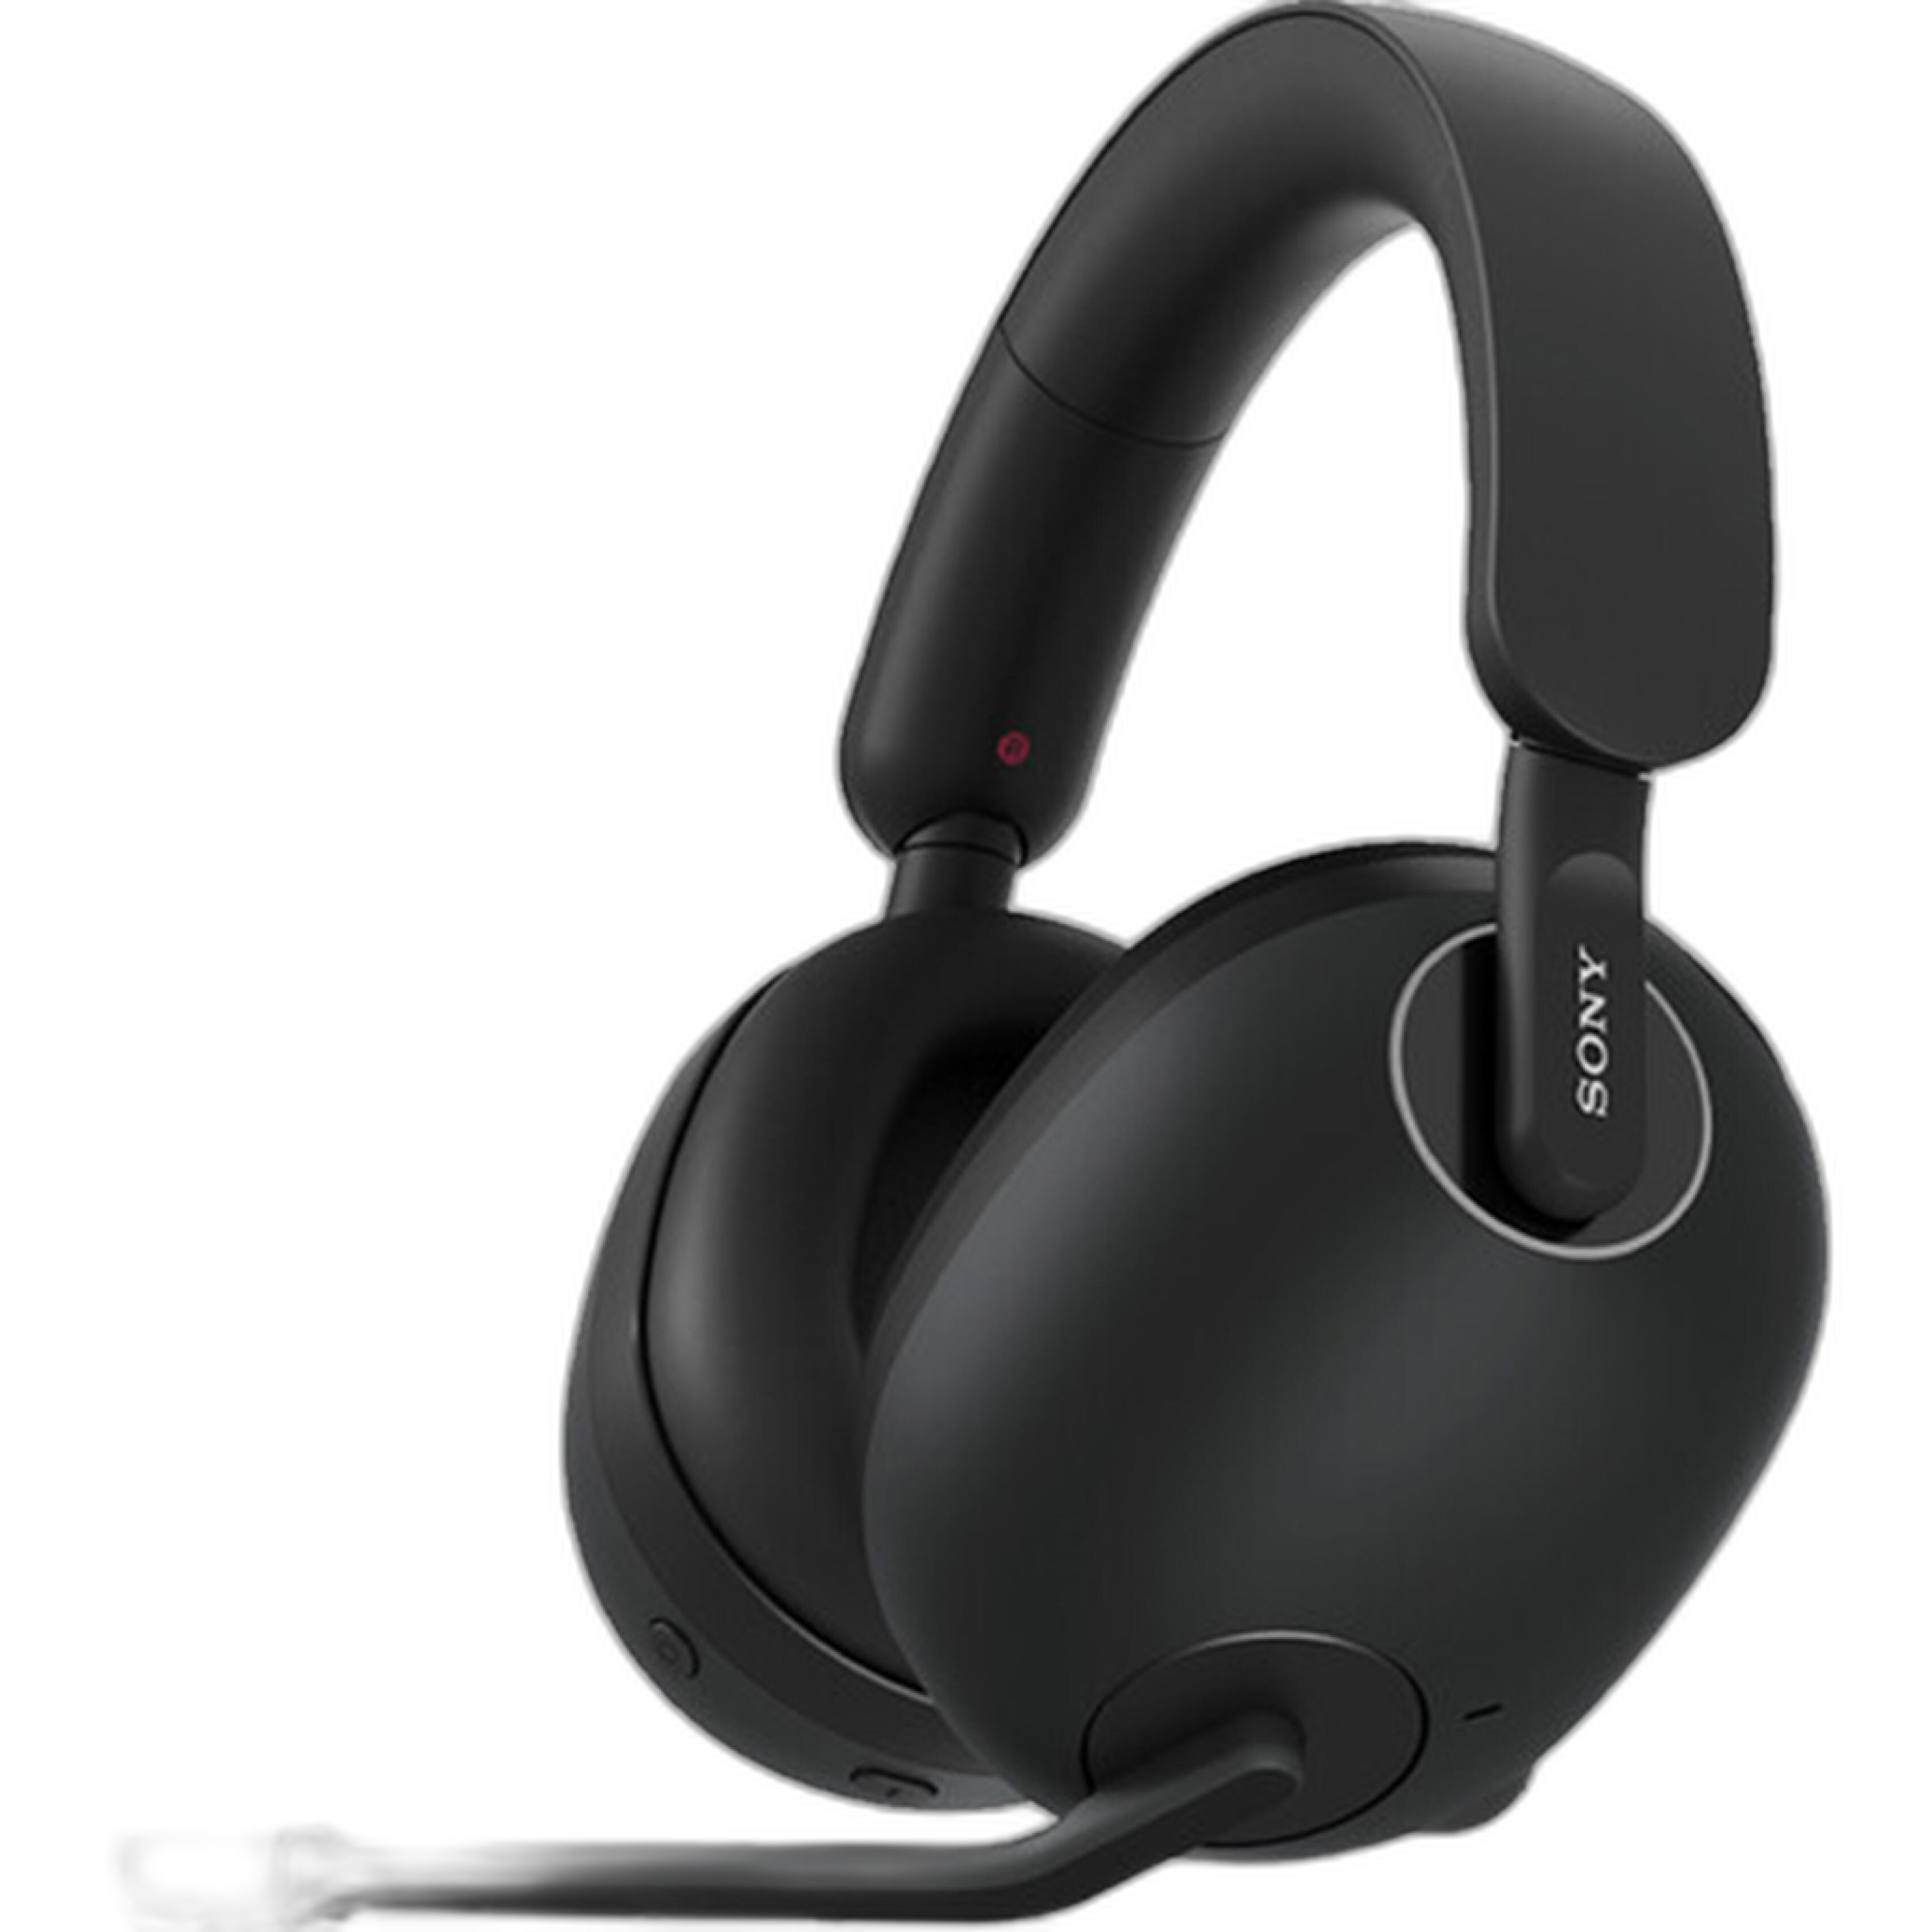
Are there workflow tips for editing noise in both photo and video projects?
Yes. The biggest tip is consistency. When you work across stills and video, it helps to standardize your display calibration, ambient lighting, file naming, and review process. Noise can behave differently in motion footage versus a single still frame, so keeping your editing environment controlled makes comparisons easier.
For editors who frequently switch between tasks, comfortable monitoring gear can make long sessions easier. The Sony WF-1000XM5 True Wireless Noise-Canceling Earbuds are a convenient option for creators who want portable noise isolation while culling, organizing, or making preliminary edit decisions on the go.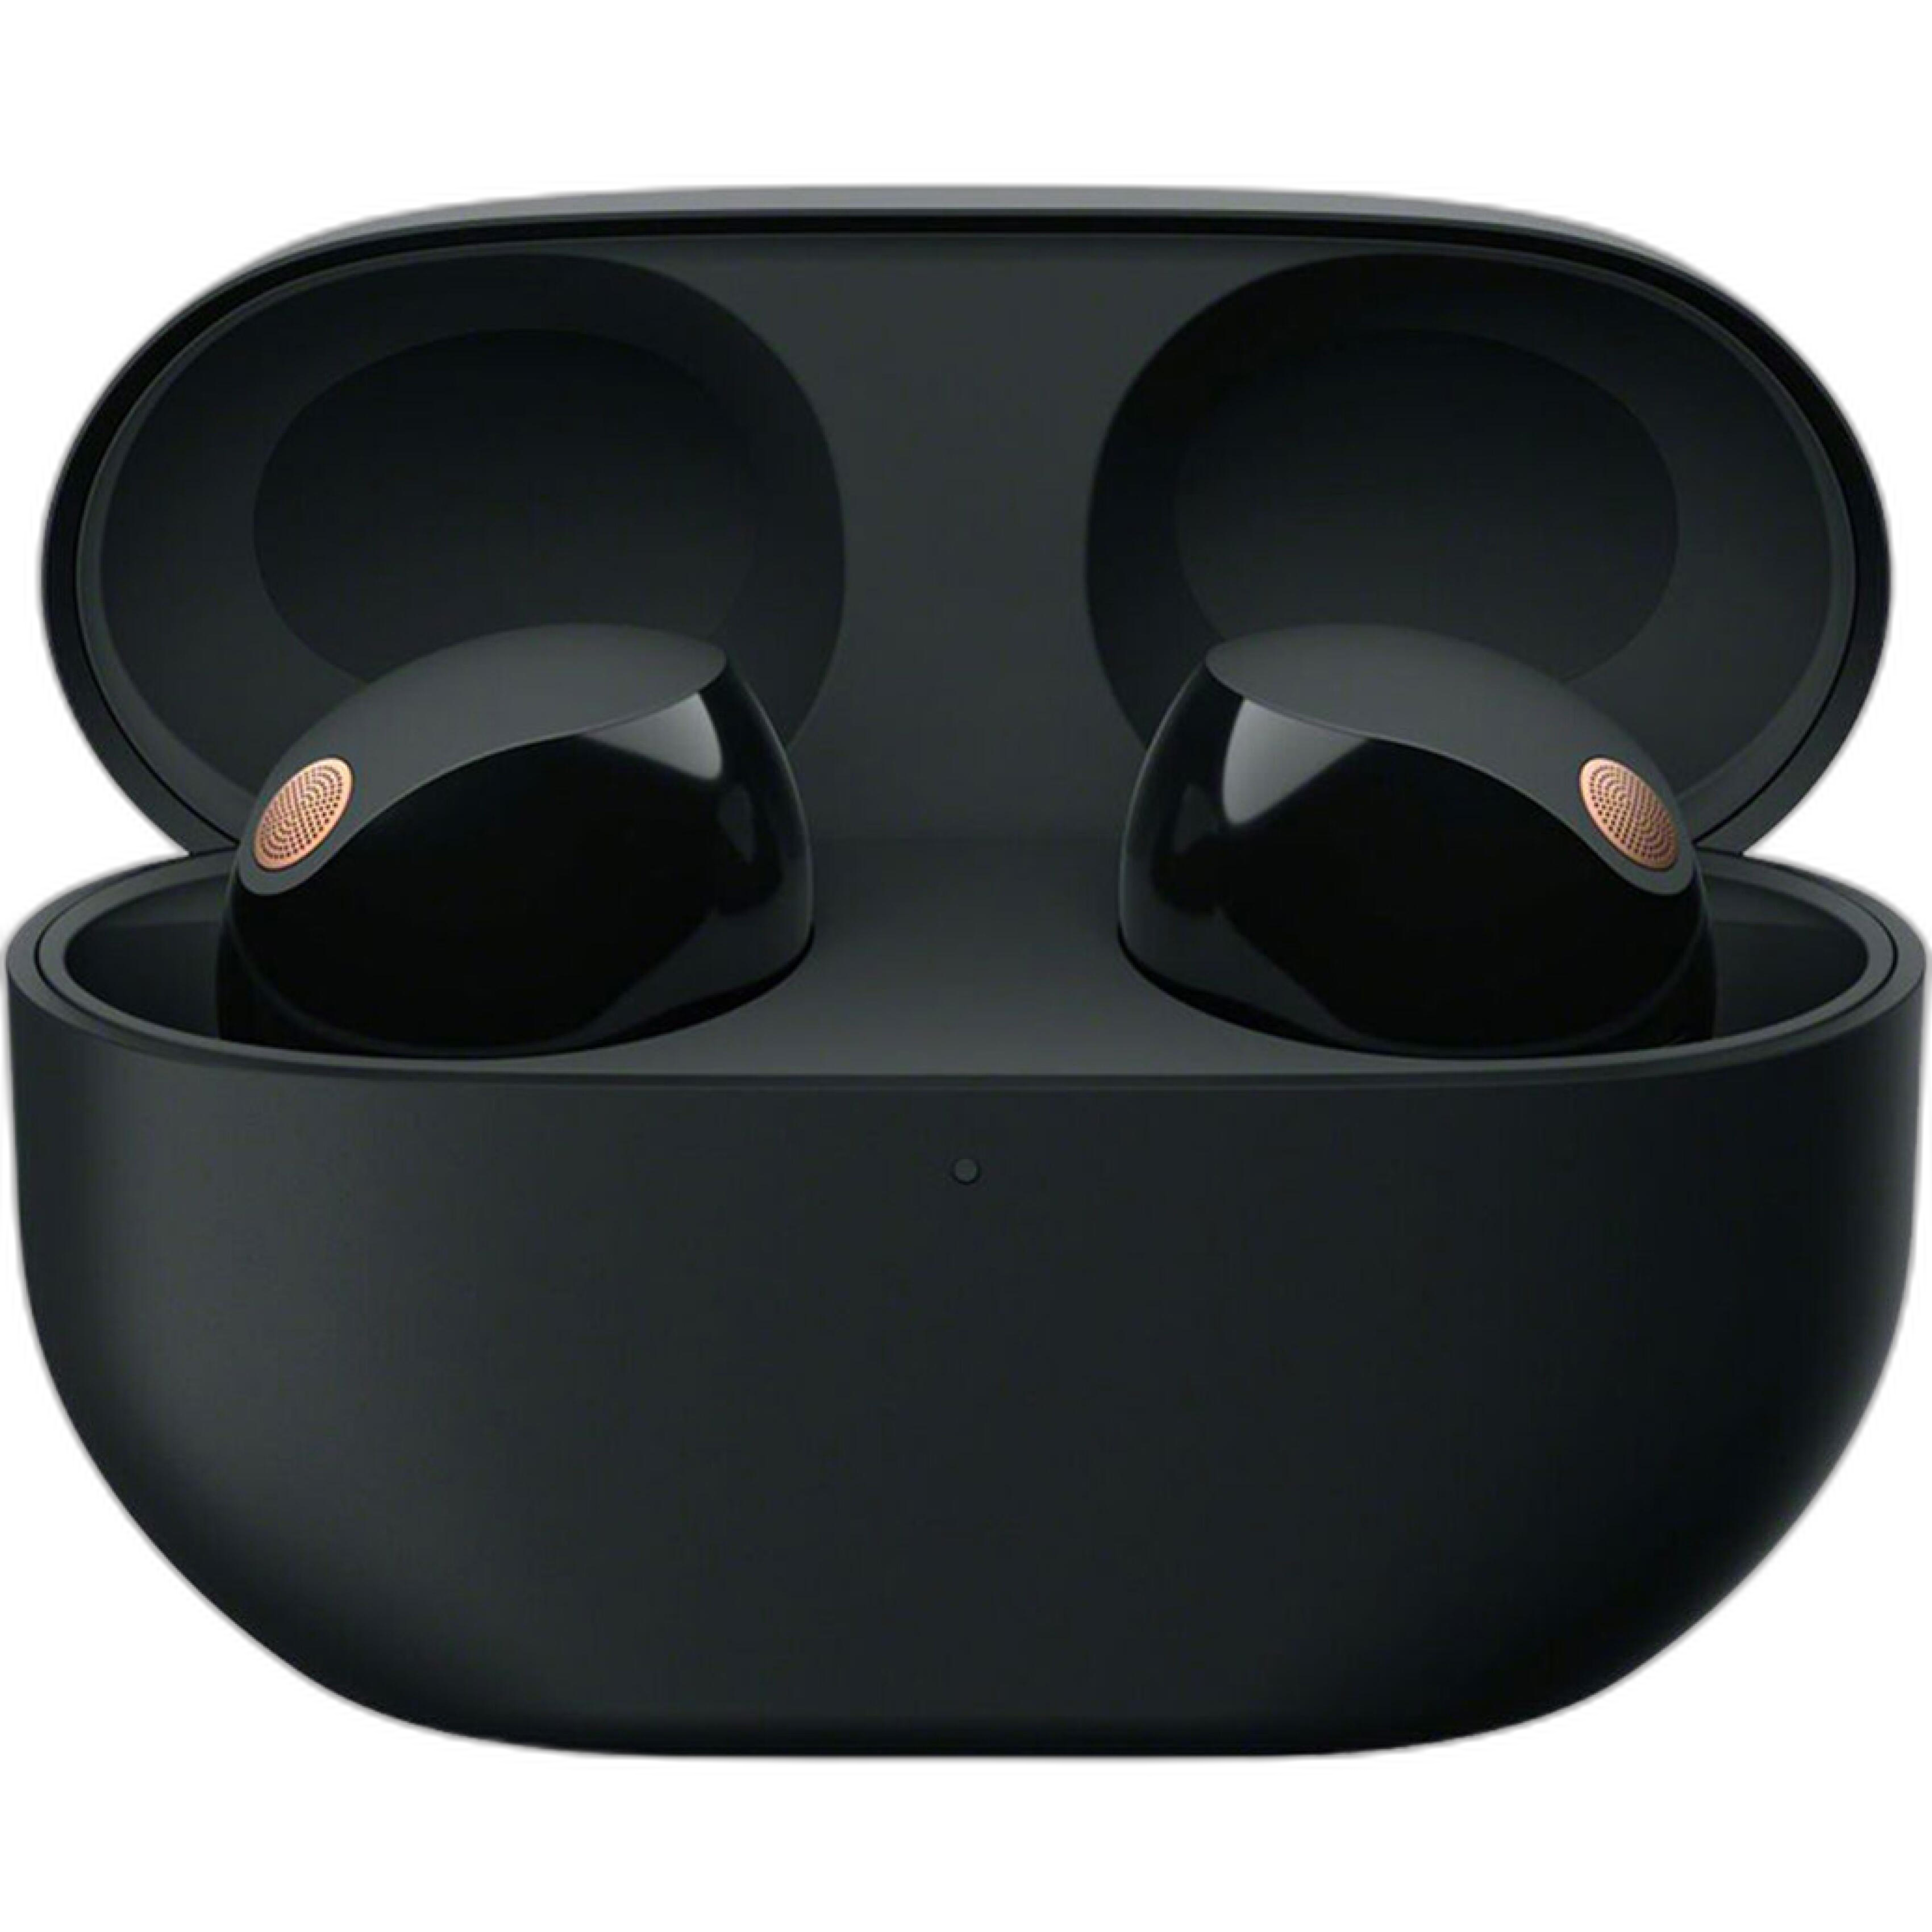
If you prefer a lighter color option, the silver version offers the same portable convenience for travel editing and everyday use.
Does better lighting reduce the need for noise reduction software?
Absolutely. Cleaner light often means lower ISO settings, stronger exposure, and better image quality from the start. That leads to less aggressive noise reduction in post and better retention of fine detail. Whether you are shooting portraits, products, or video content, improving the light on set can dramatically reduce cleanup later.
For larger productions or advanced studio setups, powerful lighting tools such as the Aputure INFINIMAT LED with Clear Softbox and 1600W Control Box Pack (20x20) can help create bright, controlled illumination that supports cleaner captures and a smoother postproduction process.
What is the best overall approach to getting cleaner final images?
The best approach combines technique, software, and workflow discipline. Start with the strongest possible exposure, use noise reduction selectively, evaluate files on a calibrated display, and avoid pushing settings so far that detail disappears. Batch process where it makes sense, but always review your hero images individually.
At Unique Photo, we recommend building a complete image-quality workflow rather than treating noise reduction as a single fix. From calibrated editing tools to postproduction accessories and creator gear, we have the equipment to help you work more accurately and efficiently. Explore the latest tools at Unique Photo to refine your workflow and get cleaner, more natural-looking results from every shoot.