Metering Without a Built-In Meter: FAQ for Film and Manual Shooters
Shooting with a meterless camera can be incredibly rewarding, but it also asks you to slow down and make more deliberate exposure decisions. Whether you use a classic film body, a waist-level medium format camera, or a fully manual setup, understanding how to judge light is one of the most valuable skills a photographer can build.
At Unique Photo, we regularly help photographers choose practical ways to meter accurately in the field, from learning exposure fundamentals to adding accessories or training tools that improve consistency. Below, we answer some of the most common questions about working without an in-camera meter.
How do you meter accurately with a camera that has no built-in light meter?
The simplest approach is to combine a reliable exposure reference with a repeatable workflow. Many photographers start with the Sunny 16 rule, then refine based on subject tone, time of day, and film latitude. For example, bright midday sun, light haze, open shade, and backlit scenes all call for different exposure decisions even if you never touch a meter.
In practice, you can meter by using a smartphone light meter app, a handheld meter, or another camera with a trusted meter as a reference. The key is consistency: meter the same way every time, note your settings, and compare results after processing. Negative film usually gives you more room for error, while slide film and digital highlight-heavy scenes demand greater precision.
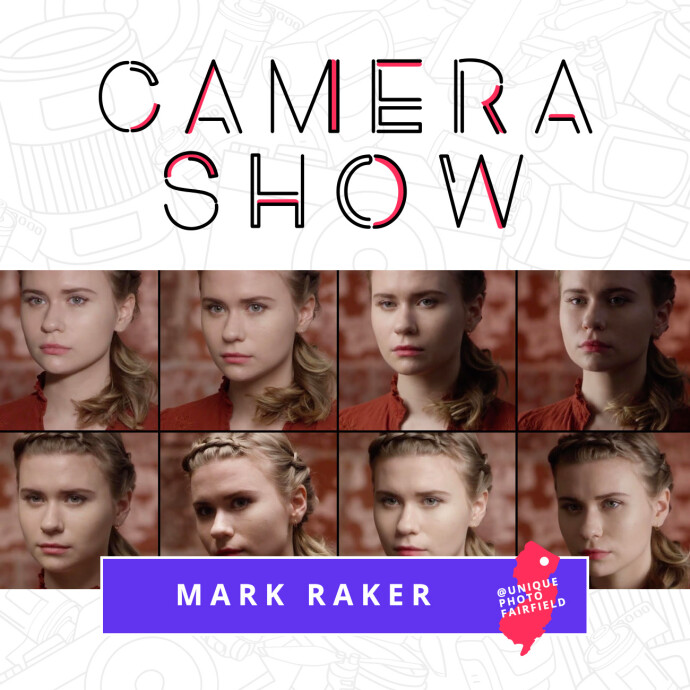
If you are learning to recognize light by eye, structured lighting education can make a major difference. Unique Photo's CS: Key Lighting Methods with Mark Raker (Nanlite) is a helpful resource for photographers who want to better understand how light direction, contrast, and intensity affect exposure decisions in real-world shooting situations.
Are smartphone light meter apps good enough for film photography?
For many photographers, yes. A well-reviewed light meter app can be a practical solution for everyday shooting, especially outdoors or in steady lighting. They are particularly useful for meterless rangefinders, basic mechanical SLRs, and medium format bodies when you want a lightweight kit.
That said, phone apps work best when you understand their limitations. The phone camera may interpret a scene differently than your film stock does, and highly contrasty conditions can mislead a reflected reading. It is a good idea to test your preferred app against a known reference before relying on it for important work. Shoot a few rolls in varied conditions, bracket exposures, and determine whether the app tends to underexpose or overexpose for your style.
For critical work, especially in mixed indoor light, portraits, or studio setups, many photographers eventually prefer a dedicated handheld meter. But as a starting point, a phone app is often more than capable when paired with sound exposure judgment.
What is the best metering method for difficult lighting, like backlight or deep shade?
Tricky lighting is where technique matters more than gear. In backlit scenes, a reflected reading from the whole frame often underexposes the subject because the bright background dominates the meter reading. Instead, take a reading from the subject area, move closer if possible, or expose with the subject's skin tones or key midtones in mind.
In deep shade, many photographers mistakenly preserve highlights they do not actually care about, which can leave the main subject too dark. If your subject is in shade, meter for the shade. With negative film, slight overexposure is often preferable to underexposure because it protects shadow detail. With slide film or digital, you may need a more balanced compromise to avoid clipping bright areas.
This is also where understanding controlled light can help your location work. Learning how light falls on a subject, even in available-light photography, makes metering choices more intuitive. Courses like CS: Key Lighting Methods with Mark Raker (Nanlite) can help photographers recognize contrast patterns and decide which part of a scene should drive exposure.
Should you meter for the highlights, shadows, or midtones?
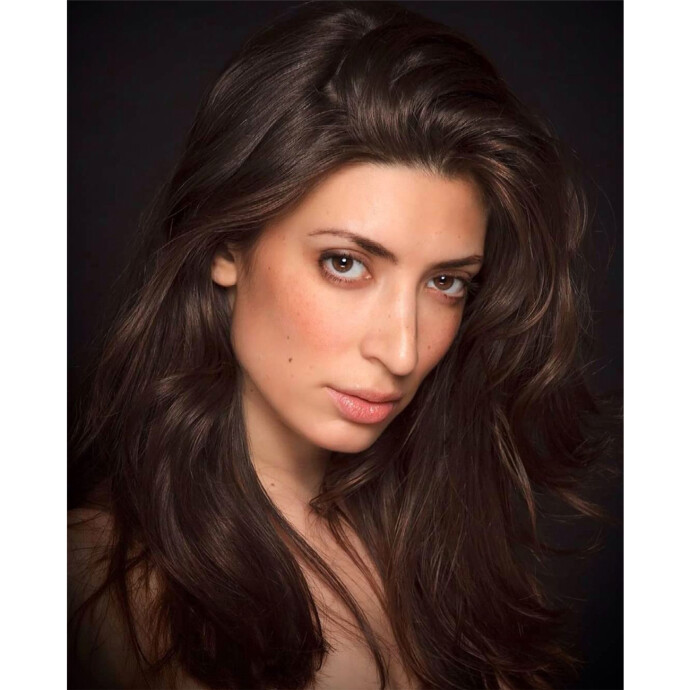
The answer depends on your medium and your priority in the image. If you are shooting color negative or black-and-white negative film, it often makes sense to protect shadow detail by giving enough exposure to the darker tones you want to retain. Negative film generally handles overexposure better than underexposure.
If you are shooting slide film, the margin for error is much smaller, and highlight protection becomes much more important. For digital capture, many photographers also prioritize highlights because clipped highlights are often harder to recover than slightly dark shadows. Midtone metering is a useful default for balanced scenes, but in practice you should always ask: what part of the image matters most?
A strong habit is to identify the critical tonal area before you take the shot. If the face is the subject, meter for the face. If the mood depends on retaining bright clouds, meter with those highlights in mind. Metering is not just technical; it is part of your creative intent.
Is it worth adding an external finder or accessory to a meterless film setup?
It can be, especially if the accessory improves how confidently and quickly you compose or shoot. For some medium format systems, accessories that change the viewing experience can make a practical difference in the field. For example, the Used Kiev TTL Finder for Hasselblad 500 Cameras - Good Condition may appeal to photographers using compatible Hasselblad 500-series bodies who want a different viewing and metering-related workflow than a standard waist-level finder provides.
When considering accessories for classic systems, compatibility and shooting style matter most. Some photographers prefer to keep their kit minimal and meter externally. Others like the convenience of integrating viewing and exposure tools as much as possible. If you shoot slower, methodical subjects like portraits, still life, or landscapes, an accessory-based setup can be a very comfortable way to work.
How can wide-angle lenses affect the way you think about metering?
Wide-angle scenes often include bright skies, dark foregrounds, and high contrast across the frame, which can complicate reflected metering. If you are working with a dramatic ultra-wide composition, the meter may average too much of the sky and leave the land or subject underexposed. In these cases, it helps to evaluate the most important part of the composition rather than trusting a generalized reading.
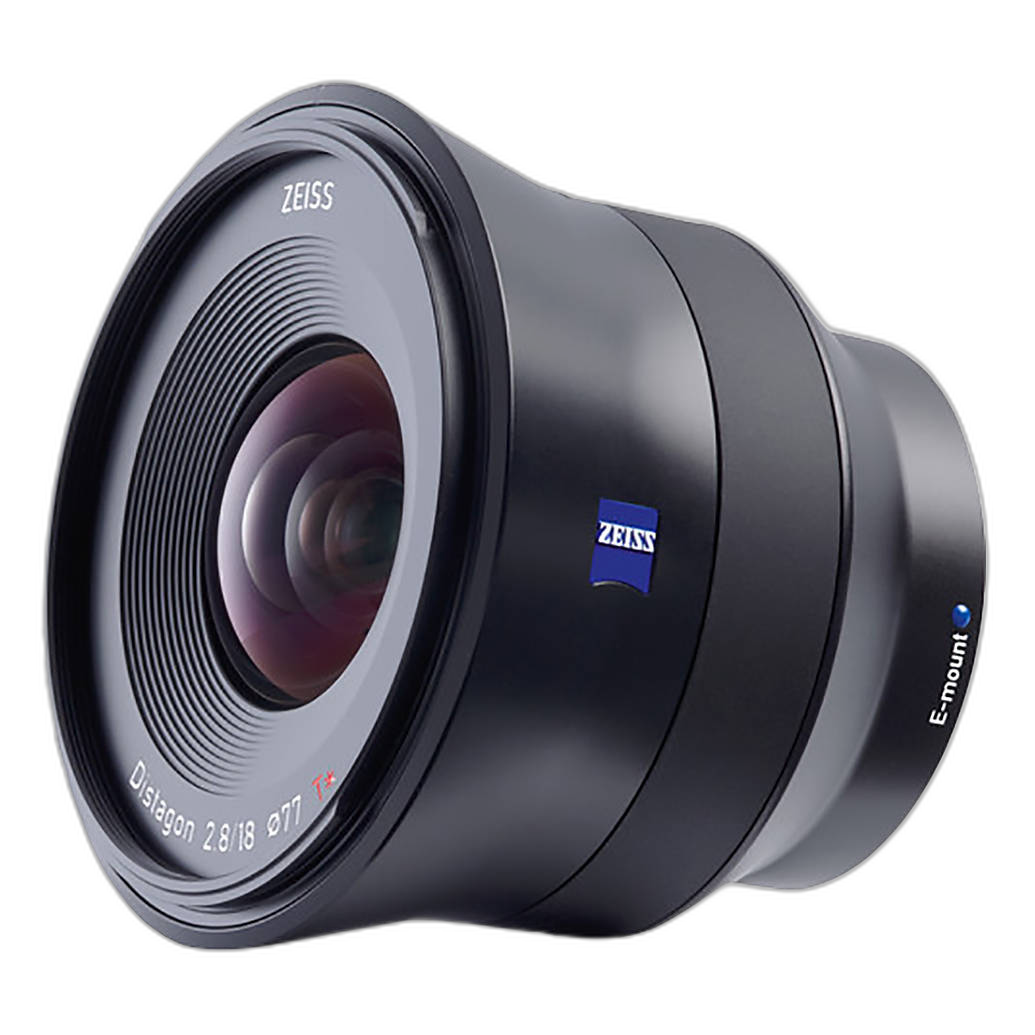
A lens like the Zeiss Batis 18mm f/2.8 AF lens for Sony Full Frame E-Mount Cameras is a great example of a lens often used for landscapes, architecture, interiors, and environmental scenes where thoughtful metering is essential. These subjects frequently involve bright windows, sunsets, or deep shadow transitions, so exposure technique matters just as much as optical quality.
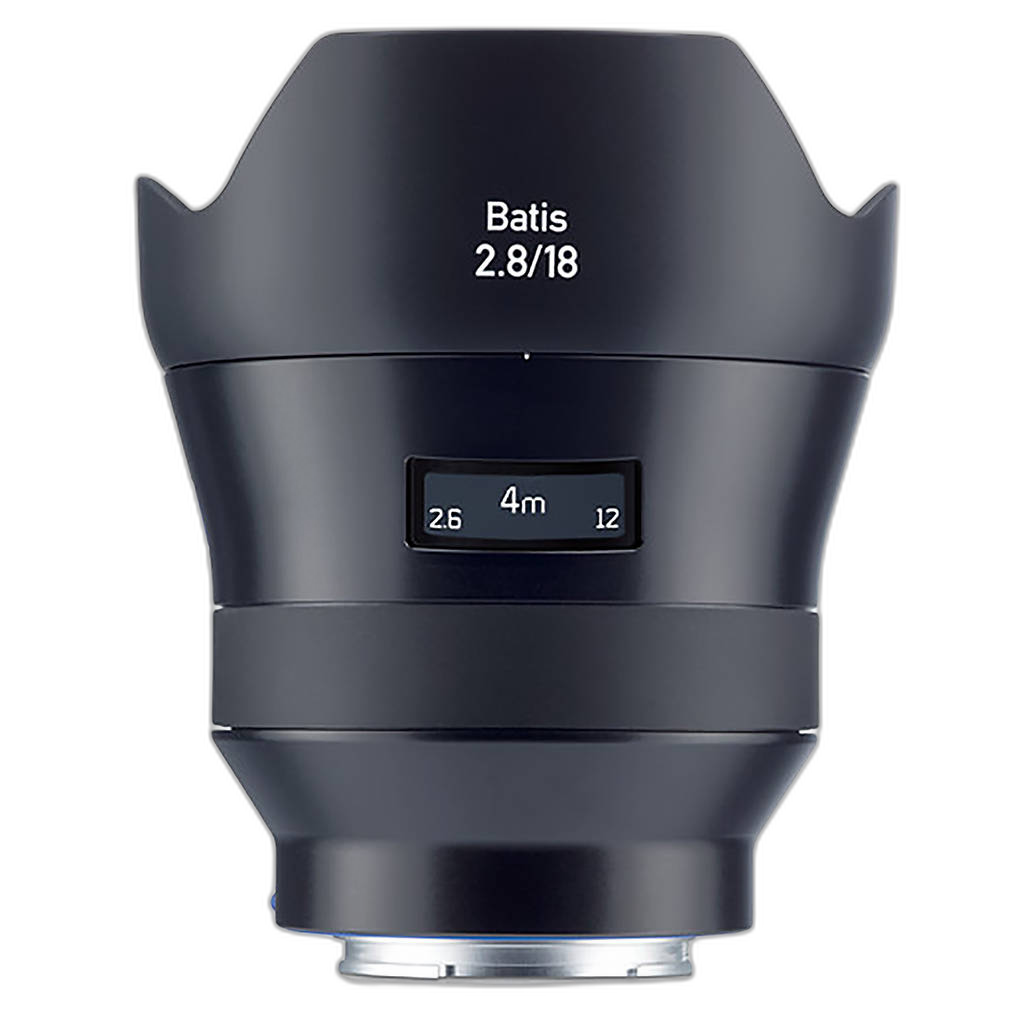
When using a wide lens, pay close attention to edge brightness, the amount of sky in frame, and whether the subject is front-lit, side-lit, or backlit. Spotting those factors before you meter will improve your consistency far more than simply averaging the whole scene.
What is the best way to practice metering so you get better quickly?
The fastest way to improve is to build a feedback loop. Before taking a picture, guess the exposure. Then check that guess with a meter app, handheld meter, or digital camera reference. Record what you chose, then compare the final results after processing or review. Over time, you will start recognizing lighting patterns instinctively.
Another useful drill is to practice in one lighting condition at a time: full sun, overcast light, open shade, golden hour, indoor window light, and mixed artificial light. Once you can identify exposure ranges in each scenario, moving between them becomes much easier.
Education helps here too. Lighting workshops and classes are not only for studio photographers; they are also excellent for film shooters and manual photographers who want a stronger intuitive understanding of light behavior. Unique Photo's CS: Key Lighting Methods with Mark Raker (Nanlite) is a strong option for photographers looking to build that foundation.
Do you need different metering habits for black-and-white, color negative, and digital?
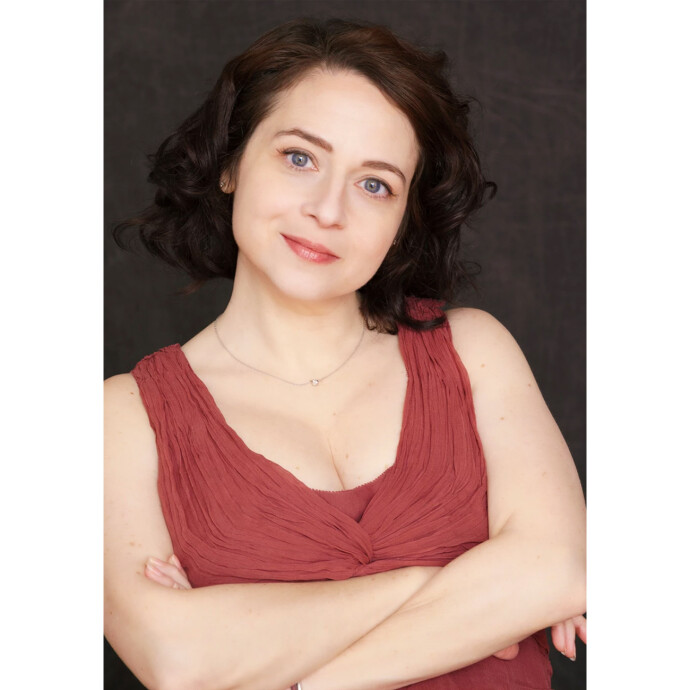
Yes. Each medium responds differently to exposure, and your metering approach should reflect that. Black-and-white negative film often gives you flexibility, but the way tones separate can still change dramatically depending on exposure and development. Color negative film is generally forgiving and often benefits from a little extra exposure, especially in lower light or high-contrast scenes.
Digital is different because you can review results immediately, but that does not mean metering stops mattering. Careful metering helps preserve highlights, reduce noise in shadows, and keep skin tones looking natural. If you move between film and digital regularly, it is worth mentally separating your exposure habits for each system instead of assuming one approach translates perfectly to all of them.
For photographers who use both manual film cameras and modern mirrorless bodies, pairing strong light judgment with a sharp, high-quality lens can be especially rewarding. The Zeiss Batis 18mm f/2.8 AF lens for Sony Full Frame E-Mount Cameras is a compelling option for photographers who want excellent image quality while refining exposure technique on Sony full-frame systems.
What should you do if your exposures are inconsistent from roll to roll?
Start by simplifying variables. Use one film stock, one meter method, and one lighting situation for a test roll. Inconsistency often comes from changing too many factors at once, such as switching films, relying on a new app, and shooting in rapidly changing weather. Confirm that your shutter speeds and apertures are functioning correctly, especially on older mechanical cameras.
Next, check whether your issue is really metering or whether it may be development, scanning, or lab interpretation. A dense negative can scan very differently depending on the operator and settings. If possible, compare your negatives themselves rather than relying only on final scans.
Finally, establish a default strategy. For example: meter the subject, favor slight overexposure on negative film, and bracket when contrast is extreme. A repeatable approach will usually solve more problems than chasing scene-by-scene perfection.
Metering without a built-in meter does not have to feel uncertain. With a reliable process, a little testing, and a stronger understanding of light, you can shoot confidently on classic cameras and modern manual setups alike. If you want to sharpen your lighting knowledge or add gear that supports your workflow, explore classes, lenses, and accessories at Unique Photo.