Ask a group of photographers how they meter a scene and you will probably hear several different answers. Some trust center-weighted metering in-camera, some carry a handheld meter everywhere, and others use a phone app as a quick backup. That debate gets even more interesting when older or fully manual film cameras enter the conversation, because exposure decisions become much more deliberate. The good news is that accurate exposure with film does not have to feel mysterious. A few repeatable routines can help you work faster, waste less film, and get more consistent negatives or slides from real-world shoots.
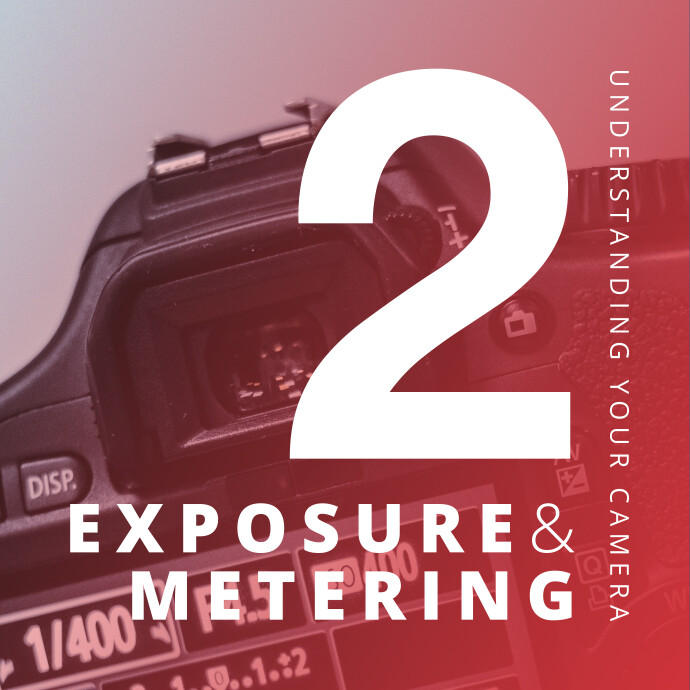
If you are still refining your exposure habits, learning the fundamentals in a class like Understanding Your Camera II: Exposure and Metering can make a big difference, especially when you are balancing reflected readings, incident readings, and scene contrast in the field.
Start With a Simple Metering Routine
1. Pick one default approach and use it consistently
One of the biggest exposure mistakes film photographers make is changing methods from frame to frame without a reason. Instead, choose a baseline routine. For example, you might meter for open shade with a handheld meter, or take a reflected reading from a midtone area and place it carefully. Consistency helps you learn how your film stock behaves and how much latitude you really have.
If you are shooting an older body such as a used Leica M4, building a repeatable routine matters even more because the camera itself is not doing the metering work for you. That can be a creative advantage once your process becomes second nature.
2. Learn when reflected and incident readings give different answers
Reflected metering measures light bouncing off the subject, so bright clothing, dark walls, snow, and backlight can all influence the reading. Incident metering measures the light falling on the subject and is often more reliable when the lighting is steady. In practice, many photographers use reflected metering for speed and incident metering when precision matters, such as portraits or controlled scenes.
That is why many exposure discussions revolve around routine rather than gear alone. A handheld meter can be excellent, but it works best when you know exactly when to trust it and when to double-check the scene visually.
Use Real-World Exposure Shortcuts
3. Meter once, then keep shooting in the same light
On real shoots, photographers often meter a scene once and keep working as long as the light does not change. That is especially useful with negative film, which generally offers forgiving latitude. If your subject stays in the same patch of shade or the same indoor window light, there is no need to meter every single frame.
This habit speeds up street, travel, and documentary photography. It also helps you stay present with your subject instead of constantly checking numbers.
4. Protect highlights differently depending on the film
With color negative and black-and-white negative film, many photographers prefer to give a little extra exposure and let the shadows fill in. Slide film is less forgiving, so highlight protection becomes more critical. Your metering routine should change based on the film stock, not just the scene.
Keeping notes from a few rolls can reveal patterns quickly. You may notice that your favorite black-and-white film looks best when rated slightly differently than the box speed, or that bright overcast scenes need a more careful reading than expected.
5. Use your phone app as a backup, not a crutch
Metering apps can be surprisingly useful, especially when you are carrying a manual camera with no built-in meter. They are handy for double-checking broad exposure ranges, scouting a location, or confirming a reading when your dedicated meter is not nearby. Still, app readings can vary depending on the phone camera and how you point it, so they are best treated as a practical backup.
Many photographers settle into a hybrid routine: handheld meter for important work, app for convenience, and experience for quick decisions in familiar light.
Read the Scene, Not Just the Meter
6. Identify the brightest important area and the darkest important area
A meter gives you data, but your job is to decide what matters in the frame. On a contrasty scene, ask yourself which highlight absolutely needs texture and which shadow needs detail. That thought process is often more important than the exact device you use.
Photographers who get consistently strong film exposures tend to think in terms of subject priority. They do not just accept the first reading; they interpret it.
7. Build a few mental exposure references
Sunny 16 still matters. So do familiar references like open shade, window light, heavy overcast, and tungsten interiors. Even if you always carry a meter, these mental benchmarks make you faster and more confident. They also help you notice when a meter reading seems suspicious.
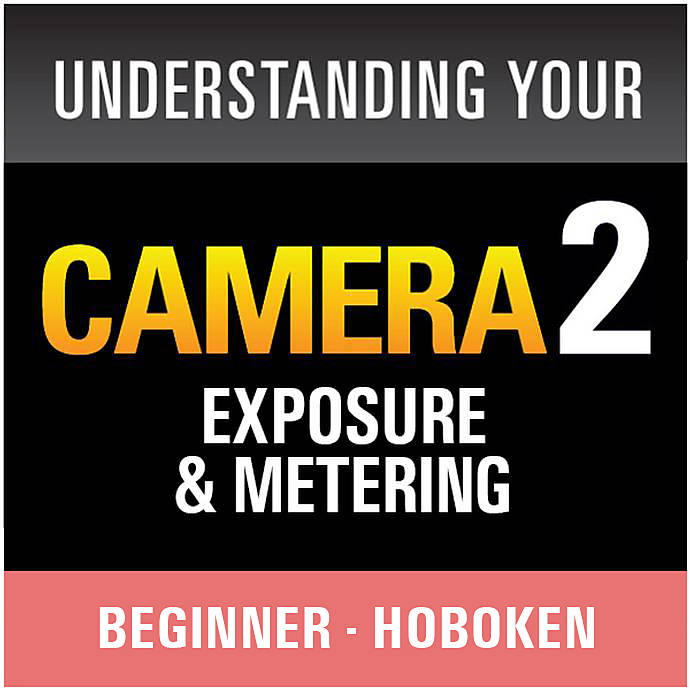
For photographers who want to strengthen this side of exposure technique, educational resources like Understanding Your Camera II: Exposure and Metering (Hoboken) can help connect theory to real shooting scenarios.
Practice on Controlled Shoots Before Critical Ones
8. Test your meter workflow during portraits or home setups
If you are trying a new handheld meter, a new app, or a new film stock, test it somewhere controlled before relying on it during an important session. Simple portrait setups, still lifes, or window-light scenes are perfect for this. You can take multiple readings, compare methods, and see how the negatives come back.
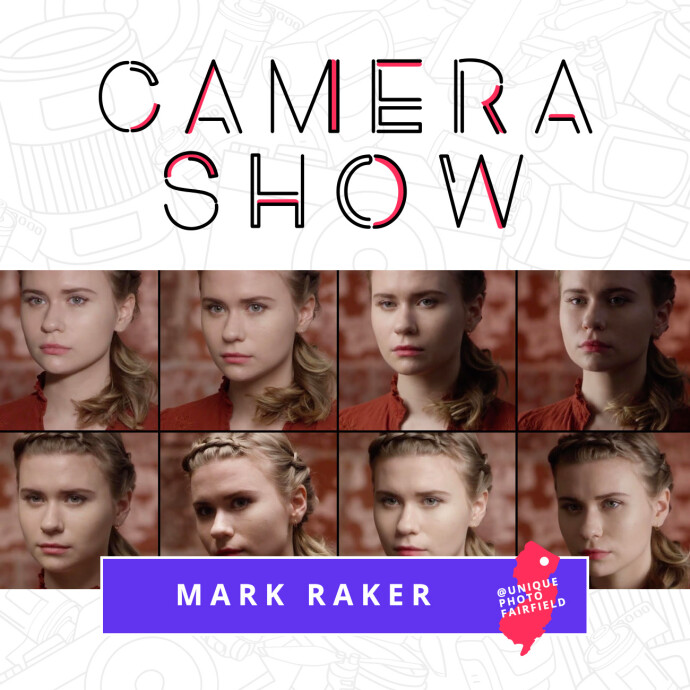
Lighting education can also sharpen your exposure instincts. A course like CS: Key Lighting Methods with Mark Raker (Nanlite) is useful because understanding light placement and intensity naturally improves how you meter and expose.
9. Review your scans or edits with exposure in mind
Film exposure decisions do not end when the roll is developed. Reviewing scans carefully can show whether your metering habits are producing dense negatives, thin negatives, blocked highlights, or muddy shadows. That feedback loop is essential.
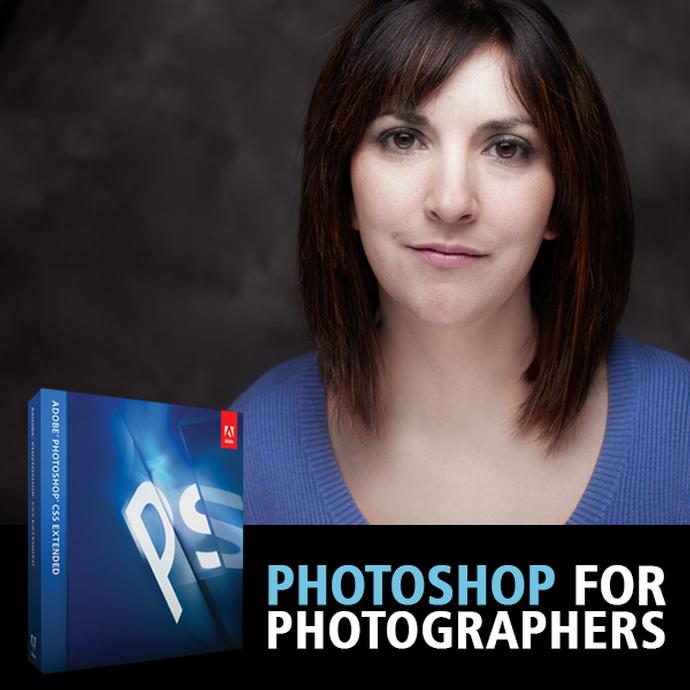
Even a post-processing class like Photoshop for Photographers with Adobe Certified Instructor Blake Taylor can help you better evaluate how exposure choices affect the final image, because editing often reveals where the negative gave you room to work and where it did not.
Expand Your Exposure Skills Across Different Types of Shooting
10. Apply the same metering discipline to video and hybrid work
Many photographers today move between film, digital, and even video projects. The core skill is the same: understand the light, decide what matters, and expose intentionally. If you are branching out, workshops such as PCS: Video for Photographers with Shiv Verma (Lumix) can reinforce how metering and exposure judgment carry across formats.
11. Keep learning from books, classes, and your contact sheets
Exposure technique improves fastest when you combine shooting experience with study. Books like Filmmaking Essentials for Photographers by Eduardo Angel are useful not just for motion work, but for understanding light, scene analysis, and visual decision-making more broadly.
At the same time, your own negatives, scans, and proof sheets remain your best teacher. They show exactly how your personal routine performs under pressure.
Conclusion
There is no single perfect metering method, and that is exactly why photographers keep debating it. What matters most is finding a routine you trust, understanding when to adapt it, and practicing until exposure decisions become intuitive. Whether you prefer a handheld meter, an app, or careful scene reading with a manual film camera, consistency and review will get you closer to accurate results. If you want to sharpen your exposure skills further, Unique Photo offers classes, educational resources, and gear to help you build a smarter metering workflow.