Why Metering Matters When Shooting Film Outdoors
Shooting film outside can be incredibly rewarding, but it also demands careful exposure decisions. Unlike digital capture, film gives you less immediate feedback, so understanding how to meter changing outdoor light is essential. Whether you are walking around town with a compact rangefinder or heading into the woods with a medium format camera, strong metering habits help you preserve highlight detail, protect shadow texture, and get negatives or slides that scan and print beautifully.
At Unique Photo, film photographers regularly look for practical ways to improve consistency in bright sun, open shade, backlit scenes, and fast-changing weather. The good news is that outdoor film exposure becomes much easier once you understand a few core principles: how your meter reads a scene, when to compensate, and how different film stocks react to overexposure and underexposure.

If you print your images in the darkroom or through a lab workflow, accurate negatives make a real difference downstream. Consistent metering can lead to smoother scans and stronger print results on materials like Fujifilm photo paper systems often found in professional lab environments.
How In-Camera Meters Read Outdoor Scenes
Most reflected light meters are designed to treat the world as a middle tone. In practice, that means your camera meter may try to render very bright scenes darker and very dark scenes brighter. Outdoors, this creates common problems:
- Snow, sand, or bright beaches often look underexposed if you follow the meter exactly.
- Dense forests, dark clothing, or shaded alleys may come out overexposed.
- Strong backlighting can fool the meter into prioritizing bright skies over your subject.
When shooting negative film, many photographers intentionally rate film a little slower than box speed to preserve shadow detail. For example, ISO 400 color negative film may be metered at ISO 200 or 320 depending on the look desired. Black-and-white negative film is also often forgiving of overexposure, while slide film usually requires much tighter exposure discipline because its highlight latitude is more limited.
Using the Sunny 16 Rule for Film Exposure Outdoors
The Sunny 16 rule remains one of the best backup tools for film shooters. On a bright sunny day, set your aperture to f/16 and your shutter speed to the reciprocal of your film speed. So if you are shooting ISO 200 film, start around 1/250 second at f/16. From there, adjust for conditions:
- Bright sun with distinct shadows: f/16
- Light haze: f/11
- Overcast bright: f/8
- Heavy overcast: f/5.6
- Open shade: f/4 to f/5.6
This method is especially useful when using older cameras without built-in meters, such as classic folding or medium format cameras. A camera like a vintage Voigtlander Perkeo I 6x6 120 film camera is a great example of a film body where understanding outdoor light can matter more than relying on modern electronics.
Best Metering Tips for Color Negative Film Outdoors
Color negative film tends to reward generous exposure. If you are unsure whether to expose for highlights or shadows, it is often safer to give color negative film a little more light rather than too little. Here are a few practical tips:
- Meter for the shadows when the scene has high contrast, but avoid extreme overexposure in very bright midday sun.
- In backlit portraits, take a reading from your subject rather than the sky.
- If the scene includes bright white elements, add about +1 to +2 stops depending on how dominant those highlights are.
- Bracket important shots if the light is changing quickly.
Many film shooters visiting Unique Photo for lab services or film supplies find that consistent overexposure by about one stop on color negative film can deliver richer shadow detail and smoother scans. The exact amount depends on the film stock, the contrast of the scene, and your preferred final look.
Exposure Tips for Black-and-White Film in Harsh Sunlight
Black-and-white film can look amazing outdoors, especially when you use sunlight to shape contrast and texture. However, harsh sun can create deep shadows and bright highlights that challenge your meter. To improve your results:
- Watch the relationship between bright skies and shaded foregrounds.
- Consider exposing for important shadow detail if your subject sits in partial shade.
- Use side light for more texture and dimension.
- Shoot earlier or later in the day when contrast is lower.
If your black-and-white workflow includes silver gelatin or machine prints, good negatives remain the foundation. Lab and print materials, including Fujifilm paper options used in many production environments, benefit from well-controlled density and tonal separation.
How to Meter Backlit and High-Contrast Outdoor Scenes on Film
Backlighting is one of the most common causes of bad outdoor film exposure. If you meter the whole scene, the camera will often be influenced by the bright background and leave your main subject too dark. Instead, try one of these approaches:
- Get closer and meter the subject so the reading is less affected by the background.
- Use exposure compensation and add +1 to +2 stops if your subject is strongly backlit.
- Take an incident reading with a handheld meter if available.
- Bracket exposures when the shot matters and the lighting is difficult.
With slide film, especially, precision matters. If the sky is important and you cannot hold detail in both subject and background, decide what you want to preserve. For portraits, prioritizing the subject usually makes the most sense. For landscapes, preserving highlight detail in the sky may be the better call.
Open Shade, Golden Hour, and Cloudy Day Film Metering Tips
Outdoor light is not only about bright sun. Open shade can create soft, flattering conditions, but it is often cooler and dimmer than photographers expect. Golden hour delivers beautiful warmth, while cloudy days provide low contrast that can work especially well with color and black-and-white film.
To meter effectively in these conditions:
- Do not assume open shade is bright enough for high shutter speeds, especially with slower film.
- At golden hour, trust your meter but be aware that the scene may look brighter to your eyes than it really is.
- On overcast days, watch for flat light and use composition and texture to add depth.
- If handheld shutter speeds get too low, open the aperture or switch to a faster film stock.
For photographers who also work across hybrid workflows, Unique Photo offers a broad range of analog and digital gear support, making it easier to move from capture to print and presentation.
Should You Use a Handheld Meter for Outdoor Film Photography?
A handheld meter can be extremely helpful outdoors, particularly if you use fully mechanical cameras or want more consistency than an in-camera reflected meter can provide. Incident metering measures the light falling on your subject rather than the light bouncing off it, which can reduce errors caused by unusually bright or dark scenes.
A handheld meter is especially useful for:
- Portraits in mixed light
- Landscape scenes with dramatic contrast
- Medium format film photography
- Working with slide film
If you are shooting with older equipment or classic used gear, pairing your camera with a good meter can modernize your results without changing the character of the shooting experience.
Do Filters and ND Accessories Affect Film Exposure?
Yes. Any filter placed in front of the lens can affect exposure, and that includes color filters for black-and-white film, polarizers, and neutral density filters. You must account for filter factor unless your camera or meter is reading through the lens and automatically compensates.
Neutral density tools are more commonly associated with video and drone shooting, but the underlying concept is still useful for photographers: reducing the amount of light reaching the sensor or film allows slower shutter speeds or wider apertures in bright conditions. Products like the PolarPro Cinema Series Exposure 3 Pack reflect how exposure control accessories are used across imaging disciplines, even though film photographers more commonly reach for lens-mounted ND filters sized to their lenses.
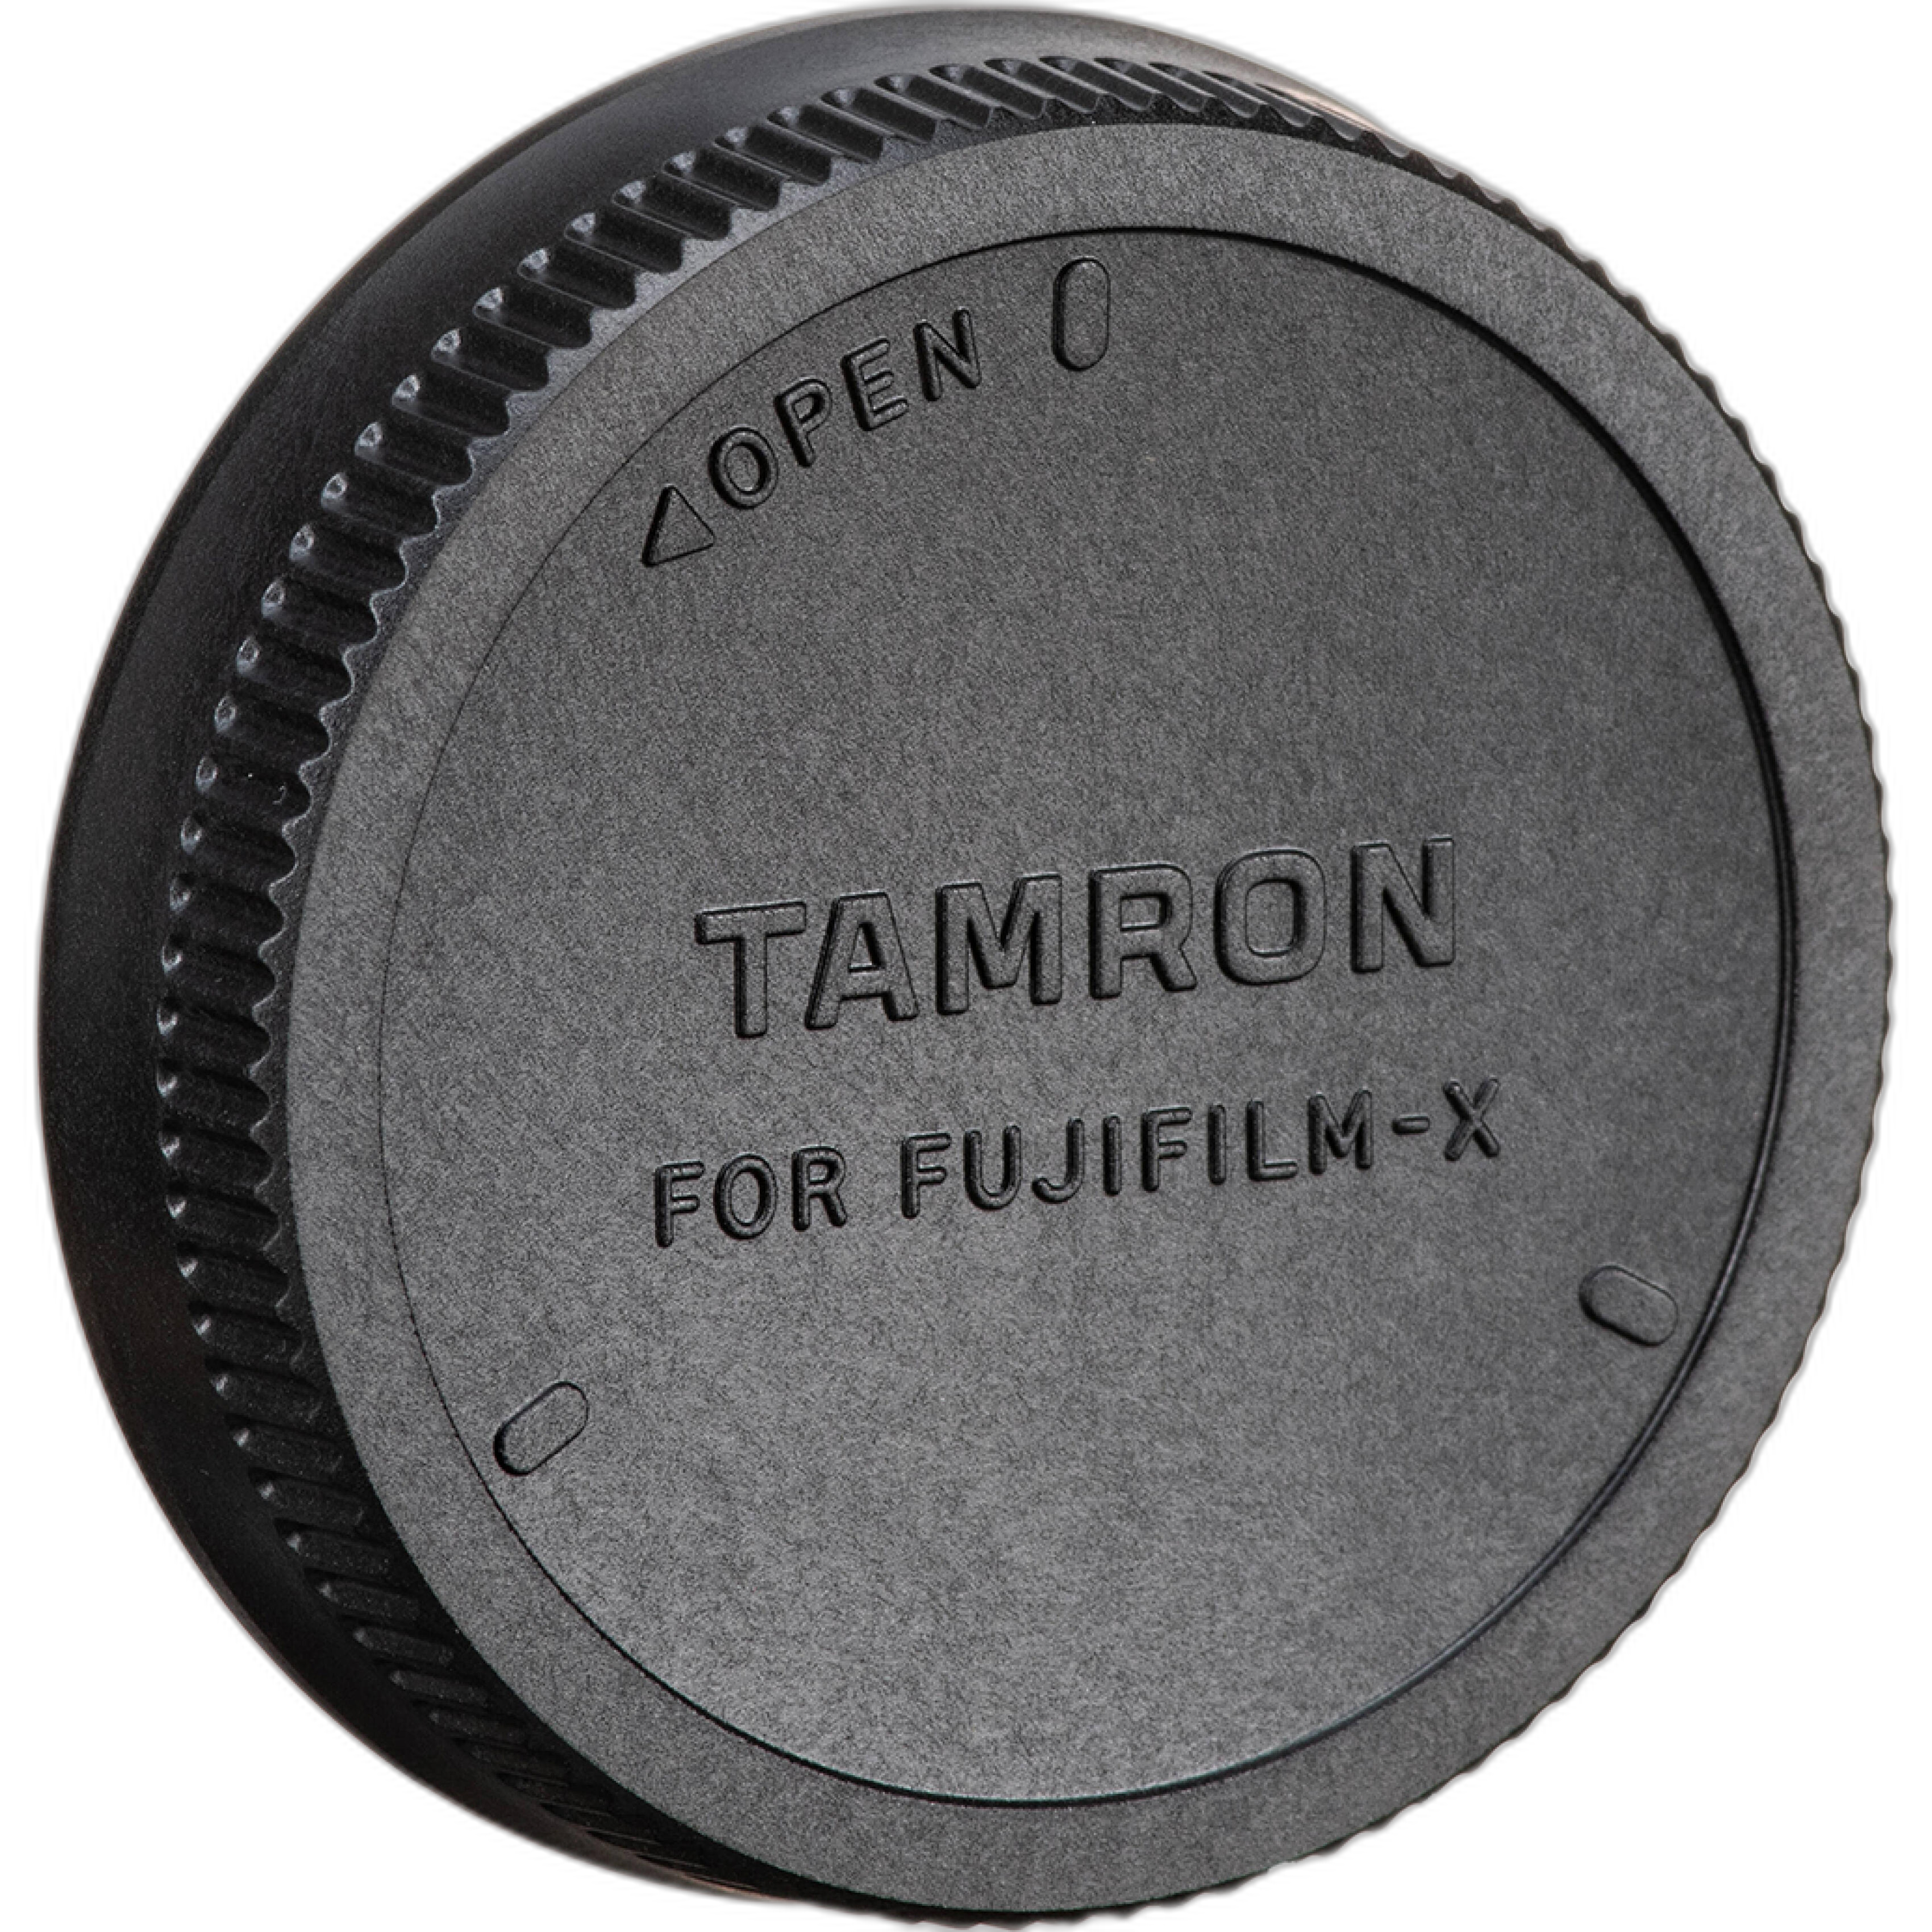
Even simple accessories matter in a field kit. Keeping lenses protected with items like rear caps helps ensure your optics stay clean and ready when outdoor light changes quickly and every frame counts.
Common Outdoor Film Exposure Mistakes to Avoid
- Trusting the meter blindly in snow or beach scenes: add exposure to keep bright subjects bright.
- Underexposing color negative film: thin negatives often scan poorly and lose shadow detail.
- Ignoring shutter speed in shade: motion blur is easy to introduce with slower films.
- Forgetting filter compensation: always account for filters when not using TTL metering.
- Metering the sky instead of the subject: especially problematic in portraits and backlit scenes.
Outdoor film photography rewards patience and observation. The more often you compare your notes, negatives, and final scans, the faster you learn how your favorite films behave in different kinds of natural light.
How to Build a Reliable Outdoor Film Exposure Workflow
If you want more consistent results, develop a repeatable process:
- Check the light first: sunny, overcast, open shade, or mixed light.
- Decide what matters most in the frame: subject, shadows, or highlights.
- Take a meter reading from the most important area.
- Adjust based on the scene's brightness relative to middle gray.
- Bracket when the scene is difficult or irreplaceable.
- Review your scans or prints and make notes for next time.
A dependable workflow matters whether you are photographing casually on 35mm or carefully composing medium format frames outdoors. If you later print your work, having a solid negative makes everything easier across scanning, editing, and output.
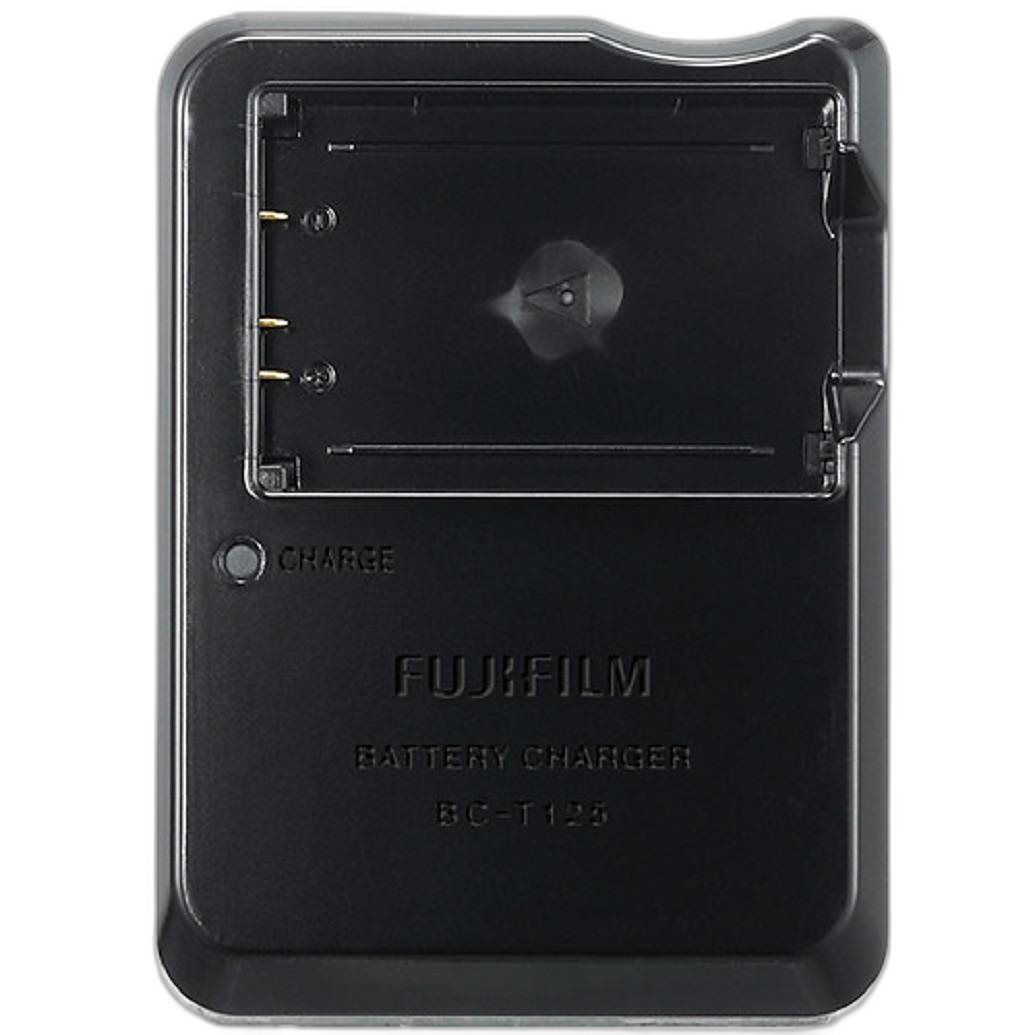
Unique Photo supports photographers across every stage of the image-making process, from capture gear to accessories, output supplies, and expert advice. Even if a product is not film-specific, the broader ecosystem of camera support can help keep your workflow running smoothly.
Conclusion: Better Outdoor Film Exposures Start with Better Metering Habits
Metering and exposure for shooting film outdoors do not need to feel complicated. Learn how your meter sees light, use the Sunny 16 rule as a safety net, give negative film enough exposure, and pay close attention to backlight and high-contrast scenes. Over time, these habits become second nature and help you make better negatives with more consistency.
If you are building your film kit or refining your workflow, Unique Photo is a great place to explore camera accessories, used gear, lab-oriented products, and photo output solutions. For helpful internal linking opportunities, consider guiding readers to pages about used film cameras, film photography gear and supplies, darkroom supplies, and Fujifilm accessories and products.