Low-Light Portrait Photography FAQ: Gear, Lighting, and High-ISO Tips
Low-light portraits can look intimate, cinematic, and beautifully dimensional—but they also push your technique and gear harder than a typical daytime session. At Unique Photo, we help photographers balance sharpness, flattering light, and clean image quality so they can create stronger portraits whether they are working at home, on location, or in a small studio.
If you are building a low-light portrait setup, the key is not just buying brighter equipment. It is understanding how lens choice, light control, exposure strategy, and post-processing all work together.
Which lenses are best for sharp portraits in low-light settings?
For low-light portraits, the best lenses are typically fast primes with wide maximum apertures such as f/1.2, f/1.4, or f/1.8. A 50mm, 85mm, or 135mm prime is especially popular because these focal lengths flatter facial features while allowing more light to reach the sensor. That wider aperture helps you keep shutter speeds high enough to avoid motion blur and keep ISO lower for cleaner files.
Sharpness in low light is not only about aperture, though. Autofocus performance, lens contrast, and how the lens renders skin tones and background blur also matter. For headshots and tighter portraits, an 85mm prime is often the first choice. For environmental portraits in smaller spaces, a 50mm may be more practical. If you shoot couples or half-body portraits indoors, a fast standard prime can give you more flexibility without forcing you too far from your subject.
When your light levels are extremely low, adding controlled lighting is often more effective than relying solely on a lens. That is where portable flash systems can make a major difference.
Do I need a fast lens if I already use flash or continuous lighting?
A fast lens is still useful, but once you add lighting, it stops being the only solution. Flash gives you the ability to shape the light on your subject, lower your ISO, and use apertures that provide more consistent sharpness across the face. Instead of shooting wide open at f/1.4 every time, you may be able to work at f/2.8 or f/4 and still maintain excellent exposure and cleaner files.
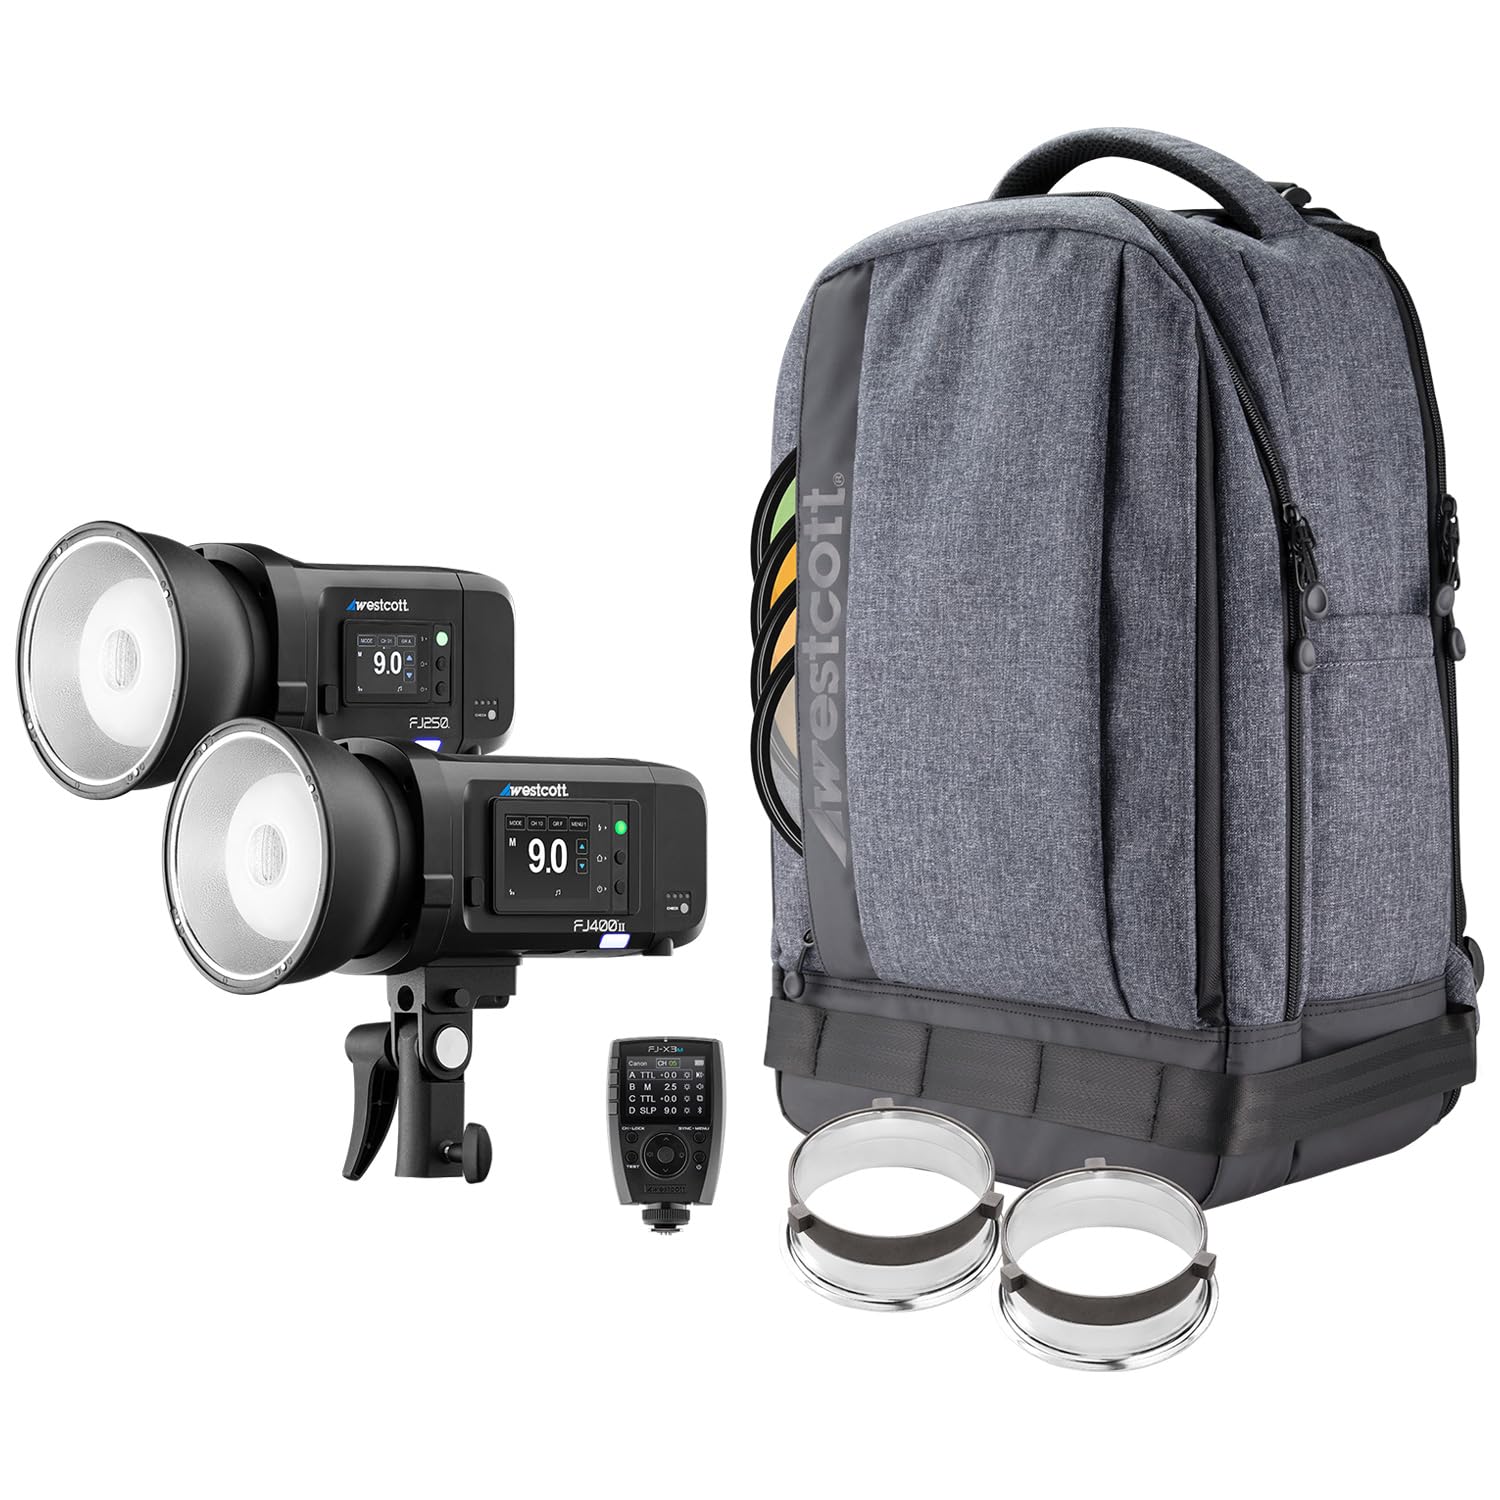
For photographers building a flexible portrait setup, the Westcott FJ Wireless 2-Light Portable Portrait Flash Kit is a strong option because it gives you portable off-camera lighting with wireless control. A two-light kit is especially helpful for portraits, since one light can act as your key and the other can fill shadows, light the background, or create separation from behind.
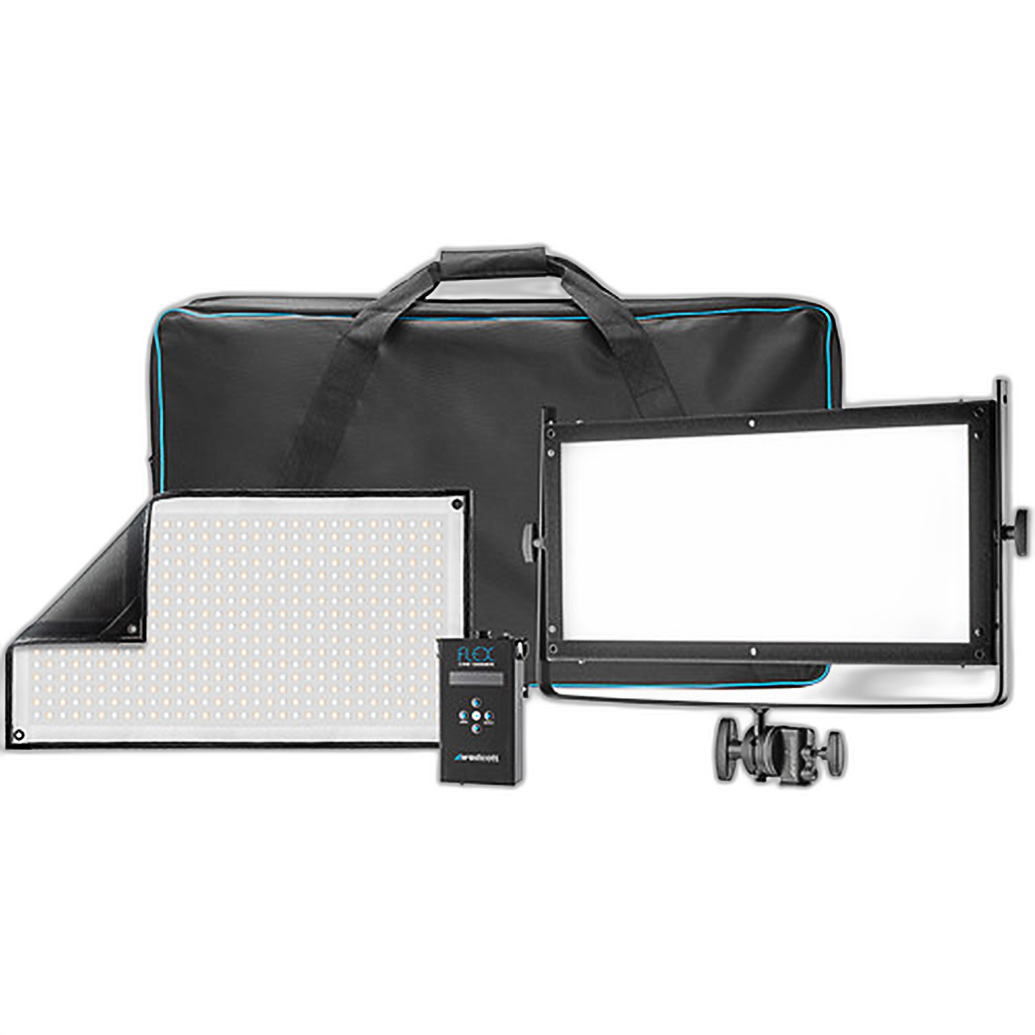
Continuous lighting also has advantages in low-light portrait work, especially if you want to see the effect in real time before pressing the shutter. Westcott Flex Cine Bi-Color kits are useful for home studios because they are compact, adjustable in color temperature, and easy to position in tight spaces.

What is an affordable lighting setup for home studio portraits?
An affordable home portrait setup should be simple, controllable, and easy to repeat. In many cases, one good light is enough to start. A single bi-color continuous light with a soft, flattering quality can work well for solo portraits, video content, and small-space sessions. The Westcott Flex Cine Bi-Color 1x1ft and 1x2ft Gear Kits are practical choices for photographers who want a compact setup with soft output and adjustable color balance.
If you want more control and power, a two-light flash kit is often the best value because it expands your options dramatically. The Westcott FJ Wireless 2-Light Portable Portrait Flash Kit can help you create a professional-looking key-and-fill arrangement at home without requiring a large studio footprint. Flash is often better than constant light when your priority is freezing motion and keeping ISO low.
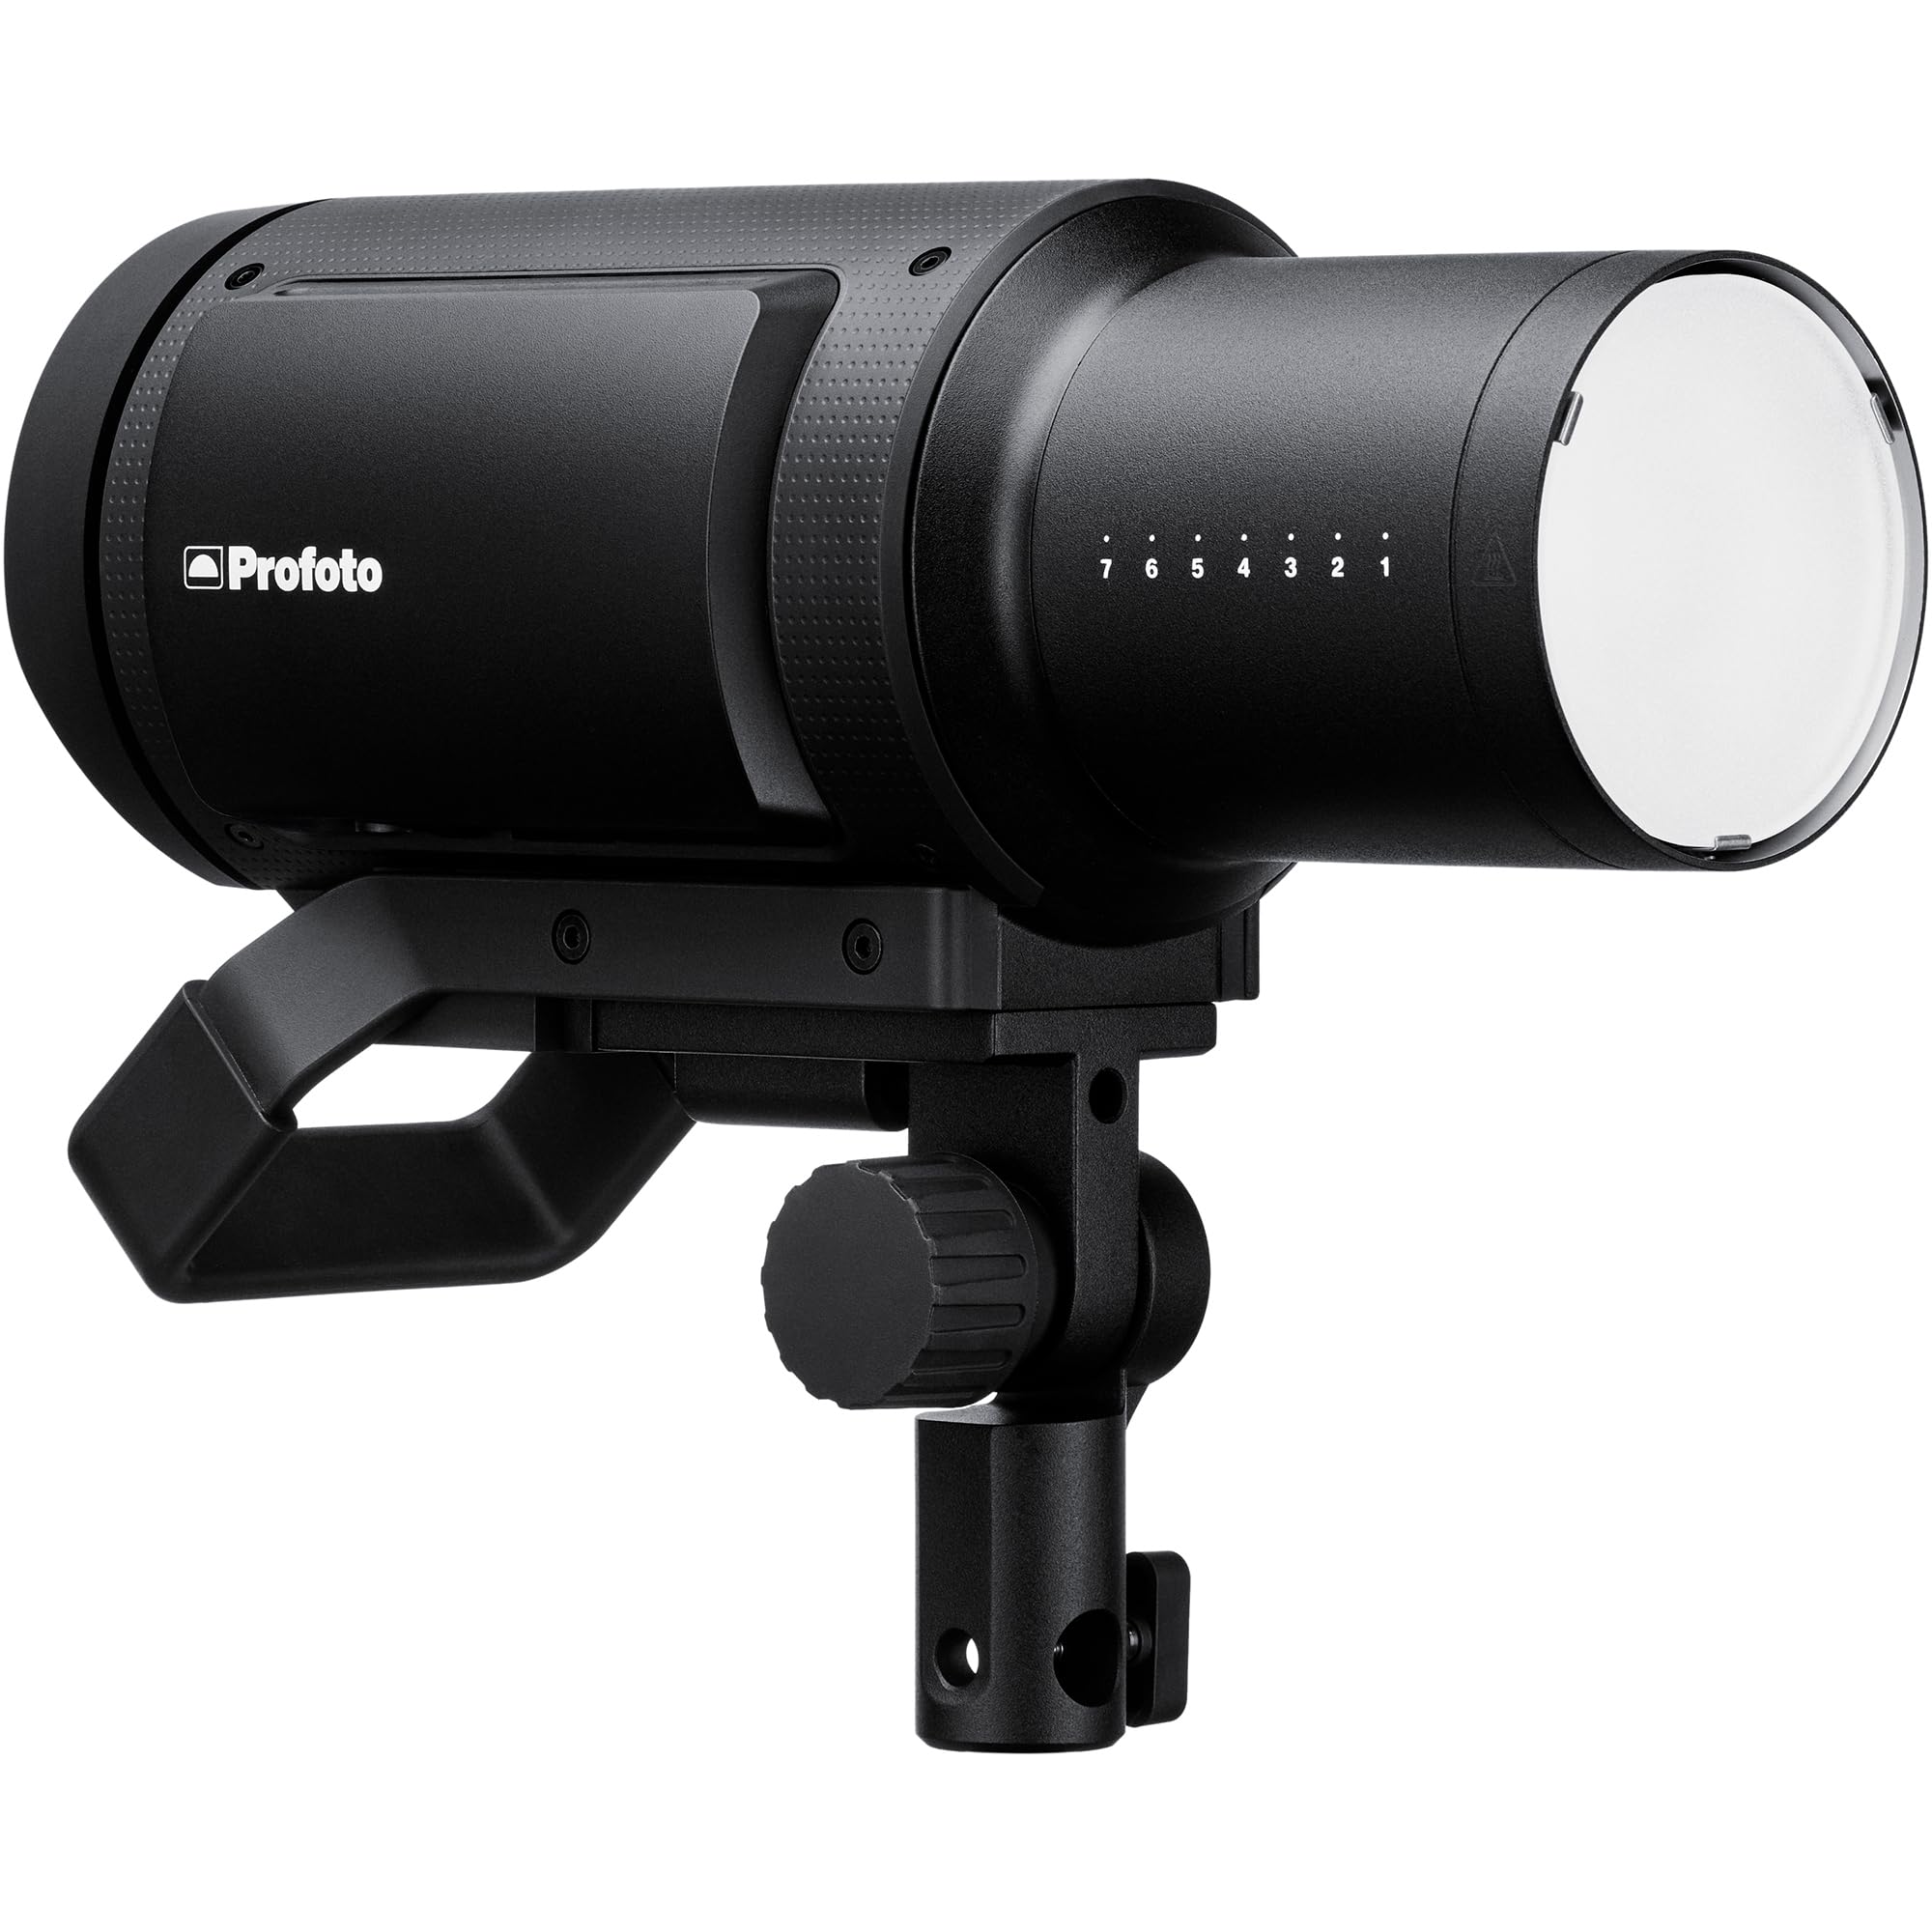
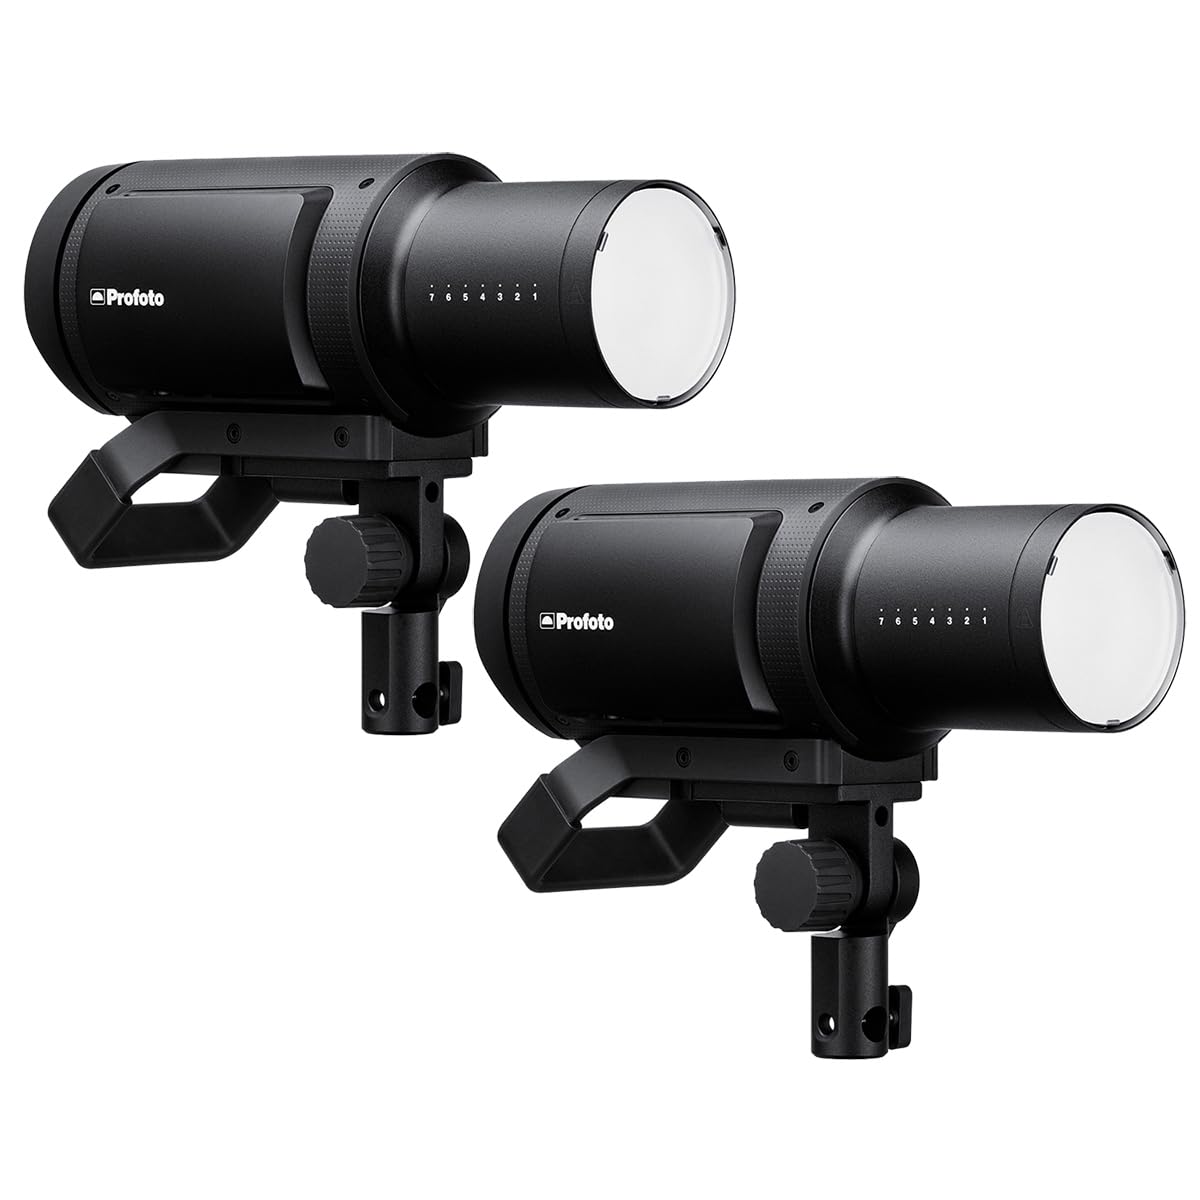
For photographers who need premium output, battery-powered performance, and more headroom for modifiers, the Profoto Pro-B3 750Ws Monolight and Profoto Pro-B3 Duo 750Ws Monolight 2-Light Kit are high-end solutions. They are especially well-suited to photographers shooting portraits both in studio and on location who need fast recycling, portability, and dependable color consistency.
How do I reduce grain while maintaining detail at high ISO?
The best way to reduce grain is to start with the strongest possible exposure in-camera. Underexposed files that are brightened later usually show more noise than images exposed properly at the same ISO. In low light, try to expose carefully for skin tones without clipping highlights, and whenever possible, use added light to keep ISO from climbing unnecessarily.
Shutter speed also matters. If your subject is moving, a shutter speed that is too slow can create softness that looks like noise or poor image quality. For portraits, you typically want enough speed to prevent blur from subject movement, especially around the eyes. If you need to choose, it is often better to accept a moderate ISO increase than to use a shutter speed that compromises sharpness.
In post-processing, apply noise reduction selectively. Heavy global noise reduction can smear skin texture, eyelashes, and hair detail. A better approach is to reduce color noise first, then apply luminance noise reduction conservatively while preserving edge detail. Shooting RAW gives you the most control here. When possible, use lighting to improve the signal captured by the sensor rather than depending on software to rescue an image afterward.
Is continuous light or flash better for low-light portraits?
Neither is universally better—it depends on how you shoot. Continuous light is ideal if you want to preview exactly how the shadows and highlights will look before taking the photo. It is also useful if you create both stills and video, or if your subject is more comfortable when they are not being flashed repeatedly.
Flash is usually the stronger choice when your main goal is image quality. It produces a short burst of light that can freeze motion, lower ISO, and overpower dim ambient conditions more effectively than many compact continuous fixtures. That makes flash especially useful for crisp portraits in dark interiors or evening settings.
If you are learning light placement, continuous lights such as the Westcott Flex Cine kits offer a very approachable starting point. If you are ready to maximize output and efficiency, the Westcott FJ system or Profoto Pro-B3 options offer greater performance for portrait work.
How should I light portraits in a small room or apartment?
In a small space, soft light placed close to the subject is usually the most effective approach. Keeping the light source near your subject makes it appear larger relative to them, which softens shadows and creates flattering transitions across the face. Use the room’s limitations to your advantage by positioning your subject away from the background if possible, which helps create depth and reduces harsh background shadows.
Compact fixtures are often easier to manage than large studio heads in apartments or home offices. A slim continuous light panel can fit where bulkier gear cannot, and a portable flash head on a small stand gives you more flexibility than a large AC-powered monolight setup. Start with one key light at about a 45-degree angle, then add fill only if needed. Too many lights in a tight room can make setup more complicated without improving the portrait.
What camera settings work best for low-light portraits?
A strong starting point is to choose your settings based on the type of look you want and whether you are using ambient light, continuous light, or flash. If you are shooting available light only, begin with the widest aperture your lens can handle while still keeping the eyes sharp, use the fastest shutter speed your subject can tolerate, and raise ISO only as much as needed.
With flash, you have more control. You can often set a lower ISO, use a mid-range aperture for better depth of field, and let the flash do the heavy lifting. With continuous light, your settings may fall somewhere in the middle: wider apertures and moderate ISO, but often less extreme than pure ambient shooting.
For portraits, eye focus is critical. Use single-point AF or eye-detection autofocus if your camera supports it, and take short bursts when working at very shallow depth of field. Even slight subject movement can shift focus at wide apertures.
Are books and learning resources worth it for improving low-light portrait technique?
Absolutely. Technique often improves your images more than gear alone, especially in low-light photography where small changes in positioning, exposure, and light direction can transform the final portrait. Educational resources can help you understand how to shape window light, balance ambient with artificial light, and create flattering contrast without guesswork.
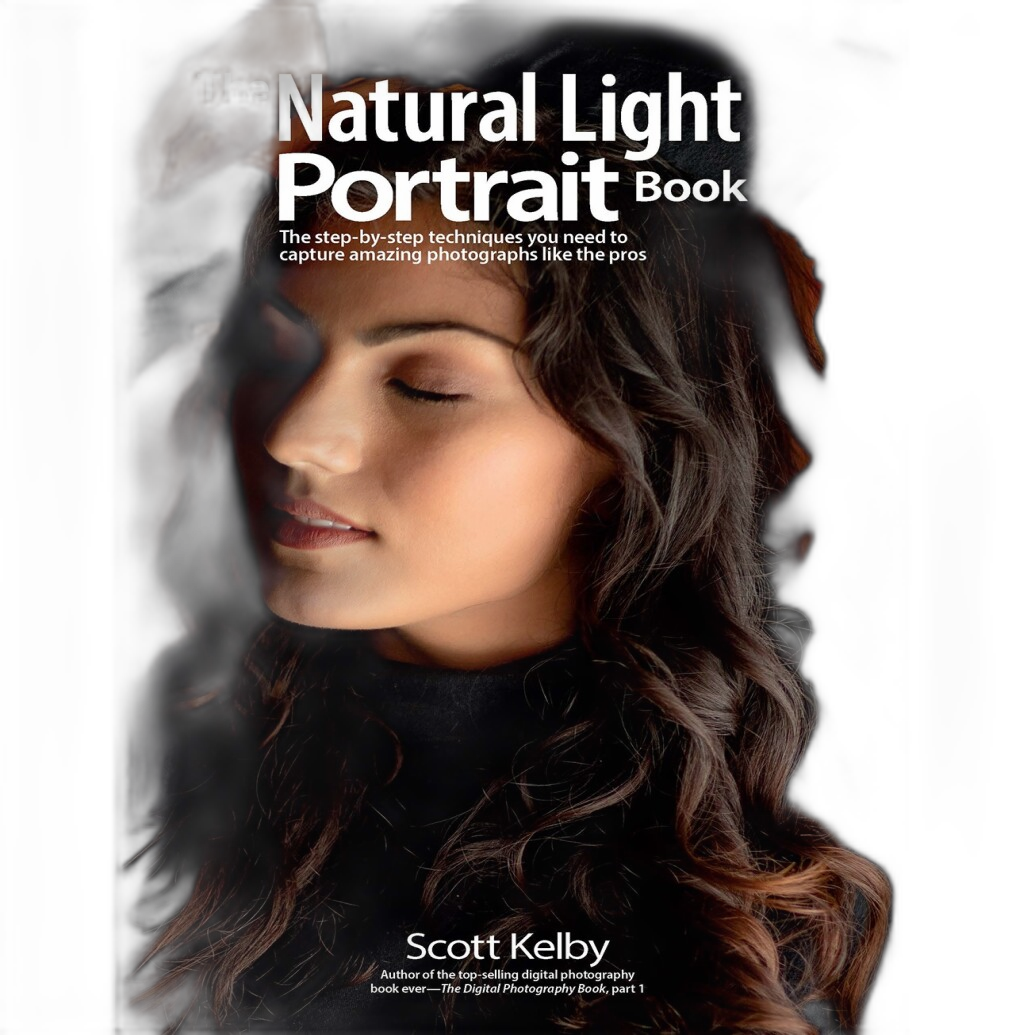
At Unique Photo, we recommend a few practical resources for photographers developing portrait and low-light skills. Mastering the Natural Light Portrait by Scott Kelby is a useful guide for learning to work with available light in a flattering way. Crafting the Natural Light Look by Sandra Coan is another great option for photographers refining portrait lighting style. For broader low-light shooting technique, Enthusiast's Guide to Night and Low-Light Photo by Alan Hess offers valuable insight into exposure and working in dim conditions.
What is the best upgrade path if my low-light portraits are not looking professional yet?
Start by identifying the weakest link in your current workflow. If your images are soft, evaluate shutter speed, autofocus technique, and whether your lens is appropriate for portrait work. If your photos are noisy, improve exposure and consider adding controlled light before jumping to a new camera body. If your portraits feel flat, work on light direction and subject placement before buying more gear.
For many photographers, the biggest upgrade is adding one reliable light and learning to use it well. After that, a second light expands your creative control. From there, better modifiers, premium strobes, or advanced educational resources can help elevate consistency and polish.
Low-light portrait photography rewards both smart gear choices and strong technique. Whether you are building a compact home setup with Westcott lighting, stepping into premium power with Profoto, or sharpening your skills with Rocky Nook books, Unique Photo has the tools to help you create cleaner, more flattering portraits in challenging light. Explore our lighting, education, and portrait photography gear selection to find the setup that fits your style and budget.