Landscape Sharpness FAQ: Settings, Technique, Tripods, and Editing Tips
Sharp landscape photography is rarely about one magic setting. In our experience at Unique Photo, the best results come from combining solid technique, stable support, careful focusing, and thoughtful post-processing. If you're trying to get cleaner detail from foreground to horizon, these are the questions we hear most often.
Whether you're photographing sweeping daytime vistas or pushing into blue hour and night scenes, a few practical adjustments can dramatically improve consistency. Below, we break down the most effective ways to capture sharper landscape images and where the right education can help you get more from the gear you already own.
What in-camera settings help produce the sharpest landscape photos?
For most landscapes, sharpness starts with a balanced aperture, low ISO, and a shutter speed that suits the conditions. Many lenses deliver their best overall performance around the middle of their aperture range rather than fully wide open. In practical terms, that often means working around f/8 to f/11 for broad scenes where you want strong detail and good depth of field. Going much narrower can increase diffraction, which softens fine detail even when focus is correct.
Keep ISO as low as conditions allow to preserve micro-contrast and reduce noise that can smear texture in foliage, rock, and distant detail. If the light is low and your shutter speed becomes marginal, it's usually better to stabilize the camera with a tripod than to raise ISO unnecessarily. Use RAW capture for maximum flexibility, and consider electronic first curtain shutter or a self-timer/remote release when available to reduce vibration during exposure.
If you're exploring low-light and astro-adjacent scenes, instruction focused on long exposures can make a big difference. Unique Photo offers UUOnline: Photographing the Nighttime Landscape with Roman Kurywczak for photographers who want a more structured approach to sharpness after sunset.

Is a tripod really necessary for sharp landscapes?
Not always, but often. In bright daylight with a fast enough shutter speed, handheld landscape photography can be very sharp. But if you're working at sunrise, sunset, in forests, near waterfalls, or at lower ISOs for the cleanest files, a tripod becomes one of the most important tools for consistency. It helps eliminate camera shake, encourages more careful composition, and lets you use techniques like focus bracketing or exposure blending with much greater accuracy.
The biggest difference usually comes from stability and setup habits rather than brand alone. Extend thicker leg sections first, avoid raising the center column when possible, and make sure the tripod is planted firmly. On soft ground, spread the load and check that nothing shifts as you compose. If wind is an issue, reduce vibration by keeping your setup low and avoiding unnecessary adjustments during the exposure.
While the product list here focuses on learning resources rather than support hardware, a hands-on landscape workshop can help you see how stable support affects real-world sharpness in the field. Macro and Landscape Photography at Duke Farms with Michael Downey is a strong option for photographers who want practical landscape guidance in an outdoor setting.

Does the tripod head matter as much as the tripod legs?
Yes, the head matters more than many photographers expect. Even sturdy legs can be undermined by a head that sags after locking, shifts slightly when reframing, or doesn't hold weight securely. For landscapes, a dependable head helps you fine-tune composition and keep the camera fixed exactly where you intended, especially with longer lenses or when shooting stitched panoramas.
A good head should lock firmly, move smoothly, and allow precise adjustment without drifting. Ball heads are popular for their speed and portability, while geared heads can be especially useful when exact framing is critical. If your images seem inconsistently soft despite careful focus and shutter settings, support movement during or just before the exposure is worth investigating.
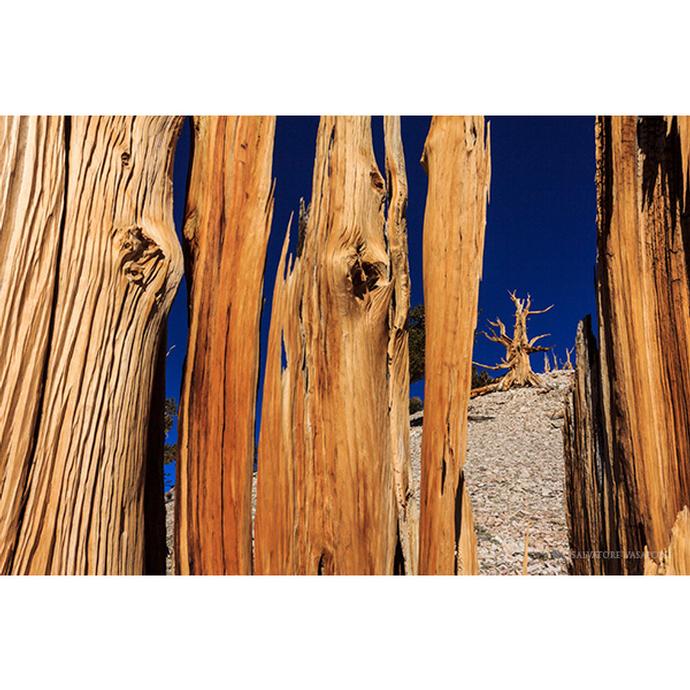
Field-focused classes can be especially helpful here because they show not just what to buy, but how to set it up efficiently. Photographing the Introspective Landscape with Salvatore Vasapolli is a valuable way to study deliberate landscape technique and improve consistency from capture to final image.

How important is lens quality versus technique for landscape sharpness?
Technique usually has the bigger immediate impact. A premium lens can absolutely improve edge sharpness, contrast, flare resistance, and overall rendering, but even an excellent lens cannot overcome missed focus, shutter vibration, atmospheric haze, or poor aperture choices. Many photographers see a bigger jump in image quality by refining their process than by replacing a decent lens too early.
That said, lens quality still matters. Better optics tend to perform more evenly across the frame, which is especially important in landscapes with detail stretching into the corners. If you're shooting large prints or heavily cropped files, those gains become more visible. The key is to make sure your shooting technique is strong enough to reveal what your lens can do. Test your lens at several apertures, compare center and corner performance, and learn where it delivers its best results.
If you'd like to deepen your understanding of lens choice, composition, and field craft together, CS: For the Love of Landscapes with Roman Kurywczak (Tamron) is a smart educational resource to consider through Unique Photo.

What focusing techniques improve sharpness in landscape photography?
Careful focusing is essential, especially when your scene includes strong foreground interest. Instead of automatically focusing on the far distance, think about where depth of field needs to begin and end. For many compositions, focusing roughly a third into the scene can be a useful starting point, but the most reliable method is to evaluate magnified live view and make an informed decision based on your aperture and subject distances.
Single-point autofocus works well when you place the focus point deliberately on a high-contrast area. In more demanding scenes, manual focus with magnified live view can be the better choice. If your camera supports focus peaking or focus bracketing, those tools can help too, especially for images with very close foreground elements. Focus stacking is worth considering when one exposure cannot hold both near and distant details sharply at your preferred aperture.
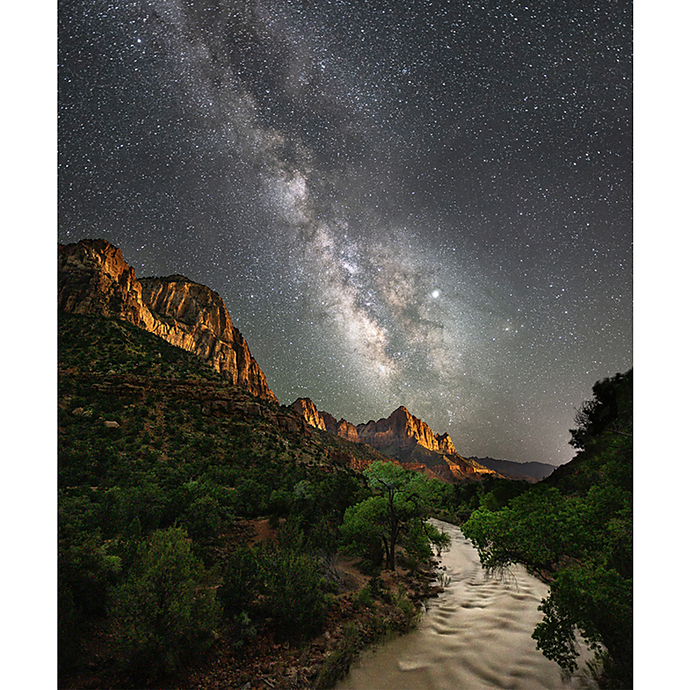
Night landscapes require even more care because autofocus may struggle. In those situations, magnified manual focus on a bright distant light or star can deliver more reliable results. For photographers refining that workflow, UUOnline: Photographing the Nighttime Landscape with Roman Kurywczak can help turn a frustrating process into a repeatable one.
How can I reduce vibration and motion blur in the field?
Even if your image looks focused in the viewfinder, tiny vibrations can soften fine detail. Start by using a remote release, self-timer, or your camera's app control so you aren't touching the camera at the moment of exposure. If your camera offers mirror lock-up or electronic front curtain options, use them when appropriate. On a tripod, pay attention to wind, water spray, and unstable footing, all of which can introduce subtle blur.
Image stabilization can help when shooting handheld, but when you're on a tripod, check your lens and camera guidance. Some stabilization systems should be turned off on fully stable support, while others are tripod-aware. Also watch your shutter speed range: there are situations where a moderately slow speed can be more dangerous than a very long exposure because it records vibration without averaging it out smoothly.
These practical details are often easiest to understand in real shooting situations. Outdoor learning experiences like Macro and Landscape Photography at Duke Farms with Michael Downey can help photographers connect theory with field technique more quickly.
What post-processing steps improve sharpness without making images look harsh?
Good post-processing enhances sharpness; it should not try to rescue fundamentally blurred capture. Start with restrained global sharpening in your RAW editor, then add selective sharpening only where it supports the subject. Landscape images usually benefit from sharpening texture in rocks, trees, and architectural details while leaving skies and water smoother. Noise reduction also needs balance, because too much can erase the fine detail you're trying to preserve.
Clarity, texture, and dehaze can all make an image feel sharper, but they're easy to overdo. The best approach is to zoom in, evaluate local contrast, and sharpen for the final output size. A file intended for social media requires different sharpening than one meant for a large print. Learning how sharpening interacts with contrast, masking, and output can make a meaningful difference in your final images.
For photographers who want to improve their landscape finishing workflow, Editing and Enhancing Landscape and Nature Photography with Photoshop is a highly relevant Unique Photo learning option.

Should I use focus stacking for landscapes?
Focus stacking is a great solution when you want a tack-sharp foreground and a distant background, but a single frame at your chosen aperture cannot hold both cleanly. This is especially helpful for ultra-wide compositions with close foreground subjects such as flowers, stones, driftwood, or textured ground leading into the scene. Rather than stopping down excessively and risking diffraction, you can capture multiple frames focused at different distances and blend them later.
The key is consistency. Use a tripod, avoid moving vegetation if possible, and keep exposure settings locked between frames. Some cameras can automate focus bracketing, while others require manual adjustment. When done well, focus stacking can produce a natural result with impressive front-to-back detail. When done carelessly, it can create halos or strange transitions, so careful blending matters.
If you want help combining field capture with digital finishing, pairing a landscape shooting class with a post-processing workshop can be especially effective. Unique Photo's landscape and Photoshop education options make a strong combination for photographers building this skill set.
What should I prioritize first if my landscape photos still do not look sharp?
Work through the basics in order. First, confirm that blur is not caused by camera shake: use a tripod or increase shutter speed. Second, verify focus accuracy using magnified live view. Third, test your lens at a range of apertures to find its strongest performance. Fourth, evaluate whether atmosphere is the real issue; heat shimmer, haze, and moisture can reduce apparent sharpness no matter how good your gear is. Finally, review your editing workflow to make sure detail is being enhanced rather than smoothed away.
Many photographers improve fastest by combining self-testing with guided instruction. If you want to sharpen your capture technique, landscape-specific classes like Photographing the Introspective Landscape with Salvatore Vasapolli and CS: For the Love of Landscapes with Roman Kurywczak (Tamron) can help build better habits. If your files are strong but your finished images still feel flat, Editing and Enhancing Landscape and Nature Photography with Photoshop is an excellent next step.
Sharp landscape photography is the result of repeatable technique: stable support, accurate focus, smart aperture choices, and disciplined editing. If you're ready to improve your results, explore landscape classes and creative education at Unique Photo to refine both your field workflow and your finishing process.