Affordable Prime Lens Recommendations for Beginners: What We’re Comparing
For beginners stepping into the world of prime lenses, the usual advice is to start simple: choose focal lengths you’ll actually use, match the mount to your camera, and avoid buying more lens kit than you need. In this comparison, we’re looking at several Sigma cine prime lens kits available from Unique Photo. While these are professional cinema-oriented kits rather than entry-level still-photo primes, they make an interesting head-to-head comparison for newer filmmakers, film students, and content creators who want to invest in a matched set instead of building piece by piece.
The biggest differences here come down to mount, measurement scale (standard vs. metric), and kit composition. Some kits focus on a 5-lens T1.5 full-frame setup, while others expand the range with 14mm and 135mm options at T2.
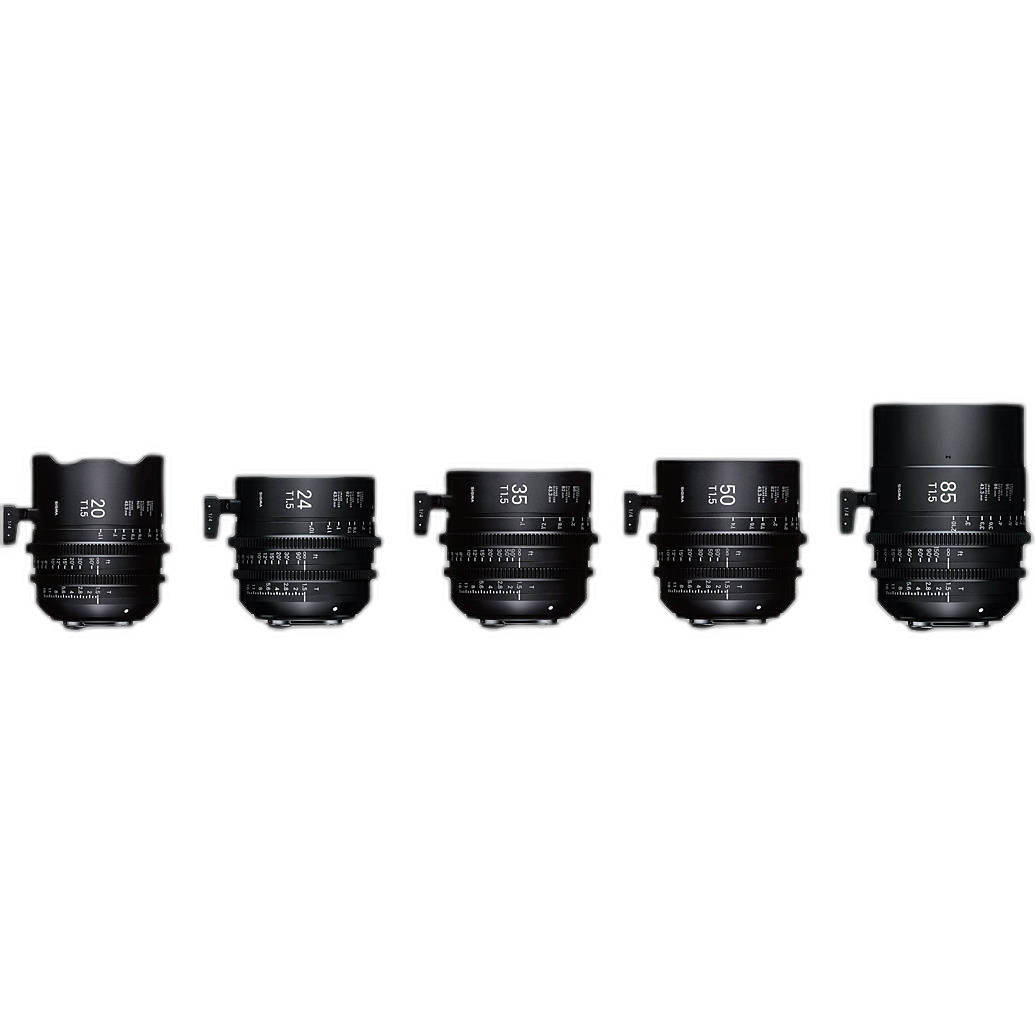
Side-by-Side Specs Comparison
| Product | SKU | Mount | Scale | Kit Type | Best For |
|---|---|---|---|---|---|
| Sigma T1.5 FF High-Speed 5 Fully Luminous Prime Lens Kit w/ Case (Canon EF) | SGC214 | Canon EF | Standard | 5-lens T1.5 FF kit | Canon EF cinema shooters wanting a matched fast set |
| Sigma T1.5 FF High-Speed 5 Fully Luminous Prime Lens Kit with Case (Sony E) | SGC215 | Sony E | Standard | 5-lens T1.5 FF kit | Sony E users who want native compatibility |
| Sigma T1.5 FF High-Speed 5 Fully Luminous Prime Lens Kit (PL, Metric) | SGC257 | PL | Metric | 5-lens T1.5 FF kit | Cinema productions using PL mount systems |
| Sigma T1.5 FF High-Speed 5 Fully Luminous Prime Lens Kit (Canon EF, Metric) | SGC255 | Canon EF | Metric | 5-lens T1.5 FF kit | EF users working with metric focus markings |
| Sigma T1.5 FF High-Speed 5 Fully Luminous Prime Lens Kit (Sony E, Metric) | SGC256 | Sony E | Metric | 5-lens T1.5 FF kit | Sony E filmmakers preferring metric markings |
| Sigma 14mm/135mm T2 FF High-Speed Fully Lum. Prime Lens Kit (Canon EF) | SGC217 | Canon EF | Standard | 14mm and 135mm T2 FF kit | EF shooters needing ultra-wide and telephoto specialty coverage |
| Sigma 14/135mm T2 FF High-Speed Fully Lum. Prime Lens Kit (Canon EF, Metric) | SGC258 | Canon EF | Metric | 14mm and 135mm T2 FF kit | EF cinema teams using metric scales |
| Sigma 14/135mm T2 FF High-Speed Fully Lum. Prime Lens Kit (Sony E, Metric) | SGC259 | Sony E | Metric | 14mm and 135mm T2 FF kit | Sony E productions adding specialty focal lengths |
Breaking Down the Options
1. Best Starting Point: 5-Lens T1.5 Full-Frame Kits
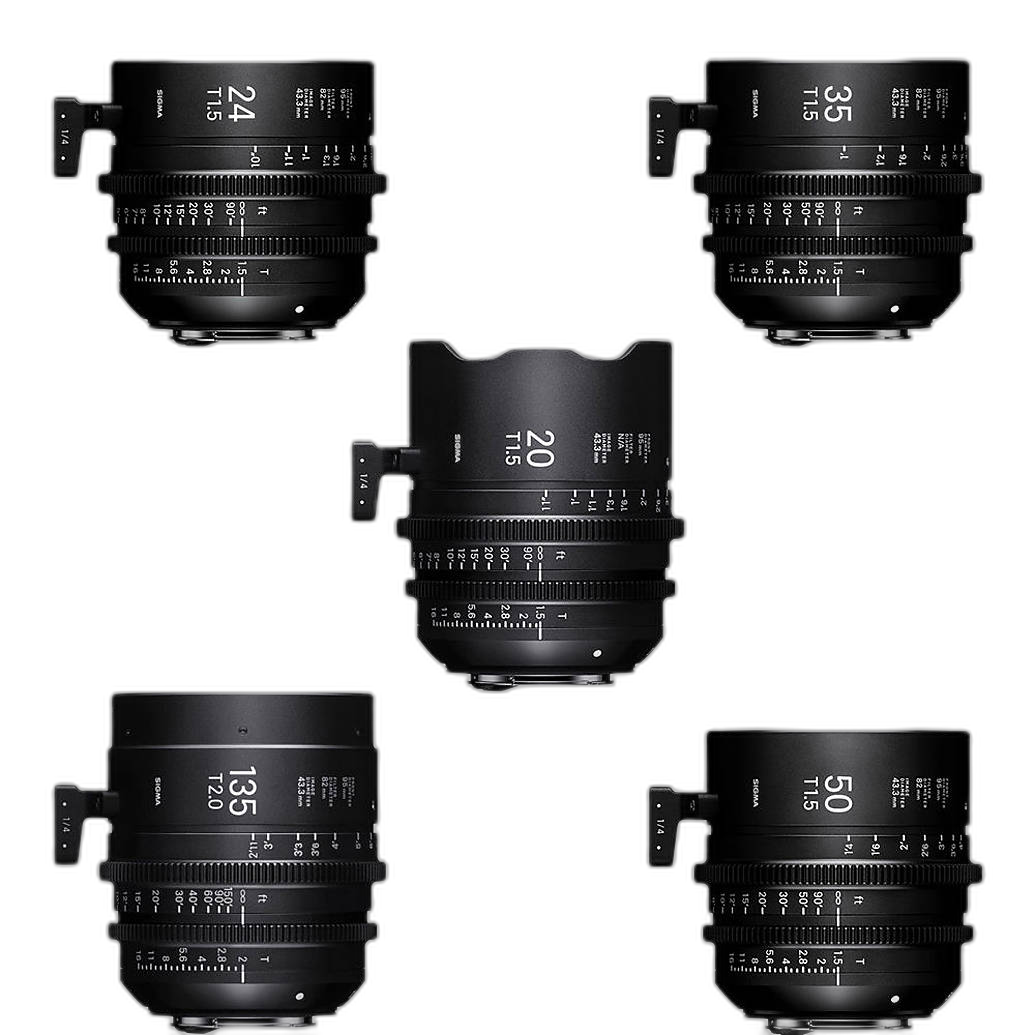
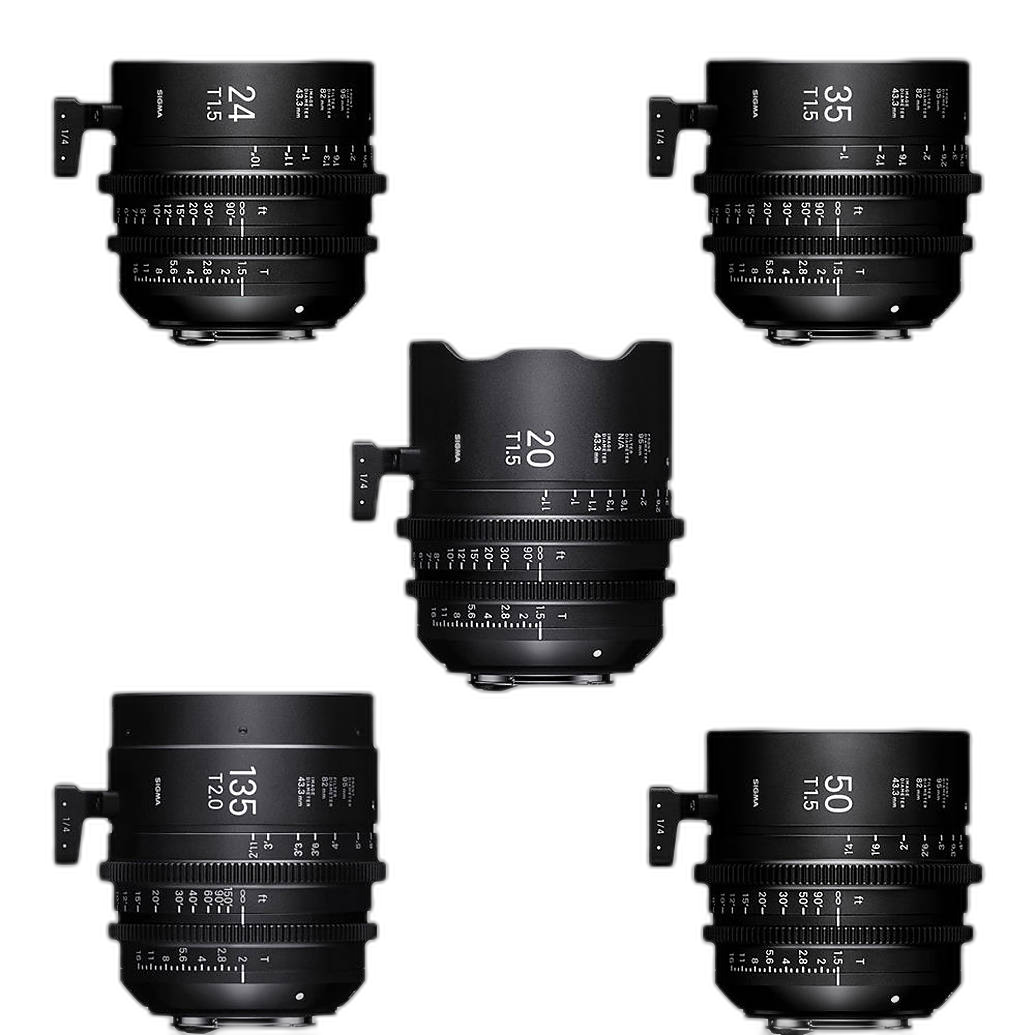
If you’re a beginner trying to learn how prime lenses change perspective, composition, and depth of field, a 5-lens matched kit is the most versatile place to start. These Sigma T1.5 full-frame kits are especially appealing because they give you a unified cine-lens experience across multiple focal lengths, which is valuable when you want consistent handling and rendering.
For many users, the most practical decision is simply choosing the version that matches your mount:
- SGC214 for Canon EF
- SGC215 for Sony E
- SGC257 for PL mount cinema cameras
- SGC255 and SGC256 if you specifically need metric markings
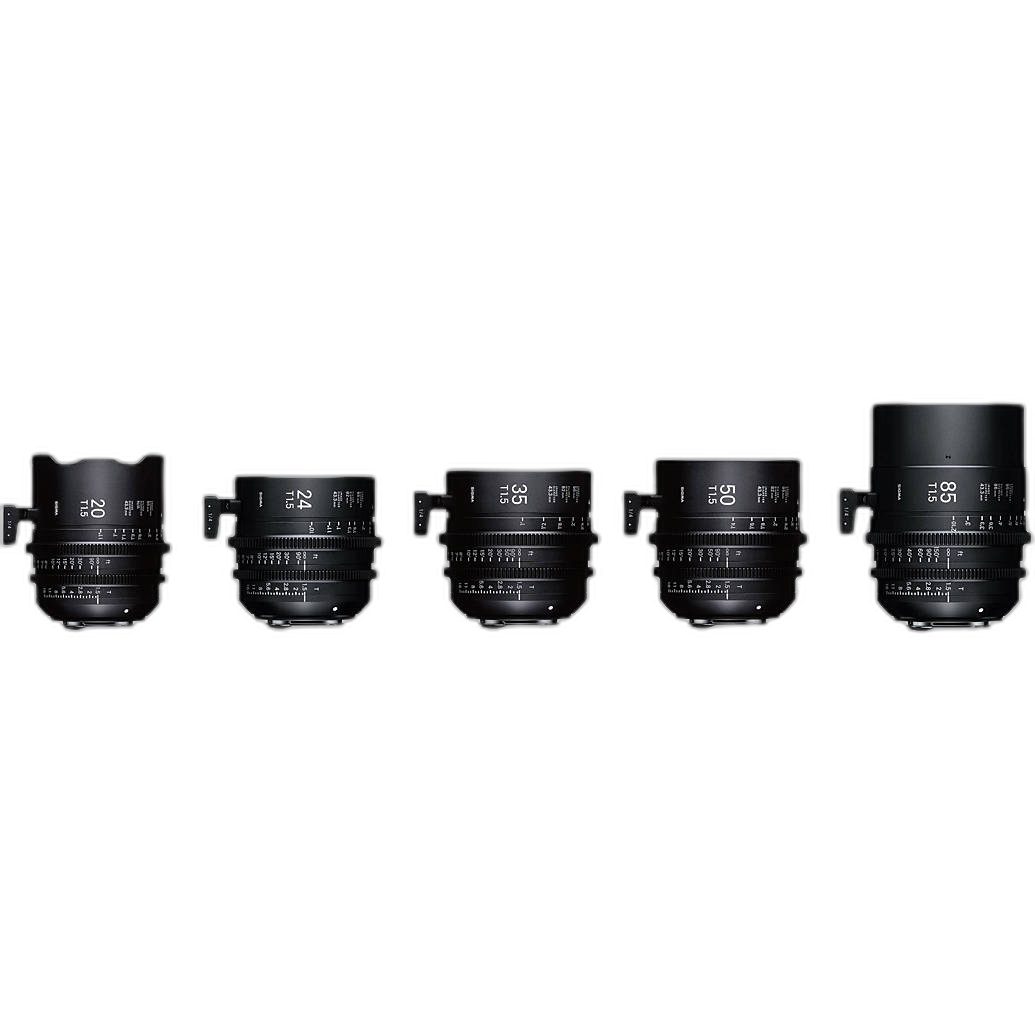
For beginners, the advantage of a fast T1.5 kit is clear: you get strong low-light capability and cinematic shallow depth of field. The potential downside is that a full cine kit is a bigger commitment than buying one or two individual primes, so these are best suited to serious learners rather than casual hobbyists.
2. Canon EF vs. Sony E vs. PL
Mount choice is the single most important buying factor here. If you already own a compatible camera body, that usually makes the decision easy.
Canon EF kits like SGC214, SGC255, SGC217, and SGC258 are a smart fit for users in EF-based ecosystems, especially those with cinema cameras or adapted mirrorless rigs.
Sony E kits like SGC215, SGC256, and SGC259 make the most sense for Sony shooters who want native integration and a cleaner starting point without adapting.
PL, represented by SGC257, is more specialized. It’s the most cinema-centric option in the lineup and likely not the first recommendation for most beginners unless they’re training on dedicated cinema bodies in a school or production environment.
3. Standard vs. Metric Markings
This is a smaller difference, but still worth understanding. Several of these kits are available in metric versions, including SGC255, SGC256, SGC257, SGC258, and SGC259. Metric markings are often preferred in many professional cinema environments and by crews working internationally.
For a solo beginner in the U.S., standard-marked versions such as SGC214, SGC215, and SGC217 may feel more intuitive. But if you’re learning in a formal production setting, metric can be the better long-term choice.
4. Do You Need the 14mm/135mm T2 Kit?
The SGC217, SGC258, and SGC259 kits take a different approach by focusing on 14mm and 135mm focal lengths at T2. These are more specialized lenses than the focal lengths beginners usually rely on most heavily.
A 14mm lens is excellent for dramatic wide establishing shots, architecture, interiors, and stylized perspectives. A 135mm lens is useful for compressed portraits, selective framing, and long-lens cinematic shots. However, these are usually not the first focal lengths a beginner reaches for every day.
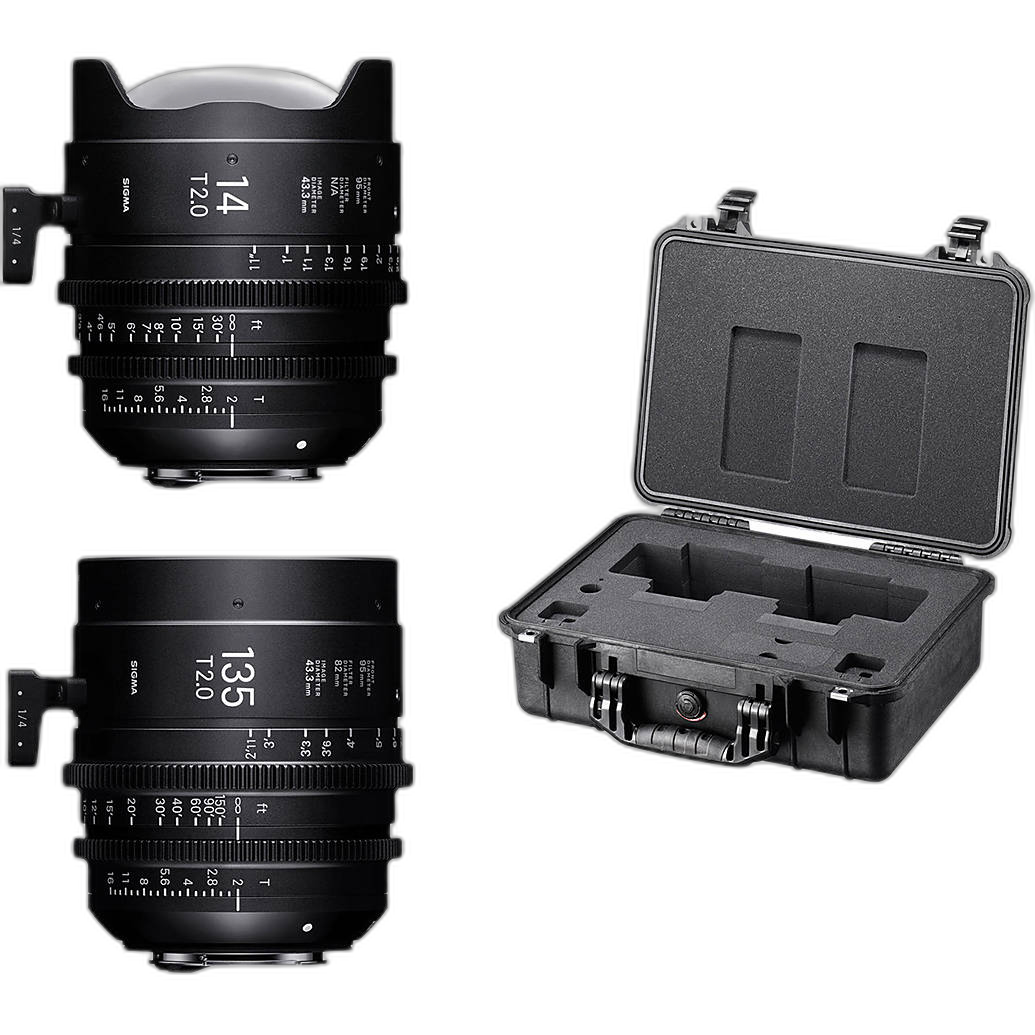
That means these kits are best viewed as expansion kits or specialty additions rather than the most broadly affordable first recommendation for someone just learning prime-lens technique.
5. Value for Beginners
Because this comparison is focused on affordable prime lens recommendations for beginners, it’s important to be honest: these Sigma cine kits are premium tools. They offer tremendous consistency, full-frame coverage, and fast apertures, but they are better described as serious long-term investments than budget starter buys.
Within this lineup, the best beginner value comes from choosing the simplest 5-lens kit in the mount you already use. That gives you broader day-to-day shooting flexibility than jumping straight to the more specialized 14mm/135mm options.
Our Pick
Our Pick: Sigma T1.5 FF High-Speed 5 Fully Luminous Prime Lens Kit with Case (Sony E) – SGC215
For most modern beginner filmmakers entering a prime-lens workflow, SGC215 stands out as the strongest recommendation in this group. Sony E is a very common platform for new video creators, and a 5-lens matched T1.5 full-frame kit provides far more practical learning value than a specialty 14mm/135mm pair. It gives beginners room to experiment with composition, coverage, and depth of field across a wider range of real-world shooting situations.
If you shoot Canon EF, the natural alternative is SGC214. If your workflow requires metric markings, then SGC256 is the Sony E equivalent worth considering.
Conclusion
If you’re a beginner shopping for prime lenses, the smartest move is to prioritize versatility, mount compatibility, and ease of learning. In this Sigma lineup, that makes the 5-lens T1.5 full-frame kits the most compelling starting point, while the 14mm/135mm T2 kits are better suited to more specialized creative needs.
Whether you’re building a Sony E setup, investing in Canon EF glass, or outfitting a cinema rig, Unique Photo offers several strong Sigma cine prime kit options to match your workflow and your next stage of growth.