If you shoot with Sony and want one lens lineup that can handle both sweeping landscapes and flattering portraits, this guide is for you. Whether you're building a lightweight travel kit, looking for a fast prime for subject separation, or comparing zoom flexibility against prime-lens image quality, these options cover a strong range of creative needs. Below, we compare standout Sony and Sigma lenses for wide scenic work, environmental portraits, classic headshots, and versatile everyday shooting.
Landscape photographers typically prioritize wide focal lengths, edge-to-edge sharpness, and portability, while portrait shooters often care most about flattering perspective, background blur, and autofocus performance. The good news: with Sony E-mount, you have excellent choices that can overlap both styles.
What to Look for in a Sony Lens for Landscapes and Portraits
When shopping for a lens that may serve both genres, keep these factors in mind:
- Focal length: Wider lenses like 14mm are ideal for dramatic vistas, while 50mm and longer are more traditional for portraits.
- Maximum aperture: Faster apertures such as f/1.4 or f/1.8 help create softer backgrounds and support low-light shooting.
- Zoom vs. prime: Zooms are flexible for travel and changing scenes; primes often deliver a brighter aperture and a more specialized look.
- Format compatibility: Some lenses are designed for full-frame Sony cameras, while others are better suited to APS-C bodies.
- Handling: If you hike, travel, or shoot all day, size and weight matter.
Quick Comparison
| Lens | Best For | Type | Portrait Strength | Landscape Strength |
|---|---|---|---|---|
| Sigma 14mm f/1.8 DG HSM Art | Ultra-wide dramatic landscapes, astro, environmental portraits | Prime | Specialized | Excellent |
| Sony FE 24-50mm f/2.8 G | Travel, walkaround, mixed landscape/portrait use | Zoom | Very Good | Very Good |
| Sony FE 50-150mm F2 GM | Premium portrait work, compressed landscapes | Zoom | Excellent | Very Good |
| Sigma 50mm f/1.4 DG HSM Art | Classic portrait look, low-light, general purpose | Prime | Excellent | Good |
| Sigma 50mm f/1.4 EX DG HSM | Value-oriented 50mm portrait shooting | Prime | Very Good | Good |
| Used Sigma 50mm f/2 DG DN Contemporary | Compact portrait/everyday shooting | Prime | Very Good | Good |
| Sigma 18-50mm f/2.8 DC DN Contemporary | APS-C travel and hybrid shooting | Zoom | Very Good | Very Good |
Our Pick
Sony FE 24-50mm f/2.8 G Lens is our top overall recommendation for photographers who want a single Sony lens that can credibly handle both landscape and portrait photography. Its focal range covers wide scenic compositions at 24mm and natural-looking portraits toward 50mm, while the constant f/2.8 aperture offers solid low-light performance and subject separation in a compact, travel-friendly package.
Best Sony Lens Choices for Landscape and Portraits
Sony FE 24-50mm f/2.8 G Lens
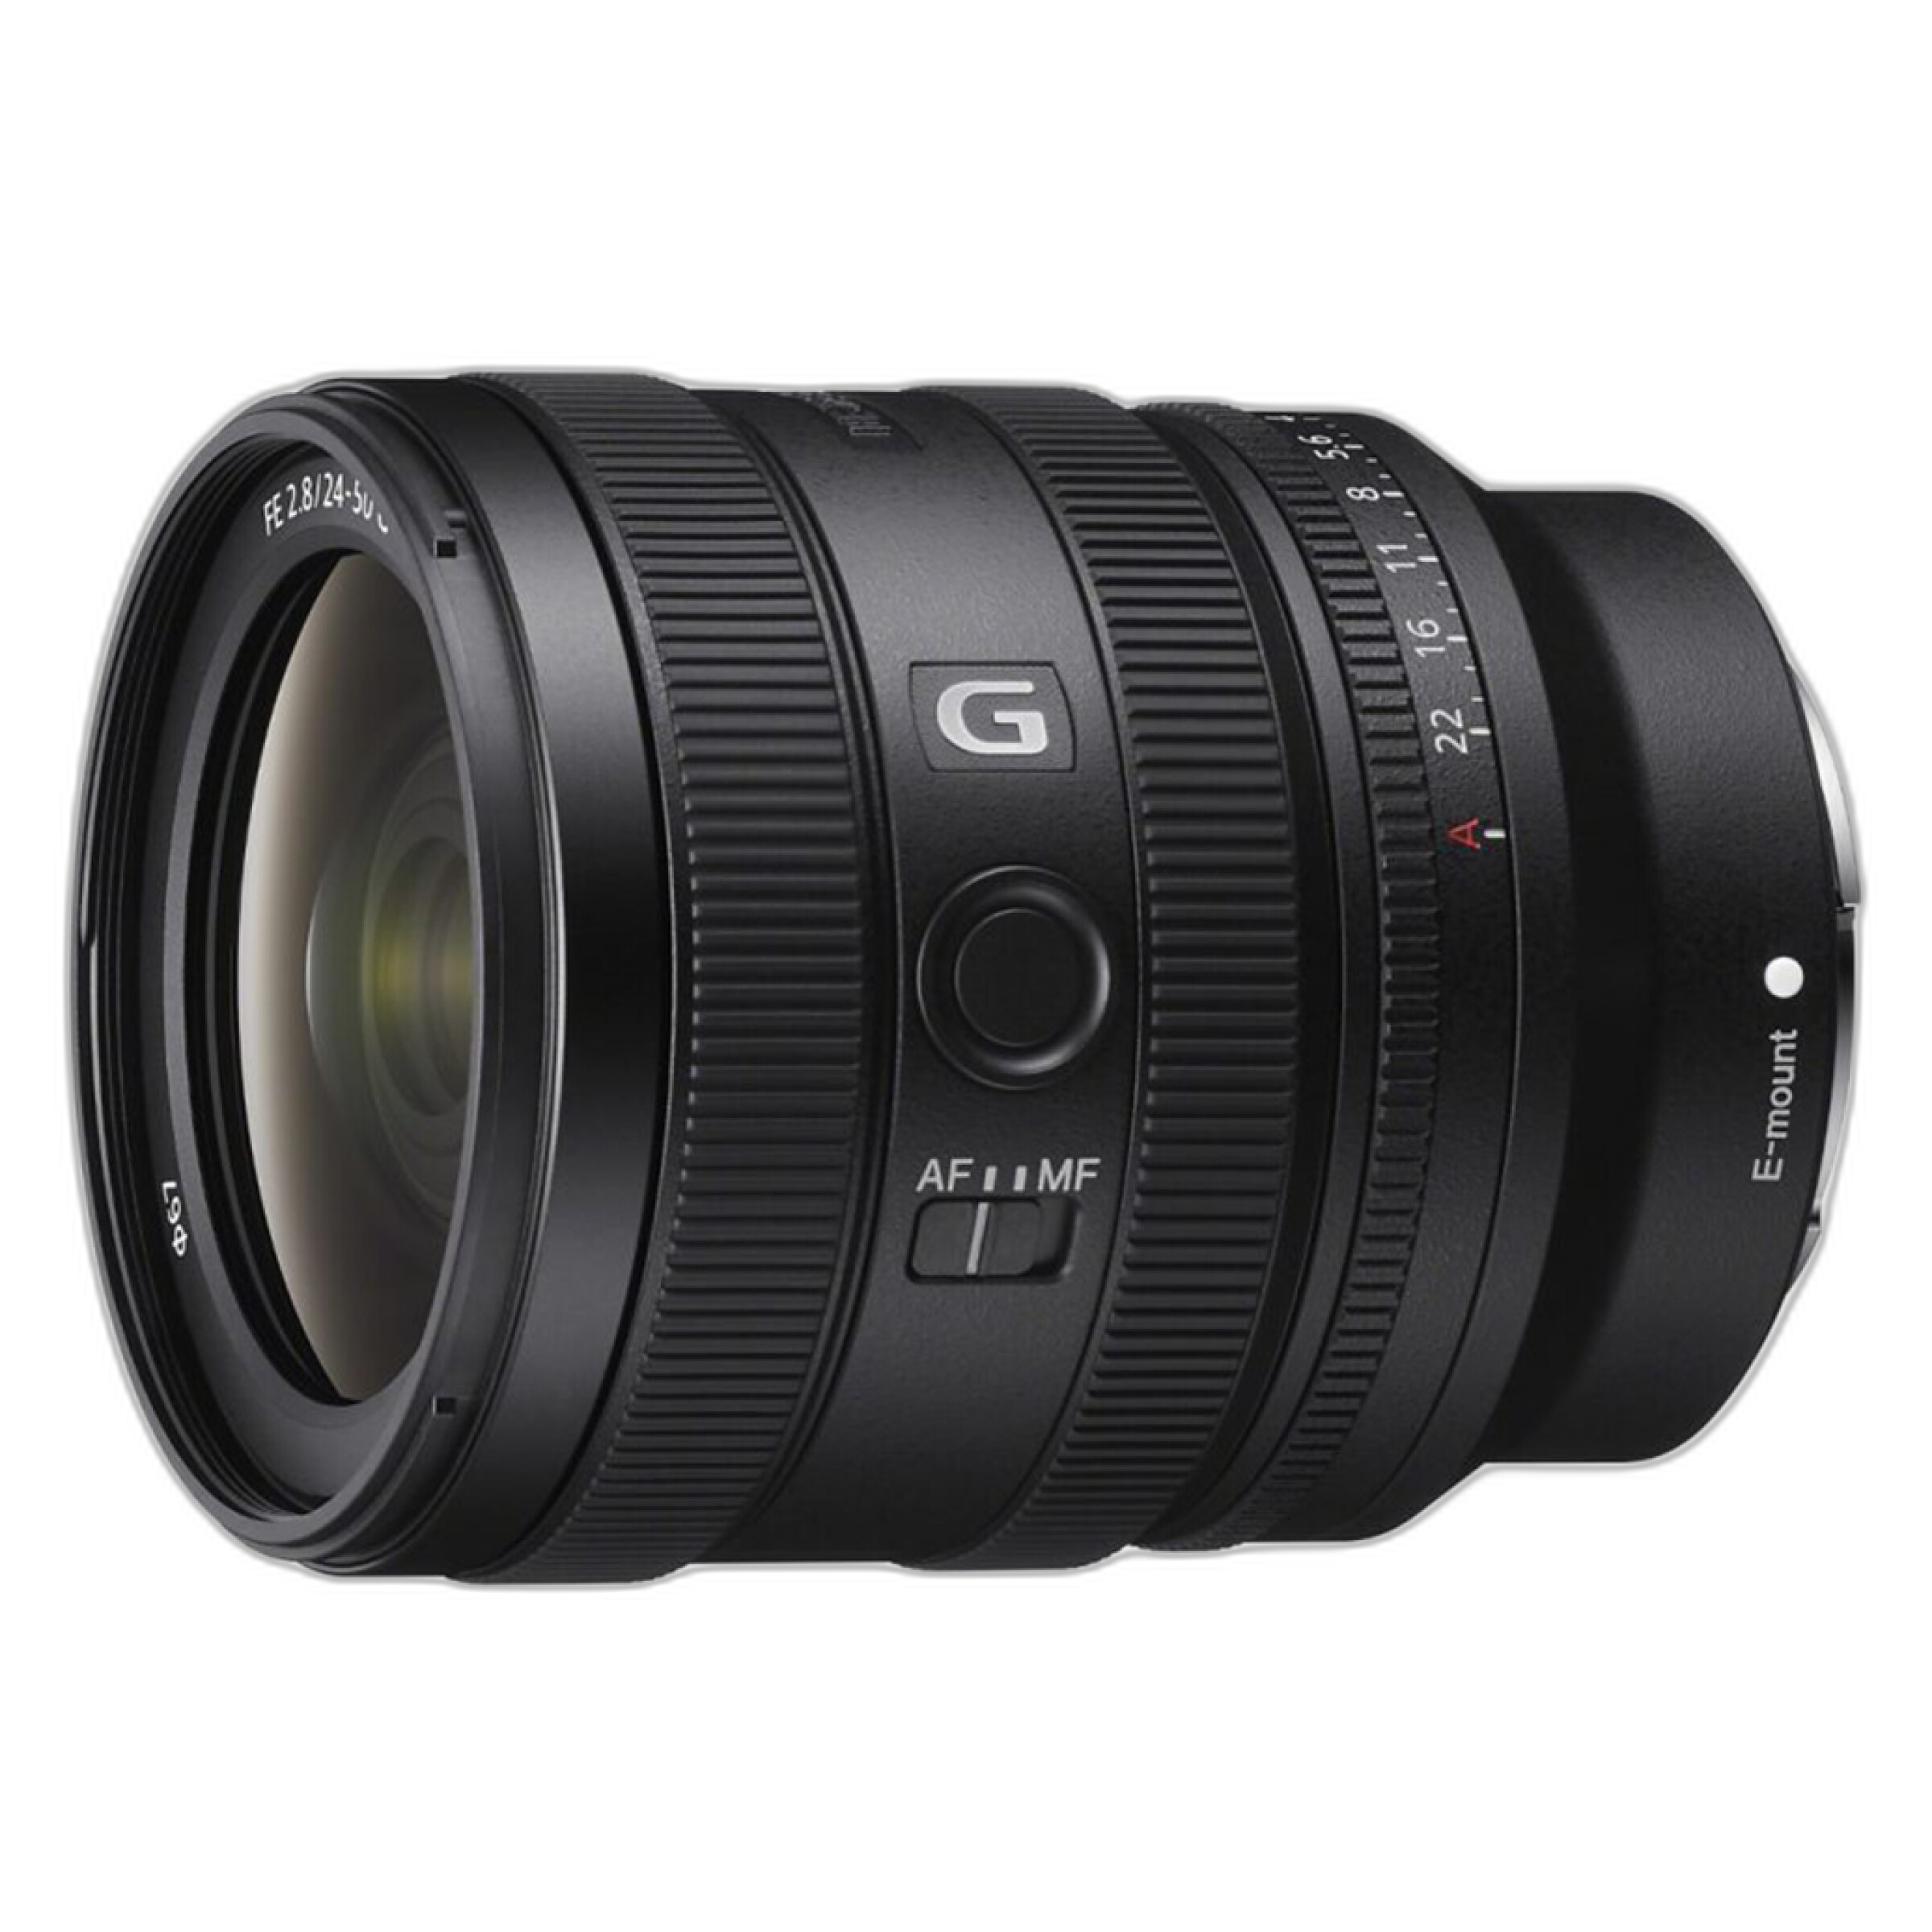
If you want one of the most balanced options for both landscapes and portraits, this Sony zoom makes a lot of sense. At 24mm, it is wide enough for many landscape scenes, cityscapes, interiors, and travel photography. At 50mm, it reaches a classic normal perspective that works well for portraits, detail shots, and everyday moments.
The constant f/2.8 aperture gives you more flexibility than a slower kit zoom, especially in changing light. It is also a smart choice for photographers who want a high-quality native Sony lens without jumping to a much larger setup. For travel, events, casual portrait sessions, and scenic shooting, this is an easy lens to recommend.
Best for: Photographers who want a single versatile full-frame Sony E-mount lens for both genres.
Sigma 14mm f/1.8 DG HSM Art Lens for Sony E
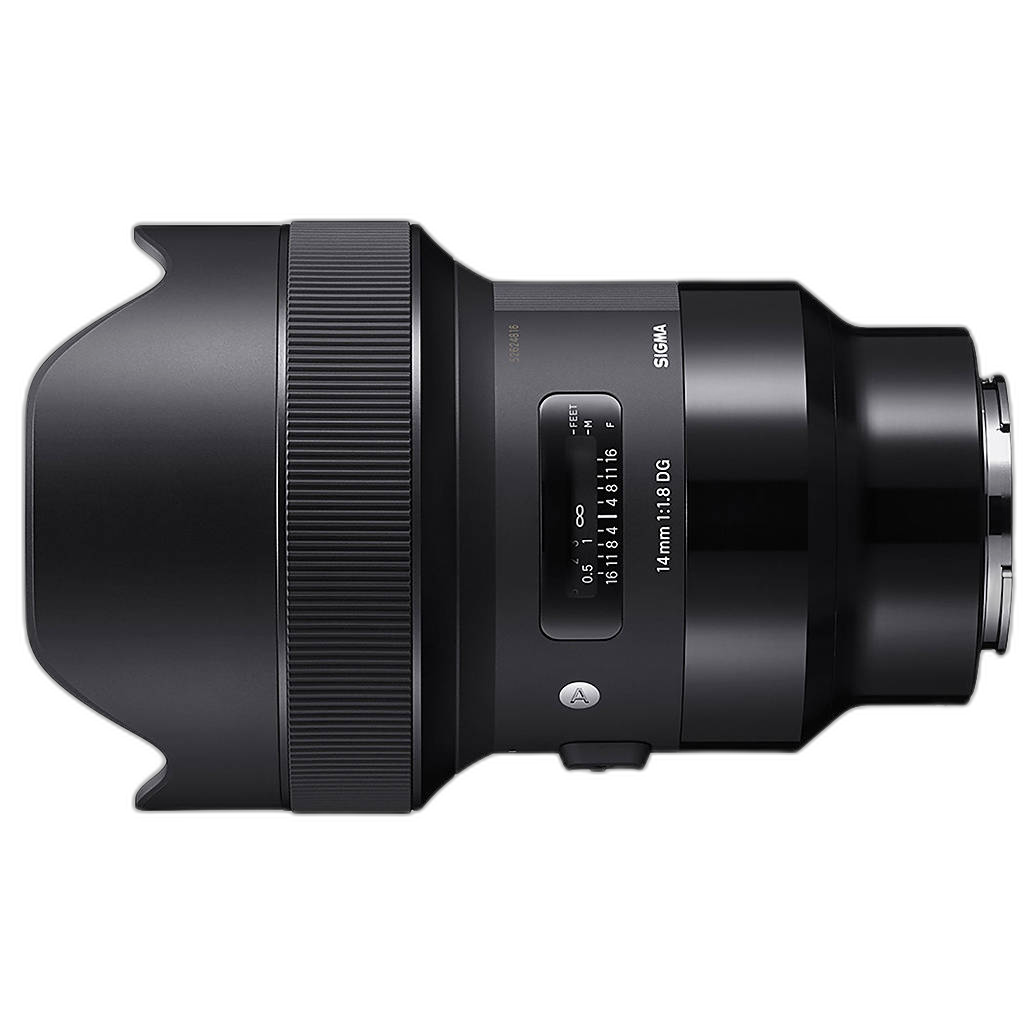
For photographers who lean heavily into landscapes, night skies, architecture, and dramatic environmental portraiture, the Sigma 14mm f/1.8 Art is a standout specialty lens. The ultra-wide perspective can produce expansive foreground-to-background depth and bold compositions that are impossible with a standard zoom.
The fast f/1.8 aperture is especially appealing for astrophotography and low-light landscape work. While 14mm is not a traditional portrait focal length, it can be creatively effective for environmental portraits where the setting is part of the story. Just be mindful of distortion when placing subjects near the edges of the frame.
Best for: Serious landscape shooters and creatives who want a dramatic ultra-wide look.
Sony FE 50-150mm F2 GM Lens
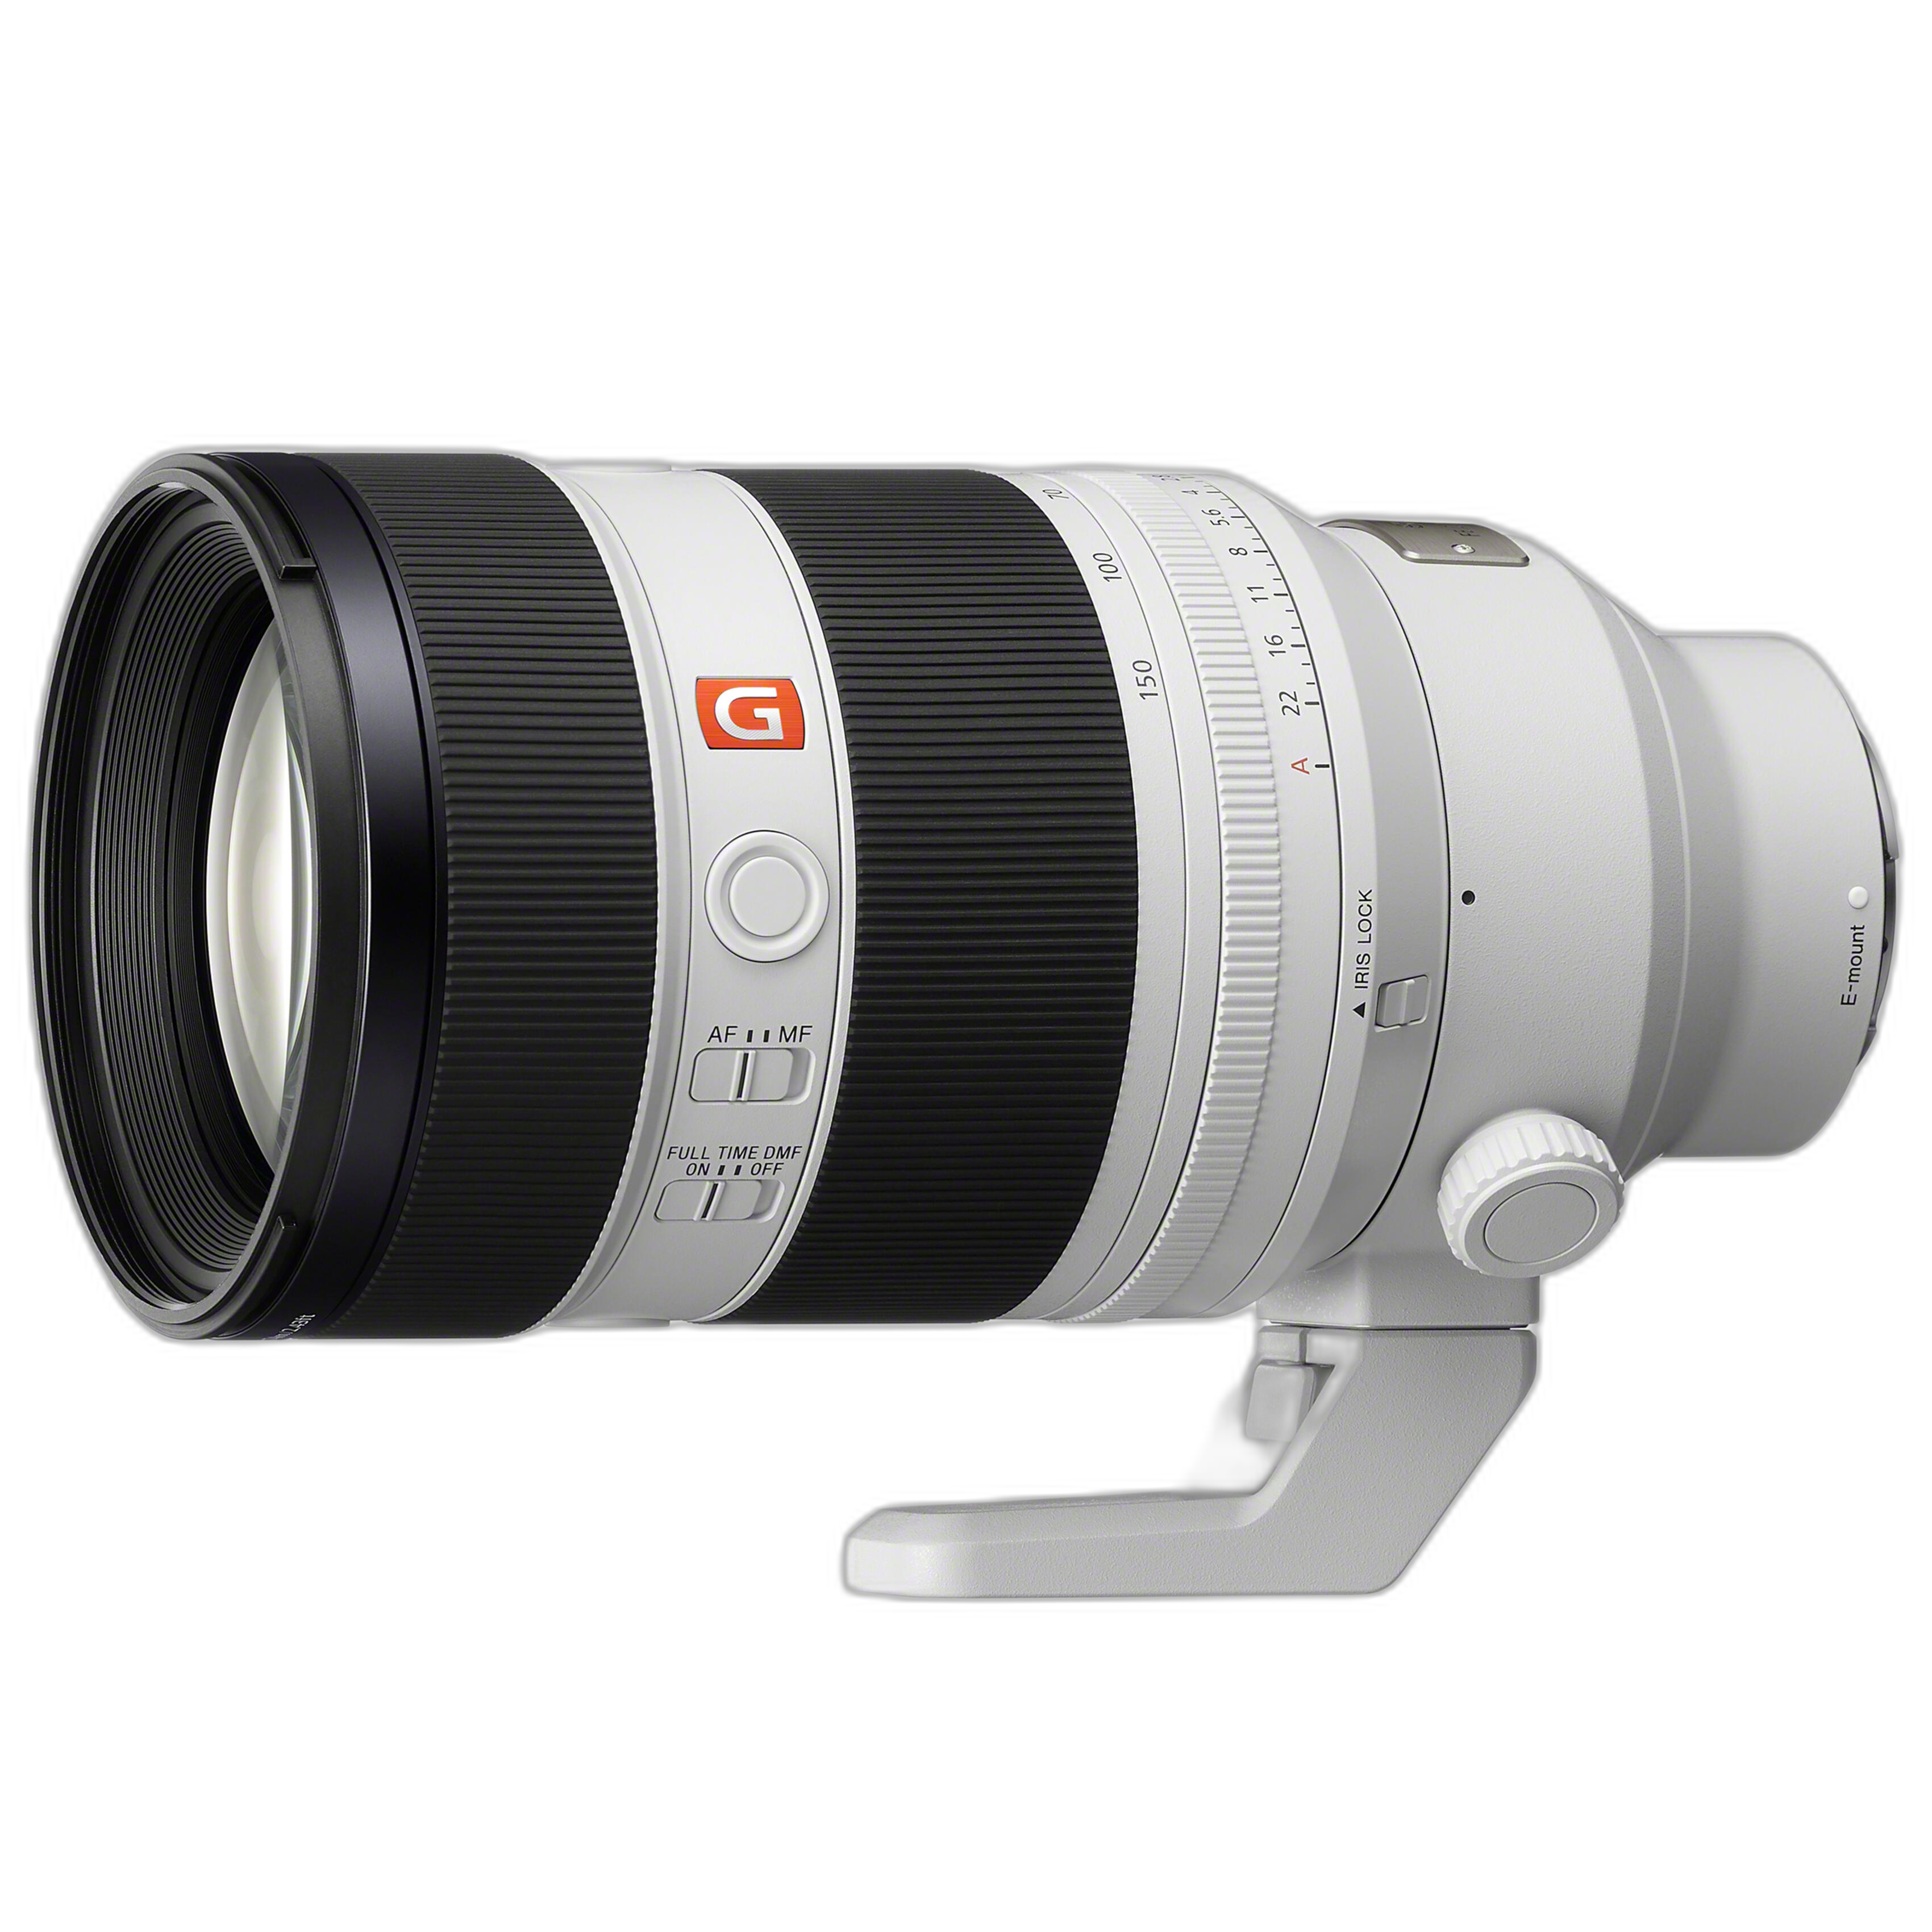
If portraits are the priority but you still want a lens that can contribute to landscapes, this premium Sony GM zoom deserves attention. The 50-150mm range spans classic portrait focal lengths beautifully, and the bright f/2 aperture gives you impressive control over background blur and subject isolation.
Although it is not a traditional landscape lens in the wide-angle sense, telephoto landscapes can be incredibly compelling. Longer focal lengths let you compress distant mountain ranges, isolate details, and simplify compositions. This lens is best for photographers who want top-tier portrait performance and the option to create a different kind of landscape image.
Best for: Portrait specialists who also enjoy compressed scenic compositions.
Sigma 50mm f/1.4 DG HSM Art Lens for Sony E
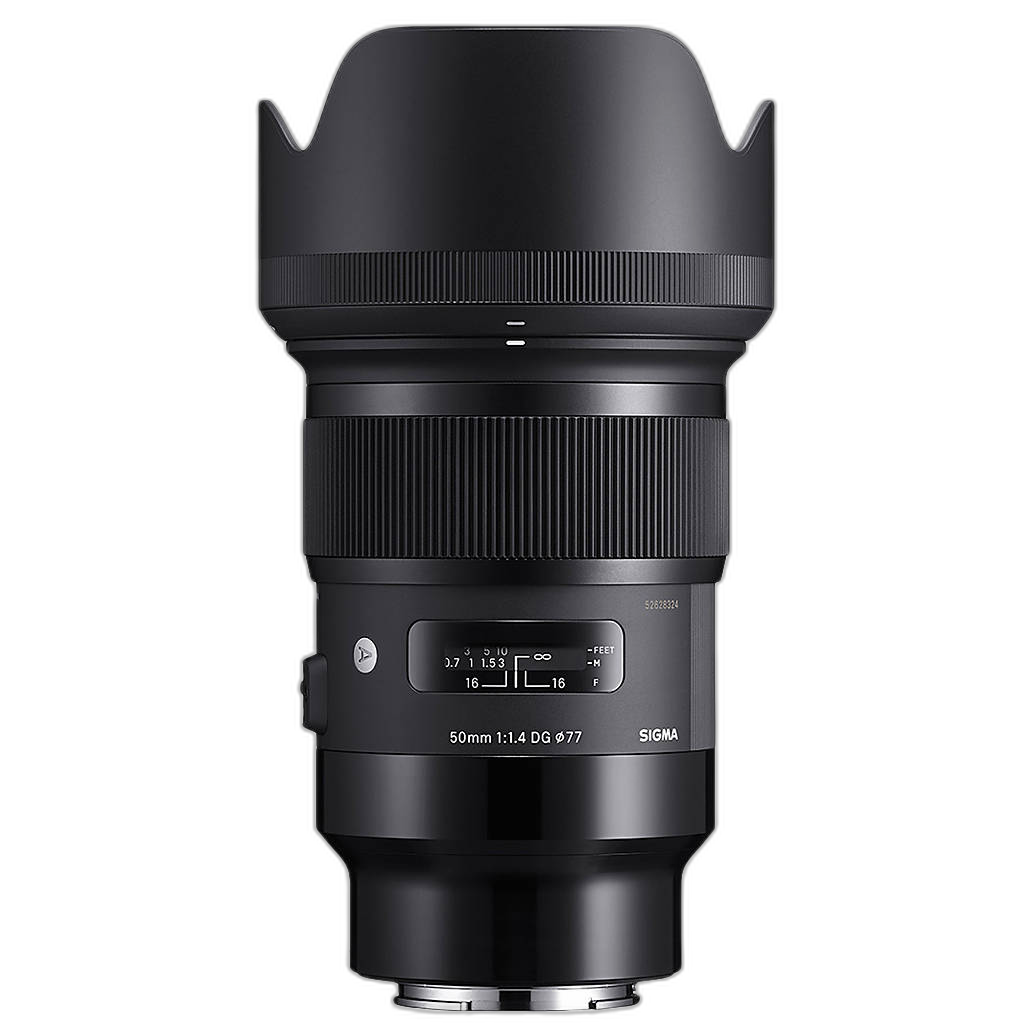
A 50mm f/1.4 is one of the most dependable choices for portrait and general photography, and Sigma's Art-series reputation makes this a compelling option for Sony shooters. The focal length is natural and versatile, making it suitable for half-body portraits, editorial work, lifestyle sessions, and even stitched landscape panoramas.
The f/1.4 aperture is the main draw here. It helps separate subjects from the background and supports shooting in lower light. While 50mm is not wide enough for grand landscape scenes in tight spaces, it works well for selective compositions and travel photography when you prefer a more natural angle of view.
Best for: Portrait photographers who want a fast prime with strong all-around creative potential.
Sigma 50mm f/1.4 EX DG HSM Standard Lens for Sony - Black
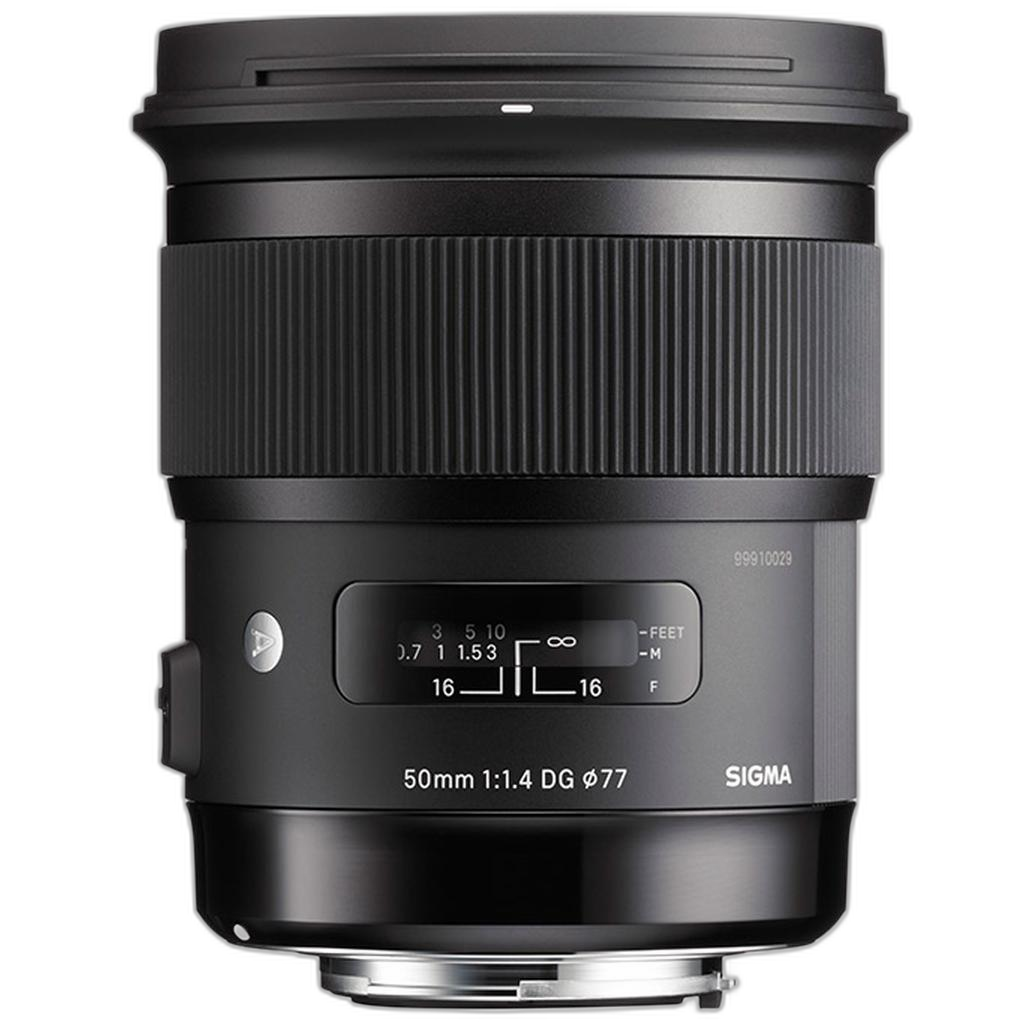
This Sigma 50mm f/1.4 EX DG HSM remains an appealing option for photographers who want the classic 50mm portrait look and bright aperture. It is especially attractive if your goal is to prioritize portraits and shallow depth of field without moving into a zoom.
Like other 50mm lenses, it is less specialized for expansive landscape views but still useful for tighter framing, environmental details, and everyday photography. If you prefer the simplicity of a prime and want that familiar fast-50 rendering, this lens fits the bill.
Best for: Value-minded photographers seeking a traditional fast 50mm look.
Used Sigma 50mm f/2 DG DN Contemporary Lens for Sony E Mount - Excellent
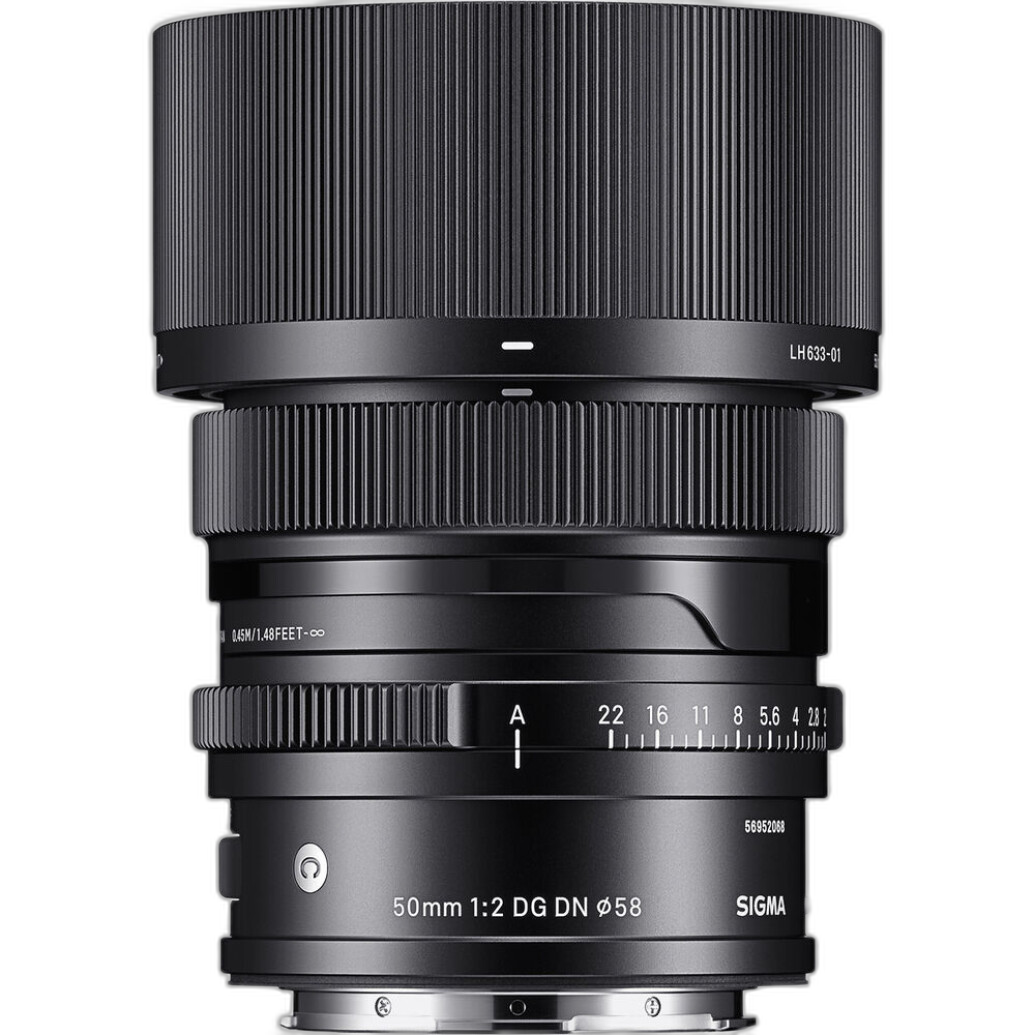
Used gear can be a very smart buy, and this compact Sigma 50mm f/2 DG DN Contemporary is an especially practical choice for photographers who want portability. It is well suited to street portraits, travel photography, casual sessions, and everyday shooting where a smaller setup matters.
Compared with an f/1.4 lens, you give up some background blur and low-light capability, but you gain a more compact form factor. For many Sony users, that tradeoff is worth it. It is also a nice entry point into prime-lens shooting for those who want solid image quality and a manageable size.
Best for: Sony shooters who want a compact portrait-capable prime at a value-conscious price.
Sigma 18-50mm f/2.8 DC DN Contemporary Lens for Sony E
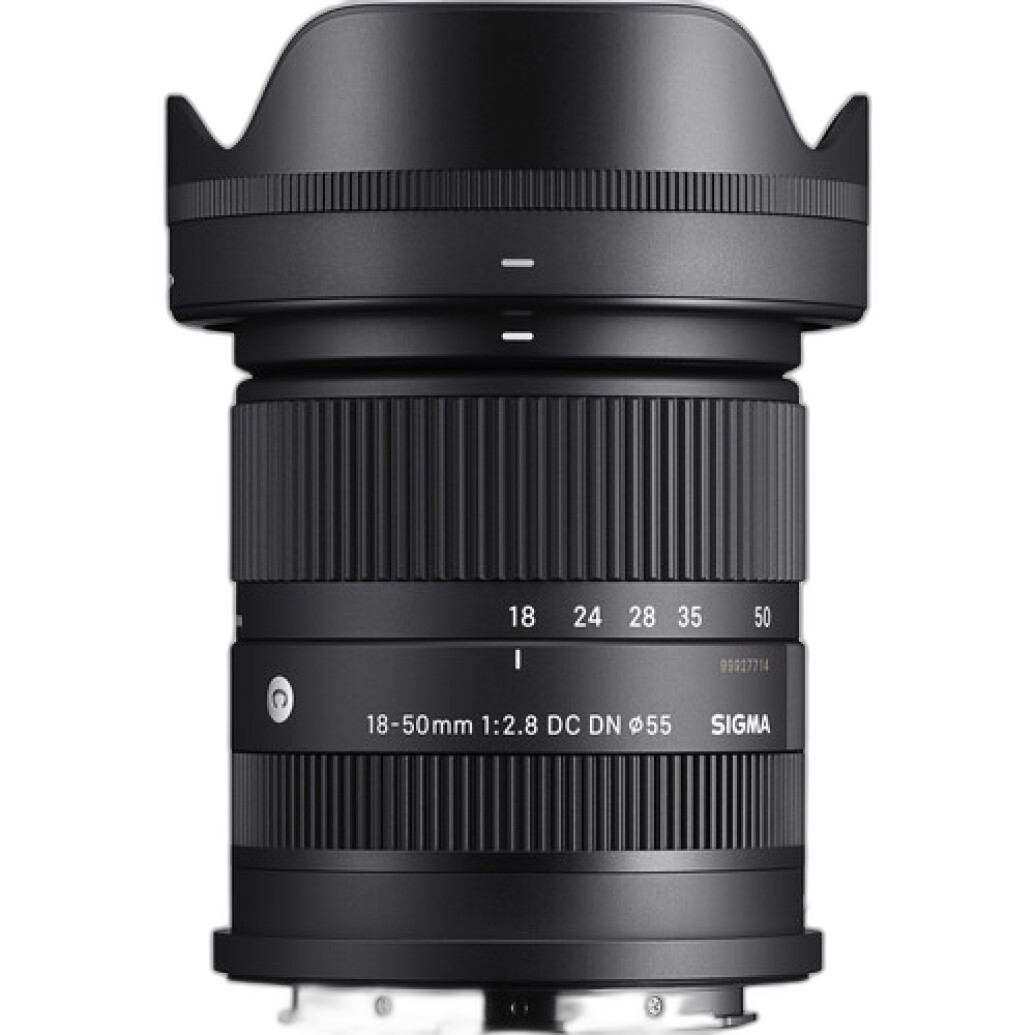
If you use a Sony APS-C camera, this Sigma zoom is one of the most practical choices in the group. The 18-50mm range is highly useful for travel, landscape shooting, portraits, and daily photography, while the constant f/2.8 aperture helps maintain flexibility across the zoom range.
Its compact design makes it particularly attractive for creators who want to keep their kit light. On an APS-C body, it offers a useful everyday range that can cover wide scenic frames and tighter portrait compositions without switching lenses constantly.
Best for: Sony APS-C users who want an affordable, flexible lens for both landscapes and portraits.
Should You Choose a Prime or Zoom?
Choose a zoom if you want flexibility, travel convenience, and one lens that can adapt quickly between scenic wide shots and portrait framing. The Sony FE 24-50mm f/2.8 G and Sigma 18-50mm f/2.8 DC DN Contemporary are the best examples here.
Choose a prime if you want a brighter aperture, more specialized rendering, or a specific creative look. The Sigma 14mm f/1.8 is the standout for landscapes, while the Sigma 50mm options are stronger for portraits and general-purpose shooting.
Choose a telephoto zoom like the Sony FE 50-150mm F2 GM if portrait performance comes first and your landscape style favors compression, isolation, and layered distance.
Final Recommendation
For most photographers looking for the best Sony lens choice that balances landscape and portrait photography, the Sony FE 24-50mm f/2.8 G Lens is the smartest all-around buy. It is versatile, fast enough for many lighting situations, and well suited to photographers who do not want to carry multiple lenses.
If your focus is more specialized, the Sigma 14mm f/1.8 DG HSM Art is the better landscape-first pick, while the Sigma 50mm f/1.4 DG HSM Art and Sony FE 50-150mm F2 GM stand out for portrait-driven shooting.
If you're ready to compare these Sony-compatible lenses in more detail, shop with Unique Photo for new and used options, expert support, and gear tailored to the way you actually shoot.