Indoor Portrait Lighting FAQ for Beginners: Better Skin Tones at Home
Creating flattering indoor portraits does not require a huge studio or a complicated lighting kit. With smart placement of your subject, a controlled light source, and a few simple modifiers, you can avoid flat lighting and produce more natural-looking skin tones in almost any home environment.
At Unique Photo, we often help beginners build portrait setups that are practical, affordable, and easy to repeat. Below are the most common questions we hear about indoor portrait lighting, along with straightforward solutions you can use right away.
What is the easiest indoor portrait lighting setup for a small room?
A simple one-light look is the best starting point for most beginners. Place your subject a few feet away from the wall, then position the main light or window light about 45 degrees to one side of the face and slightly above eye level. This creates shape on the face while keeping the portrait soft and flattering.
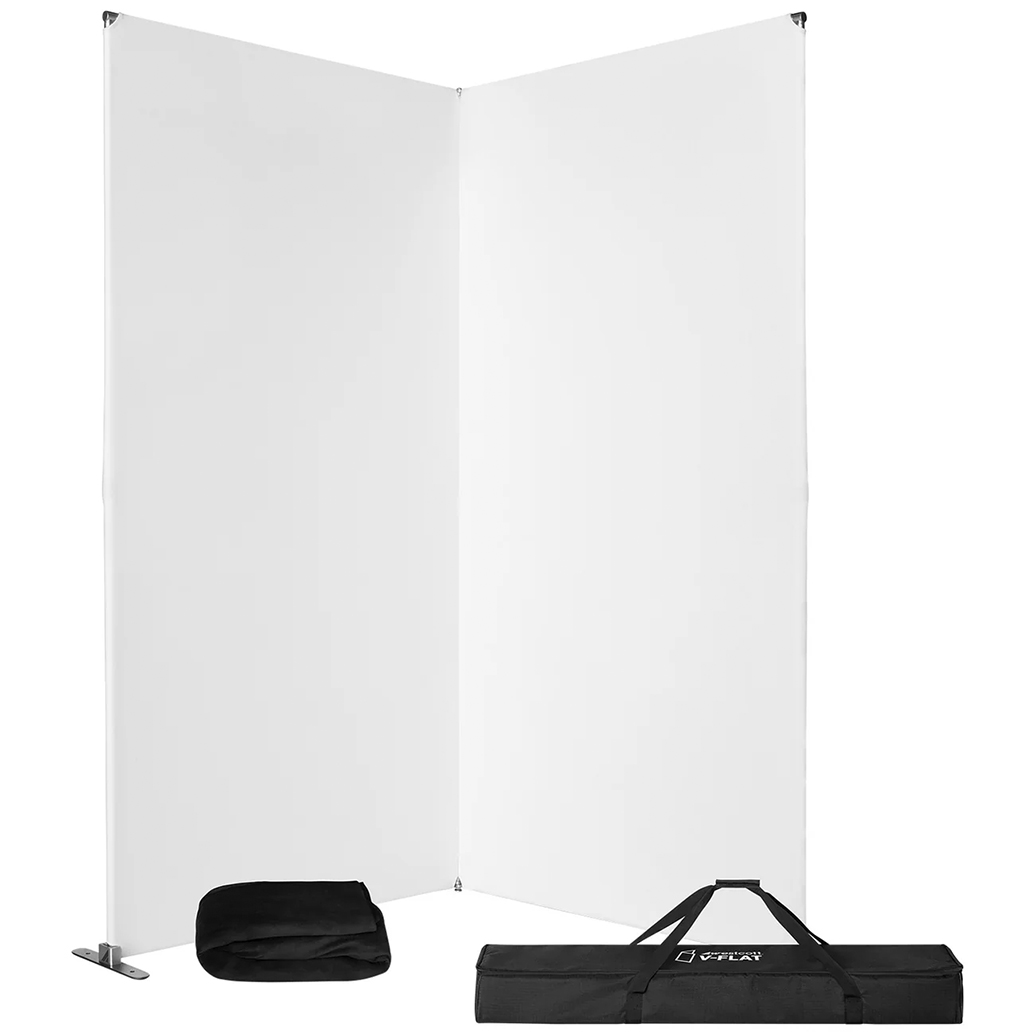
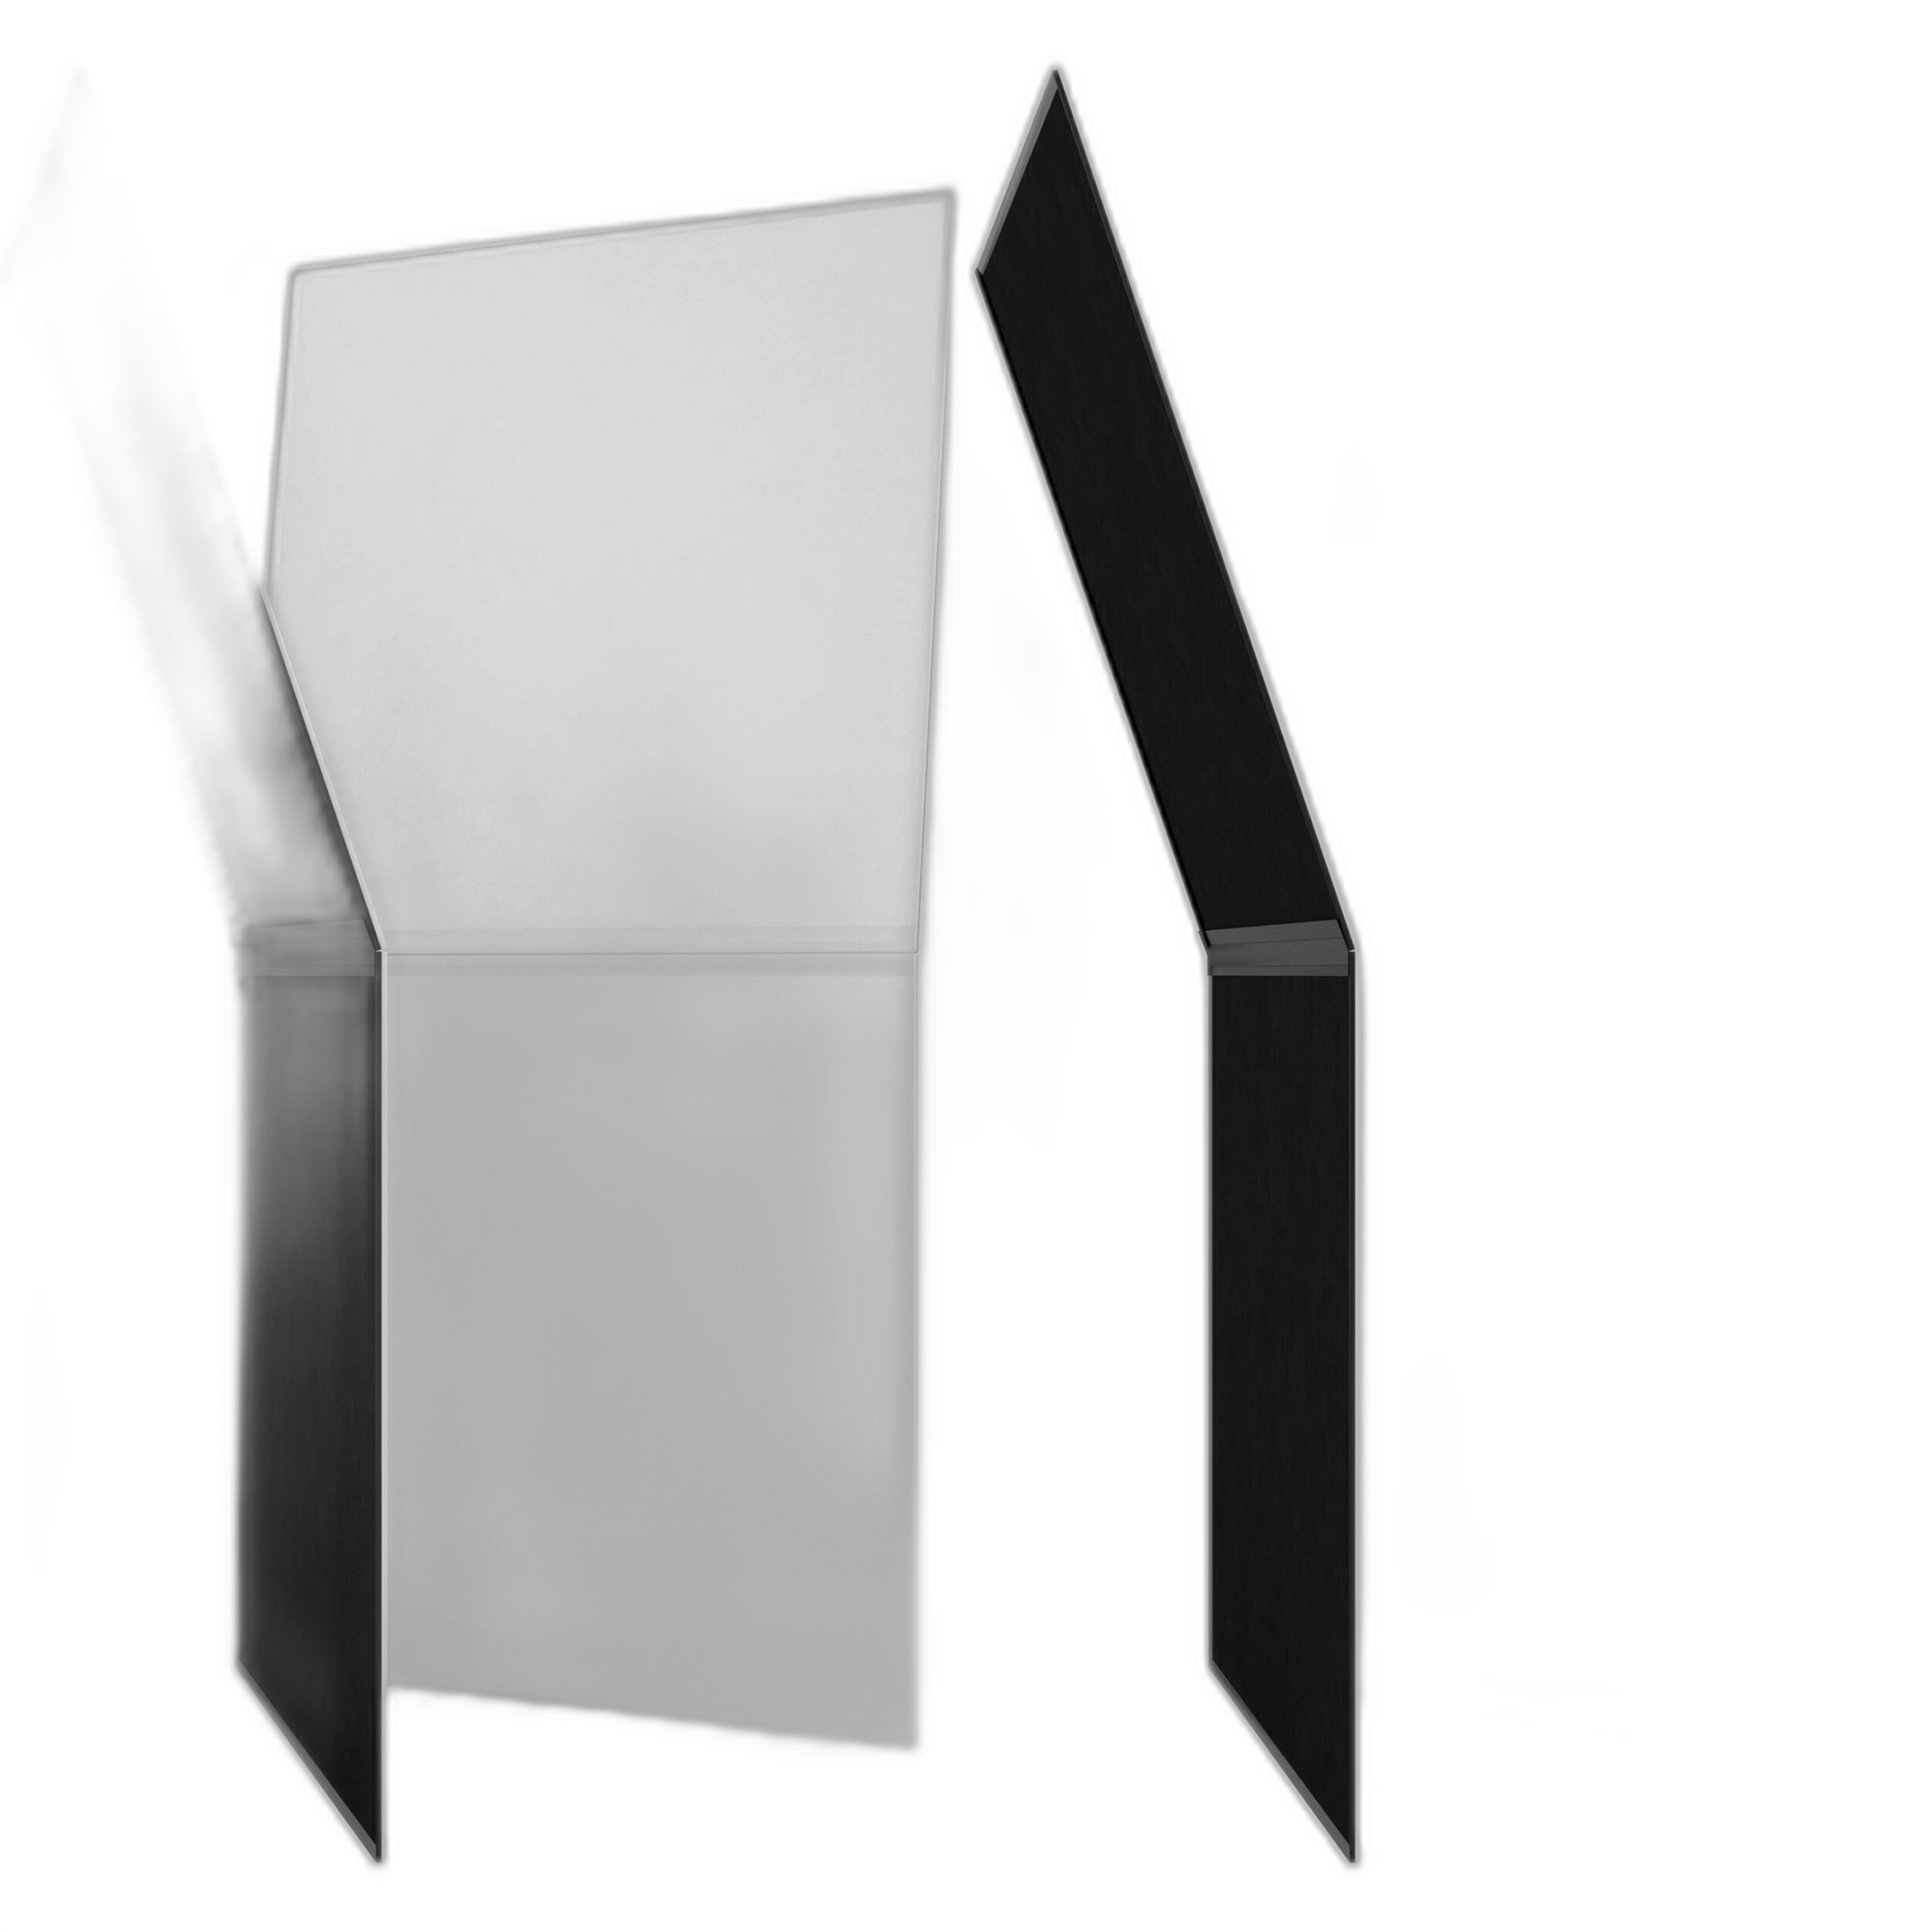
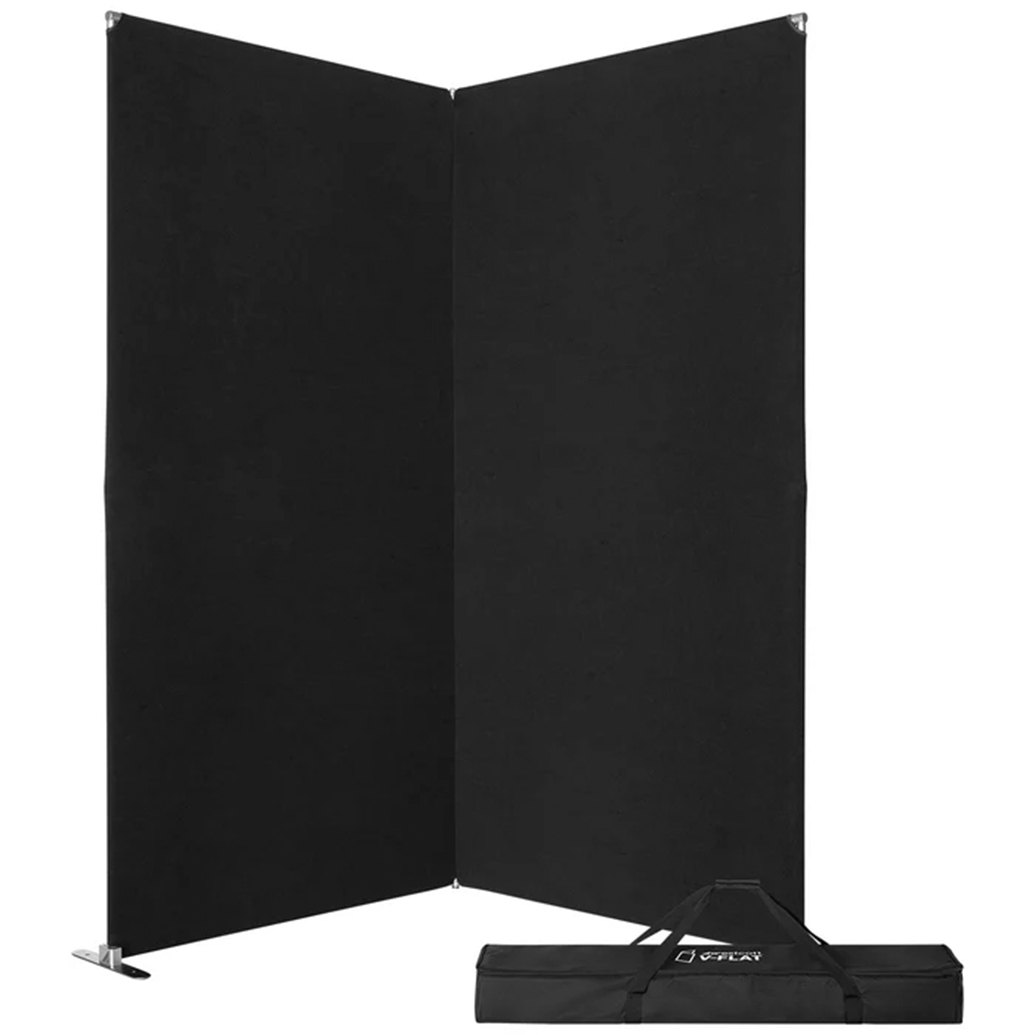
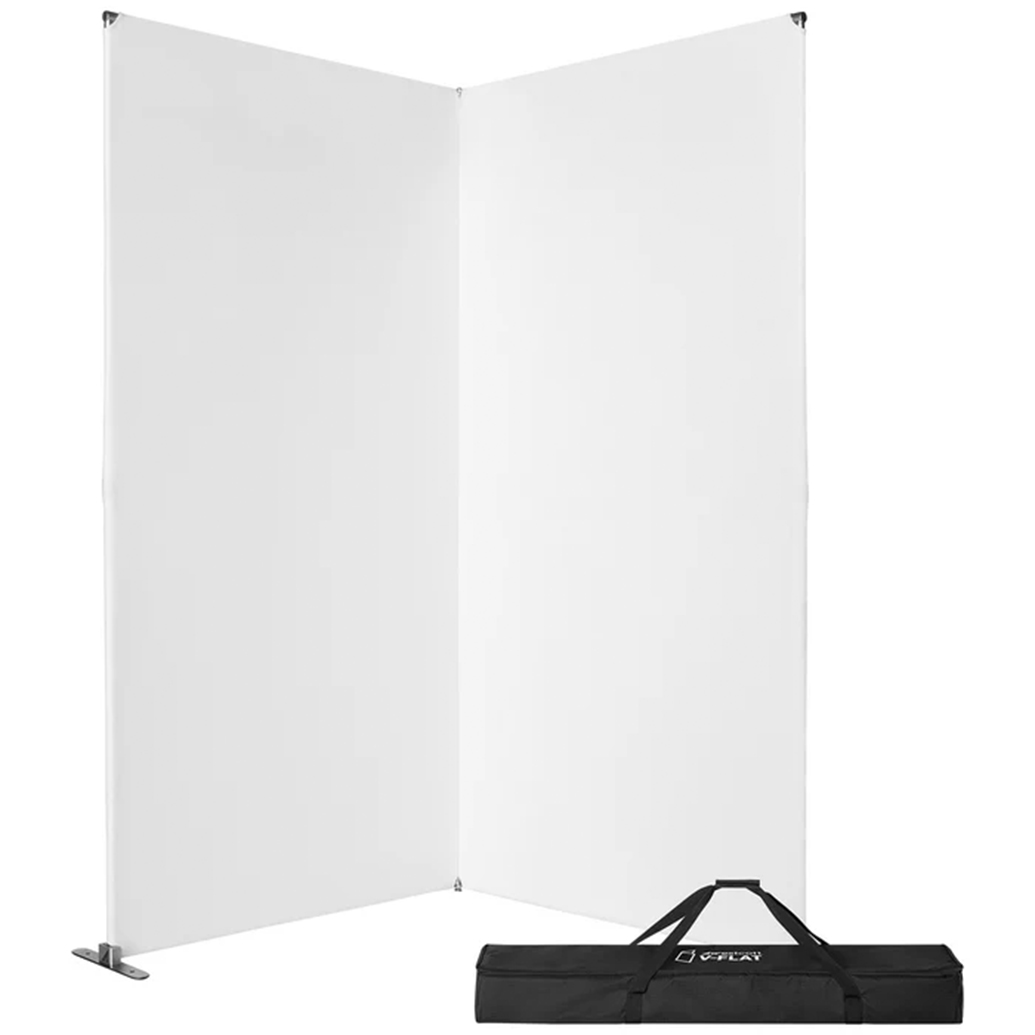
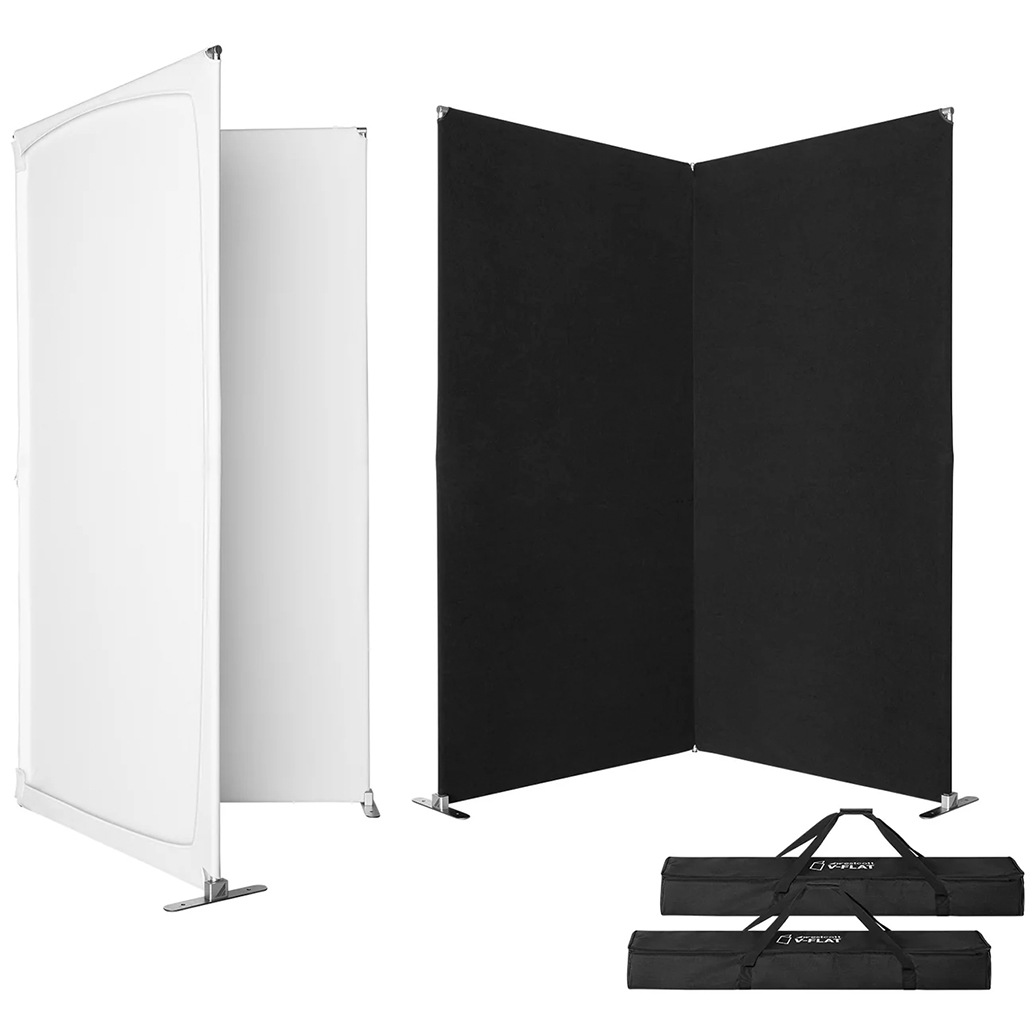
If your room is tight, light control becomes even more important. A foldable V-flat or reflector can help you bounce light back into the shadow side of the face or block spill from nearby walls. Products like the Westcott V-Flat with White and Black Fabric or the V-FLAT WORLD Foldable V-Flat 2.0 2-Pack Bundle are especially useful in home spaces because they let you switch between a bright white bounce surface and a black side for negative fill when you want more depth.
How do I avoid flat lighting on faces indoors?
Flat lighting usually happens when the light is placed directly in front of the subject or when the room fills in every shadow evenly. To add dimension, move the light source off-center so one side of the face is brighter than the other. Even a subtle difference between highlight and shadow can make portraits look much more professional.
You can also use black surfaces to reduce unwanted bounce. In white-walled rooms, light tends to reflect everywhere, which lowers contrast and removes facial definition. A black V-flat, such as the Westcott V-Flat with Black Fabric, can absorb some of that stray light and give the subject more shape. If you want a brighter, softer portrait, switch to a white panel on the shadow side to gently lift contrast without flattening the image completely.
Should beginners use continuous lights or flash for indoor portraits?
Both can work well, but the right choice depends on how you like to learn. Continuous lights are easier for many beginners because what you see is what you get. You can watch the shadows move in real time, adjust your subject position quickly, and build confidence without worrying about flash settings at first.
Flash, however, offers more power and often cleaner results at lower ISO settings. It is especially useful if you want to overpower mixed room lighting or stop subject movement more effectively. If you already own a flash system or plan to grow into studio portraiture, flash can be an excellent long-term investment.
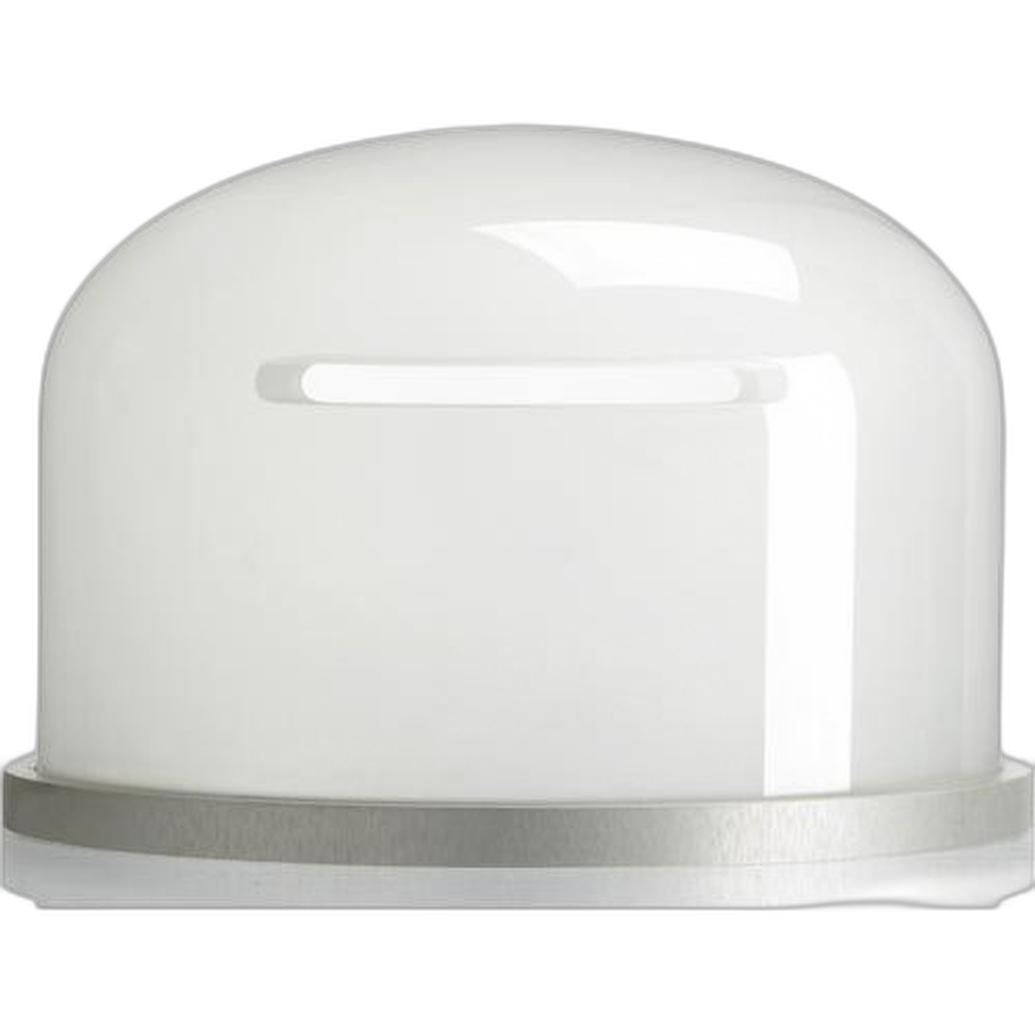
Whichever direction you choose, modifiers matter just as much as the light itself. If you are using a more advanced monolight system, accessories that soften or spread light can improve skin rendering. For example, the Profoto Glass Dome Cover for Flat Front Monolights - Frosted can help create a smoother, more diffused output in compatible setups.
How should I use window light for natural-looking indoor portraits?
Window light is one of the best tools for beginners because it is broad, soft, and easy to experiment with. Position your subject beside the window rather than directly facing it. Side light creates gentle modeling on the face and helps avoid the flat, passport-photo look that comes from front light.
If the light is too strong, hang a sheer curtain or move the subject farther from the window to soften the contrast. If the shadows are too deep, add a white bounce surface opposite the window. The Westcott V-Flat with White Fabric is a great option for this because it can brighten the shadow side of the face without looking artificial.
When should I use a white reflector versus a black reflector or V-flat?
Use white when you want to open up shadows and make skin look brighter and softer. This is especially helpful for beauty portraits, family photos, or any setup where you want a clean, airy feel. A white surface bounces light back onto the face and can reduce harsh transitions under the eyes or chin.
Use black when you want more drama, more facial definition, or better separation in a bright room. Black subtracts light instead of adding it, which can make cheekbones, jawlines, and facial contours stand out more naturally. A two-sided solution like the Westcott V-Flat 2-Pack with White and Black Fabric gives you flexibility to build either look depending on the subject and mood.
What are affordable modifiers that make skin look more flattering?
The most budget-friendly modifiers are often the most versatile: white bounce, black negative fill, and a large soft source. Instead of chasing complicated accessories right away, focus on increasing the apparent size of the light source and controlling where the light goes. A large window, a bounced light, or a V-flat used as a reflector can all produce smoother transitions across the skin.
For home portrait shooters, foldable V-flats are especially useful because they serve multiple roles. They can reflect, block spill, act as a background edge, and create a more controlled shooting area in small rooms. The V-FLAT WORLD Foldable V-Flat 2.0 2-Pack Bundle is a strong choice for photographers who want portability, while the Westcott options are great for simple home setups that need both white and black surfaces.
How do I get natural skin tones and better white balance indoors?
Start by controlling mixed lighting. One of the biggest causes of unnatural skin tones is combining daylight from a window with warm household bulbs or overhead LEDs. If possible, turn off room lights and use only window light, or block the window and use only your artificial light source. Keeping the scene lit by one color temperature makes accurate white balance much easier.
Set a custom white balance when you can, or photograph in RAW so you can fine-tune color later. Pay attention to wall colors too, since colored walls can reflect unwanted tints back onto the skin. White modifiers tend to keep color cleaner, while black modifiers help eliminate color contamination from nearby surfaces. This is another reason tools like Westcott and V-Flat World panels are so helpful in home portrait environments.
How far should my subject be from the wall in a home portrait setup?
As a general rule, try to place your subject at least 3 to 6 feet from the background if space allows. This gives you more separation, reduces harsh wall shadows, and helps the portrait feel more polished. It also lets you light the face independently from the background, which is useful for shaping mood and keeping skin tones consistent.
In very small rooms, even a little distance helps. If you cannot pull the subject far from the wall, angle the setup so shadows fall out of frame or use a V-flat to manage the background area more cleanly. A controlled environment will usually improve portrait quality more than adding extra lights.
What is the best way to improve quickly as a beginner portrait photographer?
Practice one setup repeatedly before changing gear. Use the same room, the same window or main light position, and the same reflector placement until you understand how small adjustments affect the face. This kind of repetition teaches you far more than constantly switching between techniques.
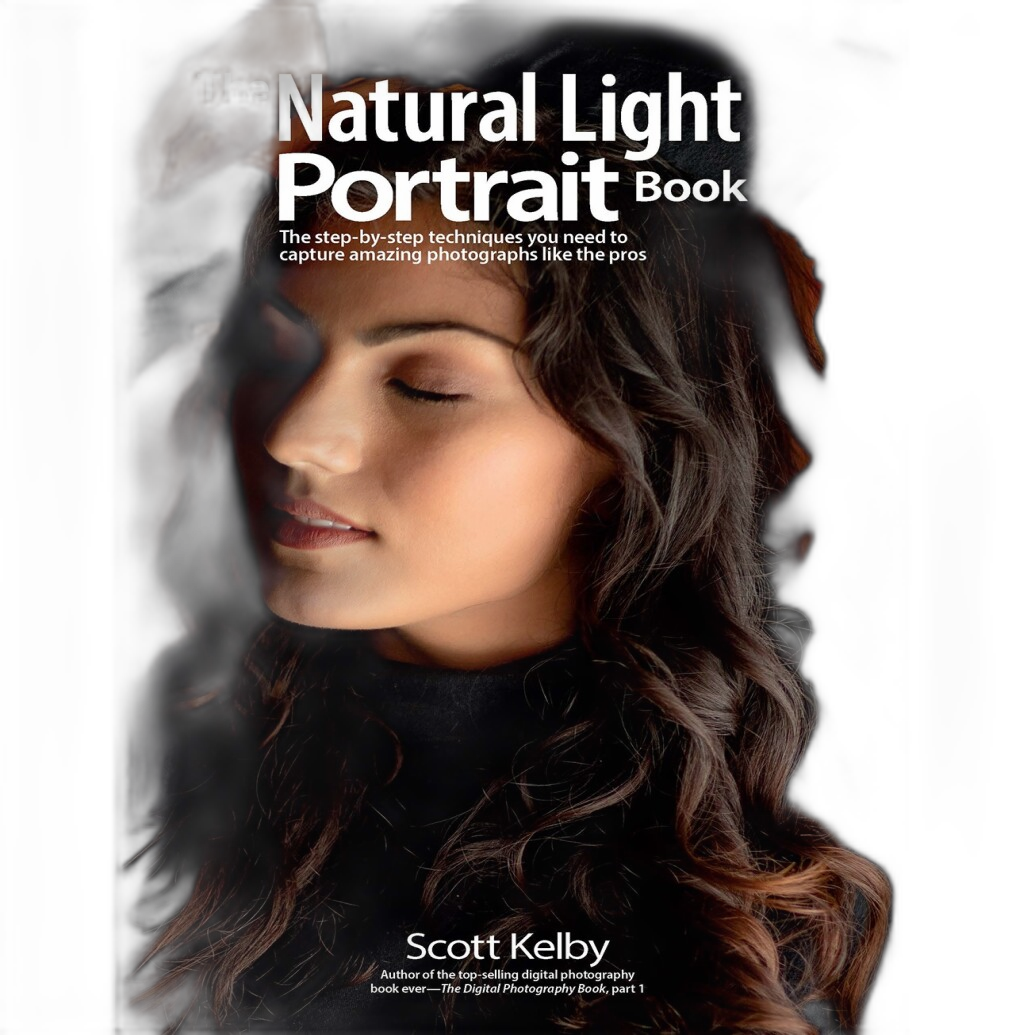
It can also help to study dedicated portrait education. For photographers who want a stronger foundation in working with available light, Mastering the Natural Light Portrait by Scott Kelby is a helpful resource for understanding how to shape light more intentionally.
Indoor portraits become much easier once you learn how to shape light instead of simply adding more of it. Whether you are building around a window, a continuous light, or a flash setup, tools like V-flats and light-control accessories can make a major difference in both facial definition and natural skin tone. Explore portrait lighting tools and learning resources at Unique Photo to build a home setup that fits your space and your style.