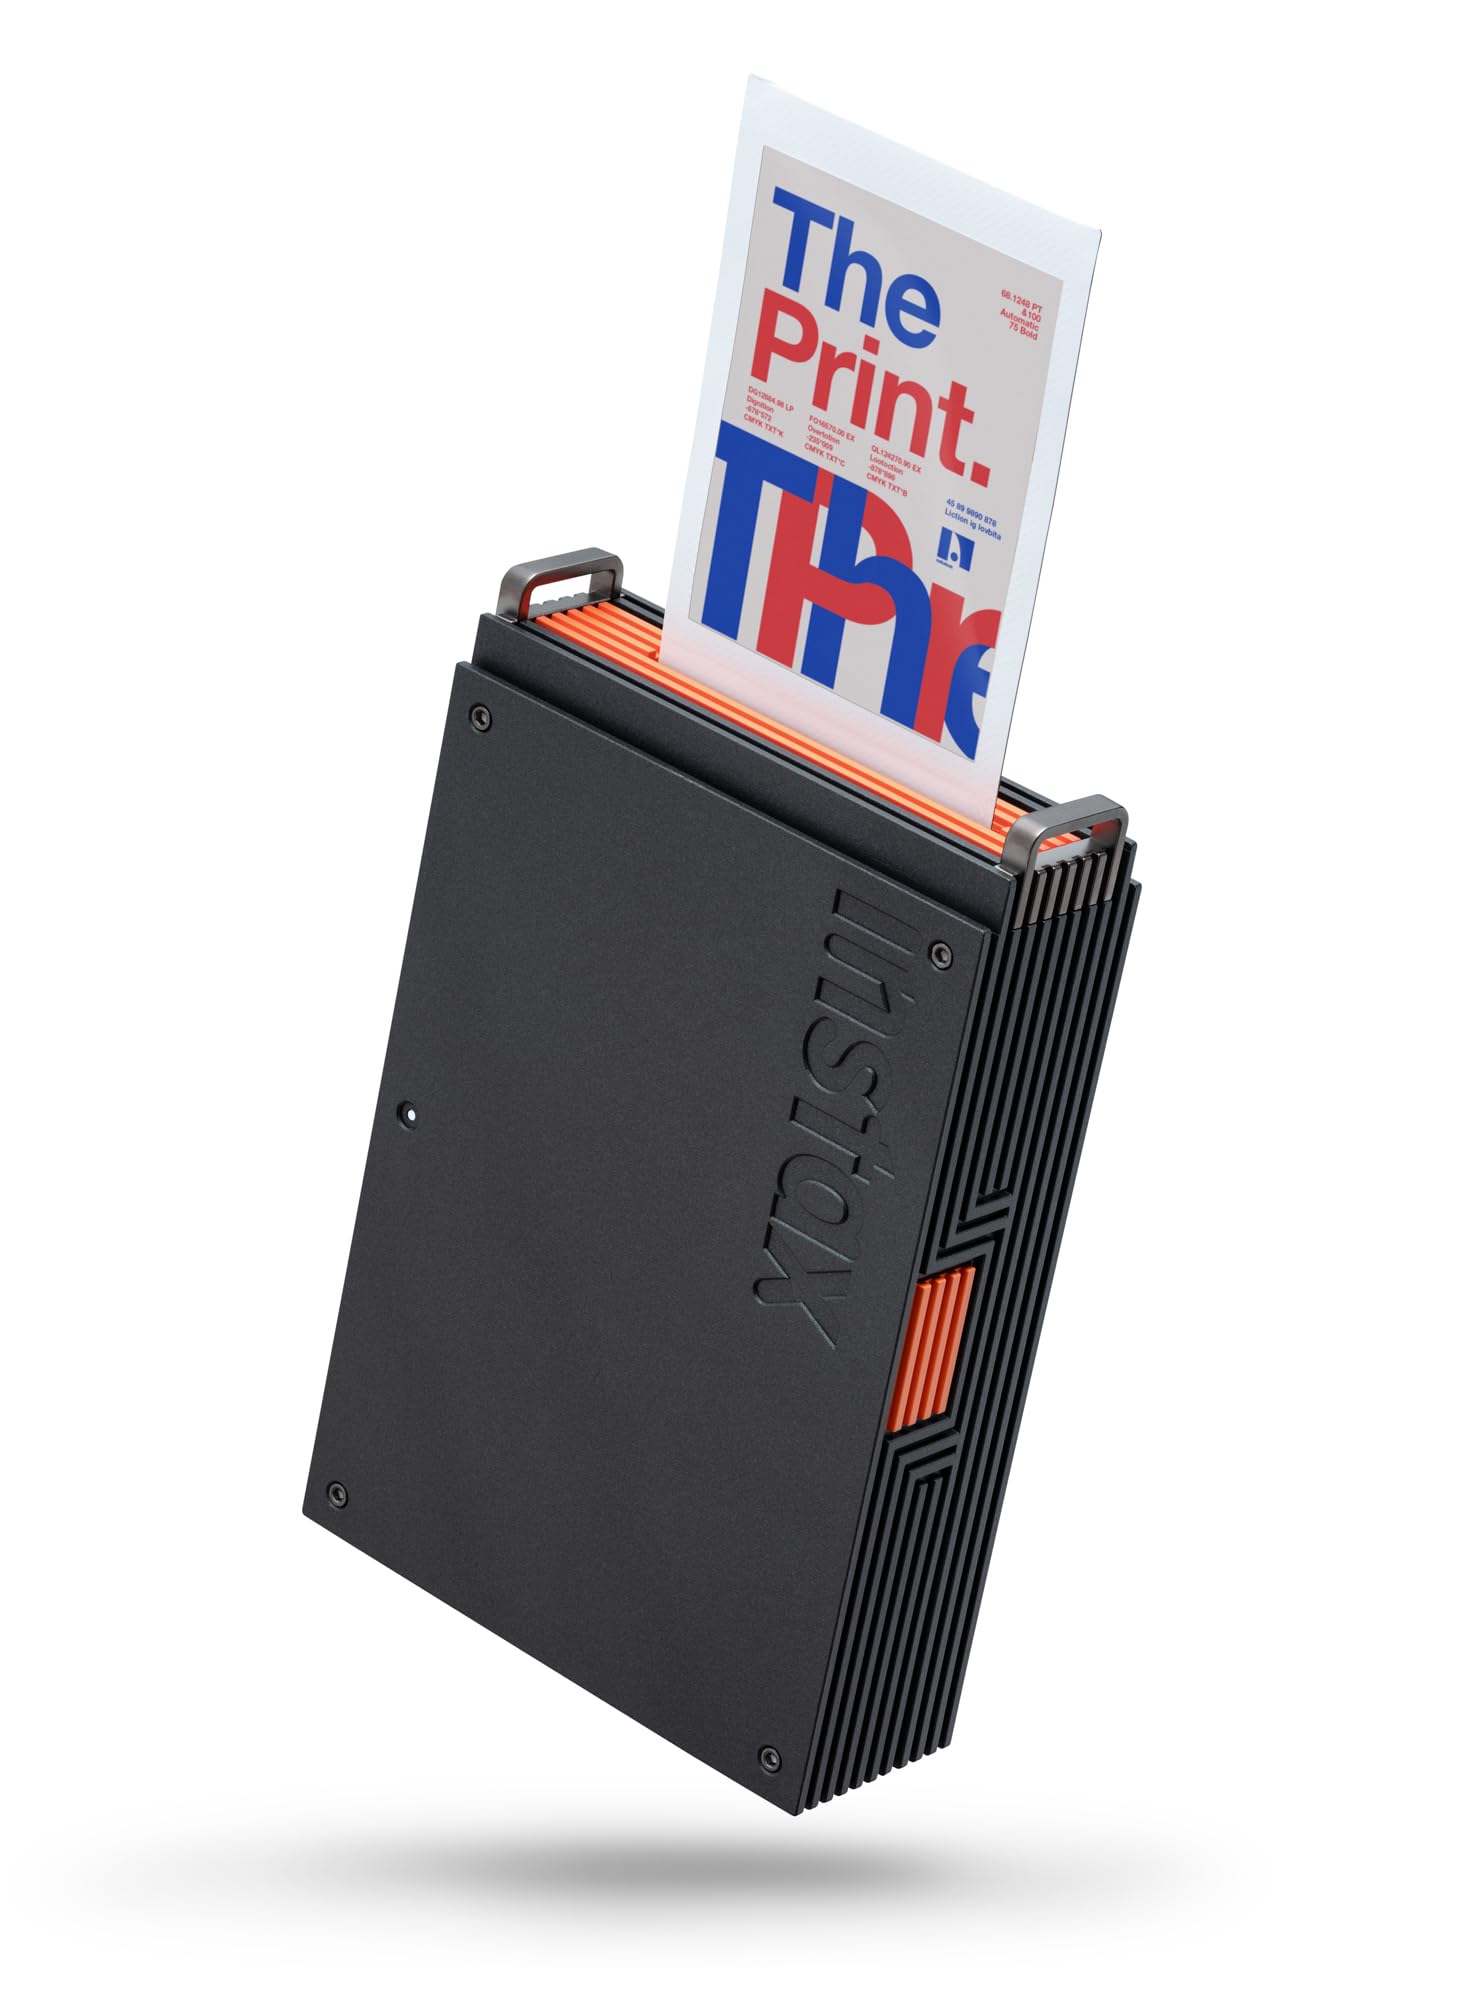
Instax has earned its place as one of the most approachable instant film formats of the modern era: quick to use, easy to share, and capable of making a physical print in moments. But anyone who has spent time with instant photography knows that getting the best results is not just about pressing the shutter. Exposure choices, subject distance, temperature, storage habits, and even the way you digitize a finished print all play a role in how good that image looks today—and how well it holds up over time.
As interest in instant photography continues strong into 2025, it is worth revisiting the practical side of working with Fujifilm Instax film. This guide covers the essentials: how to shoot more reliably, how heat and cold affect both packs and finished prints, how to store film and photographs, and how to scan and share them while preserving the character that makes Instax appealing in the first place.
Why Instax Handling Matters
Instant film is uniquely physical. Unlike a digital file, the final image exists as a chemical print from the moment it leaves the camera. That immediacy is the format’s charm, but it also means the image can be influenced by environment and handling right away. Light levels, shooting distance, and temperature affect the development process. Long-term storage habits then determine whether a print remains clean, flat, and viewable for years.
Instax is generally known for being more consistent and user-friendly than many classic peel-apart and integral instant films, but consistency should not be confused with invulnerability. A little care goes a long way.
How to Shoot Instax More Successfully
Pay Attention to Light
Good Instax photographs usually begin with sufficient, even light. Instant film responds best when the camera is not being pushed into difficult, dim situations without support from flash or bright ambient illumination. If you are indoors, window light can be especially helpful. Outdoors, open shade or soft daylight often produces more balanced results than harsh midday sun.
If your camera includes automatic exposure, it is still wise to think about contrast. Subjects with bright backgrounds can be tricky, because the camera may expose for the overall scene rather than the face or object you care about most. When possible, simplify the composition and avoid placing your main subject against an overly bright window or reflective sky.
Respect Distance Limits
Distance is one of the most common reasons instant photos disappoint. Instax cameras are often used casually, which can encourage photographers to move too close to the subject. If your subject is closer than the camera’s intended focus range or recommended close-up setting, the result may look soft or feel awkwardly framed.
The best habit is simple: know whether your camera is being used for a close portrait, a casual snapshot, or a scene farther away, and frame accordingly. Give your subject a little breathing room when you are unsure. Instant cameras reward practical composition more than aggressive close shooting.
For portraits, it is often better to step back slightly rather than crowd the frame. This not only helps focus and exposure but also leaves more room for the print’s distinctive border, which is part of the visual language of Instax.
Use Flash Thoughtfully
Many Instax users think of flash as either always helpful or always harsh. In practice, it depends on distance and surroundings. At a moderate range, built-in flash can add needed brightness and clarity, especially indoors. At very close distances, however, it may produce a flatter look or stronger highlights than you want.
When possible, let the environment help. A brighter room, indirect daylight, or light-colored walls can all improve the overall look of an Instax image. The goal is not to eliminate the instant-camera look, but to avoid forcing the film to solve every exposure challenge on its own.
Heat and Cold: What Temperature Does to Instax Film
Avoid Excessive Heat
Temperature has a direct effect on instant film chemistry. Heat can accelerate or disturb development and can also be hard on both unopened film packs and completed prints. Leaving Instax film in a hot car, on a sunny dashboard, or near a heater is not a good idea. The same goes for finished photos. Prolonged heat exposure may affect color, contrast, and the physical condition of the print over time.
If you are shooting in warm weather, try to keep unused packs in a shaded bag rather than out in direct sun. After exposing the film, let the print develop in a more moderate environment whenever possible.
Be Careful in Cold Conditions
Cold weather can slow development and may affect the look of the image until the print has had time to warm. If you are photographing outdoors in winter or in very cool conditions, keep film packs close to your body or in an insulated bag so they are not sitting in the cold for long stretches.
Likewise, after the photo ejects, avoid leaving it exposed to very cold air longer than necessary. A practical approach is to let the print develop in a pocket or protected bag compartment rather than out in wind or freezing temperatures. The point is not to bend or compress the print, but to shield it from extremes.
Storing Unopened Instax Film Packs
Proper storage begins before the picture is taken. Unopened Instax film packs should be kept in a stable environment away from excessive heat, humidity, and direct sunlight. A cool, dry place is the safest general rule. Avoid storing film where temperatures swing sharply from day to night or season to season.
It is also wise to buy film from a reliable source and avoid stock that has been poorly handled. Instant film is a chemical product, and careful inventory practices matter. That is one reason many photographers prefer buying from established camera retailers rather than unknown sellers.
Once you are ready to load a pack, let it acclimate if it has been kept in a cooler environment. Abrupt changes are rarely helpful for photographic materials.
Storing Finished Instax Prints
Keep Them Dry, Flat, and Out of Direct Sun
Once an Instax print has fully developed, it should still be treated with care. For the best long-term preservation, store prints in a dry location away from direct sunlight, high heat, and excessive humidity. Albums, print boxes, and archival sleeves are all better options than loose storage in kitchens, cars, or damp basements.
Sunlight is especially important to consider. Displaying a favorite instant print can be enjoyable, but a bright windowsill is not an ideal place for preservation. If you want to show off a print, choose a spot with more controlled light.
Handle the Surface Gently
Even after development, instant prints benefit from clean handling. Hold them by the edges when possible, especially if you plan to scan them later. Fingerprints, scratches, and pressure marks can make a small print look much rougher once digitized at high resolution.
If you collect or archive Instax images, consider keeping notes separately rather than pressing hard on the print itself. The charm of instant film is partly its physicality, but physicality also means wear.
How to Scan Instax Prints for Sharing
Start with a Clean Print and Clean Scanner
Scanning is the easiest way to preserve and share an Instax image beyond the original print. Before scanning, make sure the print is clean and free of dust. The scanner glass should also be clean, because small particles become obvious very quickly when working with compact instant prints.
Preserve the Border if It Matters to the Look
Part of the appeal of Instax is the object itself, not just the image area. When scanning, decide whether you want a document-style reproduction of the entire print, border included, or a tighter crop of the photo only. For many photographers, keeping the border is important because it preserves the identity of the format and the feeling of holding the original.
Scan, Then Share Carefully
After scanning, make a high-quality master file first. From there, create smaller versions for social sharing, messaging, or web posting. This helps preserve a cleaner archive while letting you share casually. If you edit the scan, be restrained. Instax has a distinct tonal and color character, and over-processing can remove the very qualities that made the print worth scanning.
In an era where nearly every image lives on a screen, digitizing instant photos is less about replacing the print and more about extending its life. A good scan lets you share the image widely while protecting the original from repeated handling.
A Practical Approach to Getting Prints That Last
The best Instax habits are uncomplicated: shoot in good light, respect distance, avoid temperature extremes, store packs carefully, keep prints out of heat and direct sun, and make thoughtful scans of the images you want to preserve. None of this removes the spontaneity that makes instant photography fun. It simply improves the odds that your favorite frames will look better now and remain enjoyable later.
That balance between immediacy and care is part of the enduring appeal of Instax. The format invites casual use, but it rewards attention. For photographers, families, students, and collectors alike, a little handling discipline can turn a quick snapshot into a print worth keeping.
If you are looking to buy Instax film, explore instant photography gear, or learn more about getting the most from your prints, Unique Photo is a trusted place to shop and to keep building your photographic knowledge.