Introduction: Better Film Exposure Starts With Better Metering
Shooting film manually is one of photography’s great pleasures, but it also leaves less room for exposure mistakes than many photographers expect. Negative film is forgiving, slide film is not, and medium format can make both your successes and your errors more obvious. If your goal is getting reliable exposures frame after frame, the most important piece of gear in this discussion is not a lens or even the camera body—it is a dependable handheld meter.
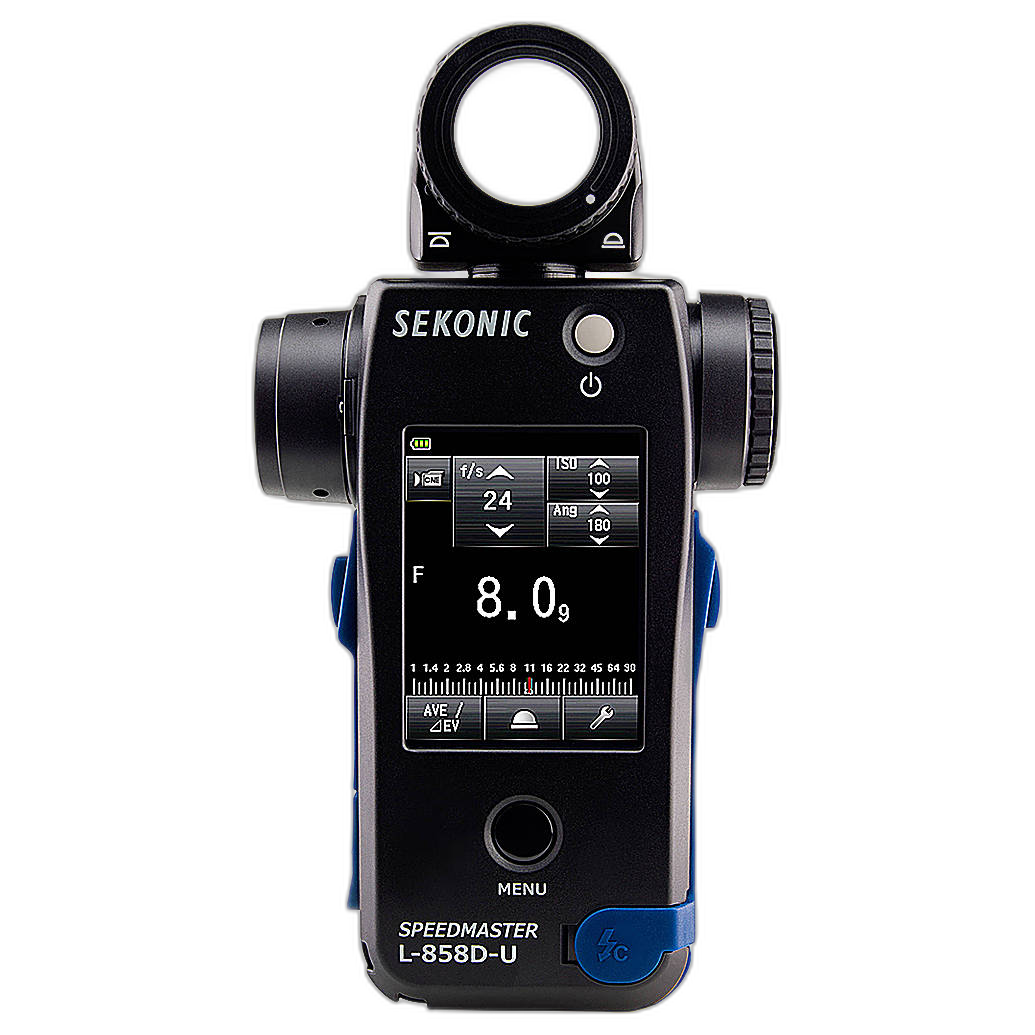
That is why the Sekonic Speedmaster L-858D-U Light Meter stands out as the most compelling product for this topic. For film photographers working fully manually, it offers the kind of consistency, speed, and flexibility that helps remove guesswork from exposure decisions. Whether you are rating color negative film at box speed, giving black-and-white film a bit more exposure, or trying to keep highlights under control on transparency film, a strong meter is the foundation of repeatable results.
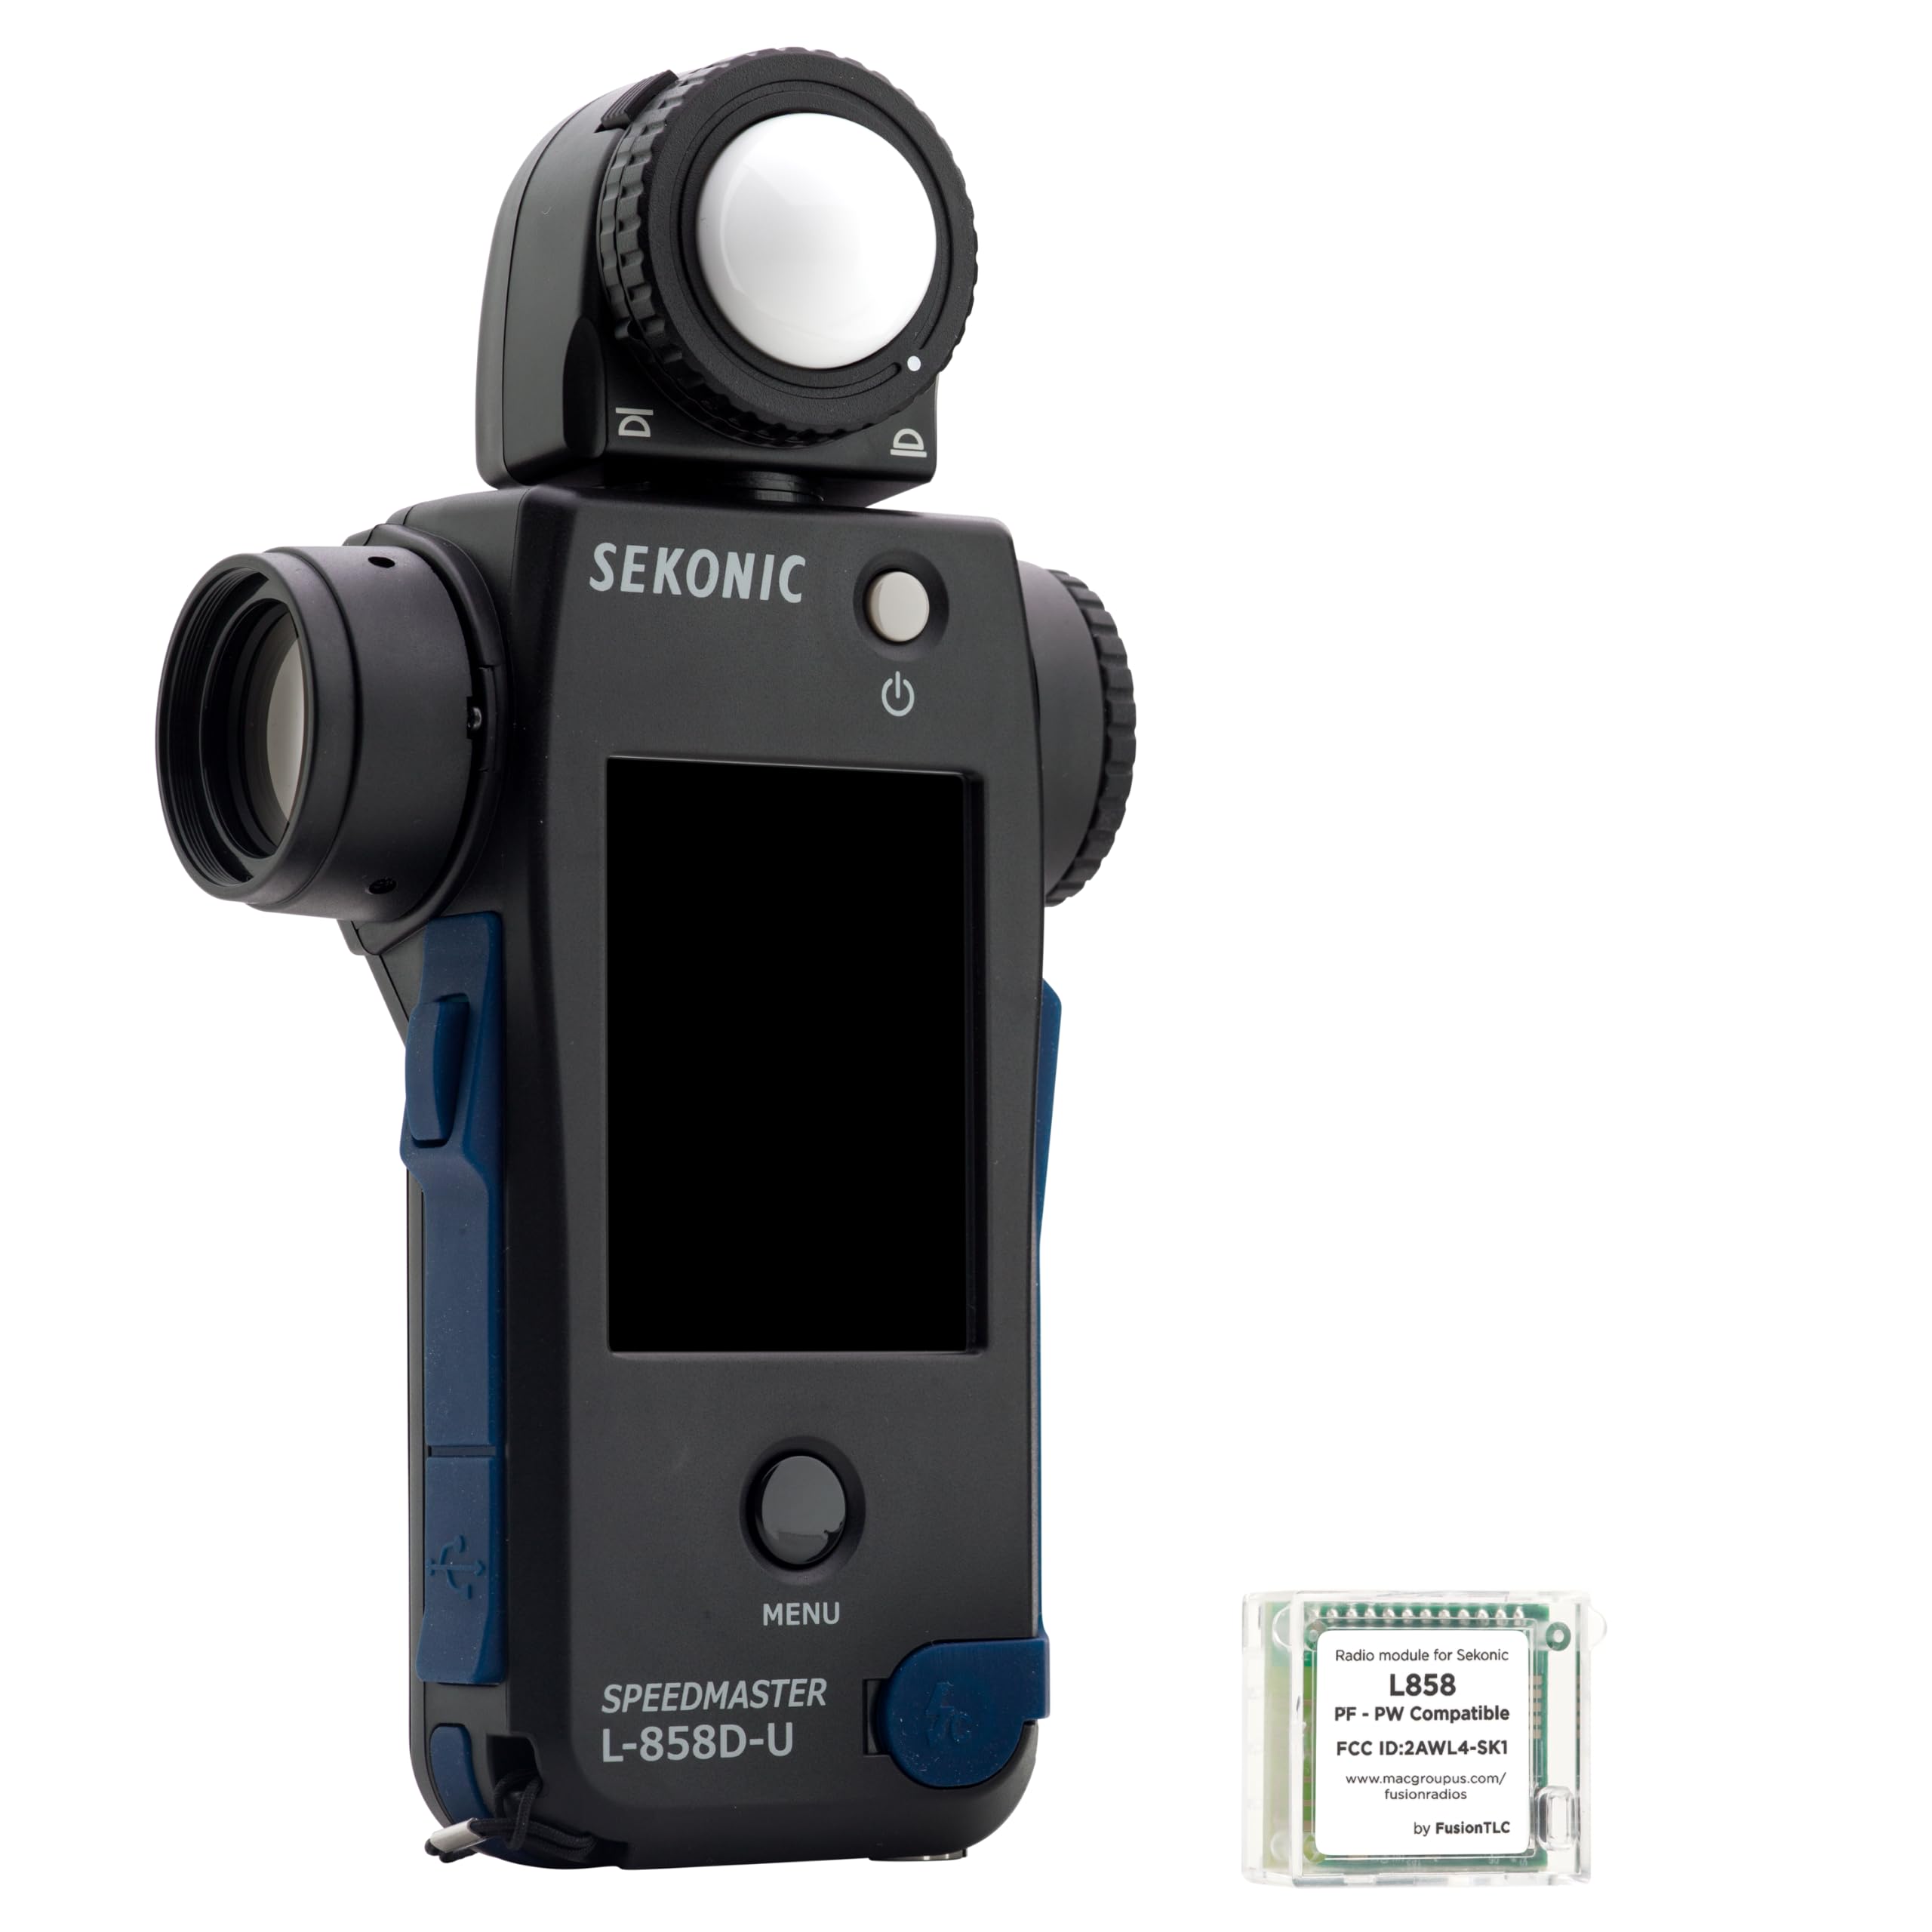
In practical terms, the L-858D-U is positioned as a premium solution for photographers who want more than a casual ambient reading. It is especially relevant for serious film users, portrait shooters mixing ambient and flash, medium format photographers, and anyone who wants to establish a reliable metering workflow instead of relying on sunny-16 estimates or inconsistent in-camera meters on aging film cameras.
Why a Handheld Meter Matters More Than Ever for Film
Many film cameras have built-in meters, but not all of them are equally trustworthy decades later. Batteries may be unavailable or substituted, finders can drift, and older metering patterns may not match the scenes modern photographers regularly shoot. A handheld meter solves several problems at once:
- It gives you an independent reference point.
- It allows true incident metering, which is often more reliable than reflective metering for portraits and controlled scenes.
- It helps standardize exposure across multiple cameras.
- It improves consistency when switching between 35mm and medium format.
- It makes flash exposure for film much more predictable.
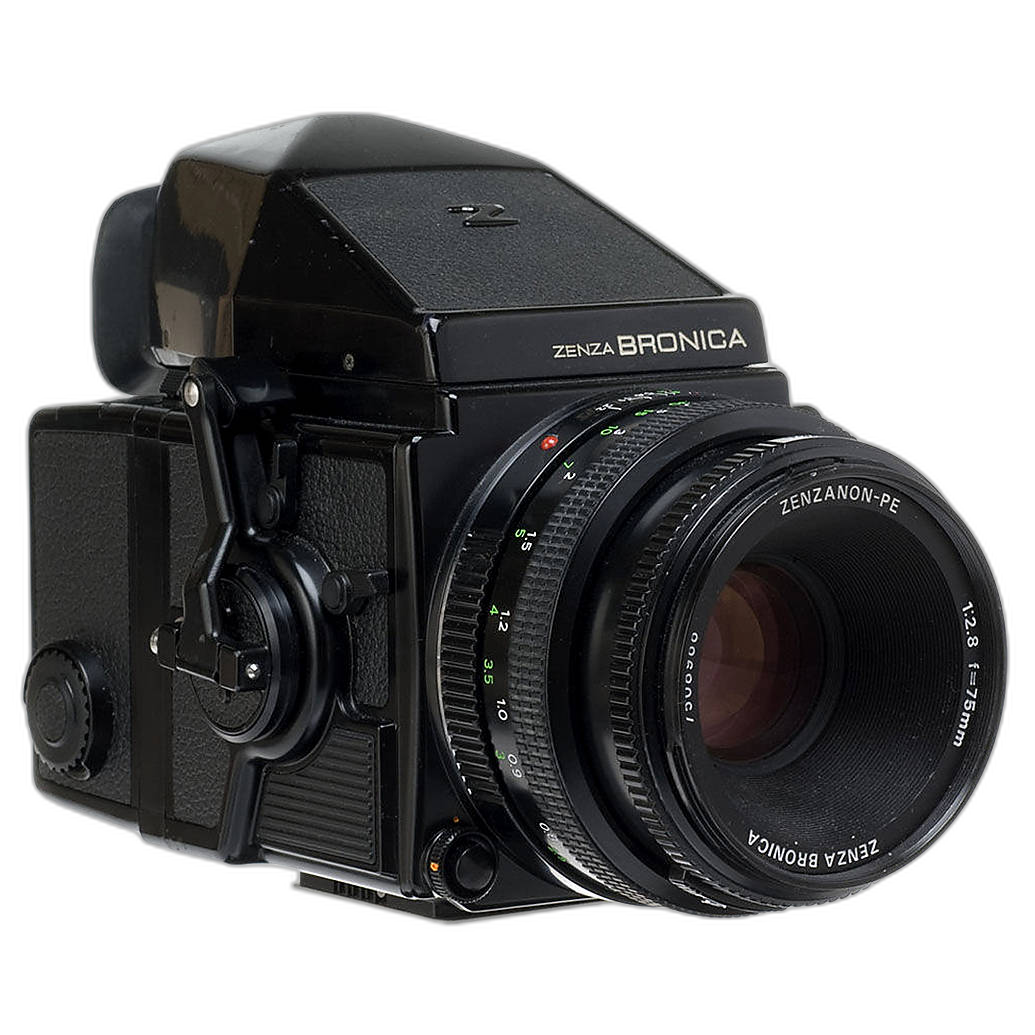
For anyone shooting cameras like a used Bronica ETRSI or a manual rangefinder, that reliability can be the difference between a keeper roll and a disappointing one.
Key Features of the Sekonic Speedmaster L-858D-U
Incident and Reflected Metering for Real-World Flexibility
The biggest practical advantage of a meter like the L-858D-U is that it supports both incident and reflected readings. For film, incident metering is often the easiest path to consistent exposures because it measures the light falling on the subject rather than being fooled by how bright or dark the subject appears. That is especially useful when photographing people in contrasty clothing, backlit scenes, or subjects against snow, sand, or dark backgrounds.
Reflected readings still matter too, particularly when you want to assess tonal placement in a scene. Together, these modes give the film shooter a much more complete understanding of exposure than a simple built-in center-weighted meter.
Excellent for Film and Flash Work
If you shoot film in the studio or mix strobes with daylight, the L-858D-U becomes even more valuable. Film does not provide instant review, so a flash meter is one of the best ways to avoid wasted frames. The Speedmaster helps you establish a repeatable aperture target before you ever release the shutter. That matters for portrait sessions, editorial work, still life, and medium format assignments where every frame costs more.
Advanced Capability Without Losing Practical Usefulness
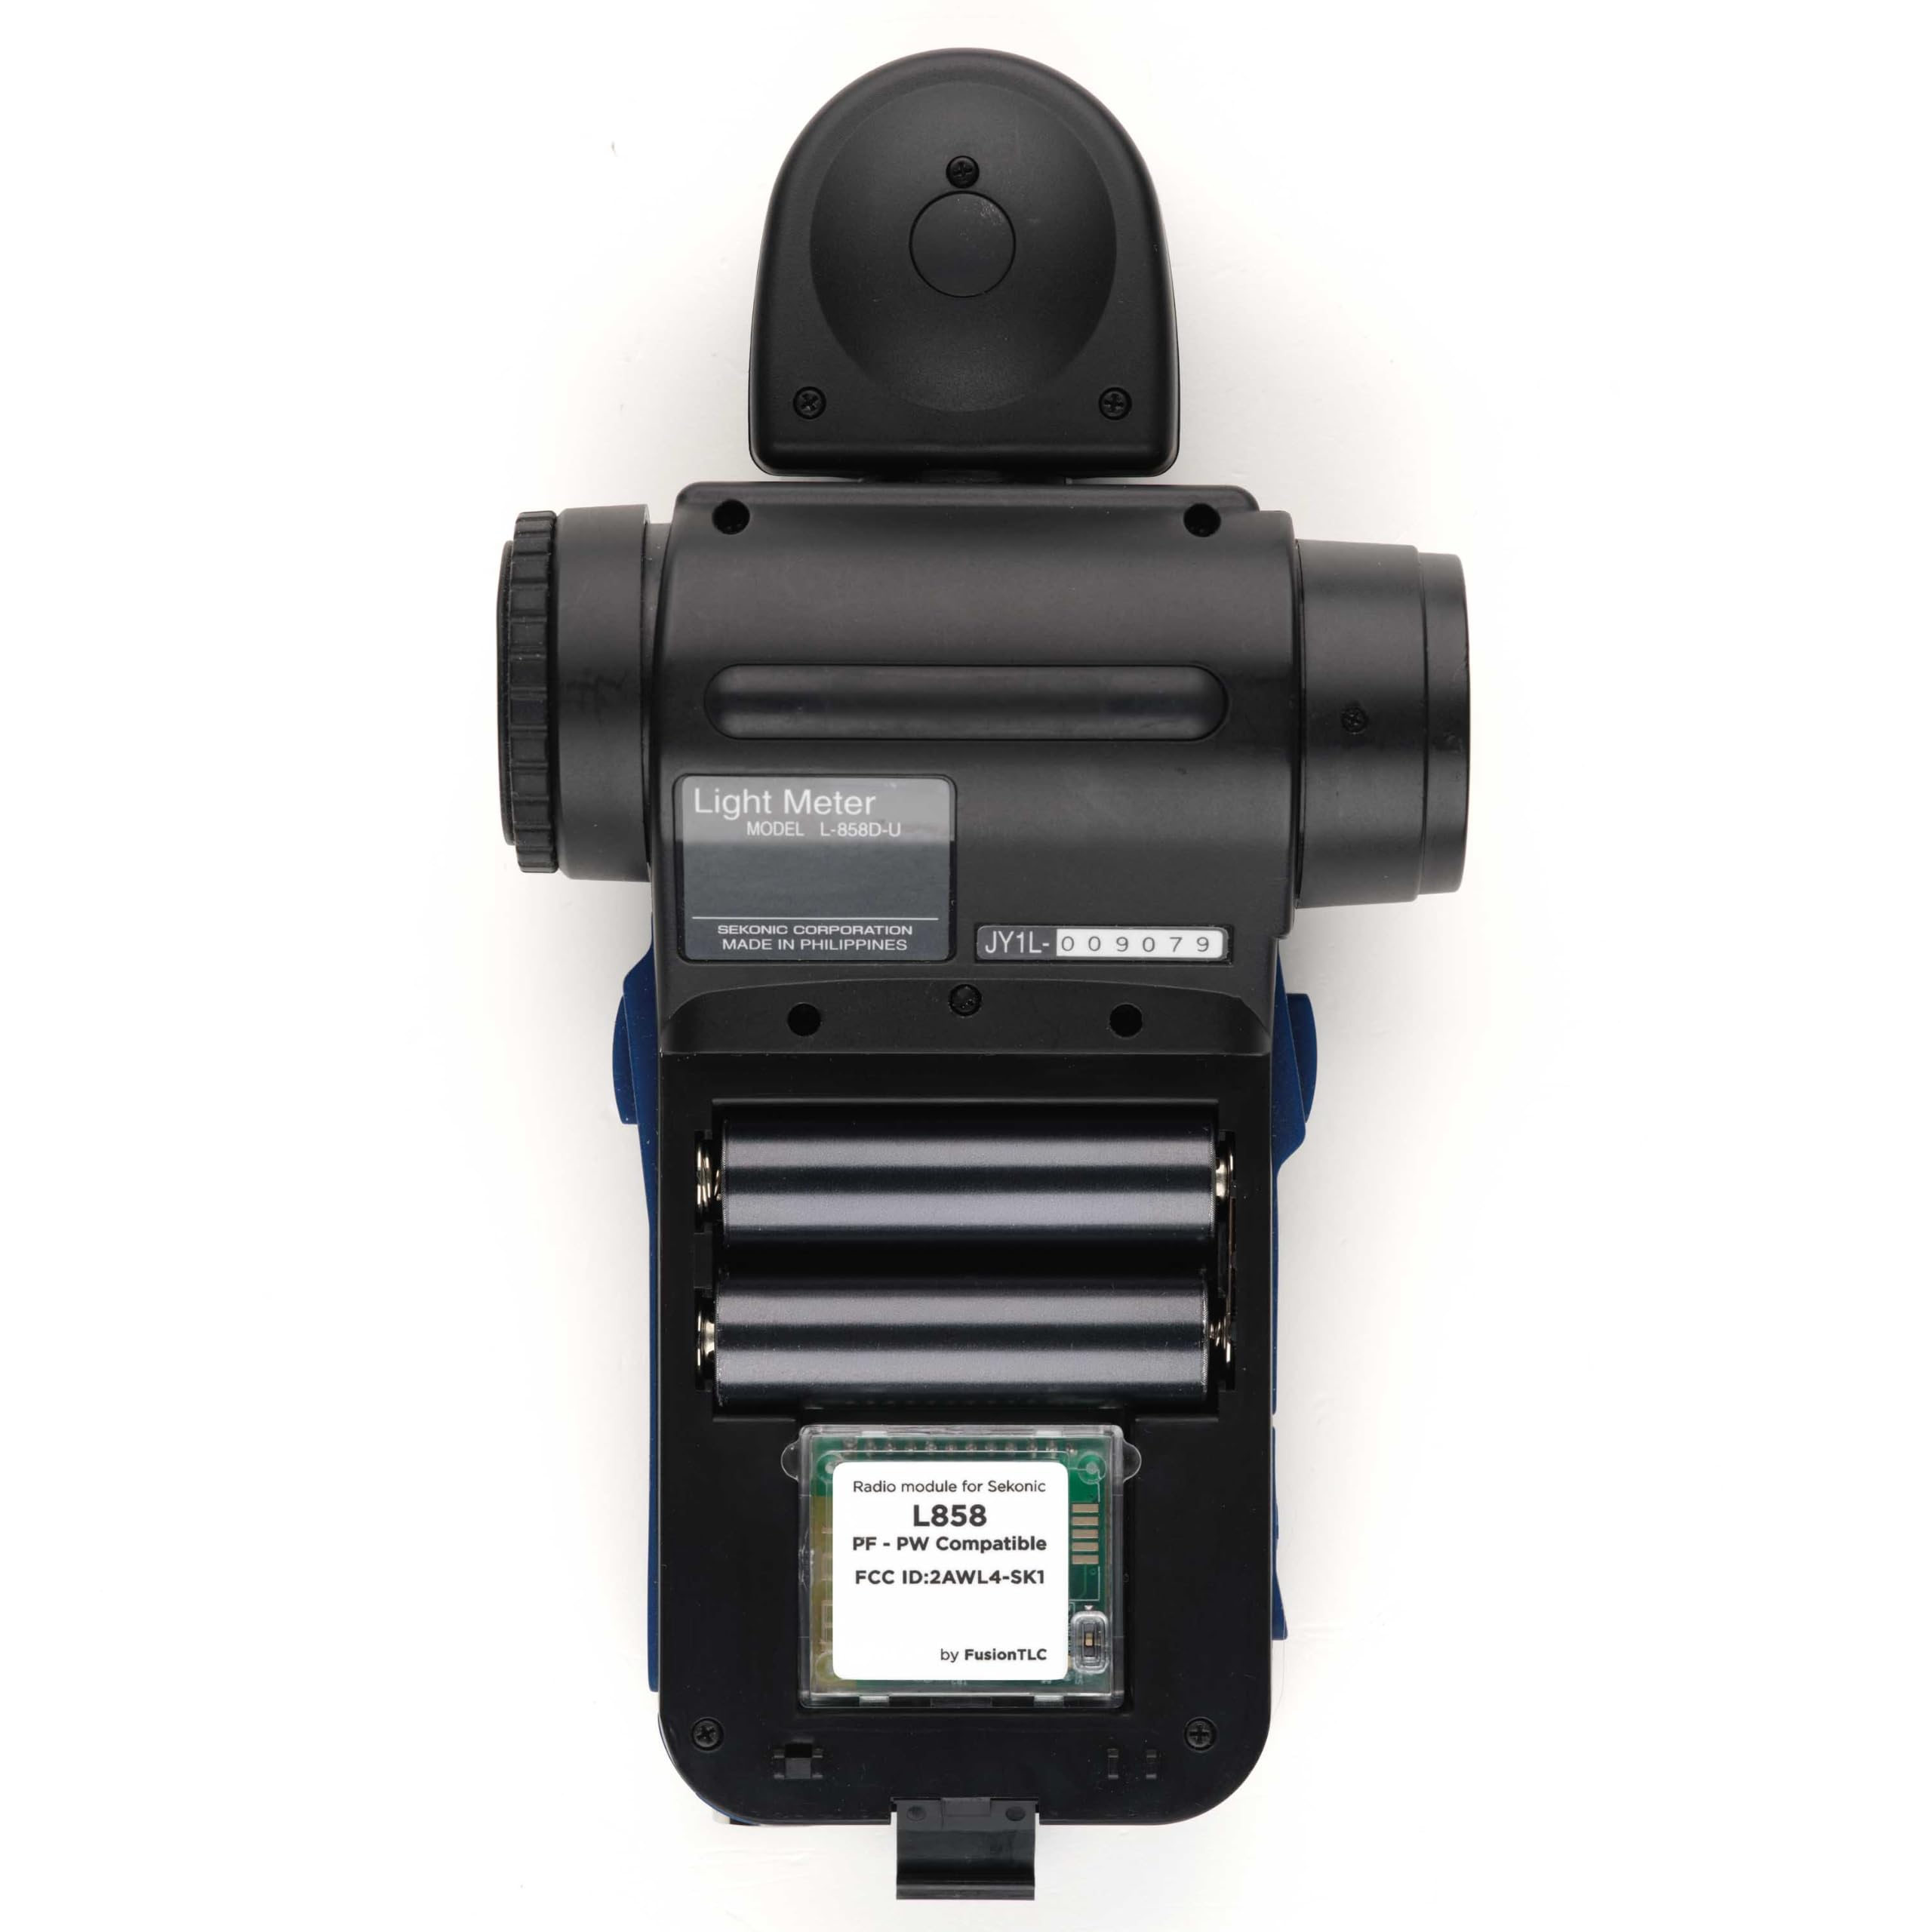
The L-858D-U is feature-rich, but what makes it appealing for film photographers is that those advanced options can serve simple goals: repeatability and confidence. You can use it in a straightforward way for ambient readings, or build a more refined workflow around measuring shadows, highlights, and flash ratios. For photographers who are meticulous about exposure testing, development consistency, and matching meter readings to preferred negative density, that depth is a real advantage.
A Strong Match for Manual-First Photographers
This is not a meter for people who want to think less about exposure. It is for photographers who want to understand exposure better and execute it more consistently. That makes it a natural fit for manual-focus, manual-exposure users and for film shooters who enjoy a deliberate process.
Practical Metering Advice for Reliable Manual Film Exposures
Use Incident Metering Whenever You Can
If the subject is accessible, take an incident reading at the subject position with the lumisphere pointed appropriately for the lighting setup. This method removes the subject’s reflectance from the equation and gives very dependable results, especially for portraits and evenly lit scenes.
Rate Film for Your Workflow, Not Just the Box
Many photographers expose color negative film slightly generously for richer shadow detail, while slide film usually demands stricter precision. A meter like the L-858D-U is helpful because it lets you make intentional choices rather than vague guesses. Once you test a film stock and settle on your preferred EI, you can meter consistently around that standard.
Protect Highlights on Slide Film, Protect Shadows on Negative Film
Reliable exposure is not just about getting a reading; it is about deciding what matters most in the scene. Transparency film has much less latitude, so careful metering of bright areas is essential. Negative film is more forgiving in highlights, so many shooters prioritize shadow placement. A sophisticated handheld meter supports both approaches.
Standardize Across Multiple Cameras
If you use more than one film body, a handheld meter becomes your common reference. That is especially useful if you alternate between 35mm and medium format systems, or between cameras with different finder brightness and meter behavior. One good meter can make your exposures more consistent than trying to trust every body equally.
How It Compares to Other Good Metering Options
Sekonic L-308X-U Flashmate: Best Simpler Alternative
The Sekonic L-308X-U Flashmate is an excellent option for photographers who want a smaller, more affordable meter focused on the essentials. It is compact, practical, and well suited to film shooters who mostly need reliable ambient and flash readings without the deeper feature set of the L-858D-U.
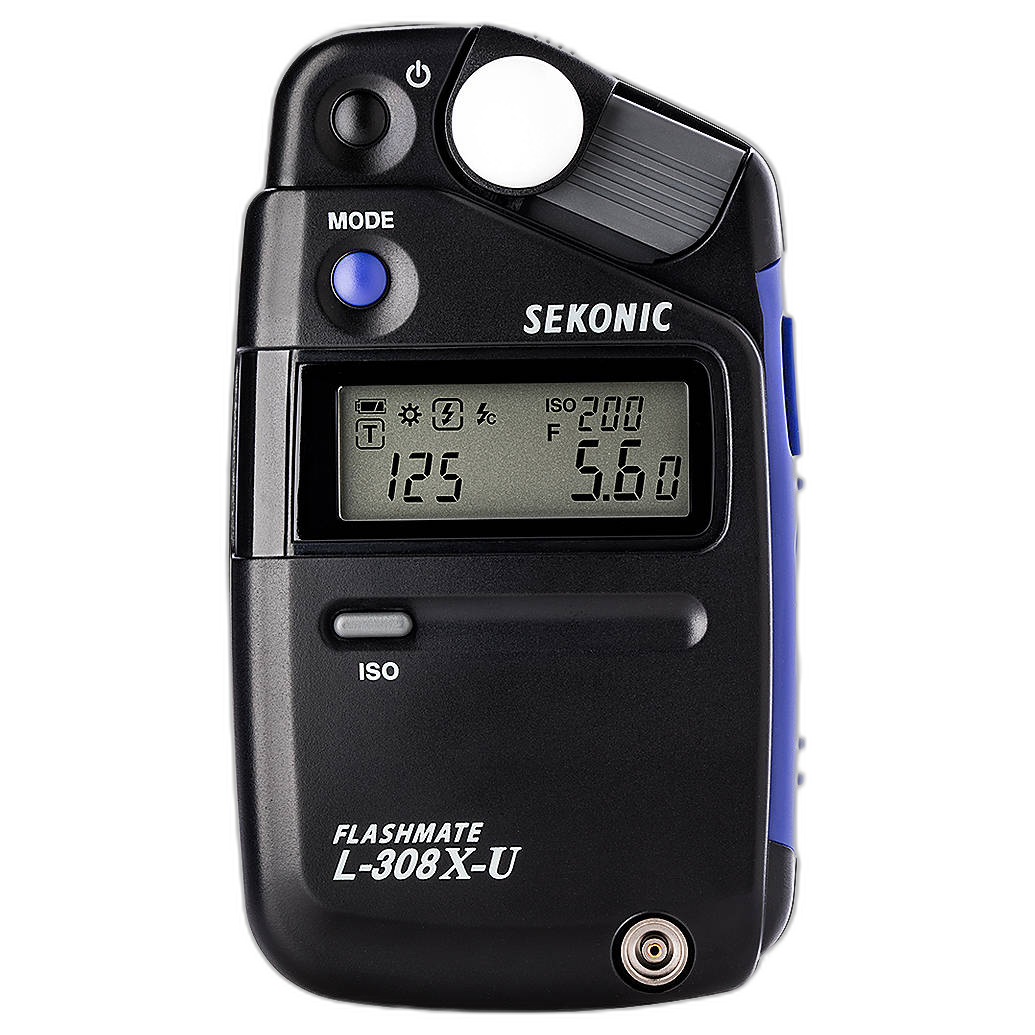
For many film photographers, the L-308X-U may be all they need. But if you want a long-term meter that can support more advanced testing, more specialized work, and a wider range of shooting situations, the Speedmaster still feels like the stronger flagship choice.
Sekonic Litemaster Pro L-478-U-PX: Modern Interface Appeal
The Sekonic Litemaster Pro L-478-U-PX offers another appealing route, particularly for users who appreciate a touchscreen-driven experience. It is a capable meter and a strong alternative in the Sekonic lineup.
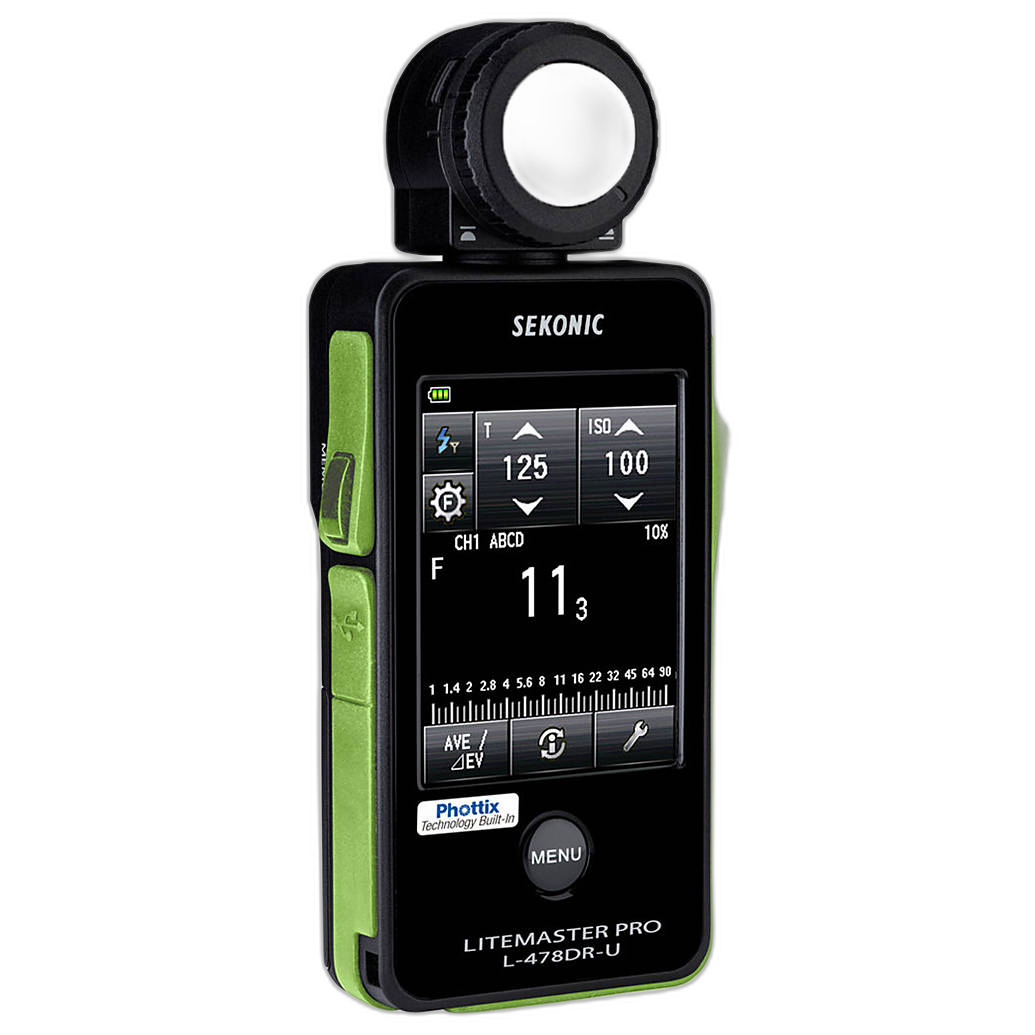
That said, for photographers specifically focused on building a highly reliable manual film workflow, the L-858D-U’s premium positioning and robust capability make it especially compelling.
Used Sekonic L-858D-U: Smart Value for Serious Film Shooters
For budget-conscious buyers who still want flagship-level performance, a used Sekonic L-858D-U Speedmaster can be a very smart purchase. Film photography already involves ongoing costs for film, processing, and scanning, so saving on the meter without sacrificing quality can be a sensible move.
Where Lenses Fit Into the Exposure Conversation
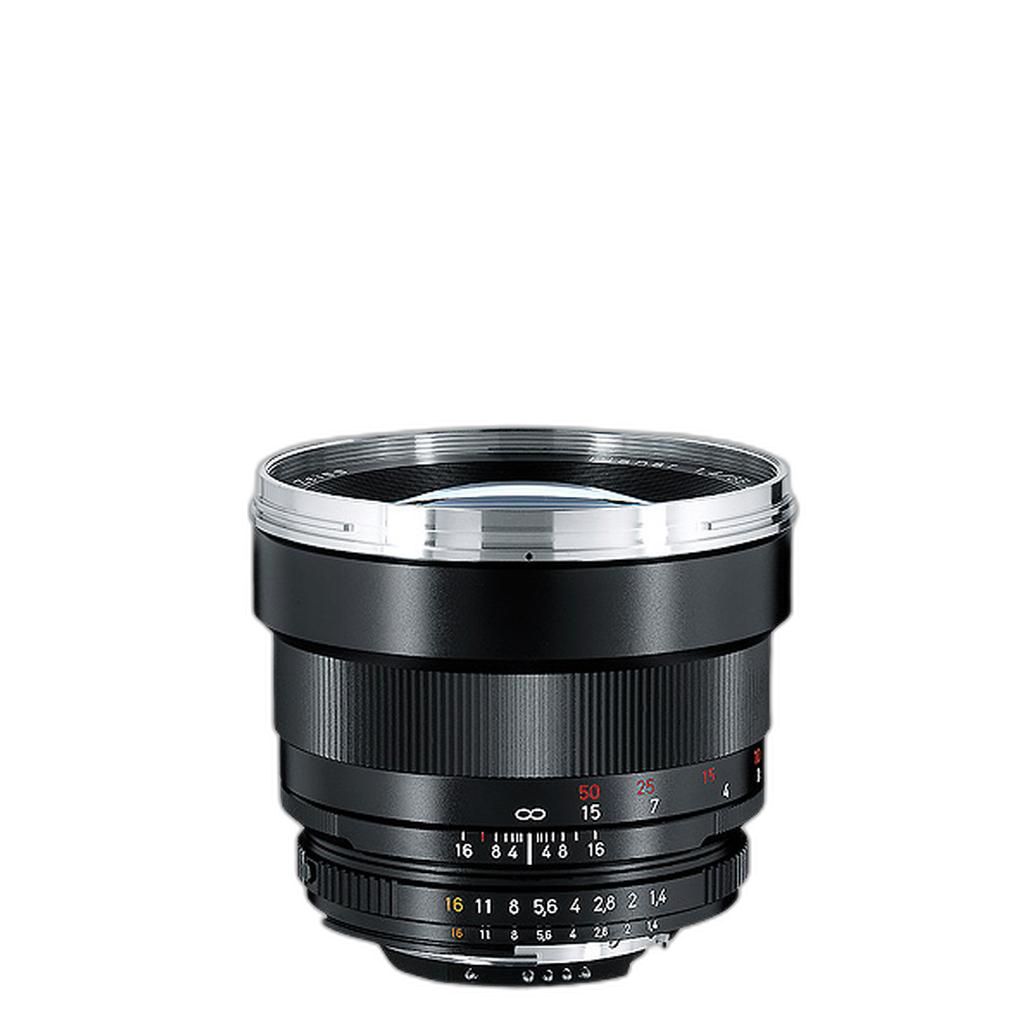
While a meter is the main recommendation here, lenses still matter because manual film exposure and manual focus often go hand in hand. Premium manual-focus optics like the Zeiss 28mm f/1.4 OTUS and Zeiss 85mm f/1.4 Planar T* embody the same deliberate approach: careful composition, precise focus, and intentional control of aperture and shutter speed.
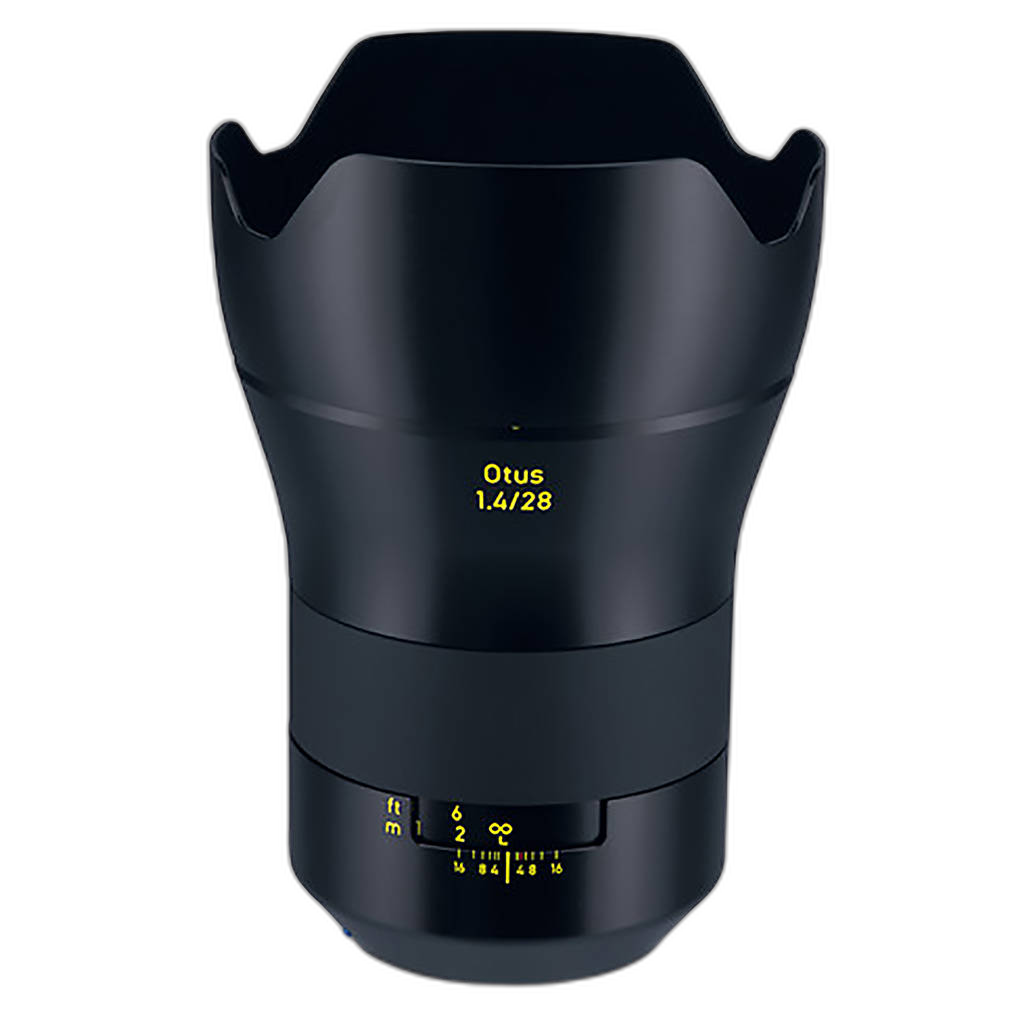
These lenses are not film-camera-native recommendations in the same sense as the meter, but they reinforce the broader philosophy behind manual photography: slow down, measure carefully, and execute precisely. If that is how you like to work, the L-858D-U fits naturally into your kit.
Pros and Cons
Pros
- Excellent choice for consistent manual film exposure
- Incident and reflected metering expand real-world reliability
- Very useful for ambient, studio, and flash-based film workflows
- Helps standardize exposure across multiple film cameras
- Advanced enough for testing and refined exposure practices
- A worthwhile long-term investment for serious photographers
Cons
- Premium pricing may be more than casual film shooters need
- Feature depth can be more than necessary for basic sunny-day shooting
- Larger investment than simpler entry-level handheld meters
Verdict: The Best Gear Upgrade for More Reliable Film Exposures
If your main challenge with manual film photography is getting exposures you can trust, the Sekonic Speedmaster L-858D-U is one of the best upgrades you can make. More than a convenience, it is a workflow tool that helps translate scene brightness into repeatable exposure decisions. For film shooters who care about consistency, especially across different cameras, lighting situations, and film stocks, it is easy to recommend.
The simpler Sekonic options are also strong, and a used unit can be a smart value, but the L-858D-U stands out as the most complete recommendation for this topic. If you are serious about manual film photography and want to reduce uncertainty, improve keeper rates, and meter with confidence, this is the product to build around.
You can find the Sekonic Speedmaster L-858D-U, other Sekonic meters, and a wide range of film-friendly gear at Unique Photo.