Home film developing is one of the most rewarding ways to take greater control over your analog photography. Whether you are processing black-and-white film for the first time or refining an efficient repeatable setup, building a DIY film processing workflow can save time, improve consistency, and make every roll feel more intentional. At Unique Photo, we work with photographers at every stage of the film journey, and a well-planned home developing station is one of the best upgrades you can make.
If you have been searching for how to set up a home film developing workflow, DIY film processing tips, or best home developing setup for beginners, this guide covers the essentials: space, tools, chemistry organization, timing, drying, scanning, and workflow habits that help produce dependable results.
What You Need for a DIY Film Developing Setup
A successful home developing workflow starts with organization, not complexity. You do not need a full darkroom to process film at home, especially for tank developing. Most photographers can begin with a compact setup that fits in a bathroom, laundry room, kitchen workspace, or spare table.
For a basic home film processing station, plan around these categories:
- Light-tight loading solution: changing bag or a completely dark room for loading reels
- Developing equipment: tank, reels, thermometer, graduates, stirring tools, storage bottles, timer
- Chemistry: developer, stop bath or rinse workflow depending on process, fixer, wetting agent
- Cleaning and drying: clips, dust-free drying space, filtered water if needed
- Finishing workflow: sleeves, labeling system, scanner or camera scanning setup
The best setup is one that lets you repeat the same process every time. Consistency matters more than having the largest collection of gear.
Choosing the Best Space for Home Film Developing
One of the most common questions from new film photographers is where to develop film at home. The answer depends on ventilation, water access, temperature stability, and how easy it is to keep your area clean.
Good options include:
- Bathroom: often ideal because it offers running water and can sometimes be adapted for dust-controlled drying
- Laundry room: useful for utility sinks and storage shelves
- Kitchen: practical for mixing chemistry and keeping tools organized, though many photographers prefer a separate photo-only zone
- Closet or spare room: useful for drying negatives if the air is clean and still
Try to separate your workflow into zones. Keep one area for loading film, one for wet processing, and one for drying and archiving. Even in a small apartment, a clear workflow can make home developing feel much more professional.
How to Organize a Film Processing Workflow Step by Step
If you want better negatives, think in terms of process design. A simple film developing workflow at home usually follows this pattern:
- Prepare the workspace and chemistry
- Load film onto reels in darkness
- Develop according to time and temperature
- Stop or rinse as required
- Fix the film
- Wash thoroughly
- Apply wetting agent if desired
- Hang negatives to dry in a dust-controlled area
- Cut, sleeve, label, and archive
- Scan or print
Before opening a film canister, place every tool you need within reach. Pre-measure chemistry, set out timers, and label bottles clearly. A predictable routine reduces mistakes and helps you troubleshoot if a roll does not turn out as expected.

Temperature Control Tips for Developing Film at Home
Temperature control is one of the biggest variables in DIY film processing. Black-and-white developing is often forgiving within a reasonable range, but color film processes are much more demanding. If you are searching for film development temperature tips, the goal is simple: keep chemistry as close to target temperature as possible and avoid sudden swings.
Useful habits include:
- Use an accurate thermometer you trust
- Bring all chemistry to target temperature before starting
- Use a water bath to stabilize bottles if your room temperature fluctuates
- Pre-wet only when appropriate for your chosen process and film type
- Keep your tank in a consistent environment throughout development
For beginners, black-and-white film is often the easiest place to start because you can focus on learning loading, agitation, and washing without the tighter tolerances of color chemistry.
DIY Film Developing Tips for Consistent Results
Many photographers ask how to get consistent negatives when developing film at home. The answer is to standardize every decision you can. Inconsistent agitation, uncertain temperatures, and poorly stored chemistry can all affect your results more than you might expect.
Use these practical home developing tips:
- Mix carefully: always follow chemical instructions exactly
- Label everything: mark bottles with contents, dilution, and mix date
- Use dedicated graduates: avoid cross-contamination between developer and fixer
- Set timers in advance: one timer for development and one backup if needed
- Agitate consistently: choose a method and repeat it every roll
- Keep notes: record film stock, EI, developer, dilution, time, and observations
A notebook or digital spreadsheet can quickly become your best tool. Over time, your own records will be more useful than any generic chart.
How to Store Film Chemistry and Supplies Efficiently
An efficient DIY workflow depends on clean storage. Keep chemistry in tightly sealed bottles, away from direct sunlight, and clearly separated by use. If you process regularly, a small shelf system or labeled storage bin can help protect your chemistry and shorten setup time.
Photographers who eventually branch into darkroom printing may also find it useful to browse darkroom-related supplies at Unique Photo. Products such as Fujifilm DIGITAL PRO 12X354 GLOSSY and Fujifilm Paper Super Type Cn 4x610 NBP Matte reflect the wider ecosystem of film and print workflows, even if your current setup is focused on developing and scanning at home.
If your workflow expands into specialty chemistry or output, keeping replenishment products and consumables organized becomes even more important. For example, professional lab chemistry such as Fujifilm Digital RA PRO Developer/Replenisher Part B serves a different use case than a beginner tank setup, but it illustrates how serious process control and supply management matter at every level.
Creating a Dust-Free Drying Area for Film Negatives
After processing, drying is where many home developers lose quality. Dust, water spots, and handling marks can create extra work during scanning. If you are searching for how to dry film negatives without dust, the ideal approach is to create a simple controlled environment.
Best practices include:
- Hang film in a clean enclosed area
- Use weighted clips to reduce curling
- Run a hot shower briefly in a bathroom beforehand only if it helps settle airborne dust, but avoid excess humidity
- Use a final rinse or wetting agent correctly to reduce drying marks
- Do not touch the emulsion while wet
Once dry, cut negatives into archival strips and sleeve them immediately. Good archiving habits protect your work and make future rescanning easier.
Scanning and Digitizing Your Developed Film at Home
For many photographers, the home developing workflow does not end when the negatives are dry. A modern analog process often includes scanning for editing, sharing, or printing. That makes it important to think about your scanning setup as part of the overall system.
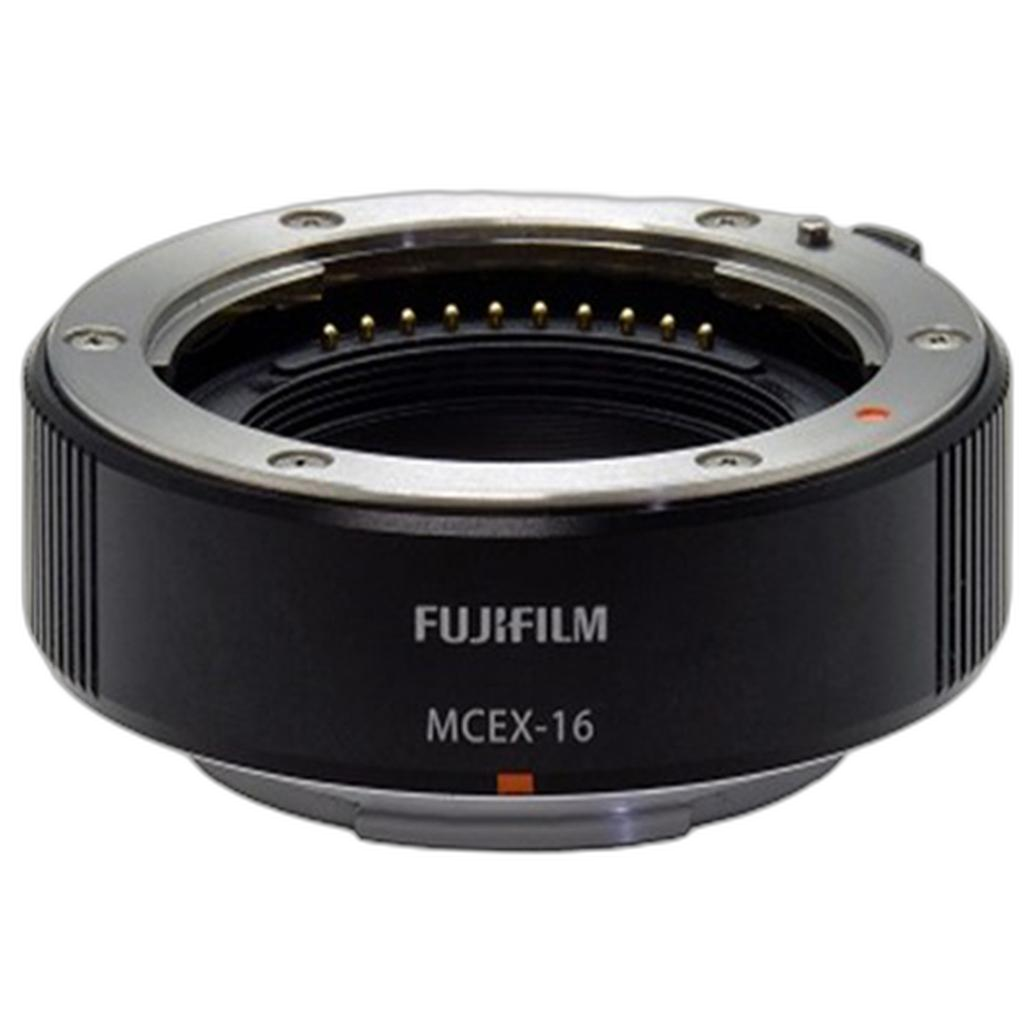
If you use a digital camera scanning method, keeping accessories organized matters. Even small items such as a rear lens cap can help protect gear between sessions, and accessories like the Tamron RMC-FUJI Rear Lens Cap for Fujifilm X Mount can be part of a neat camera scanning kit. Likewise, photographers building close-up digitizing setups may explore tools such as the Fujifilm MCEX-16 16mm Extension Tube for Fujifilm X-Mount for macro-oriented reproduction workflows.
Even though camera scanning is different from wet processing, the same principle applies: create a repeatable setup with controlled light, stable positioning, and consistent file naming. Unique Photo is a great resource when you are ready to expand from basic developing into scanning, printing, and hybrid workflows.
Common Home Film Developing Mistakes to Avoid
When learning DIY film processing at home, a few mistakes show up again and again:
- Loading reels too quickly and causing overlaps
- Using chemistry of unknown age or improper dilution
- Ignoring temperature drift
- Agitating too aggressively or inconsistently
- Under-fixing or insufficient washing
- Drying film in a dusty area
- Failing to label negatives after processing
The good news is that most of these issues are easy to fix with a checklist. Build a pre-flight routine for every roll. Confirm chemistry, temperature, timer, agitation plan, and drying space before you begin.
How to Build a Repeatable Film Workflow You Will Actually Use
The best home developing setup is the one you can maintain consistently. Keep your station simple, easy to clean, and easy to reset. If packing and unpacking your tools every time feels frustrating, use trays or modular bins so you can move your workflow in one trip.
Many analog photographers also enjoy matching the pace of home developing with classic film cameras. For those who appreciate the hands-on experience of medium format film photography, a piece like the Used Voigtlander Perkeo I 6x6 120 Film Camera - Good reflects the tactile appeal that makes home processing so satisfying in the first place.
As your confidence grows, refine one variable at a time. Change developer only after you understand your baseline results. Try new films one by one. Adjust agitation carefully. Good workflow design makes experimentation much easier because you know what changed.
Conclusion: Start Simple and Improve Your Home Developing Workflow Over Time
Setting up a DIY film processing workflow does not require a complicated darkroom. It requires planning, cleanliness, consistency, and a space that supports repeatable results. Start with a manageable process, keep careful notes, and improve each step gradually. Home developing becomes much more enjoyable when every tool has a place and every roll follows the same reliable path from exposed film to finished negative.
Unique Photo is a valuable destination for photographers building out analog and hybrid workflows, whether you are looking for film photography essentials, darkroom supplies, scanning accessories, or inspiration for your next creative project.
For helpful internal linking opportunities, consider guiding readers to related Unique Photo categories and resources such as Unique Photo, film photography gear, darkroom supplies, scanning accessories, used film cameras, and Fujifilm accessories. Those next steps can help readers turn a basic home developing station into a complete end-to-end analog workflow.