Medium Format FAQ: Mamiya vs Pentax vs Hasselblad for Portraits & Landscapes
Choosing a medium format system can feel overwhelming, especially when you are balancing image quality, lens options, portability, and long-term serviceability. At Unique Photo, we usually recommend starting with how you actually shoot: portraits, landscapes, studio work, travel, or a mix of all three.
Below, we break down the most common questions photographers ask when comparing classic medium format systems like Mamiya, Pentax, and Hasselblad, along with a few practical modern alternatives for photographers who want a similar look with less upkeep.
Which medium format system is best for portraits and landscapes?
There is no single winner for every photographer, but each system has clear strengths. Mamiya systems are often favored by portrait shooters who want negative size, modularity, and strong lens options. Cameras in the RB67 and RZ67 family are especially appealing for controlled portrait sessions because they offer interchangeable backs, finders, and lenses, plus a rotating back that makes vertical compositions much easier. If you are building out an RB67 setup, accessories like a prism finder can make eye-level shooting more comfortable for portrait work.
Hasselblad systems are widely appreciated for their compact modular design and excellent Zeiss lens lineup, making them attractive for both portrait and landscape photographers who want strong optics in a more portable package than many larger Mamiya bodies. Pentax medium format options, especially SLR-style bodies, appeal to photographers who prefer more familiar handling and often shoot handheld.
For landscapes, portability and lens availability matter as much as image quality. Hasselblad’s compactness helps on hikes, while Pentax medium format systems can feel intuitive for photographers coming from 35mm SLRs. Mamiya RB and RZ systems deliver superb image quality, but they are at their best when weight is less of a concern. If your work is mostly portraits in studio or on location with support gear, Mamiya is often a very strong choice. If you want a balance of quality and mobility, Hasselblad or Pentax may be a better fit.
How does lens selection compare between Mamiya, Pentax, and Hasselblad?
Lens selection is one of the most important practical considerations because it shapes what you can do with the system long term. Hasselblad has one of the most respected medium format lens ecosystems, especially for photographers who value compact, high-performing primes. Mamiya also offers a broad and capable selection, particularly in systems oriented toward portrait, fashion, and studio photography. Pentax medium format systems may have fewer options depending on the specific body, but many photographers appreciate the available focal lengths and the more SLR-like shooting experience.
For portrait photographers, look closely at short telephoto options. These focal lengths are often where medium format systems really shine, producing flattering perspective and smooth tonal transitions. In the Mamiya world, portrait-oriented lenses and accessories remain a major reason photographers continue to invest in the system. For example, used accessories like the Mamiya RB67 Prism Finder can make a modular body more comfortable to use in day-to-day shooting, while a lens such as the Used Mamiya 135mm f/4.5 Blue Dot TLR Lens points to the kind of portrait-friendly focal lengths many medium format shooters seek out in used gear ecosystems.
Ultimately, the best lens lineup is the one that supports your subjects. Portrait shooters usually benefit from systems with strong normal and short telephoto options, while landscape photographers should prioritize availability of wide and moderate wide lenses, plus how easy the system is to carry into the field.
Which system is the most reliable and easiest to maintain?
Reliability in classic medium format depends on two things: how the camera was cared for and how complex the design is. Simpler mechanical systems can be easier to keep running, while electronically dependent bodies may offer more convenience but can be harder to repair if parts become scarce. Hasselblad’s reputation for robust construction is well earned, and many photographers trust them for long-term ownership. Mamiya RB systems are also known for durability, though their size and mechanical complexity mean condition matters a great deal. Pentax medium format bodies can be excellent performers, but as with any older film camera, repair access should be part of the buying decision.
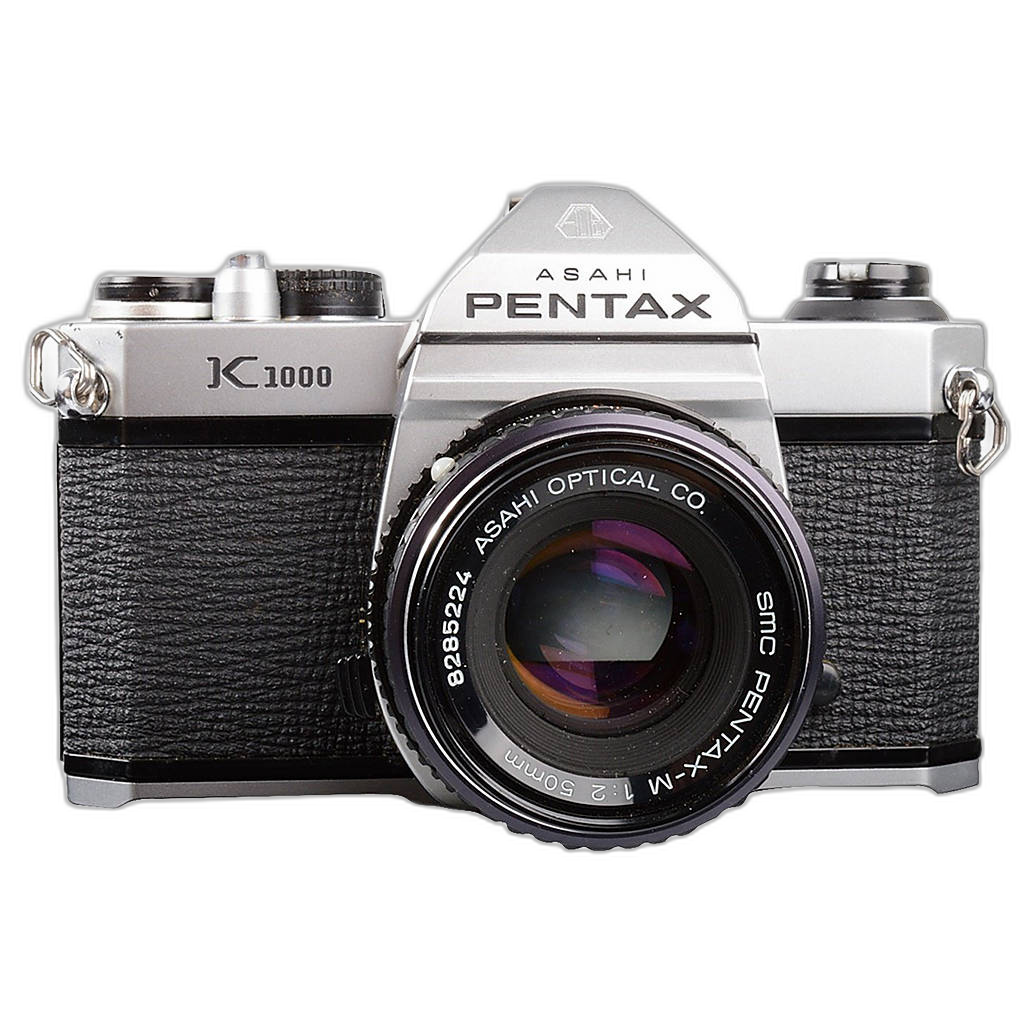
When shopping used, condition is often more important than brand loyalty. A well-maintained camera with a clean lens, accurate shutter operation, and smooth film advance is usually the smarter purchase than a more prestigious system in questionable shape. This is one reason many photographers start with trusted used gear sources. Even outside medium format, dependable used film cameras such as the Used Pentax K1000 w/55mm f/1.8 remain popular because they demonstrate how valuable straightforward, serviceable camera design can be for film shooters.
How do size and portability compare?
Portability is one of the biggest dividing lines between these systems. Mamiya RB and similar modular cameras are famously large and heavy. That is not necessarily a drawback if you primarily work in studio, use a tripod, or want a deliberate pace. In fact, some portrait photographers prefer that slower workflow because it encourages careful composition and stronger interaction with the subject.
Hasselblad systems are generally easier to carry and therefore more attractive for travel and landscape work. Pentax medium format SLRs often split the difference, offering familiar ergonomics with more manageable field handling than larger modular systems. If you regularly hike, shoot on city walks, or travel by air with minimal baggage, weight and packability should be taken very seriously before you commit.
A good rule of thumb is simple: if your ideal shooting day involves long walks and changing light, prioritize the lighter system. If your ideal shooting day involves a tripod, a few lenses, and highly intentional frames, a larger Mamiya body may be worth the extra bulk.
Is autofocus worth having on medium format?
For most traditional film medium format shooters, manual focus is still more than sufficient. Medium format is often used for slower, more intentional photography, where composition, timing, and precise focus placement matter more than speed. Portrait, still life, architecture, and landscape photographers often work very effectively with manual focus, especially when using waist-level finders, magnifiers, or tripod-based techniques.
Autofocus becomes more valuable if you are shooting moving subjects, working quickly on location, or coming from a modern digital workflow where speed matters. In those cases, some photographers discover that what they really want is not necessarily vintage medium format itself, but rather a more deliberate image aesthetic with modern responsiveness. That is where a high-end mirrorless camera can make sense as a practical alternative.
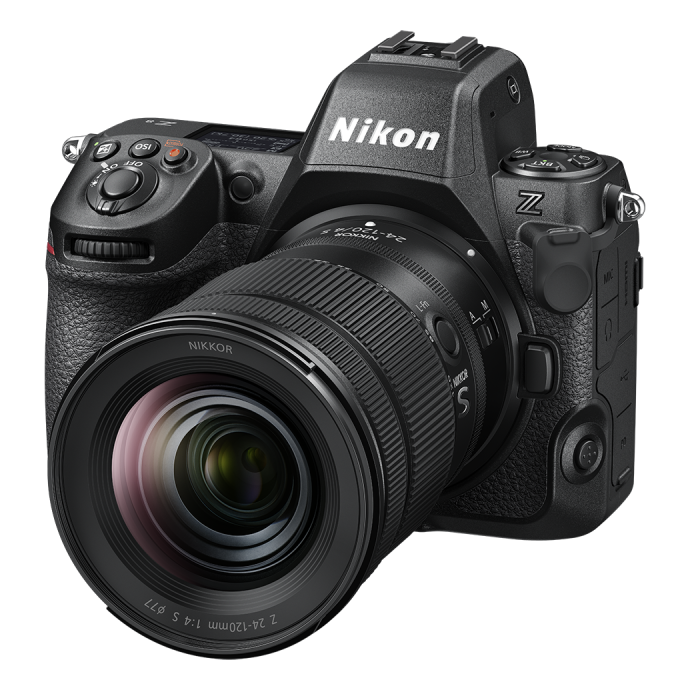
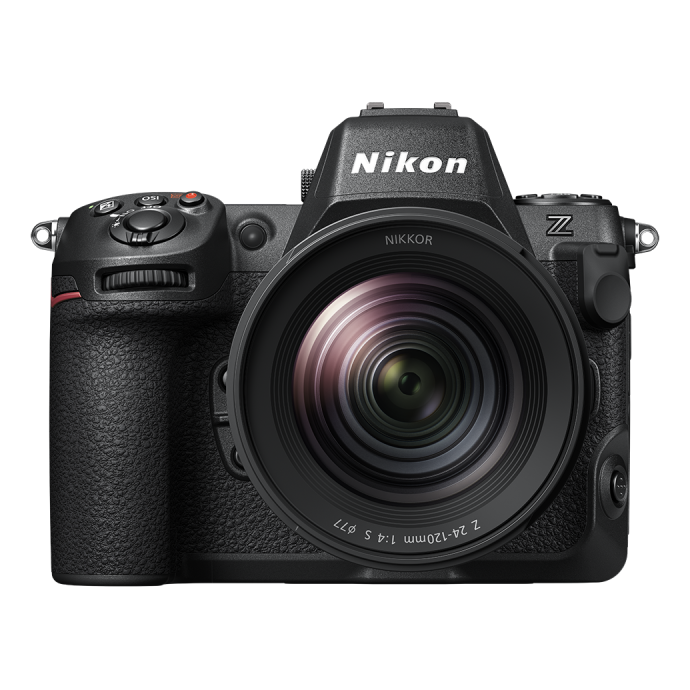
The Nikon Z8 with NIKKOR Z 24-120mm f/4 S Lens is an excellent example. It delivers fast autofocus, outstanding dynamic range, and enough resolution and tonal depth to satisfy many photographers who were considering medium format primarily for portraits and landscapes. It is not film medium format, of course, but for many users it offers a much easier path to professional results with lower operating costs.
How do film, repair, and ownership costs compare?
Medium format ownership costs can add up quickly, and this is where first-time buyers should be realistic. Larger negatives mean fewer exposures per roll, so your cost per frame is higher than with 35mm. Processing and scanning can also cost more, especially if you want high-quality drum or lab scans for landscape or portrait work. Repairs on medium format systems are often more specialized as well, particularly for modular bodies, leaf shutters, or cameras with aging electronic components.
Mamiya RB systems can be a relatively accessible way into medium format image quality, but weight and maintenance should be factored in. Hasselblad systems often command a premium, both for bodies and lenses, though resale value can be strong. Pentax options may present good value depending on the exact model and lens availability. In every case, budget beyond the body price. Include film, processing, servicing, straps, backs, and a tripod if needed.
If cost control is your top priority, it may be smart to begin with a simpler film system before stepping into medium format. A reliable 35mm body can help you refine your film workflow and metering habits without the same cost per shot. That is one reason used classics such as the Pentax K1000 remain appealing to film newcomers and budget-conscious shooters.
What is the best entry point for a first-time medium format shooter?
The best entry point depends on how patient you are with learning curves and how much gear you want to carry. If you want the classic studio-style medium format experience and do not mind size, Mamiya RB67 is often a compelling place to start. If you want a refined modular system with strong lens prestige and better portability, Hasselblad is a natural contender. If you want a familiar SLR feel, Pentax medium format can be very inviting.
That said, first-time buyers often underestimate how much the shooting experience matters. Medium format rewards photographers who enjoy slowing down, metering carefully, and making each frame count. If that sounds exciting, a traditional film system can be a great fit. If that sounds frustrating, a modern digital body may actually serve you better while still producing gallery-worthy portrait and landscape images.
Are there modern alternatives if I want the look without the hassle?
Yes. Many photographers exploring medium format are really chasing a combination of shallow depth of field, strong tonal transitions, high detail, and a slower visual style. You can achieve much of that character with modern full-frame digital gear, especially when paired with high-quality lenses and careful post-processing.
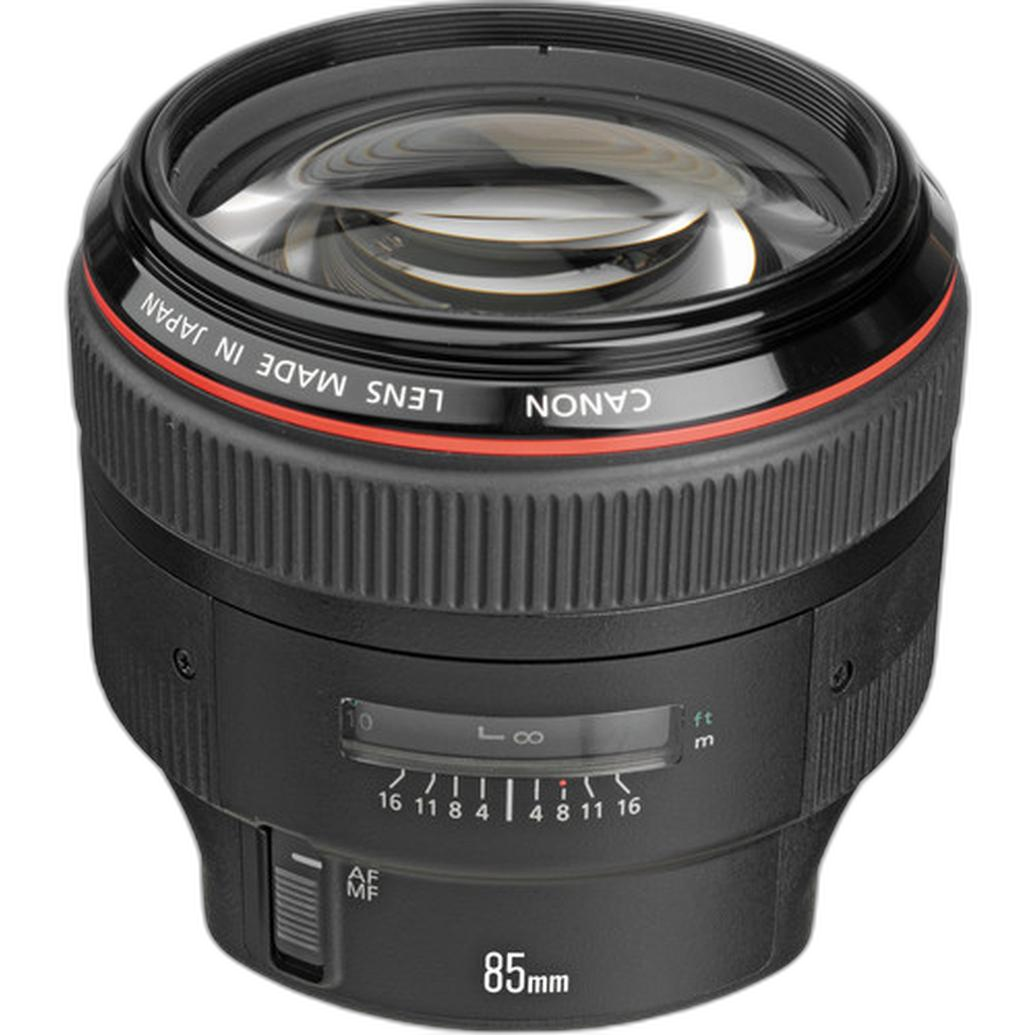
The Nikon Z8 is a strong all-around option for portrait and landscape work because it combines resolution, speed, dynamic range, and portability in one system. Portrait photographers in the Canon ecosystem may also look at lenses that emphasize subject separation and rendering. A lens like the Canon EF 85mm f/1.2L II USM is well known for creating dramatic portrait depth and beautiful background blur, offering a different but compelling path for photographers who want an immersive image aesthetic without moving into film medium format ownership.
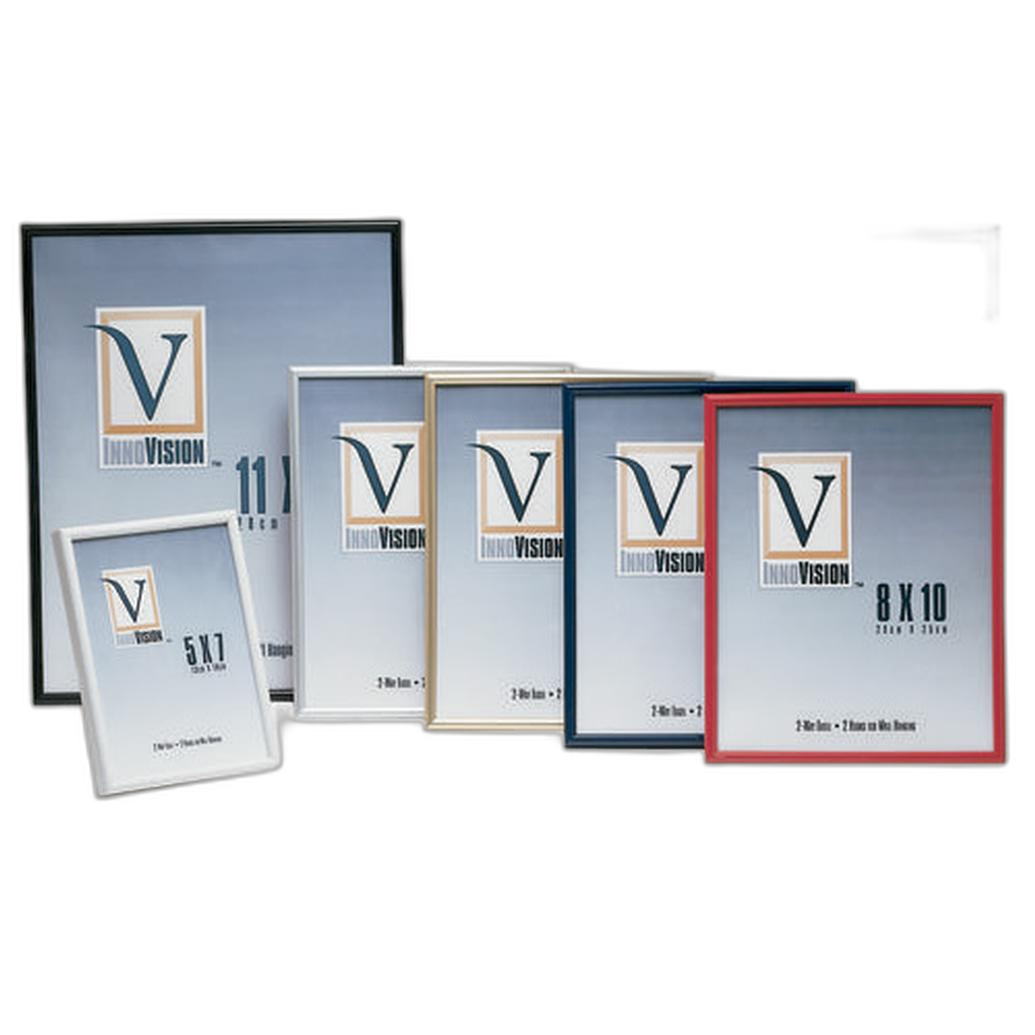
And once you create work you are proud of, presentation matters. Landscape and portrait images deserve to be displayed well, and format-specific framing options can help you showcase finished prints cleanly. Products like the Innovision 12X18 Black Format Frame, Innovision 8X12 Black Format Frame, and Innovision 24X36 Black Format Frame are practical finishing touches for photographers ready to bring their images off the contact sheet or screen and onto the wall.
Which system should I choose if I shoot mostly portraits?
If portraits are your main focus, Mamiya deserves serious attention thanks to its reputation in studio and environmental portrait work. The modular design, lens options, and rotating back workflow can make life easier during portrait sessions. Hasselblad is also excellent if you want a smaller kit with premium optics and classic square-format flexibility. Pentax can be a smart choice if you plan to shoot handheld more often and want a more familiar SLR shooting experience.
For many portrait photographers, the decision comes down to how they work. Controlled, tripod-based, slower portrait sessions often pair beautifully with Mamiya. More mobile portrait sessions can favor Hasselblad or Pentax. If you need fast autofocus, low-light flexibility, and high shooting volume, a modern digital solution may be the better business tool.
Which system should I choose if I shoot mostly landscapes?
Landscape photographers should think hard about weight, lens coverage, and dependability in the field. Hasselblad often stands out here because it combines very high optical quality with better portability than many larger medium format systems. Pentax can also be attractive for field use, especially if you prefer eye-level composition and SLR handling. Mamiya can absolutely deliver stunning landscape results, but its larger systems are often best when you do not mind carrying substantial gear or when your work is tripod-based near the vehicle or studio.
No matter which route you choose, your support system matters as much as the camera. A stable tripod, accurate metering, good film handling habits, and thoughtful final presentation all make a bigger difference than many first-time buyers expect.
Still deciding between Mamiya, Pentax, and Hasselblad? Unique Photo can help you compare used film gear, modern digital alternatives, portrait lenses, and display solutions so you can choose the system that truly fits the way you shoot. Explore our selection online or connect with our team for expert guidance on your next camera setup.