Color film developing at home is easier, cheaper, and more consistent than many newcomers expect. In this guide, you’ll find a clear C‑41 step‑by‑step, budget gear ideas, community‑tested troubleshooting tips, and smart ways to stretch your dollars—brought to you by Unique Photo.
Affordable home color film developing kit checklist
Start small and upgrade only where it counts. A basic, budget‑friendly setup for C‑41 color negative film typically includes:
- C‑41 chemistry kit (powder or liquid concentrates; 1L is a great starter size)
- Developing tank with reels (Paterson/AP‑style plastic reels are beginner‑friendly)
- Accurate thermometer (reads to 0.5°F / 0.3°C), timer, and measuring cylinders
- Water bath container for temperature control (insulated tub or large mixing bowl)
- Heat source for the bath (hot tap water; a simple sous‑vide circulator if budget allows)
- Nitrile gloves, eyewear, apron; a well‑ventilated workspace
- Storage bottles (amber/brown preferred) and a funnel; optional collapsible bottles to reduce air
- Wetting agent and film clips for drying
- Clean, dust‑reduced drying area (bathroom works well)
Tip: Unique Photo stocks beginner‑friendly C‑41 kits, tanks, and accessories—plus classes if you want hands‑on help.
Step‑by‑step: How to develop C‑41 color film at home
Always follow your specific kit’s instructions first. The outline below reflects common, beginner‑friendly times and temps for many 1L C‑41 kits.
- Mix chemistry. Prepare developer and blix (or separate bleach + fix) per instructions. Label bottles clearly.
- Set up a 102°F / 39°C water bath. Fill an insulated tub with hot water and place your bottles in it. Let chemistry equilibrate for 10–15 minutes. Pre‑warm the empty tank in the bath, too.
- Load film onto reels in complete darkness. Practice with a scrap roll first.
- Developer: ~3:15 at 102°F. Agitate as your kit specifies (often 10–15 seconds every 30 seconds). Maintain temperature by returning tank to the bath between inversions.
- Blix: ~6:30 at 102°F. Gentle, regular agitation. If you have separate bleach and fix, run each for the recommended time.
- Wash/Rinse. 3–5 minutes in running water or via a fill‑invert‑dump cycle until clear.
- Stabilizer: 1 minute. No agitation foam; avoid tap water added at this stage. Do not rinse after stabilizer.
- Dry dust‑free. Use film clips; avoid squeegees. A drop of wetting agent in the final bath minimizes spots.
Expect your first roll to be a learning experience—take notes and adjust agitation and temperature control as needed. Unique Photo’s community regularly swaps settings that work for different kits and tanks; check our classes and events to compare notes.
Budget temperature control that actually works
- Insulated bath + hot tap water: Pre‑heat everything. Top up hot water between steps to keep 102°F/39°C.
- Kettle trick: Keep a small kettle nearby to add a cup of hot water to the bath if temps drift.
- Sous‑vide circulator: A popular upgrade when budget allows. Rock‑solid temps reduce color shifts and uneven development.
- Pre‑warm the tank: Fill the tank with 102°F water for a minute before pouring in chemistry.
Affordable starter choices and where to spend vs. save
- Chemistry: 1L C‑41 kits are the best value for beginners. Store in full, airtight bottles to extend life; expect 8–12 rolls per liter, depending on dilution and storage.
- Tank & reels: A single‑roll tank keeps the process simple, then scale up later.
- Thermometer: Accuracy matters more than price—verify against ice‑water and boiling‑water baselines.
- Optional upgrades: Sous‑vide heater; collapsible bottles; digital timer with big buttons.
Unique Photo can help you bundle essentials so you don’t overbuy—and we’re happy to recommend a starter kit that fits your budget.
Shooting smarter to save money when you develop at home
Consistent negatives are easier and cheaper to process and scan.
- Expose for the shadows: Color negative film loves light; slight overexposure (by +1 EV) is safer than underexposure.
- Minimize mixed lighting: Consistent light temperatures reduce color correction later.
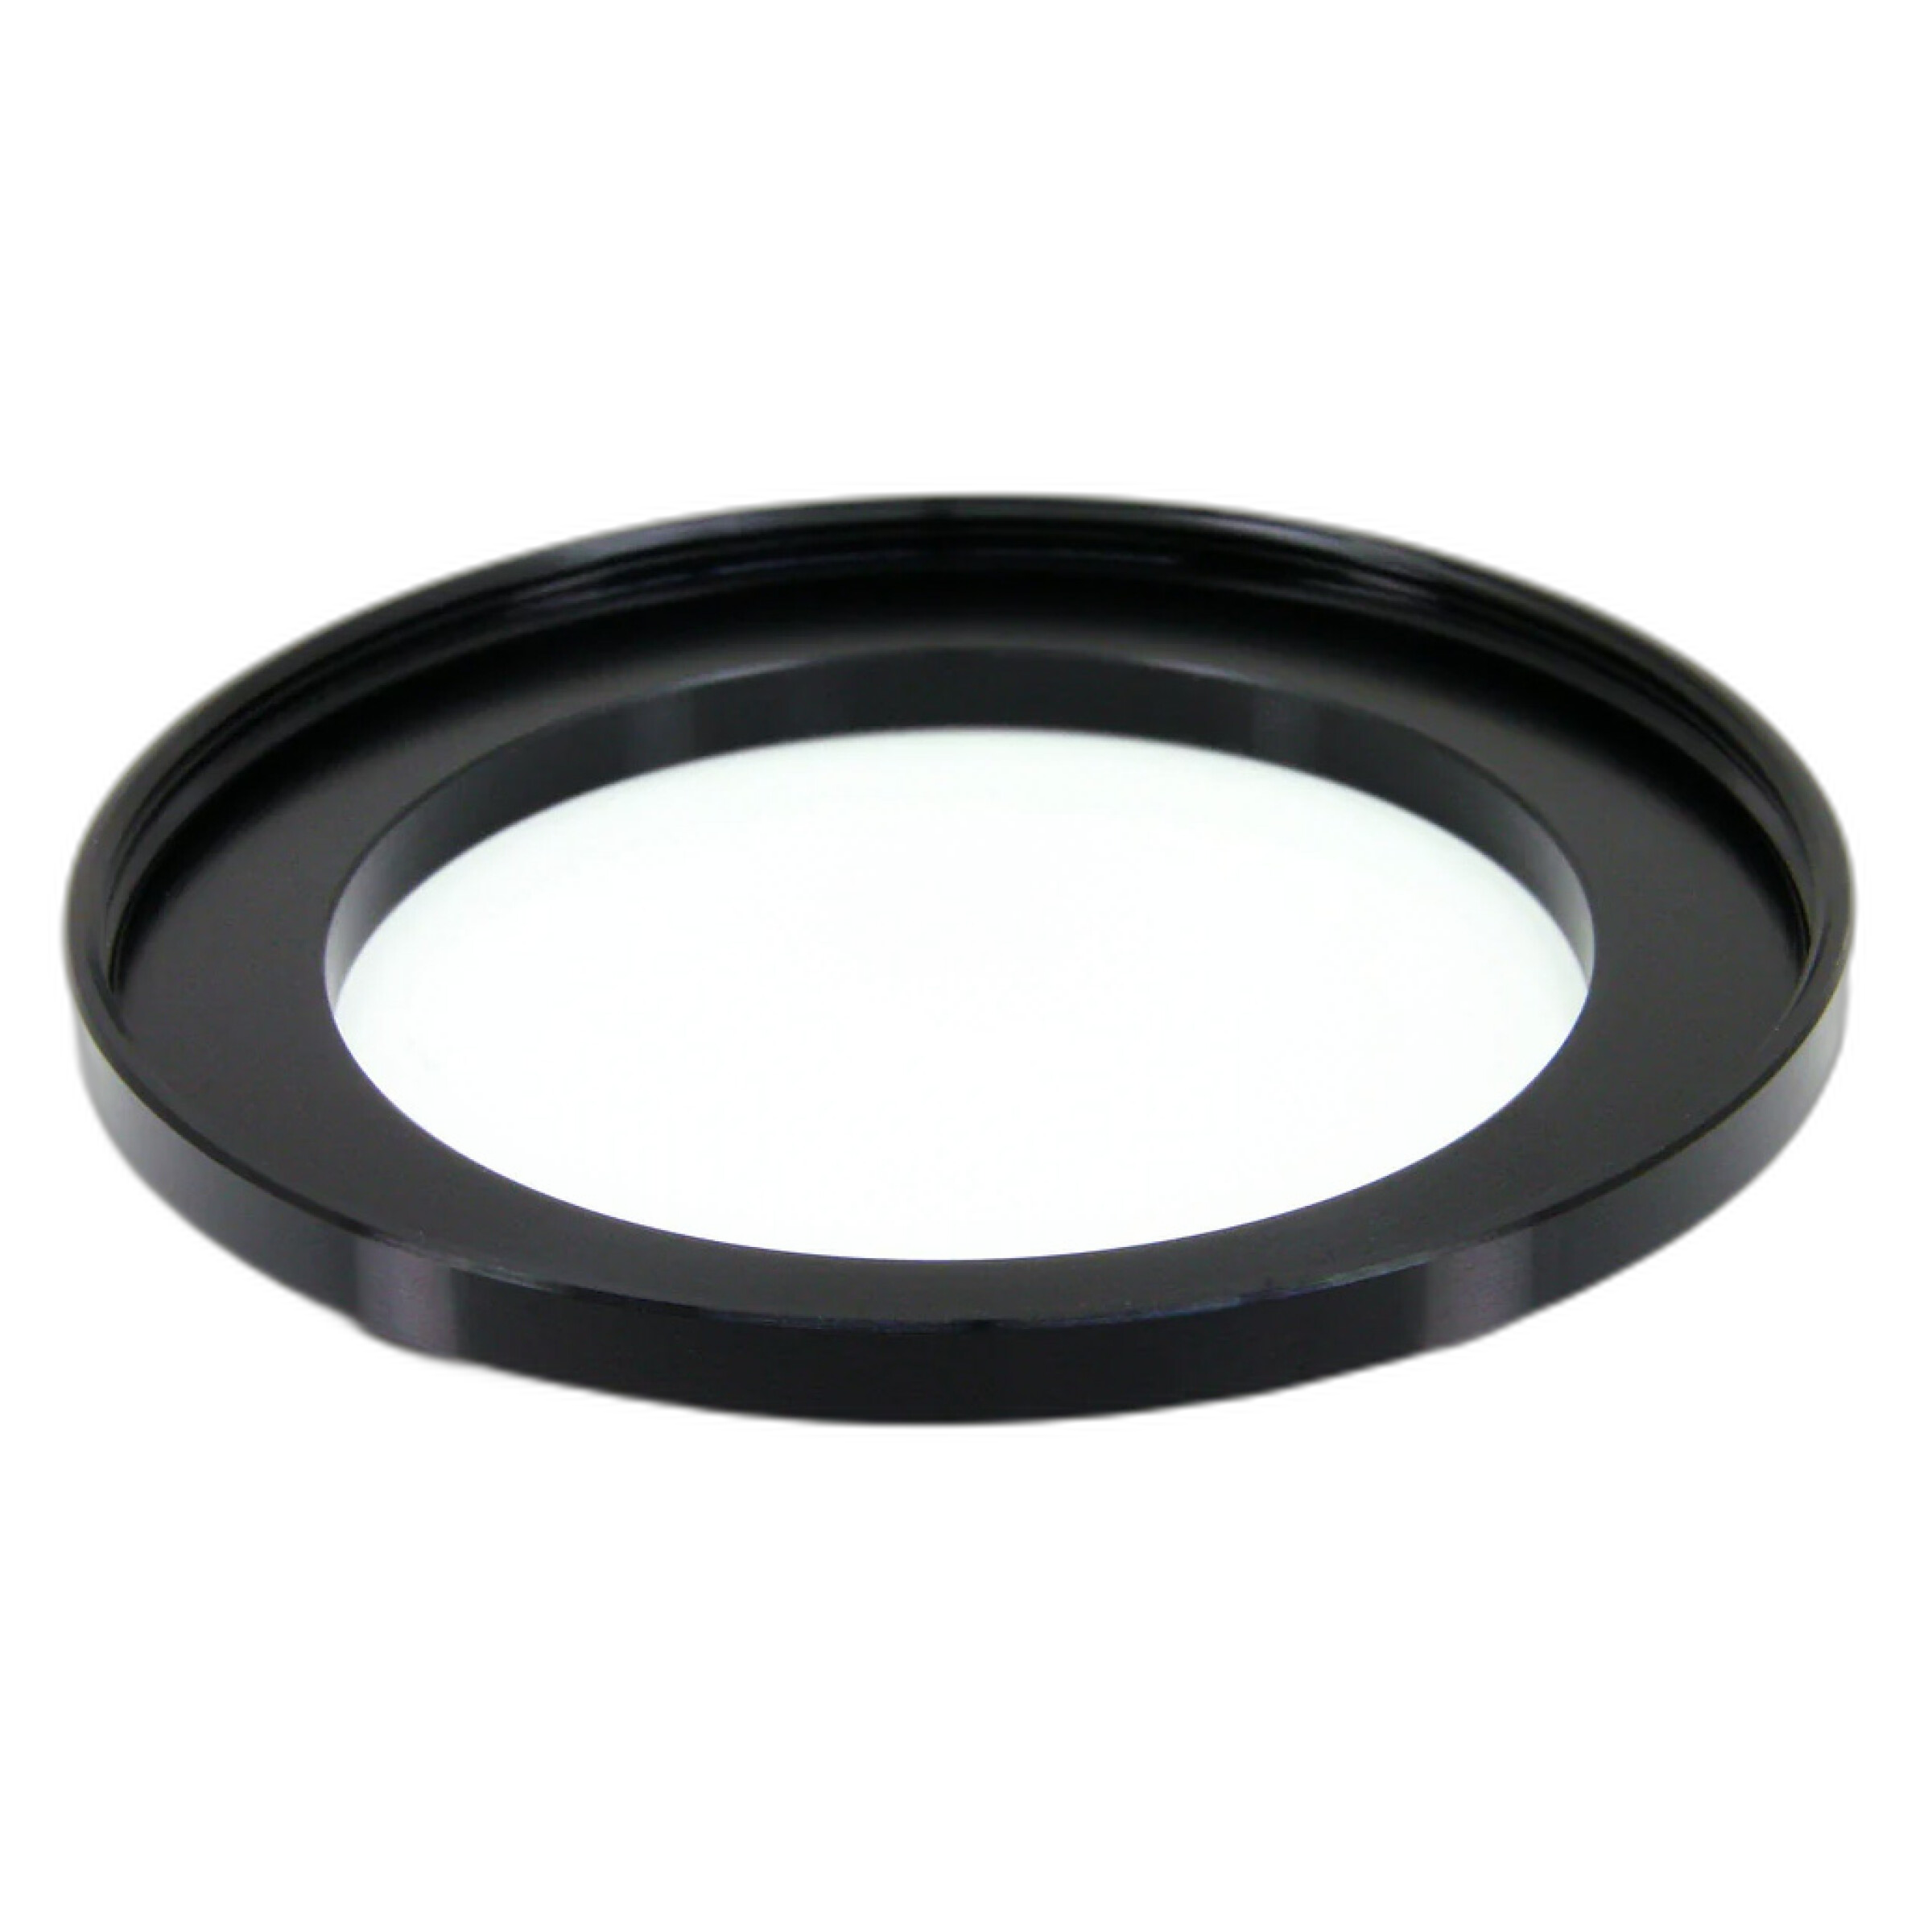
- Standardize filter sizes: Use step‑up rings so one set of color‑correcting filters (e.g., warming/cooling) fits all your lenses. It’s a classic budget hack for film shooters.
Two affordable options available at Unique Photo:


Also look at Samigon and Benro step‑up/step‑down sizes to cover your lenses without buying duplicate filters.
Troubleshooting common color film problems
- Overall color cast (too warm/cool): Usually temperature drift or exhausted developer. Re‑check thermometer accuracy and keep the bath stable. Mix fresh chemistry if near capacity.
- Thin, low‑contrast negatives: Underexposure or underdevelopment. Add 15–30 seconds to developer time and ensure 102°F is maintained.
- Dense, contrasty negatives: Overexposure or overdevelopment. Reduce time slightly or agitate more gently.
- Uneven density/drag marks: Inadequate agitation or cold tank. Pre‑warm the tank and use consistent inversions with good bang‑back taps to dislodge bubbles.
- Milky film after wash: Incomplete fixing (if using separate bleach/fix). Extend fix time and wash thoroughly.
- Water spots and streaks: Use distilled water for final rinse with a drop of wetting agent; avoid wiping the emulsion.
- Foam during stabilizer: Agitate very gently or not at all. Don’t rinse after stabilizer.
Safety, storage, and reuse
- PPE and ventilation: Gloves and eye protection are inexpensive and worth it. Work in a ventilated area.
- Label everything: Developer, Blix, Stabilizer—keep separate funnels if possible.
- Extend life: Store chemistry in full, airtight bottles; squeeze out air or use collapsible containers.
- Disposal: Follow local regulations for household chemical disposal. Do not pour down the drain unless your municipality explicitly allows it.
Drying, scanning, and budget color correction
- Dry: Hang in a steamed bathroom to knock down dust. Avoid touching the emulsion; let it dry fully.
- Scan: Flatbed scanners and camera scanning both work. Keep the film flat and dust‑free for best color.
- Correct: Start with a neutral white balance on the film base after inversion, then fine‑tune contrast and saturation. Consistent processing will make color correction faster—and cheaper—over time.
Quick FAQ
- Can I develop slide (E‑6) at home? Yes, but it’s less forgiving and involves more steps. Start with C‑41, then try E‑6 once you’re comfortable with temperature control.
- How many rolls per liter? Varies by kit and storage—8–12 is typical for C‑41 if chemistry is kept full and airtight.
- Do I need a darkroom? No. You only need darkness to load reels; a changing bag works great.
Get supplies and learn more at Unique Photo
Unique Photo has helped thousands of film shooters get started with home processing. Visit us for beginner‑friendly C‑41 kits, tanks, temperature tools, and accessories. While you’re at it, save on filters by standardizing your threads with step‑up rings like the Marumi 52–67mm and Tiffen 67–72mm options shown above—plus additional sizes from Samigon and Benro.
Internal linking suggestions:
- Film Developing Chemicals (C‑41 starter kits)
- Darkroom Tanks, Reels, and Thermometers
- Temperature Control Tools (sous‑vide, thermometers)
- Film Scanners and Camera Scanning Accessories
- Color Filters and Step‑Up/Step‑Down Rings
- Unique University: Film Processing Classes & Workshops
Questions? Stop by Unique Photo or reach out—our team and community are here to help you nail consistent, beautiful color at home.