Feature Project Workflows: Pro Editing Tools & High-Volume Photo FAQs
Feature-length assignments demand more than great shooting—they require a tight, repeatable workflow from ingest to delivery. At Unique Photo, we help photographers streamline editing, speed up culling, and keep files safe so you can move from thousands of frames to a polished final set with confidence.
Which editing apps work best for large, multi-day shoots?
For volume and consistency, start in a catalog-based editor for global organization and batch adjustments, then round-trip select images for detailed retouching. Many pros rely on Lightroom Classic or Capture One for culling, metadata, and color consistency across series, then jump to Photoshop for composites, masking, and pixel-level fixes. The key is to define roles: one app for managing and batch-correcting, another for deep edits. Build a baseline preset for your project and apply it on import to keep hundreds of captures visually aligned from day one.
How can I speed up ingest and build a reliable folder structure?
Establish a consistent naming convention that encodes project, date, and sequence—for example, YYYYMMDD_Project_Raw/CameraA/ and CameraB/. Use fast UHS-II card readers and enable checksum/verification on import to prevent silent corruption. Add metadata (client, location, copyright, usage) during import so every file remains searchable. Finally, mirror your primary working drive to a second drive immediately after every day’s shoot to keep parity as you go.
What’s the fastest way to cull thousands of images without missing keepers?
Adopt a two-pass rating system. First pass: flag obvious rejects (misfocus, duplicates, blinks) using embedded or 1:1 previews. Second pass: star or color-code selects by scene and intent (hero, alt, cutaway). Filter by lens, camera serial, or shutter speed to isolate problem batches quickly. Use survey/compare views for similar frames and promote only one version per sequence. Once your hero picks are locked, sync global adjustments across the rest of the group to maintain a consistent look.
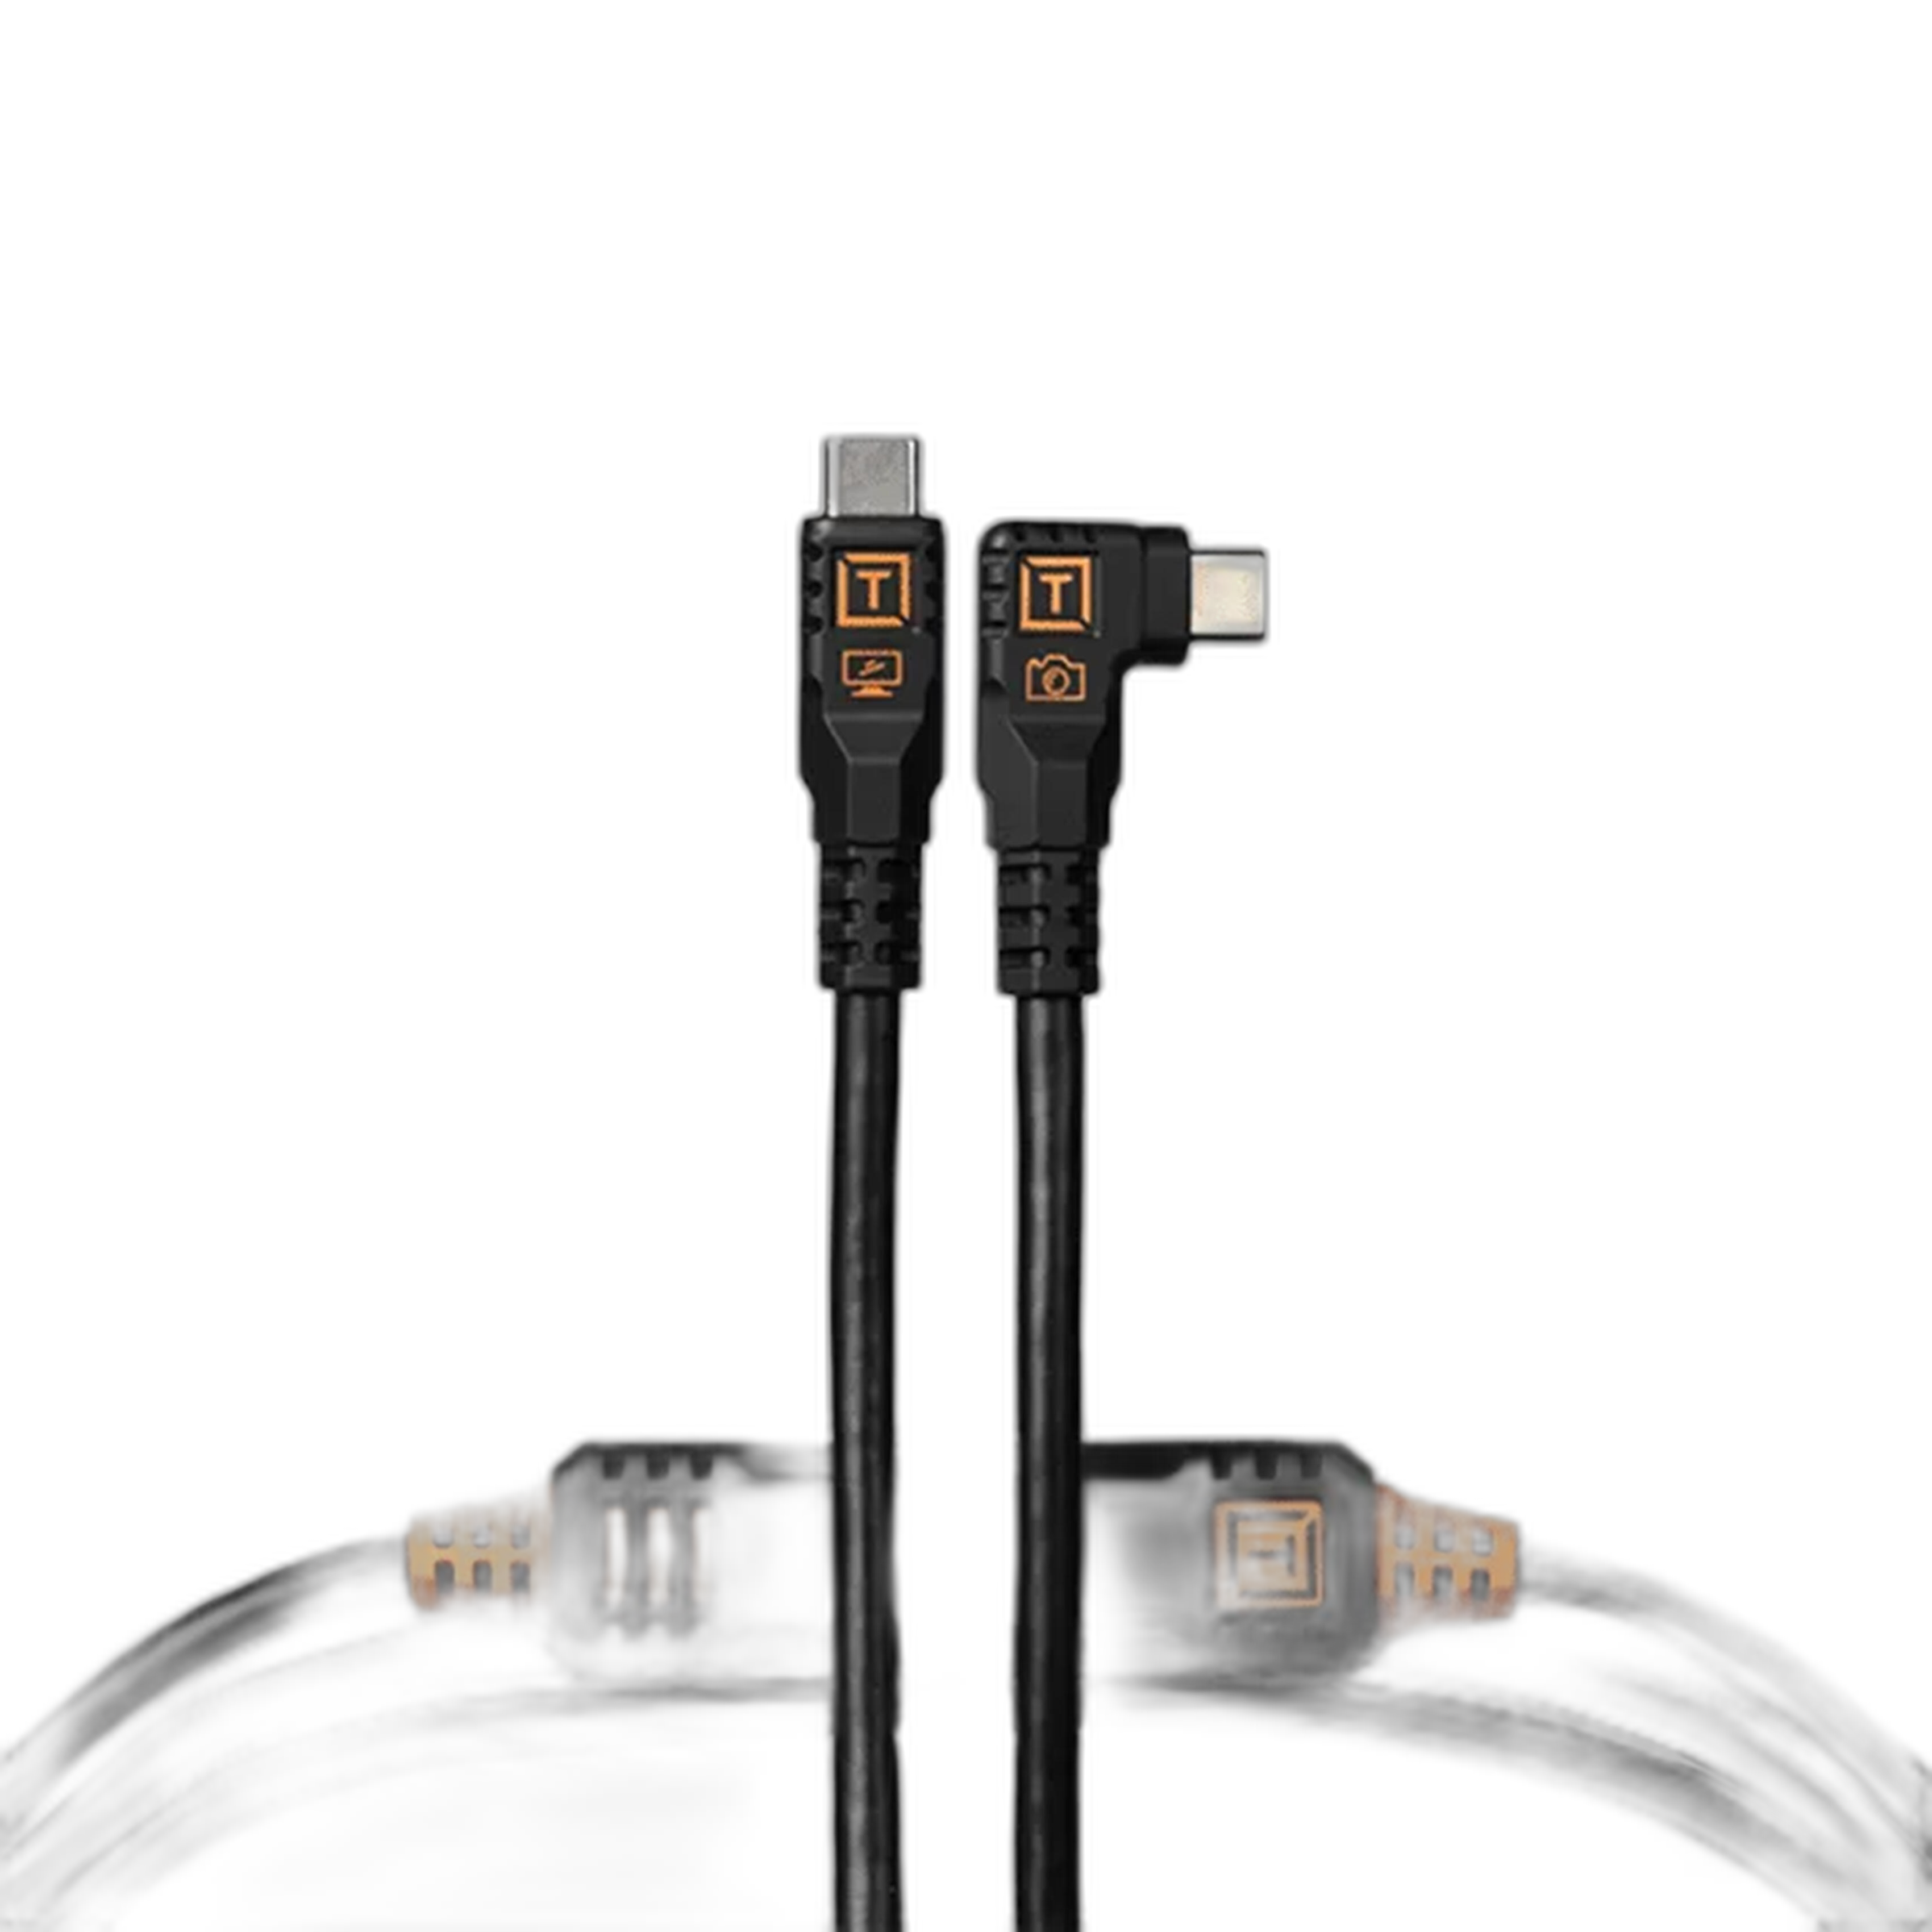
Should I tether on set to accelerate approvals and reduce reshoots?
Tethering makes a major difference on feature projects: clients can review sharpness, framing, and color in real time, reducing guesswork and reshoots. A reliable, long USB-C cable with right-angle relief prevents accidental disconnects and keeps ports safe. We recommend high-visibility, right-angle options for stability and speed: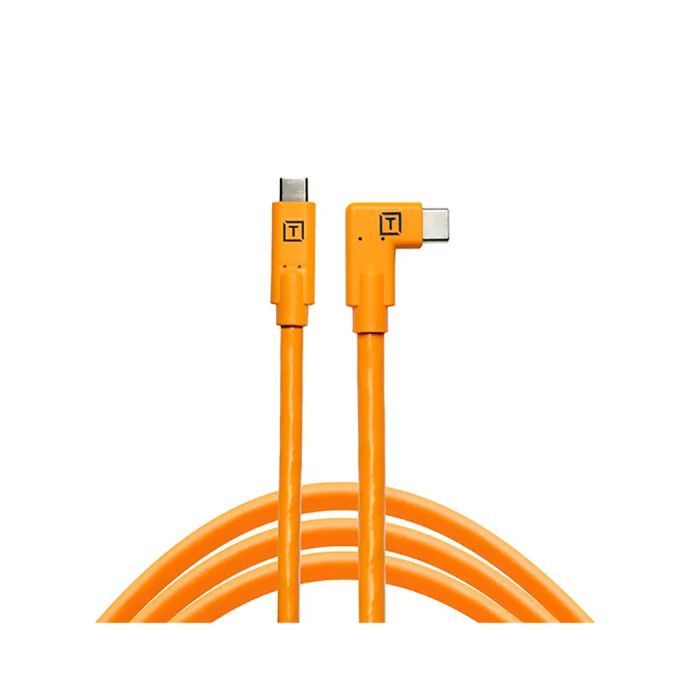
For straight-to-right configurations or when you want a low-profile connection to the camera side, consider a robust 10G cable: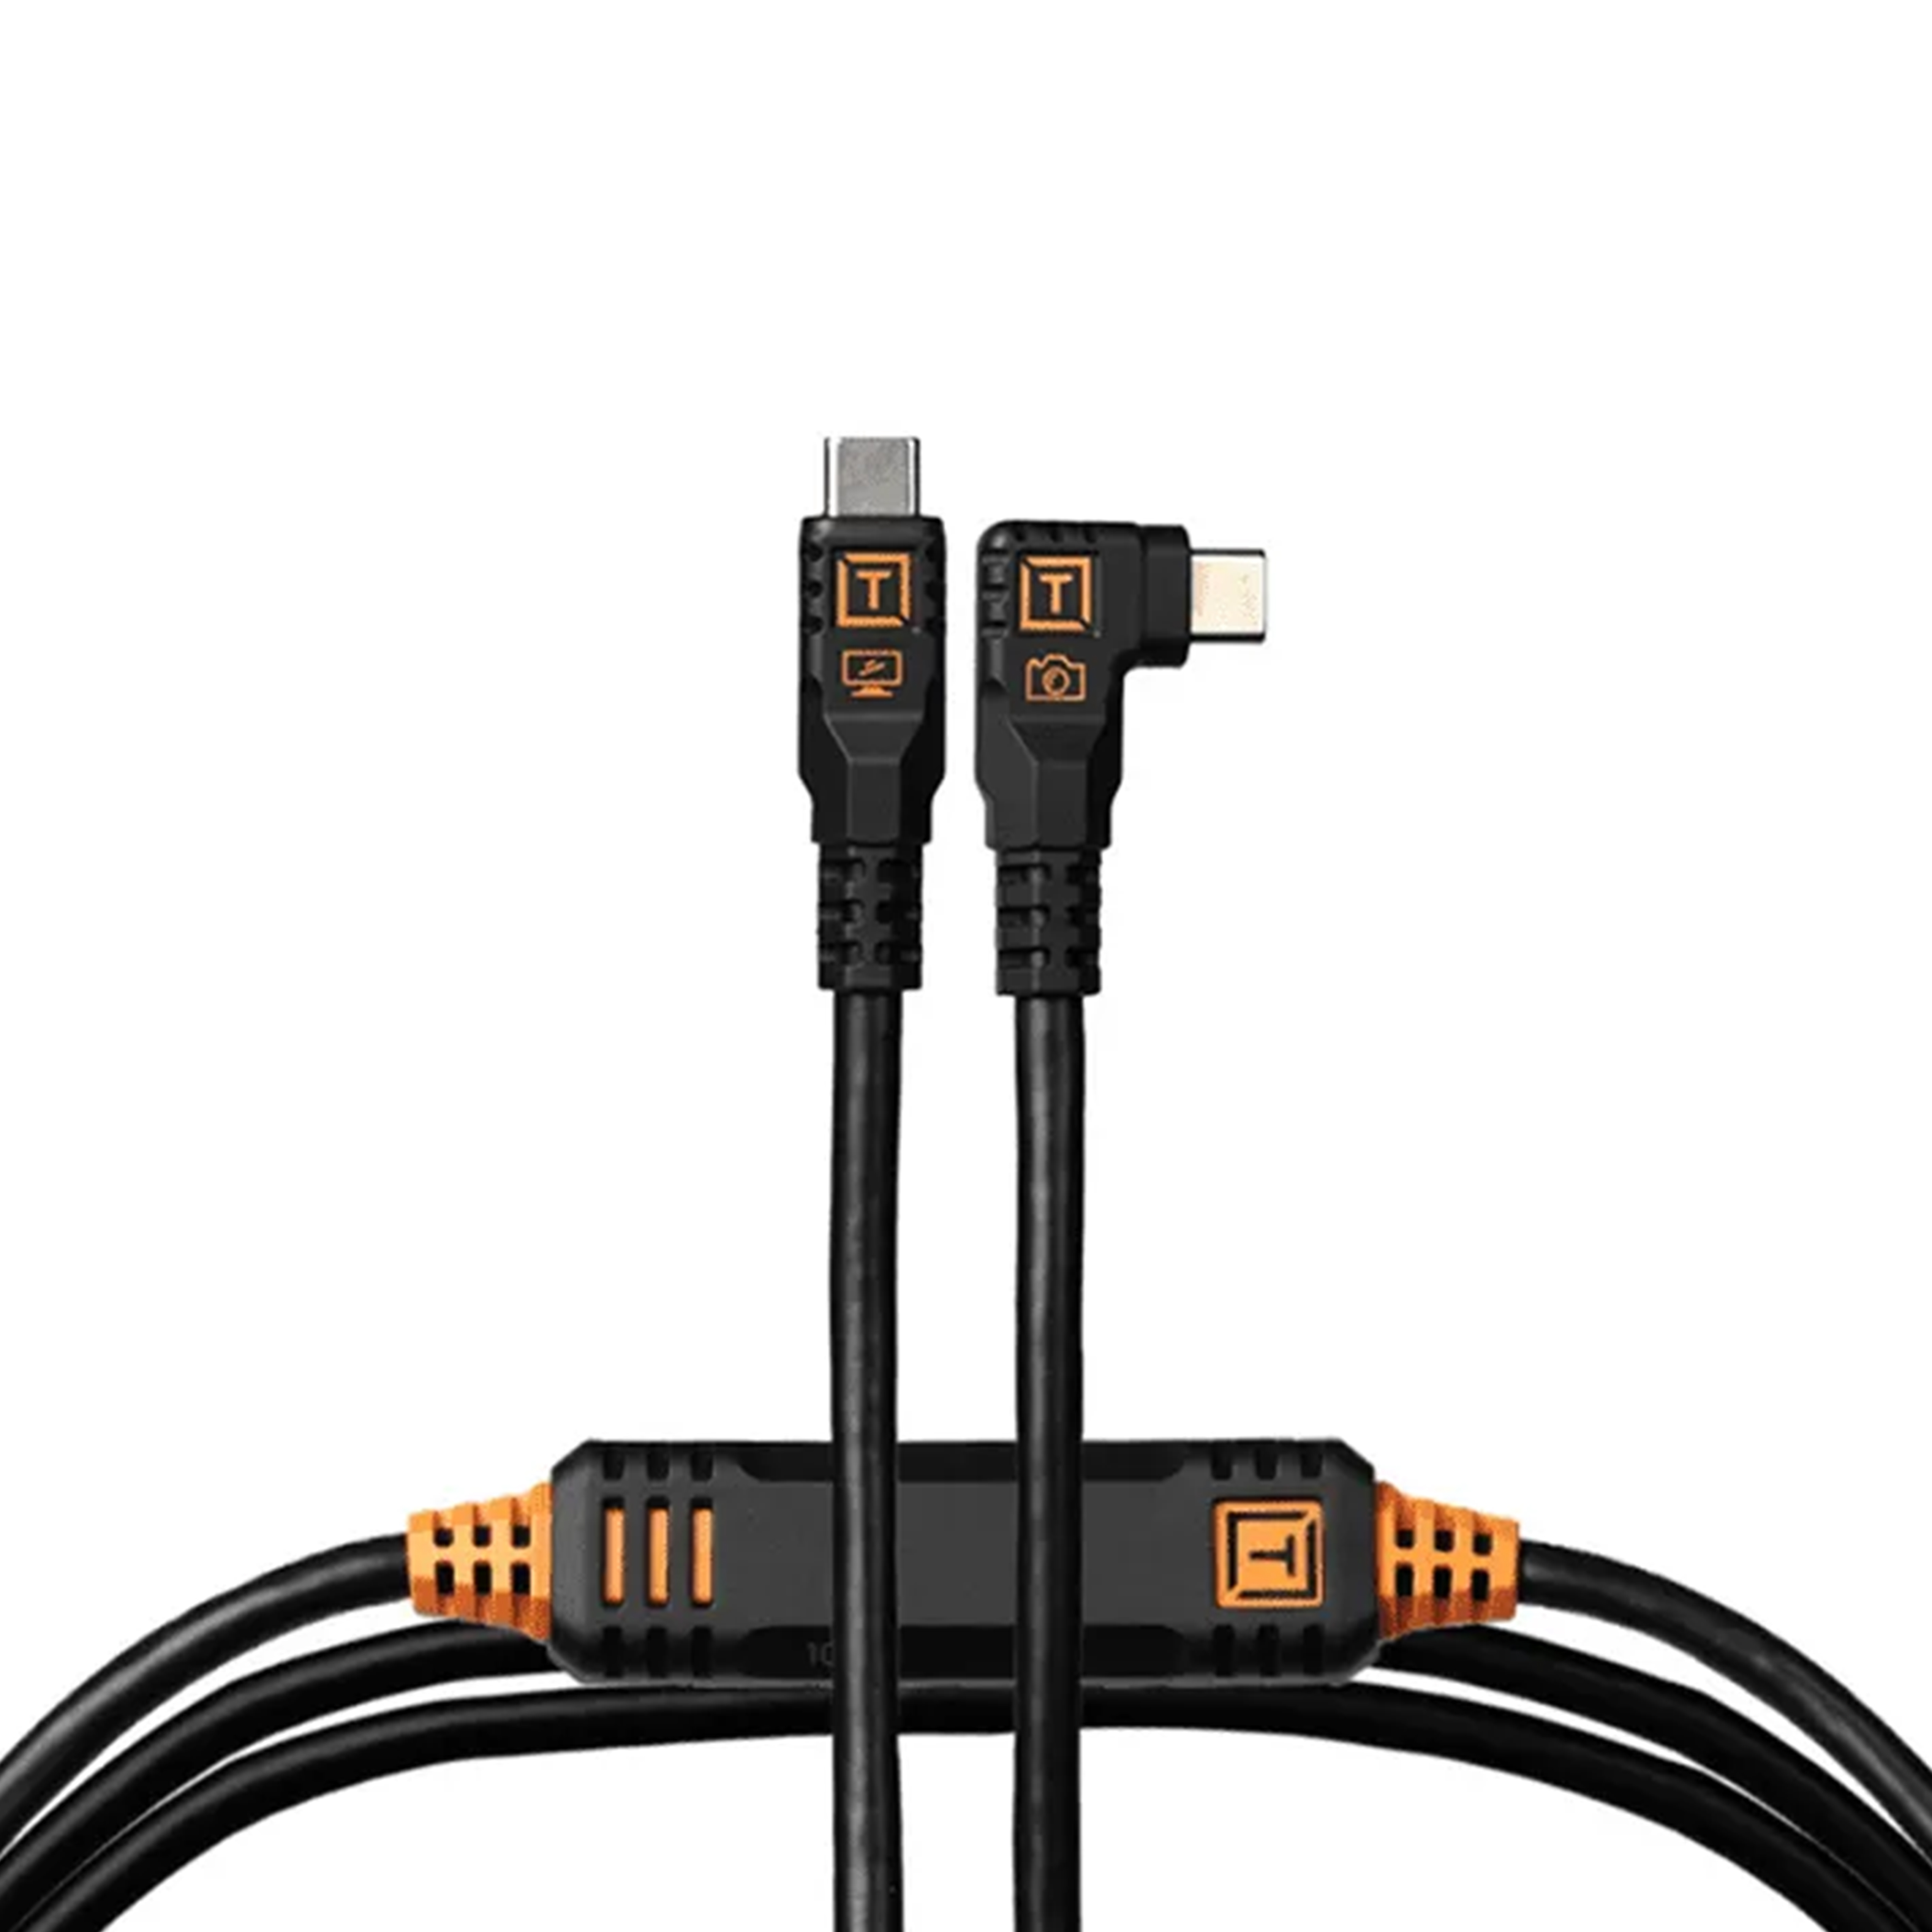
Pair tethering with a calibrated display preset on your laptop so exposure and white balance decisions are accurate on set. Build a review station workflow where selects are tagged immediately—what’s approved on set is already organized when you sit down to edit.
How do I keep cameras and laptops powered through long days?
Uninterrupted power keeps tethering stable and sessions productive. High-capacity USB-C PD batteries can power laptops, hubs, or accessories between outlets. A proven solution is a 100W PD pack with enough capacity for extended shoots: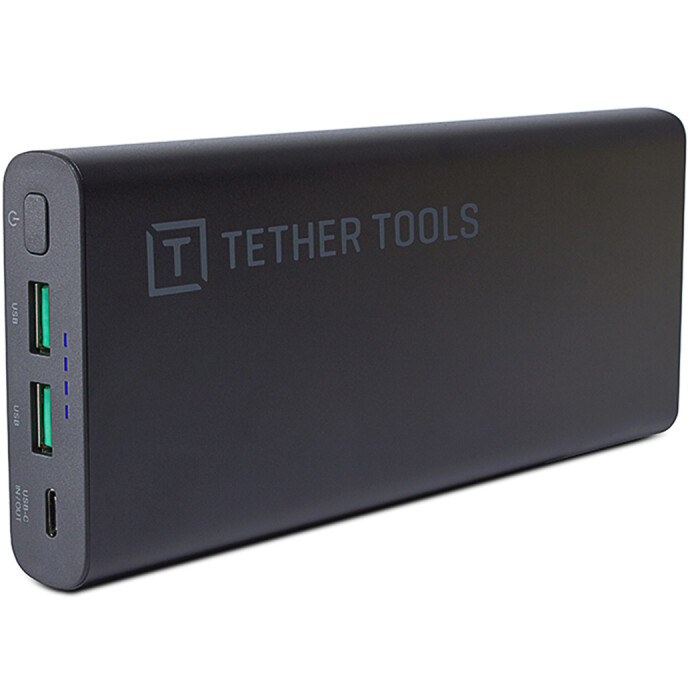
Use short, rated USB-C PD cables to maintain maximum wattage and consider mounting power close to your cart or tripod to reduce cable strain. For cameras, a dedicated DC coupler can eliminate downtime and keep your body cool and consistent across long takes.
What file organization and backup strategy protects a months-long project?
Follow the 3-2-1 rule: three copies of your data, on two different media types, with one offsite. Structure each shooting day with consistent subfolders: 01_Raw, 02_Proxies/Previews, 03_Selects, 04_Masters, 05_Deliverables. Verify every copy with checksums or verified import. Keep working catalogs separate from raw assets so a catalog hiccup never risks originals. At phases of completion (e.g., after hero selects and after final color), generate dated, read-only archives to prevent accidental changes.
How can I maintain consistent color and style across hundreds of images?
Create a “show look” preset after test shots on day one. Include camera profile, baseline white balance, tone curve, and HSL tweaks that define the project’s mood. Apply it on import, then refine by scene using synchronized adjustments. Use reference images (hero frames) and soft proofing to ensure deliverables match across lighting conditions. For specialty looks, save scene-specific presets (e.g., tungsten interiors, golden hour exteriors) and stack them with local adjustments where needed.
Any education resources to level up Photoshop and Lightroom techniques for big sets?
Absolutely. Hands-on instruction accelerates your workflow and improves consistency. For landscape and nature stylization, our Photoshop program dives into selective dodging/burning, luminosity-driven color work, and sky/detail blending: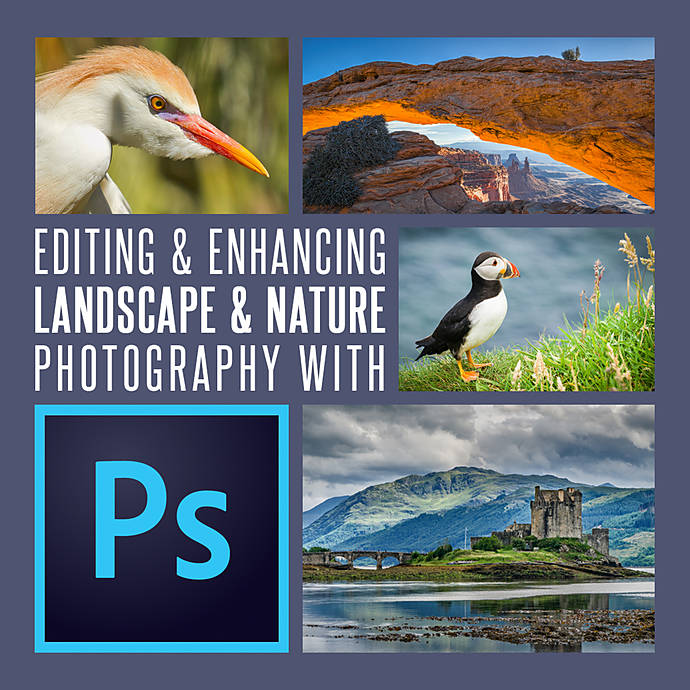
If product work is part of your feature deliverables, learn end-to-end capture and post strategies—lighting control, tethered capture, and retouching—in our product photography class:
For catalog-heavy wildlife or field projects, sharpen your Lightroom culling and batch-editing skills to keep pace in fast-turn environments:
What hardware and settings speed up previews and exports?
Enable GPU acceleration for Develop and export (where supported), build 1:1 or Smart Previews before you cull, and keep your catalog on a fast SSD. Store current-day raws on a fast internal or NVMe external drive, and move completed days to larger RAIDs. Use lossless compression on raw formats when possible, and pre-render standard previews before client reviews to avoid lag. Tether through high-quality cables and keep cable runs tidy to reduce dropouts that waste time.
Ready to streamline your next feature project? Visit or contact Unique Photo for hands-on guidance, the right tethering and power solutions, and expert-led classes that help you move from capture to delivery with confidence.