Developing black & white film at home is one of the most rewarding ways to take control of your photographic process. With a little preparation, careful timing, and a clean workspace, you can turn exposed rolls into beautiful negatives ready to scan, print, and preserve. Whether you're processing your first roll or refining your routine, these practical tips will help make home development smoother and more consistent.
1. Build a Clean, Organized Workspace
Keep your process simple and repeatable
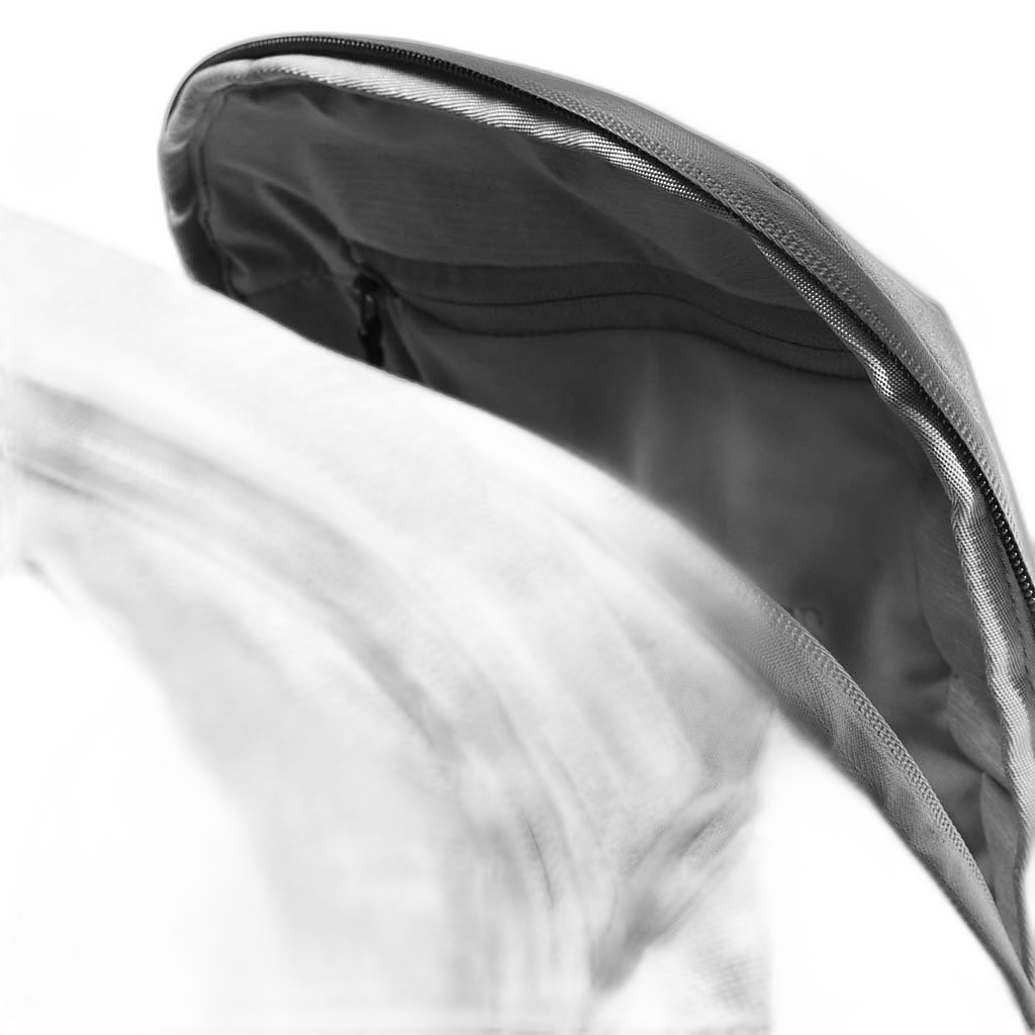
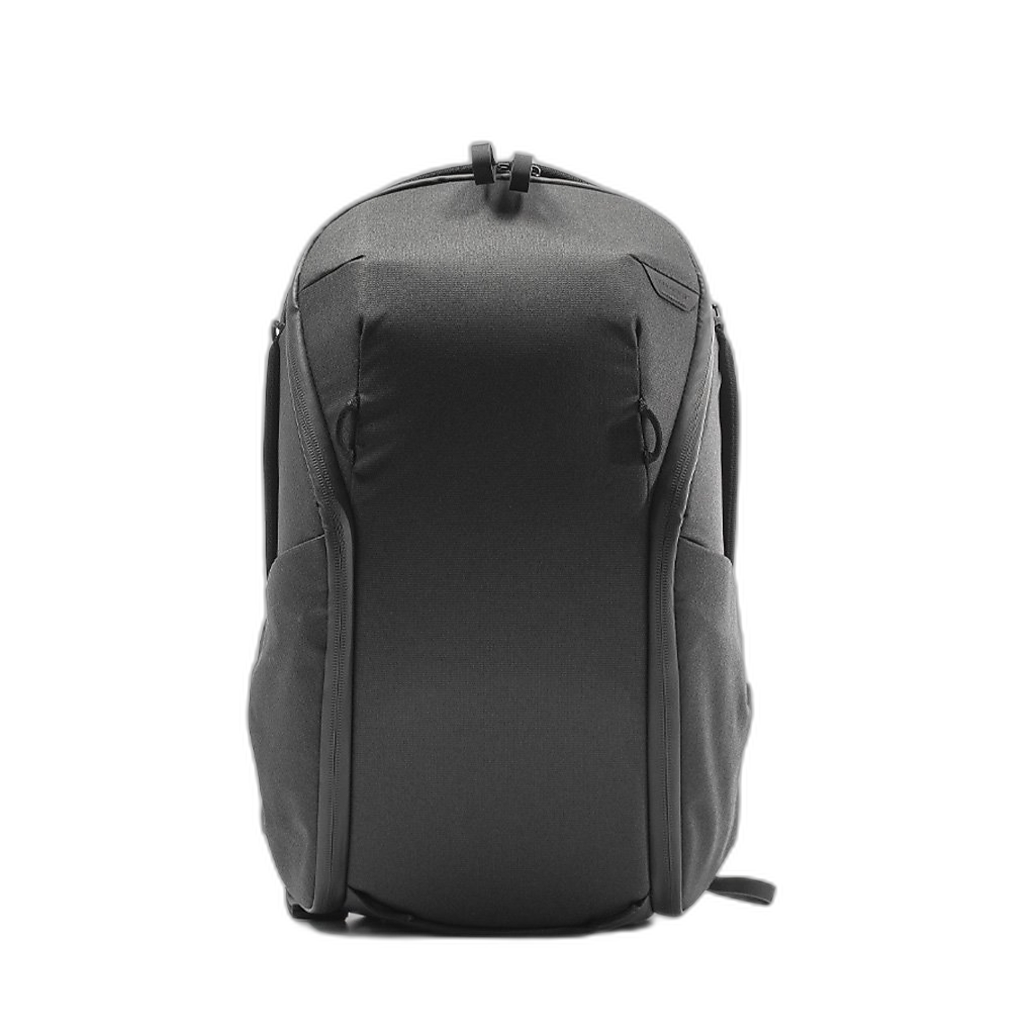
Consistency starts before the chemicals are even mixed. Set up your tools in the same order every time so loading, pouring, rinsing, and hanging film become second nature. A dedicated bag can help keep your kit together between sessions, especially if you're working in a shared space. The Peak Design Everyday Backpack 20L Zip - Black is a smart option for storing film, measuring tools, reels, and protective accessories in one organized place.
Try to keep dust, lint, and unnecessary clutter away from your drying area. Even a well-developed roll can become frustrating to scan if drying marks or airborne particles settle on the negatives.
2. Label Everything Before You Start
Avoid mistakes with chemicals and film rolls
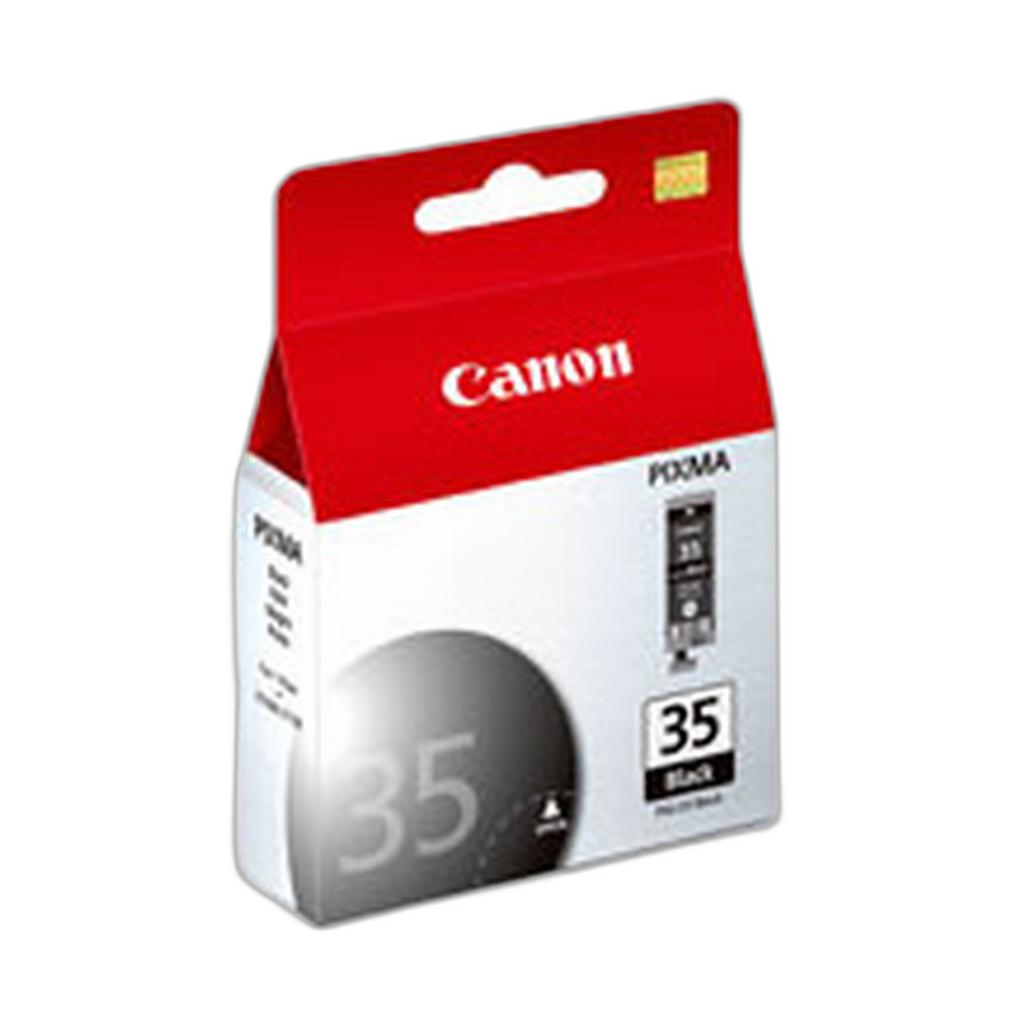
One of the easiest ways to improve your at-home workflow is to label bottles, graduates, timers, and storage containers clearly. This is especially helpful if you mix developers at different dilutions or reuse fixer over multiple sessions. If you like making contact sheets or printing development notes, having reliable printer supplies on hand can help. A Canon PGI-35 Black Ink Cartridge can be useful for printing film logs, exposure notes, or darkroom reference sheets for your black & white process.
Keeping written records of film stock, developer, dilution, temperature, and agitation pattern makes it much easier to repeat a good result.
3. Pay Close Attention to Temperature
Stable chemistry gives more predictable negatives
Black & white film development is forgiving, but temperature still matters. Most standard development times are based around 68°F (20°C), so check your chemistry before pouring. Large swings can affect contrast, grain, and density. If your room temperature changes often, prepare your chemistry and wash water ahead of time so everything stays close to your target.
This is one of the biggest differences between occasional success and repeatable results: small temperature corrections can save a roll from under- or overdevelopment.
4. Practice Loading Film in the Dark
Confidence here makes the whole process easier
Loading film onto reels is often the most intimidating part for beginners. Practice with a sacrificial roll in daylight first, then repeat the motion in a changing bag or dark room until it feels natural. Trim damaged leaders cleanly and handle the film by the edges whenever possible.
If you travel with your camera gear and process film later at home, a compact carry option like the PGYTECH OneMo Sling 11L can make it easy to separate exposed rolls from other accessories so they stay protected and easy to identify.
5. Agitate Consistently, Not Aggressively
Even development depends on a steady routine
Once developer is in the tank, your agitation pattern should remain consistent from roll to roll. Many photographers use gentle inversions at the start and then at regular intervals, with a light tap afterward to release air bubbles. Overly vigorous agitation can increase contrast and grain, while too little can produce uneven density.
The key is not finding the single perfect method, but choosing one reliable approach and sticking with it so you can judge your negatives accurately over time.
6. Use Good Light When Inspecting Negatives
Evaluation is easier with a controlled viewing setup
After drying, examine your negatives under clean, even light. You're looking for overall density, consistent spacing, drying marks, scratches, and dust. If you're setting up a simple inspection or digitizing area, controlled reflected light can help you see detail more clearly. While designed for studio use, a modifier like the Elinchrom Maxi 16in White Reflector can be part of a broader lighting setup if you're already building out a photo workspace for scanning or documenting your film results.
Whatever light source you use, consistency matters. It helps you compare rolls more accurately and spot processing issues early.
7. Store and Archive Your Negatives Properly
Protect your work after the chemistry is done
Development is only half the job. Once your negatives are clean and dry, store them carefully so they stay flat, scratch-free, and easy to reference later. If you print contact sheets, notes, or final black & white images, archival pages can help keep your project organized. DF White Refill Pages (8.5x11in, 10-Pack) are useful for storing prints, proof sheets, or documentation alongside your film archive.
For finished prints you want to share or preserve, a classic album like the Pioneer TS-246 Oxford Brass Corner Photo Album can be a nice way to present favorite black & white images once they move from negative to final print.
8. Keep Your Power and Accessories Ready for Scanning
Don’t let the post-processing stage slow you down
Many home film photographers develop first and digitize later. If your workflow includes scanning negatives with a digital camera setup, keeping chargers and accessories together saves time. The Fujifilm BC-T125 Battery Charger for GFX 50S 50R GFX100 is a good example of the kind of essential support gear that helps keep a camera-scanning workflow moving smoothly if you're using compatible Fujifilm equipment.

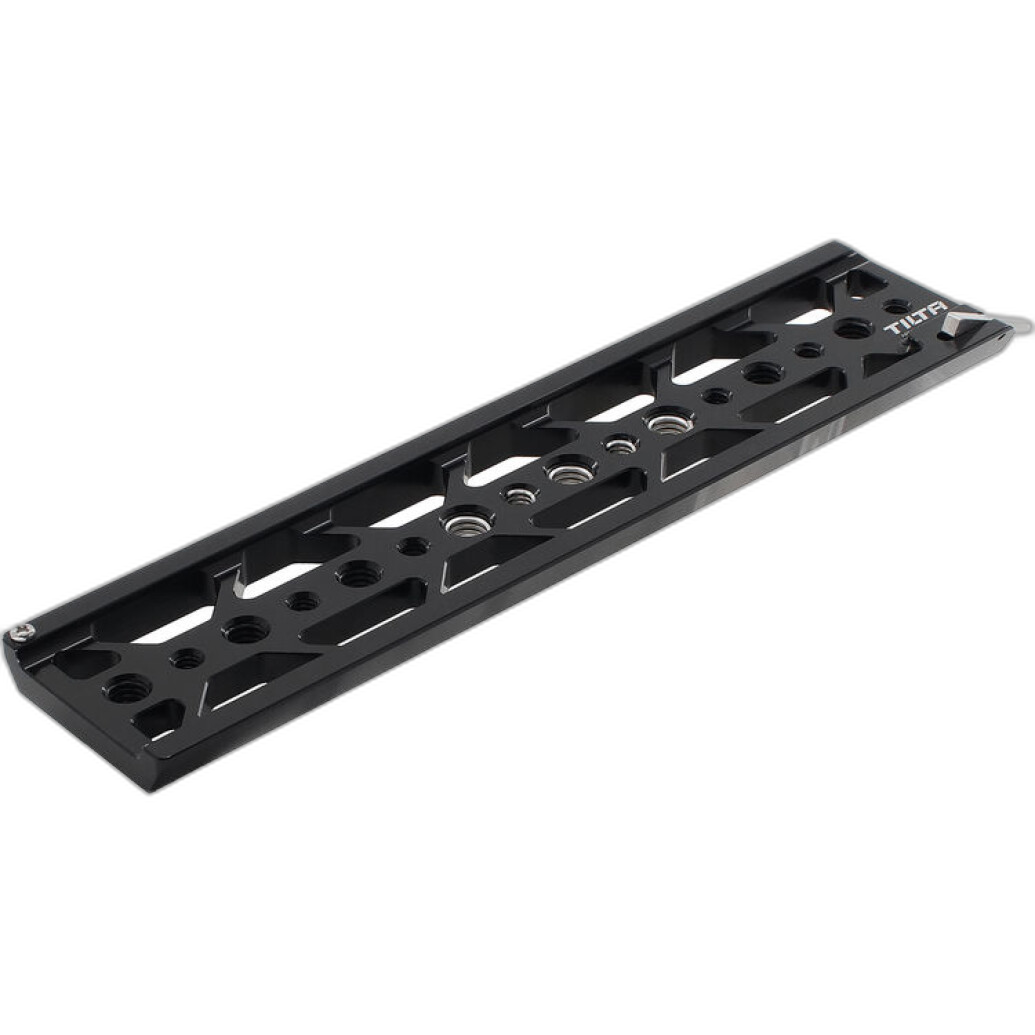
Likewise, support accessories such as the Tilta 10 Lightweight Dovetail Plate can be useful in more advanced camera-copy setups where stability and repeatable positioning matter.
9. Start Simple and Refine One Variable at a Time
Don’t change film, developer, and agitation all at once
When you're learning, resist the urge to experiment with everything at the same time. Choose one film stock, one developer, and one process for a few rolls. Once you understand how your negatives look, adjust just one variable at a time. That method makes troubleshooting much easier and helps you build intuition faster.
Home development rewards patience. A simple, repeatable workflow nearly always beats a complicated one that changes every session.
Conclusion
Developing your own black & white film at home is a hands-on craft that quickly becomes part of the joy of shooting film. With careful organization, steady technique, and thoughtful archiving, you can create reliable negatives and a workflow that grows with your skills. If you're building out your film setup, scanning station, or storage system, Unique Photo is a great place to find the gear and accessories to support your process.