Getting started with DIY film processing can feel intimidating, but forum members often agree on one thing: consistency matters more than complexity. With a simple workflow, the right chemistry, and a little patience, new film developers can get clean, repeatable results at home. Whether you are processing rolls shot on a classic medium format camera like the Used Voigtlander Perkeo I 6x6 120 Film Camera - Good or working through your first batch of 35mm, these practical tips can help you avoid the most common mistakes.
Start With a Simple, Repeatable Setup
1. Keep your workspace organized before you crack open the chemistry
One of the most common beginner mistakes is rushing. Before loading film or mixing chemicals, lay out your tank, reels, thermometer, timer, storage bottles, scissors, and clips. Label everything clearly so developer, stop bath, and fixer never get confused. If you plan to scan your negatives after processing, having your digital gear tidy matters too; even small accessories like a Tamron RMC-FUJI Rear Lens Cap for Fujifilm X Mount help keep your camera kit protected and dust-free between steps.
2. Practice loading reels with a scrap roll first
Forum veterans constantly recommend dry runs. The reel-loading stage is where many first-timers struggle, especially in a changing bag or dark room. Use a sacrificial roll and practice until your hands know the motion. If you shoot medium format on folding cameras such as the Voigtlander Perkeo I, careful loading is even more important because every frame counts.
Be Precise With Chemistry and Temperature
3. Mix only what you need and follow dilution instructions exactly
Inconsistent chemical ratios lead to inconsistent negatives. Always check the manufacturer instructions for your chosen developer and fixer, and use clean graduates or measuring containers. For photographers expanding into color workflows or darkroom printing, chemistry discipline becomes even more critical. Products like Fujifilm Digital RA PRO Developer/Replenisher Part B are designed for controlled processing environments, which is a good reminder that even at home, accuracy pays off.
4. Control temperature as closely as possible
Black-and-white film can be forgiving, but temperature swings still affect contrast, grain, and development time. Try to keep your chemicals near the recommended processing temperature and let bottles acclimate before you begin. A stable water bath can help tremendously, especially if your room temperature changes throughout the day.
Troubleshoot the Most Common Beginner Mistakes
5. Thin negatives usually point to underdevelopment, exhausted chemicals, or underexposure
If your negatives look weak and scans require heavy correction, start with the basics: check exposure, chemical freshness, and development time. New developers sometimes shorten times by accident or agitate too timidly. Keep a notebook with film stock, ISO, developer dilution, temperature, and time so you can identify patterns instead of guessing.
6. Streaks, uneven density, or surge marks often come from poor agitation
Agitation should be consistent, not random. Use the same inversion pattern every roll and tap the tank after agitation cycles to dislodge bubbles. Uneven development can also happen if chemistry does not fully cover the reel, so confirm your tank volume requirements before pouring.
7. Milky film after washing usually means the fixer needs more time
If negatives look cloudy, the film may be under-fixed or insufficiently washed. Beginners often become nervous and pull film too early. Extend fixing within recommended guidelines, then wash thoroughly. A final rinse with wetting agent helps reduce drying marks, which makes scanning and printing easier later.
Think Ahead to Scanning and Printing
8. Dry negatives in the cleanest area you have
Dust is the enemy of good scans. Hang film in a low-dust bathroom or enclosed area and avoid touching the emulsion. Once dry, store negatives in archival sleeves. If your workflow includes making prints, remember that output materials matter as much as processing quality. Darkroom and lab users often appreciate dependable media options such as Fujifilm DIGITAL PRO 12X354 GLOSSY for polished print output.

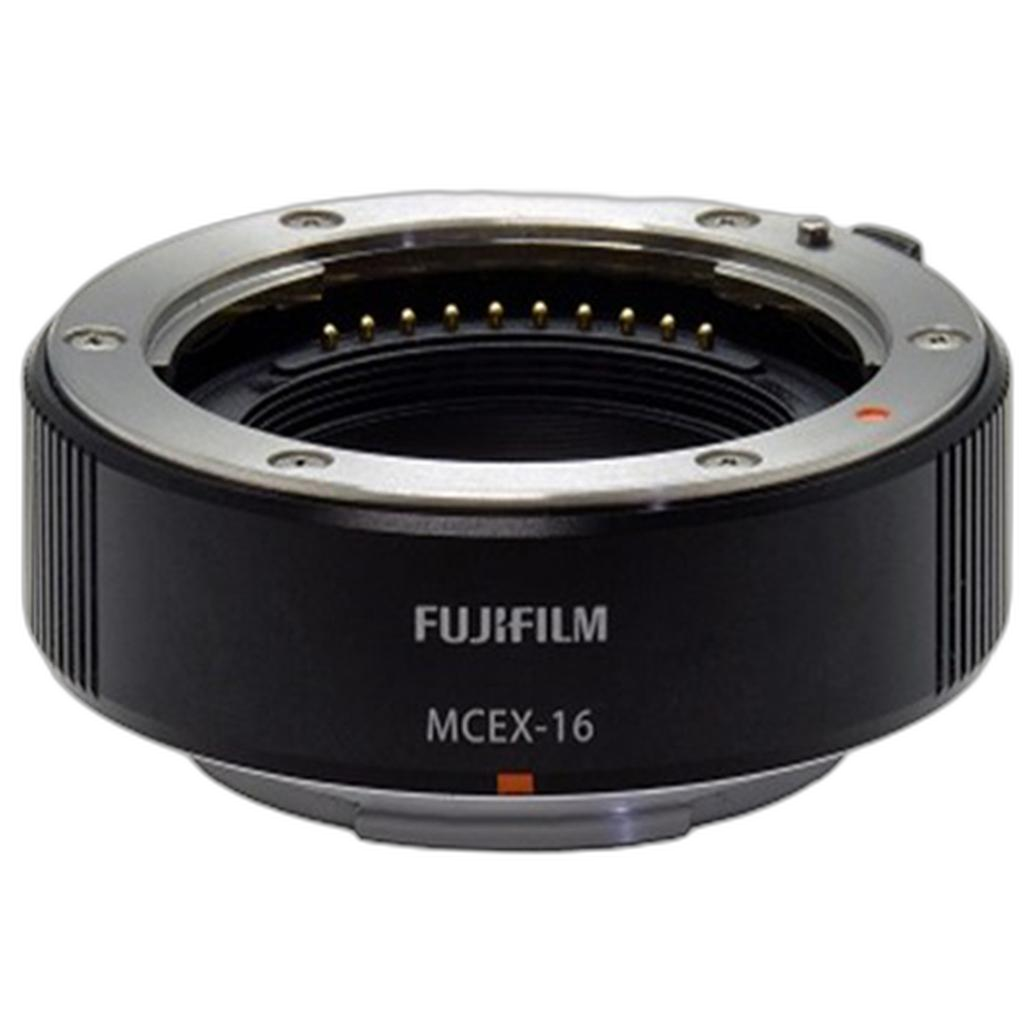
9. Use close-up tools thoughtfully when digitizing negatives
Some film shooters digitize negatives with a mirrorless camera setup instead of a dedicated scanner. In those cases, accessories like the Fujifilm MCEX-16 16mm Extension Tube for Fujifilm X-Mount can help achieve tighter framing for close-up capture, depending on the lens you use. It is a practical reminder that a clean, sharp copy setup is just as important as the wet process itself.
Build Good Habits Early
10. Label dates on all chemistry and retire old solutions before they ruin a roll
Chemicals do not last forever once mixed or opened. Write mix dates on bottles, track how many rolls have gone through each batch, and do not try to squeeze extra life out of exhausted solutions. Losing a roll to bad chemistry is far more expensive than replacing it.
11. Keep your power and support gear ready for hybrid workflows
Many home developers process film themselves but scan and edit digitally. If that is your approach, make sure your camera batteries stay charged and your workflow stays uninterrupted. A reliable accessory such as the Fujifilm BC-T125 Battery Charger for GFX 50S 50R GFX100 is the kind of practical support tool that helps keep a scanning or copy-stand session moving smoothly.

Conclusion
DIY film processing gets easier with every roll, and most beginner mistakes are fixable once you slow down and make your workflow more consistent. Start simple, take notes, trust your measurements, and do not be afraid to learn from a few imperfect negatives. If you are building out your home film setup, Unique Photo is a great place to find camera gear, accessories, and darkroom essentials to support the process.