Essential Post-Processing Workflows: Recommendations for Beginners
If you’re new to editing photos and video, a clear, repeatable post‑processing workflow saves time and produces consistent results. This beginner‑friendly guide from Unique Photo covers organization, culling, color, noise reduction, sharpening, export settings, and basic video post‑production—plus a few gear and class recommendations to accelerate your progress.
Beginner Post‑Processing Workflow: A Simple, Repeatable Path
- Ingest & backup: Copy media to a structured drive, verify backups, and add to a second drive or cloud.
- Catalog & keyword: Import into Lightroom Classic, Lightroom, or Capture One; apply a naming template and keywords.
- Cull fast: Use flags (P/X) or stars to separate keepers from maybes.
- Global corrections first: White balance, exposure, lens corrections, and transform before creative color.
- Local edits: Brush, radial/linear gradients, and masking for subject, sky, skin, or eyes.
- Noise & detail: Tackle noise before final sharpening; avoid overdoing both.
- Creative grade: Subtle color grading, HSL, calibration, or LUTs when appropriate.
- Export: Choose the right format, color space, and size for web, print, or clients.
- Archive & deliver: Final exports to client folders, cloud galleries, or albums; archive RAWs responsibly.
How to Organize and Back Up Photos (Folder Structure That Scales)
Organization prevents rework. Use a simple, scalable structure like Photos > 2026 > 2026-05-03 Project-Name, with subfolders for RAW, Edits, Exports, and Project Files. Keep catalogs backed up along with presets and profiles.
- 3-2-1 rule: Three copies of your data, on two different media, with one offsite.
- Catalog tips: One main catalog for personal work; separate catalogs for long‑term client projects.
Lightroom vs. Capture One: Which to Start With?
Lightroom Classic is a great all‑rounder with powerful masking and a seamless path to Photoshop. Capture One excels at tethering and color control. For most beginners, Lightroom Classic’s learning curve and ecosystem make it the easiest place to start; you can always round‑trip to Photoshop for retouching.
Fast Culling: Flags, Stars, and Smart Previews
Use embedded previews for speed. Do a first pass with flags (P/X) to cut obvious misses. On the second pass, apply star ratings to prioritize editing. Create a Smart Collection for “Flagged” or “3★ and above” to focus your edit set.
Essential Photo Adjustments: Exposure, Color, and Lens Corrections
- White balance: Neutralize first. The WB eyedropper on a gray target is fast and precise.
- Tone basics: Start with Exposure, Contrast, Highlights, Shadows, Whites, and Blacks. Keep Histogram clipping indicators on.
- Lens corrections: Enable profile corrections and remove chromatic aberration early.
- Transform & crop: Straighten horizons; use Guided Upright on architecture.
Want to spend less time fixing later? A simple optical filter kit can help you “get it right in‑camera” so your post work is faster. Unique Photo carries beginner‑friendly options like the Tiffen 46mm Photo Essentials Kit/TPK1 (SKU TFL46TPK1) or the Tiffen 49mm Digital Essentials Kit (SKU TFL49DIGEK3).
Noise Reduction and Sharpening Without Artifacts
Apply noise reduction before sharpening. If your editor offers AI denoise (e.g., Lightroom’s Denoise), run it on high‑ISO files and then apply modest capture sharpening. For web, add a light output sharpen on export; for print, let your lab’s ICC profile guide you or use print‑specific sharpening.
Color Grading Basics for Beginners
After technical corrections, add style. Start with HSL to balance skin tones and sky. Use Color Grading wheels for subtle shifts in shadows/midtones/highlights. Keep changes small and build presets based on your favorite looks to apply consistently across sets.
Export Settings Explained (Web, Print, and Clients)
- Web/social: JPEG, sRGB, 2048–3000 px longest edge, 75–85% quality, include watermark if needed.
- Client proofs: JPEG, sRGB, 3000–4500 px longest edge, moderate sharpening.
- Prints: TIFF or high‑quality JPEG, Adobe RGB or the lab’s ICC, no watermark, resolution per lab spec (often 300 ppi).
- Archival masters: 16‑bit TIFF or PSD for layered edits; sidecar XMPs kept with RAWs.
Beginner Video Post‑Production Workflow (Audio, Proxies, Color)
- Ingest & proxy creation: Copy card to project drive; create proxies for smooth editing in Premiere Pro, DaVinci Resolve, or Final Cut.
- Sync audio: If using an external recorder, slate or use timecode. Many NLEs auto‑sync by waveform or timecode.
- Rough cut: Assemble story, trim, add b‑roll, and mark sections needing sound design or color.
- Sound: Balance levels, reduce noise, and add room tone. Record in 32‑bit float when possible to prevent clipping.
- Color: Set input color management, normalize exposure, then apply a light grade. Use LUTs sparingly.
- Titles & graphics: Keep clean and readable; export test sections to check motion and sharpness.
- Export: H.264 for web (1080p/2160p, high bitrate), HEVC/H.265 for efficiency; use platform presets for YouTube/Vimeo.
A dedicated external audio recorder is one of the biggest quality upgrades for beginners.

The Zoom H6Essential Series 6‑Track 32‑Bit Float Handheld Recorder (SKU ZOM3064) lets you capture unclipped audio and mix multiple mics. Pair it with the Zoom WSH‑4E Hairy Windscreen (SKU ZOM3079) for outdoor shoots to reduce wind noise. You’ll simplify post by avoiding distorted takes and excessive noise repair.
Learn Faster with Hands‑On Classes (Unique University)
Skill accelerates workflow. Unique Photo’s Unique University offers beginner‑friendly classes and events that blend capture and post techniques.

Try Product Photography and Post Production Editing with Blake Taylor (SKU UUU332) to learn a practical lighting-to-editing pipeline that translates directly to faster, better results.
")
And if video is your focus, our FREE RSVP: Videography Beginners Guide with Sony (Philly) (SKU UUUPS154) helps you set up a beginner‑friendly post workflow—from ingest and proxies to export.
Get It Right In‑Camera to Save Time in Post
Good capture trims hours off the edit. A circular polarizer for glare, a neutral density filter for motion blur or proper shutter in bright light, and a protective UV filter for safety are smart basics. Unique Photo’s Tiffen Essentials Kits (e.g., TFL46TPK1, TFL49DIGEK3) bundle these in common thread sizes.
Archiving and Sharing: Albums, Cloud, and Client Deliverables
Archive finished work in at least two places, and separate delivery assets from masters. For personal prints or client keepsakes, a quality album remains timeless.
 - Black")
The Pioneer Photo Albums Slim Line Post‑Style Pocket Album (4x6) (SKU P5XJPF46BK) is a simple, durable way to present and store prints after you’ve exported and ordered from your favorite lab.
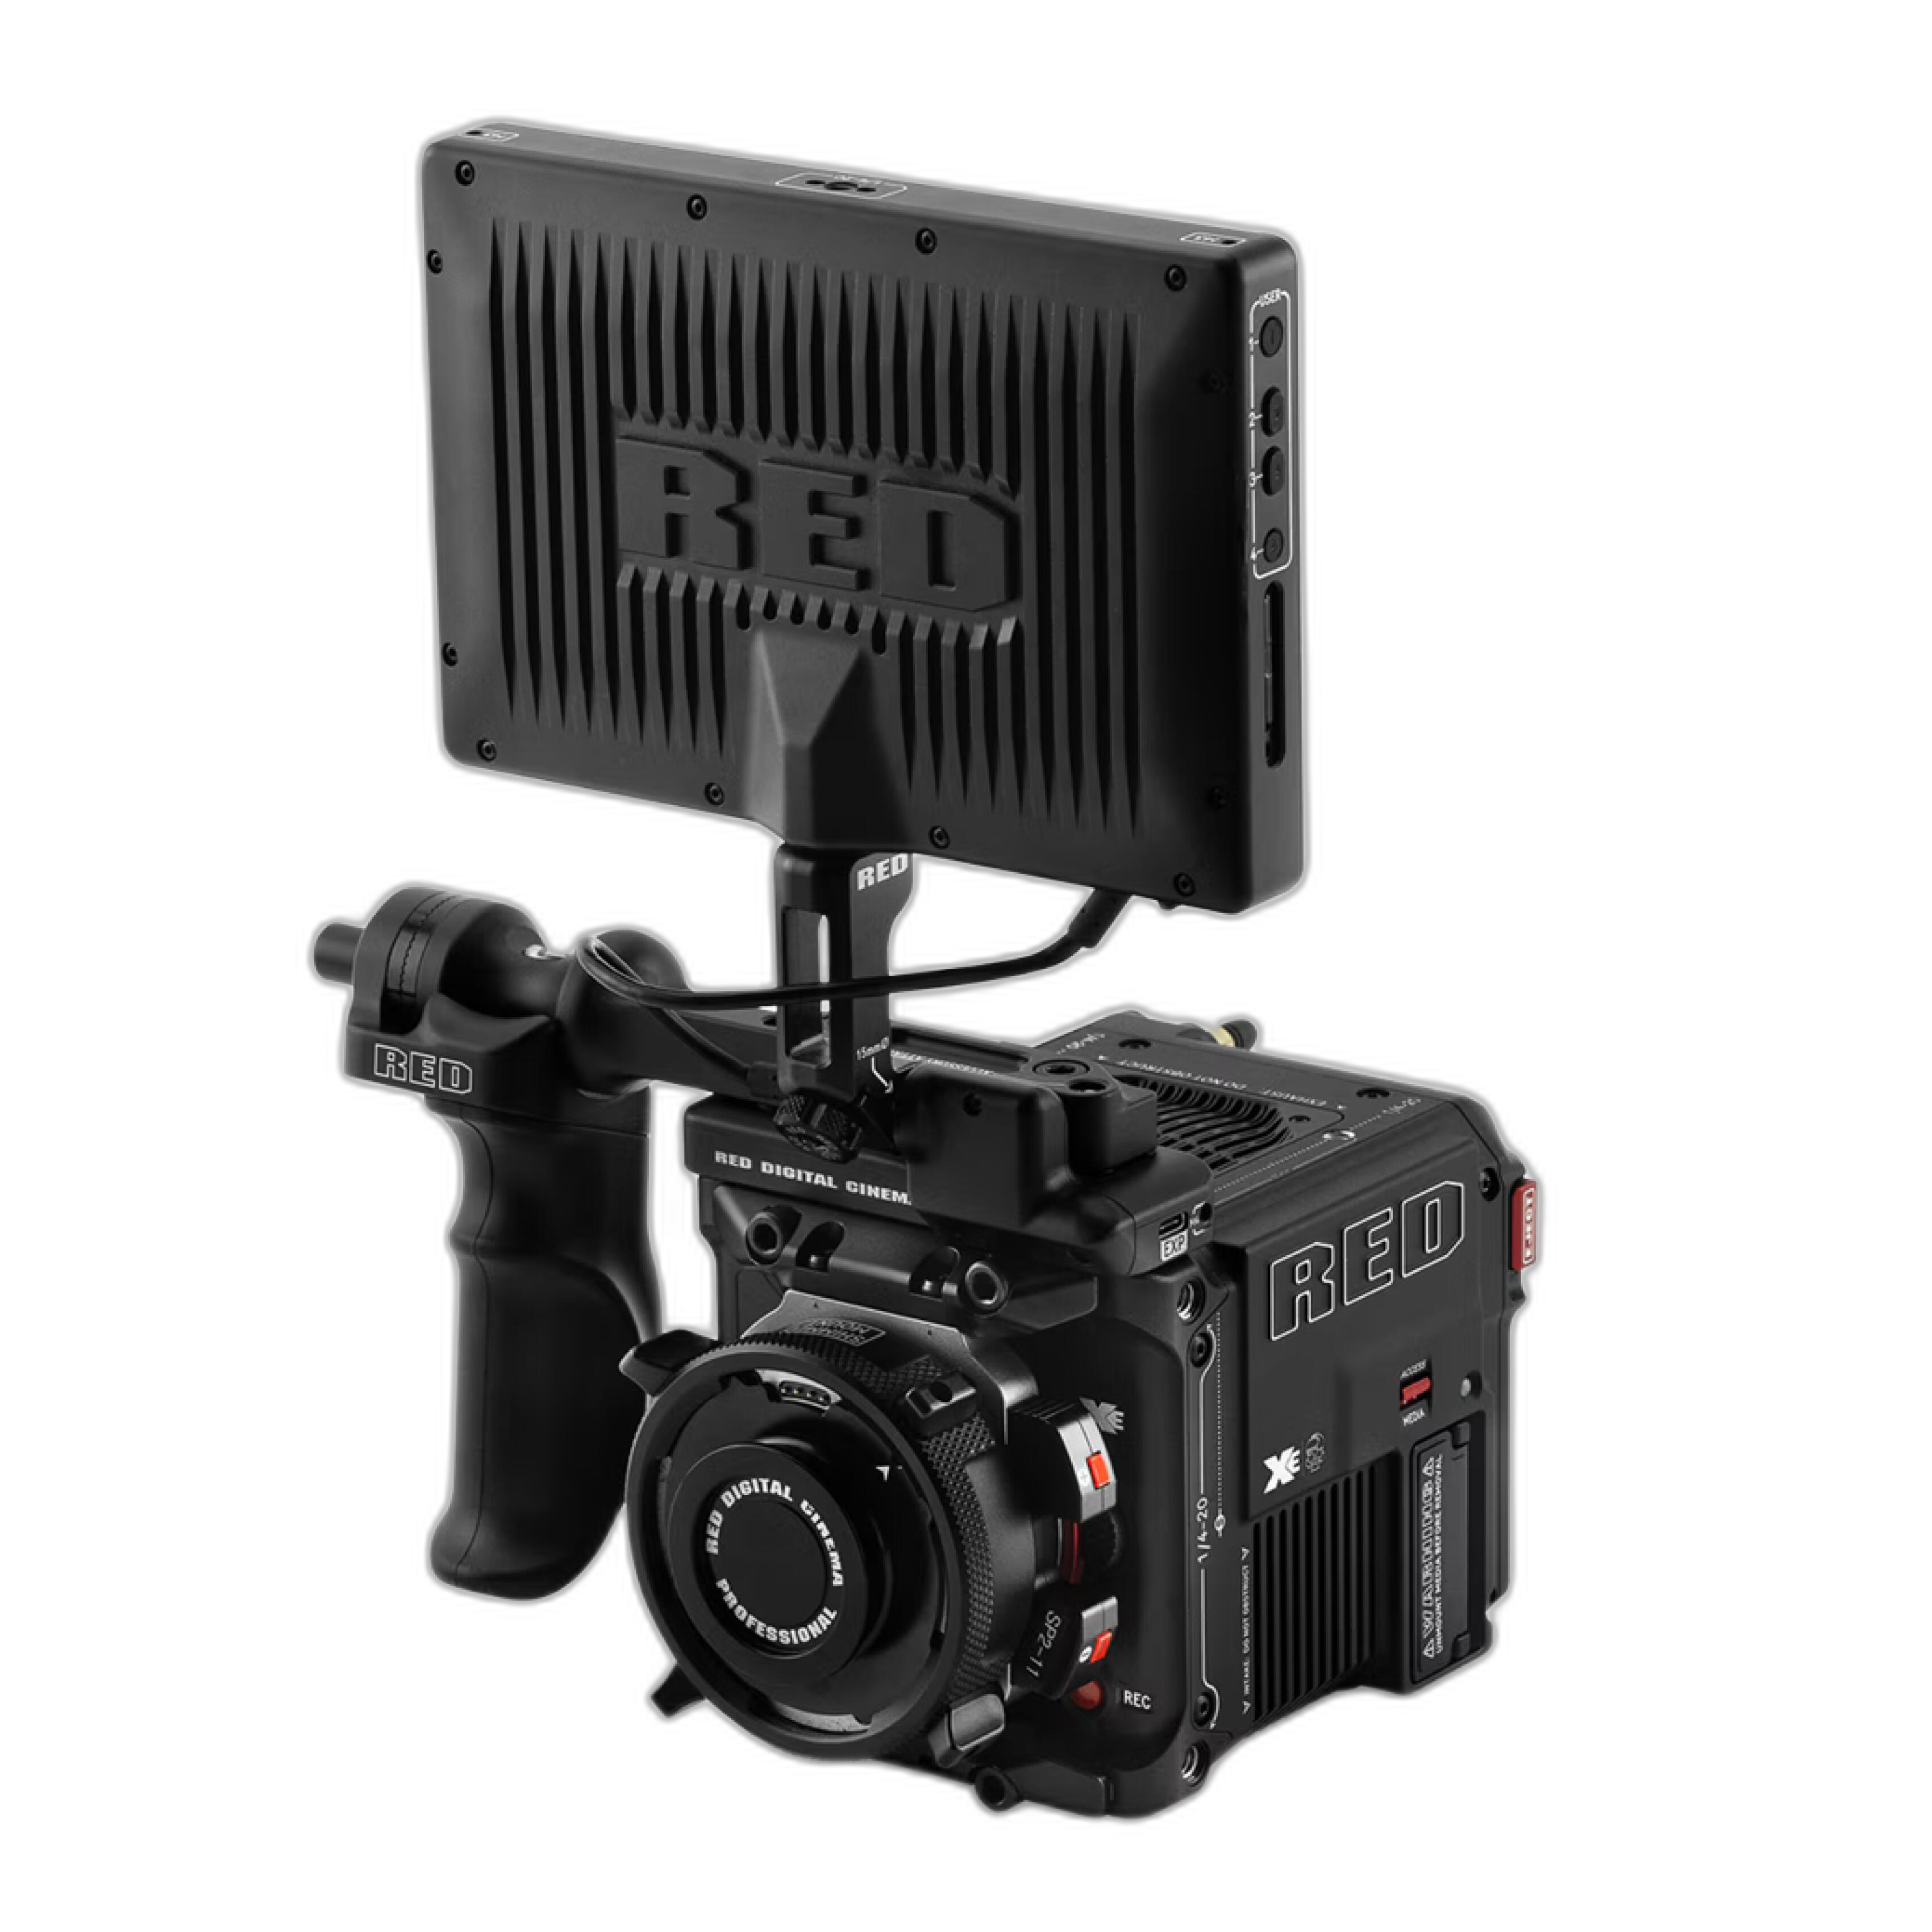
Aspirational: Growing Into Cinema Workflows
As you advance, dedicated cinema tools streamline color pipelines, media management, and reliability on set and in post.
")
The RED Digital Cinema V‑RAPTOR XE Cine Essentials Pack (Canon RF) (SKU RED2184) represents a pro‑level path, pairing RED’s image pipeline with robust accessories—ideal for creators ready to step up and future‑proof their post workflows.
Quick Checklist: Your First Week With a New Workflow
- Create a year‑based folder template and a naming preset.
- Build import presets with lens corrections and base noise reduction.
- Set color space defaults: sRGB for web, output‑specific for print.
- Make export presets for web, proofs, and print.
- Practice a 15‑minute culling session daily to build speed.
Conclusion: Start Simple, Iterate, and Lean on Unique Photo
A consistent, beginner‑friendly workflow starts with clean ingest and backups, fast culling, precise global corrections, subtle local edits, and exports tailored to your final use. Add tools like an external recorder for video, a basic set of filters for better capture, and hands‑on classes to shorten the learning curve. Unique Photo is here to help with gear, education, and support as you refine your workflow.
Suggested internal links for your reading path:
- Unique University classes and events (e.g., Product Photography and Post Production Editing; Videography Beginners Guide with Sony)
- Audio Recording category (Zoom recorders and accessories like the H6Essential and WSH‑4E windscreen)
- Filters category (Tiffen Essentials Kits for common thread sizes)
- RED Digital Cinema section (for advanced cinema workflows)
- Pioneer Photo Albums (archival and presentation options)
Visit Unique Photo online or in‑store to explore gear, book a class, and tune your post‑processing workflow.