Essential Film Photography Accessories for Beginners
Getting started with film photography is exciting, but the right accessories can make the experience much smoother from your very first roll. A few practical add-ons help you meter more confidently, protect your film, keep your gear clean, and decide how you want to handle scans and prints.
At Unique Photo, we often help new film shooters build a simple, reliable starter kit instead of overbuying. Below, we answer the most common questions about which accessories matter most, which can wait, and how to make smart choices as you learn.
What accessories are the true must-haves for a beginner in film photography?
If you are just starting out, focus on accessories that directly improve consistency and protect your results. The most useful beginner items are a camera strap, extra batteries if your camera requires them, a lens cleaning cloth, a small blower, a notebook for exposure notes, and a protective bag or case. If your camera does not have a dependable built-in meter, a handheld light meter or meter app can also be a worthwhile addition.
It is easy to think of accessories as optional, but film has less room for exposure mistakes than many beginners expect. A basic cleaning routine helps avoid dust and smudges, while a good carrying solution protects both camera and film from bumps, moisture, and heat. We generally recommend starting with the essentials that support shooting, storage, and organization before investing in more specialized gear.
Is a light meter essential, or can I trust my camera's built-in meter?
That depends on the camera you are using and how you like to work. Many film cameras have very capable built-in meters, especially if they have been tested and are operating correctly. If your meter is accurate, using it is often the simplest way to learn exposure because it keeps the process fast and intuitive.
A separate light meter becomes more useful when your camera has no meter, the meter is unreliable, or you want more control in tricky lighting. Handheld meters can be especially helpful for slide film, backlit scenes, portraits with mixed light, or any situation where precision matters. For beginners using negative film, a working in-camera meter is usually enough to get started, but learning to compare readings with a handheld meter or smartphone app can improve your confidence quickly.
If you are unsure whether your camera meter is trustworthy, shoot a test roll in different lighting situations and compare the results. That simple exercise often tells you whether you need an external meter right away or whether your camera is ready to carry the load.
What should I use to store film safely at home?
Film should be stored in a cool, dry, and stable environment. For short-term storage, keeping film in its original canister or box inside a dedicated drawer, case, or sealed container works well. For longer-term storage, many photographers refrigerate film to preserve freshness, especially if they buy multiple rolls at once. If you refrigerate film, let it return to room temperature before loading it into the camera to reduce condensation risk.
The main enemies of film are heat, humidity, and accidental exposure to dust or moisture. Avoid leaving rolls in a hot car, near windows, or in damp basements. Label exposed and unexposed rolls clearly so you do not mix them up. A simple organizational system can save an entire shoot.
When you are ready to move from negatives to physical output, quality printing materials matter too. If you are exploring darkroom or lab-style print workflows later on, products such as Fujifilm photographic paper can become part of your process.
What kind of bag or travel case is best for film photography?
The best travel case is one that protects your camera and film without making you leave it at home. For everyday use, a compact shoulder bag or padded insert is often enough for one camera body, an extra lens, film rolls, and cleaning supplies. For longer outings, a backpack with adjustable dividers can offer better protection and comfort.
For film specifically, make sure the bag includes a place where exposed and unexposed rolls can be separated. Small pouches or zip organizers are useful for keeping film sorted by ISO, type, or status. If you travel frequently, choose a case that gives you quick access at security checkpoints so you can request hand inspection for undeveloped film when needed.
Comfort also matters. A bag that is too bulky or too heavy makes film photography less enjoyable, especially because you may already be carrying spare rolls, batteries, and notes. Start with a simple protective solution and upgrade only when your workflow demands more space.
Do I need a film scanner, or should I use lab scans?
For most beginners, lab scans are the easiest and smartest place to start. They let you focus on exposure, composition, and learning your camera without adding another technical step. A good lab gives you usable files quickly, and you can evaluate whether you actually want to scan at home before investing in equipment.
Buying a scanner makes more sense when you shoot film regularly, want control over color and contrast, or plan to archive large numbers of negatives. Home scanning can save money over time, but it requires patience, software, and a bit of trial and error. Flatbed scanners can work for medium format and basic 35mm use, while dedicated film scanners tend to offer better sharpness for 35mm negatives and slides.
If your goal is simply to share images online and learn the medium, lab scans are often enough. If your goal is to fine-tune every frame, a scanner can be a great second-stage investment once your shooting habits are established.
What cleaning accessories should every film photographer keep in their kit?
At minimum, keep a microfiber cloth and a manual air blower in your bag. Those two items help you remove dust from lenses, viewfinders, and camera surfaces without causing scratches. A soft brush can also be useful, especially for older cameras that collect dust around the film door or prism housing.
Avoid using household tissues or rough fabrics on optics. If you use lens cleaning fluid, apply it sparingly to the cloth rather than directly to the lens. For film cameras, gentle cleaning is especially important because many bodies and lenses are vintage and may have more delicate coatings, seals, or finishes than modern gear.
Consistency matters more than complexity. A few simple cleaning habits before loading a roll and before heading out can prevent avoidable image quality issues.
Should beginners keep notes while shooting film?
Yes, keeping notes is one of the best habits a new film photographer can develop. Since you cannot review images immediately, logging the film stock, ISO, lens, aperture, shutter speed, and lighting conditions helps you connect your results to your decisions. This makes each processed roll much more educational.
You do not need anything elaborate. A small notebook or note-taking app works well. Some photographers record frame numbers with quick exposure notes, while others just log the key conditions for each scene. Over time, these notes make it easier to understand how different films respond to overexposure, shadow detail, and mixed lighting.
As your interest grows, educational workshops can also accelerate your learning. Unique Photo offers classes and events that help photographers build confidence in technique and workflow.
What beginner mistakes can the right accessories help prevent?
The right accessories help prevent several common problems: underexposed rolls from inaccurate metering, scratched lenses from poor cleaning habits, fogged or degraded film from bad storage, and confusion from mixing exposed and unexposed rolls. Even small items like labeled containers, a reliable strap, and extra batteries can make a big difference in day-to-day shooting.
Another frequent issue is inconsistent workflow after development. If you plan to edit scans, learning basic post-processing can help you get more from your negatives without overcorrecting them. Building a solid understanding of tone, contrast, and color is valuable whether your scans come from a lab or your own setup.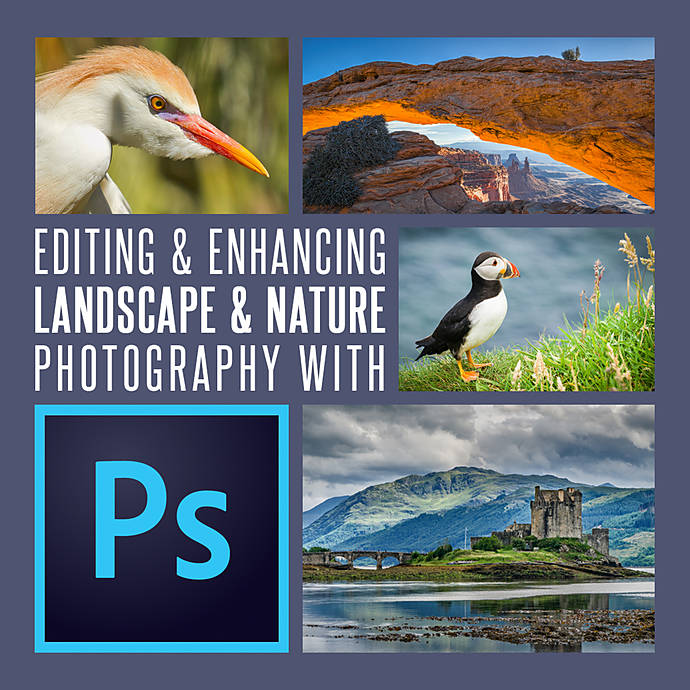
The goal is not to carry every possible accessory. It is to carry the few tools that reduce avoidable mistakes and help you stay focused on making photographs.
When should I upgrade beyond the basics?
Upgrade when your shooting habits reveal a clear need. If you often work in difficult light, add a handheld meter. If you shoot enough film that scan costs are adding up, consider a home scanning setup. If you are traveling more, invest in a better bag or storage solution. Let your workflow guide the purchase, rather than building a large kit before you know what matters to you.
That same principle applies to learning resources. Workshops, talks, and events can be extremely helpful when you are ready to improve your technique or explore new genres of photography.
Film photography becomes much more rewarding when your accessories match the way you actually shoot.
Whether you are choosing your first film accessories, looking for guidance on storage and scanning, or ready to sharpen your skills with a class, Unique Photo is here to help. Explore our gear, educational events, and expert advice to build a film kit that keeps the process simple, enjoyable, and dependable.