 A consistent, repeatable editing workflow is the difference between an average landscape photo and a portfolio-worthy image. Whether you’re processing a single mountain vista or a multi-row panorama, the right sequence saves time, preserves quality, and keeps your catalog organized. Below is a proven, real-world landscape photography editing workflow you can tailor to your style—brought to you by the team at Unique Photo.
Best Landscape Photography Editing Workflow (Quick Checklist)
- Ingest and backup: verify copies, apply metadata, and build previews
- Cull efficiently: rate, flag, and create selects
- Base RAW setup: profile, white balance, lens corrections
- Global tone and color: exposure, contrast, color grading
- Local adjustments: masks for sky, foreground, subject
- Detail work: noise reduction and sharpening
- Advanced edits (if needed): HDR, panorama, focus stacking, exposure blends
- Final polish in Photoshop: cleanup, luminosity shaping, finishing color
- Soft proof and export: print/web settings and output sharpening
- Archive and backup: implement the 3-2-1 rule
How to Import, Backup, and Organize RAW Landscape Photos
Start by offloading your cards with a fast UHS-II reader to minimize bottlenecks—accessories like the Lexar Professional Workflow Dual-Slot SD UHS-II Reader (SKU: LRD1116) are built for speed and reliability. On import, create a clean folder structure, such as YYYY/MM/DD_Location, and apply a metadata preset with your copyright and contact info. Add a few core keywords (location, season, subject) so you can find images later.
Follow the 3-2-1 backup rule: three copies, two different media, one offsite. Use verified copies during import and schedule automatic backups to an external drive or NAS.
Color Management and Monitor Calibration for Landscape Editing
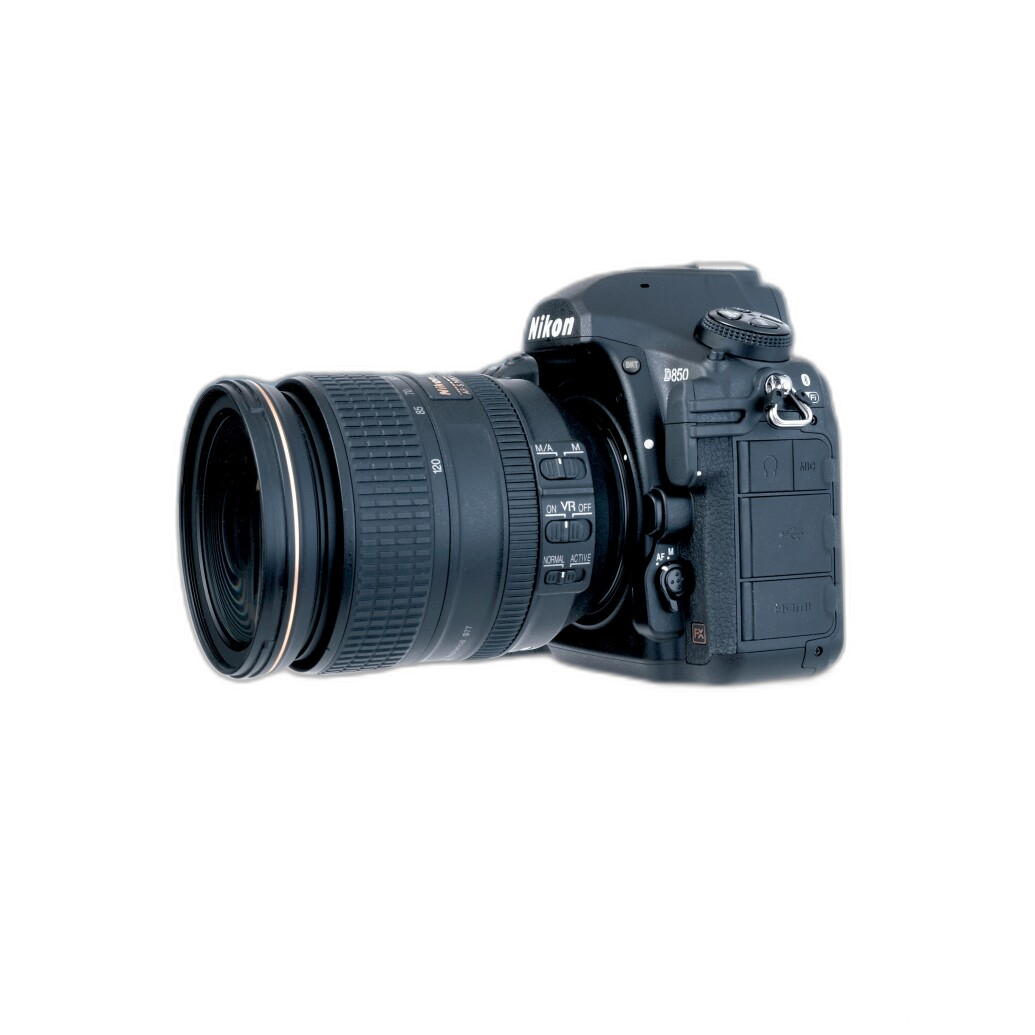
Accurate color starts with a calibrated, profiled display in a neutral editing environment. Calibrate monthly, target a white point of D65, gamma 2.2, and a luminance around 100–120 cd/m² for print-focused work (120–160 for web-only). Work in a wide-gamut color space for editing (ProPhoto or Adobe RGB) and convert on export. If you’re shooting with a Nikon D850 or similar high-resolution body, a reliable reference like Nikon D850 Guide to Digital SLR Photography by David Busch (SKU: RNB064) can help you dial in optimal in-camera settings that support cleaner post.
Lightroom Classic Landscape Workflow (Step by Step)
Most landscape edits start cleanly and non-destructively in Lightroom Classic or similar RAW processors:
- Profile and white balance: Choose a camera profile that supports your aesthetic (Camera Landscape, Neutral, or a custom profile). Set WB from a natural gray (rocks, clouds) or fine-tune by eye.
- Lens corrections and geometry: Enable Remove Chromatic Aberration and Lens Profile Corrections. Use Transform for subtle verticals and horizon leveling.
- Global tone: Adjust Exposure, Highlights/Shadows, Whites/Blacks while watching the histogram. Keep highlights under control to protect clouds and sunlit snow.
- Tone Curve: Add gentle S-curve for contrast; lift shadows carefully to avoid haze.
- HSL and Color Grading: Target foliage, sky, and water hue/sat with restraint. Use Color Grading midtones for warmth and shadows for coolness to shape mood.
- Local masks: Use Sky, Subject, Linear and Radial Gradients, plus Color/Luminance Range Masks to refine specific areas (e.g., darken sky, brighten foreground, add texture to rocks).
- Detail panel: Apply noise reduction before sharpening. Mask sharpening to edges; avoid sharpening the sky.

Advanced Photoshop Techniques for Landscape Photography
When Lightroom alone isn’t enough, round-trip to Photoshop for pixel-level control:
- Exposure blending and luminosity masks: Blend bracketed frames to retain highlight detail in skies and shadow depth in foregrounds. Luminosity masks allow precise tonal targeting.
- Focus stacking: For near-to-far sharpness, stack multiple focus distances. Align, auto-blend, and refine with hand-painted masks for critical edges.
- Panorama stitching: Stitch with cylindrical or spherical projection, then warp edges subtly to correct horizon bowing. Finish with content-aware fill on transparent borders.
- Cleanup and polish: Remove distractions, micro-contrast dodge and burn, and add finishing color through Selective Color or gradient maps on low opacity.
Noise Reduction and Sharpening for Landscapes
Apply noise reduction before global sharpening and always zoom to 100%. For high-ISO twilight or astrophotography, reduce color noise first, then luminance. For sharpening, use a two-stage approach: capture sharpening in your RAW processor, then creative/structure sharpening on subject areas in Photoshop. Use masks to keep skies smooth and water silk-like. If you’re pursuing nightscapes, consider expanding your skills with Unique Photo’s UUOnline: Astrophotography 4-Part Series with Temu Nana (Session 2) (SKU: UUUO52B).

Export Settings for Web, Print, and Social
- Web/social: sRGB, 2048–3000 px on the long edge, JPEG quality 80–90, standard output sharpening for screen.
- Client proofs: sRGB or Adobe RGB, 3000–4500 px, embedded metadata and watermarks as needed.
- Print: Export at native resolution or 300 ppi, Adobe RGB or printer ICC profile. Soft proof with your lab’s profile, adjust, and add output sharpening for matte or glossy paper.
Efficient Hardware and File Management Tips
Speed up bottlenecks so you spend more time creating:
- Fast ingest: Use a UHS-II reader like the Lexar Professional Workflow Dual-Slot SD UHS-II Reader (SKU: LRD1116) to cut import time dramatically.
- Editing drive: Put catalogs and active projects on an NVMe SSD; keep archives on larger HDD or NAS.
- RAM and GPU: 16–32 GB RAM and a modern GPU accelerate masking, panorama/HDR, and AI-based tools.
- File hygiene: Use consistent naming (YYYYMMDD_Location_Sequence) and periodic catalog cleanup.

Learn and Level Up: Classes, Books, and Events at Unique Photo
Guided learning shortens your path to consistent, high-impact edits. Unique Photo’s education team runs hands-on classes and online sessions that pair fieldwork with post-production.
- Editing and Enhancing Landscape and Nature Photography with Photoshop (SKU: UUU237): Structured techniques for tonal control, color, and selective adjustments.
- Macro and Landscape Photography at Duke Farms with Michael Downey (SKU: UUU406): Field-to-edit workflow in inspiring locations.
- UUOnline: Astrophotography 4-Part Series (Session 2) with Temu Nana (SKU: UUUO52B): Capture and post-process night skies.
- Nikon D850 Guide to Digital SLR Photography by David Busch (SKU: RNB064): Camera mastery that supports cleaner RAW files and easier edits.
Common Landscape Editing Mistakes to Avoid
- Overcooked colors and halos from aggressive clarity or dehaze
- Uniform sharpening that crisps skies and introduces noise
- Crushed shadows or clipped highlights from heavy global contrast
- Skipping lens corrections and horizon leveling
- Ignoring color management, leading to print mismatches
Conclusion and Internal Linking Suggestions
A dependable editing workflow lets you move from import to final image with confidence. Start with clean organization, build a solid RAW foundation, shape tone and color with targeted masks, and finish with precise Photoshop refinements. If you’re ready to go deeper, Unique Photo’s team and classes can help you master these techniques.
Suggested internal links for Unique Photo:
- Link to Unique University: Editing and Enhancing Landscape and Nature Photography with Photoshop (SKU: UUU237)
- Link to Classes and Events: Macro and Landscape Photography at Duke Farms (SKU: UUU406) and Astrophotography Series (SKU: UUUO52B)
- Link to Memory Cards & Card Readers category: highlight the Lexar Professional Workflow Dual-Slot SD UHS-II Reader (SKU: LRD1116)
- Link to Photography Books: Nikon D850 Guide to Digital SLR Photography (SKU: RNB064)
- Link to Unique Photo’s printing services or paper profiles page for soft-proofing resources