Why DIY color film development is growing with hobbyists
Home color film development has become one of the most searched film photography topics for good reason: it gives hobbyists more control, faster turnaround, and often better long-term value than lab-only workflows. If you shoot regularly, learning how to develop color film at home can turn film photography into a more consistent and rewarding process. Many photographers who shop at Unique Photo start with black-and-white developing, then move into color once they realize modern kits make the process much more approachable than it sounds.
The key is understanding that DIY color film developing is less about having a full darkroom and more about following a repeatable process. With a reliable kit, accurate temperature control, and good organization, home processing C-41 color negative film is realistic for many hobbyists.
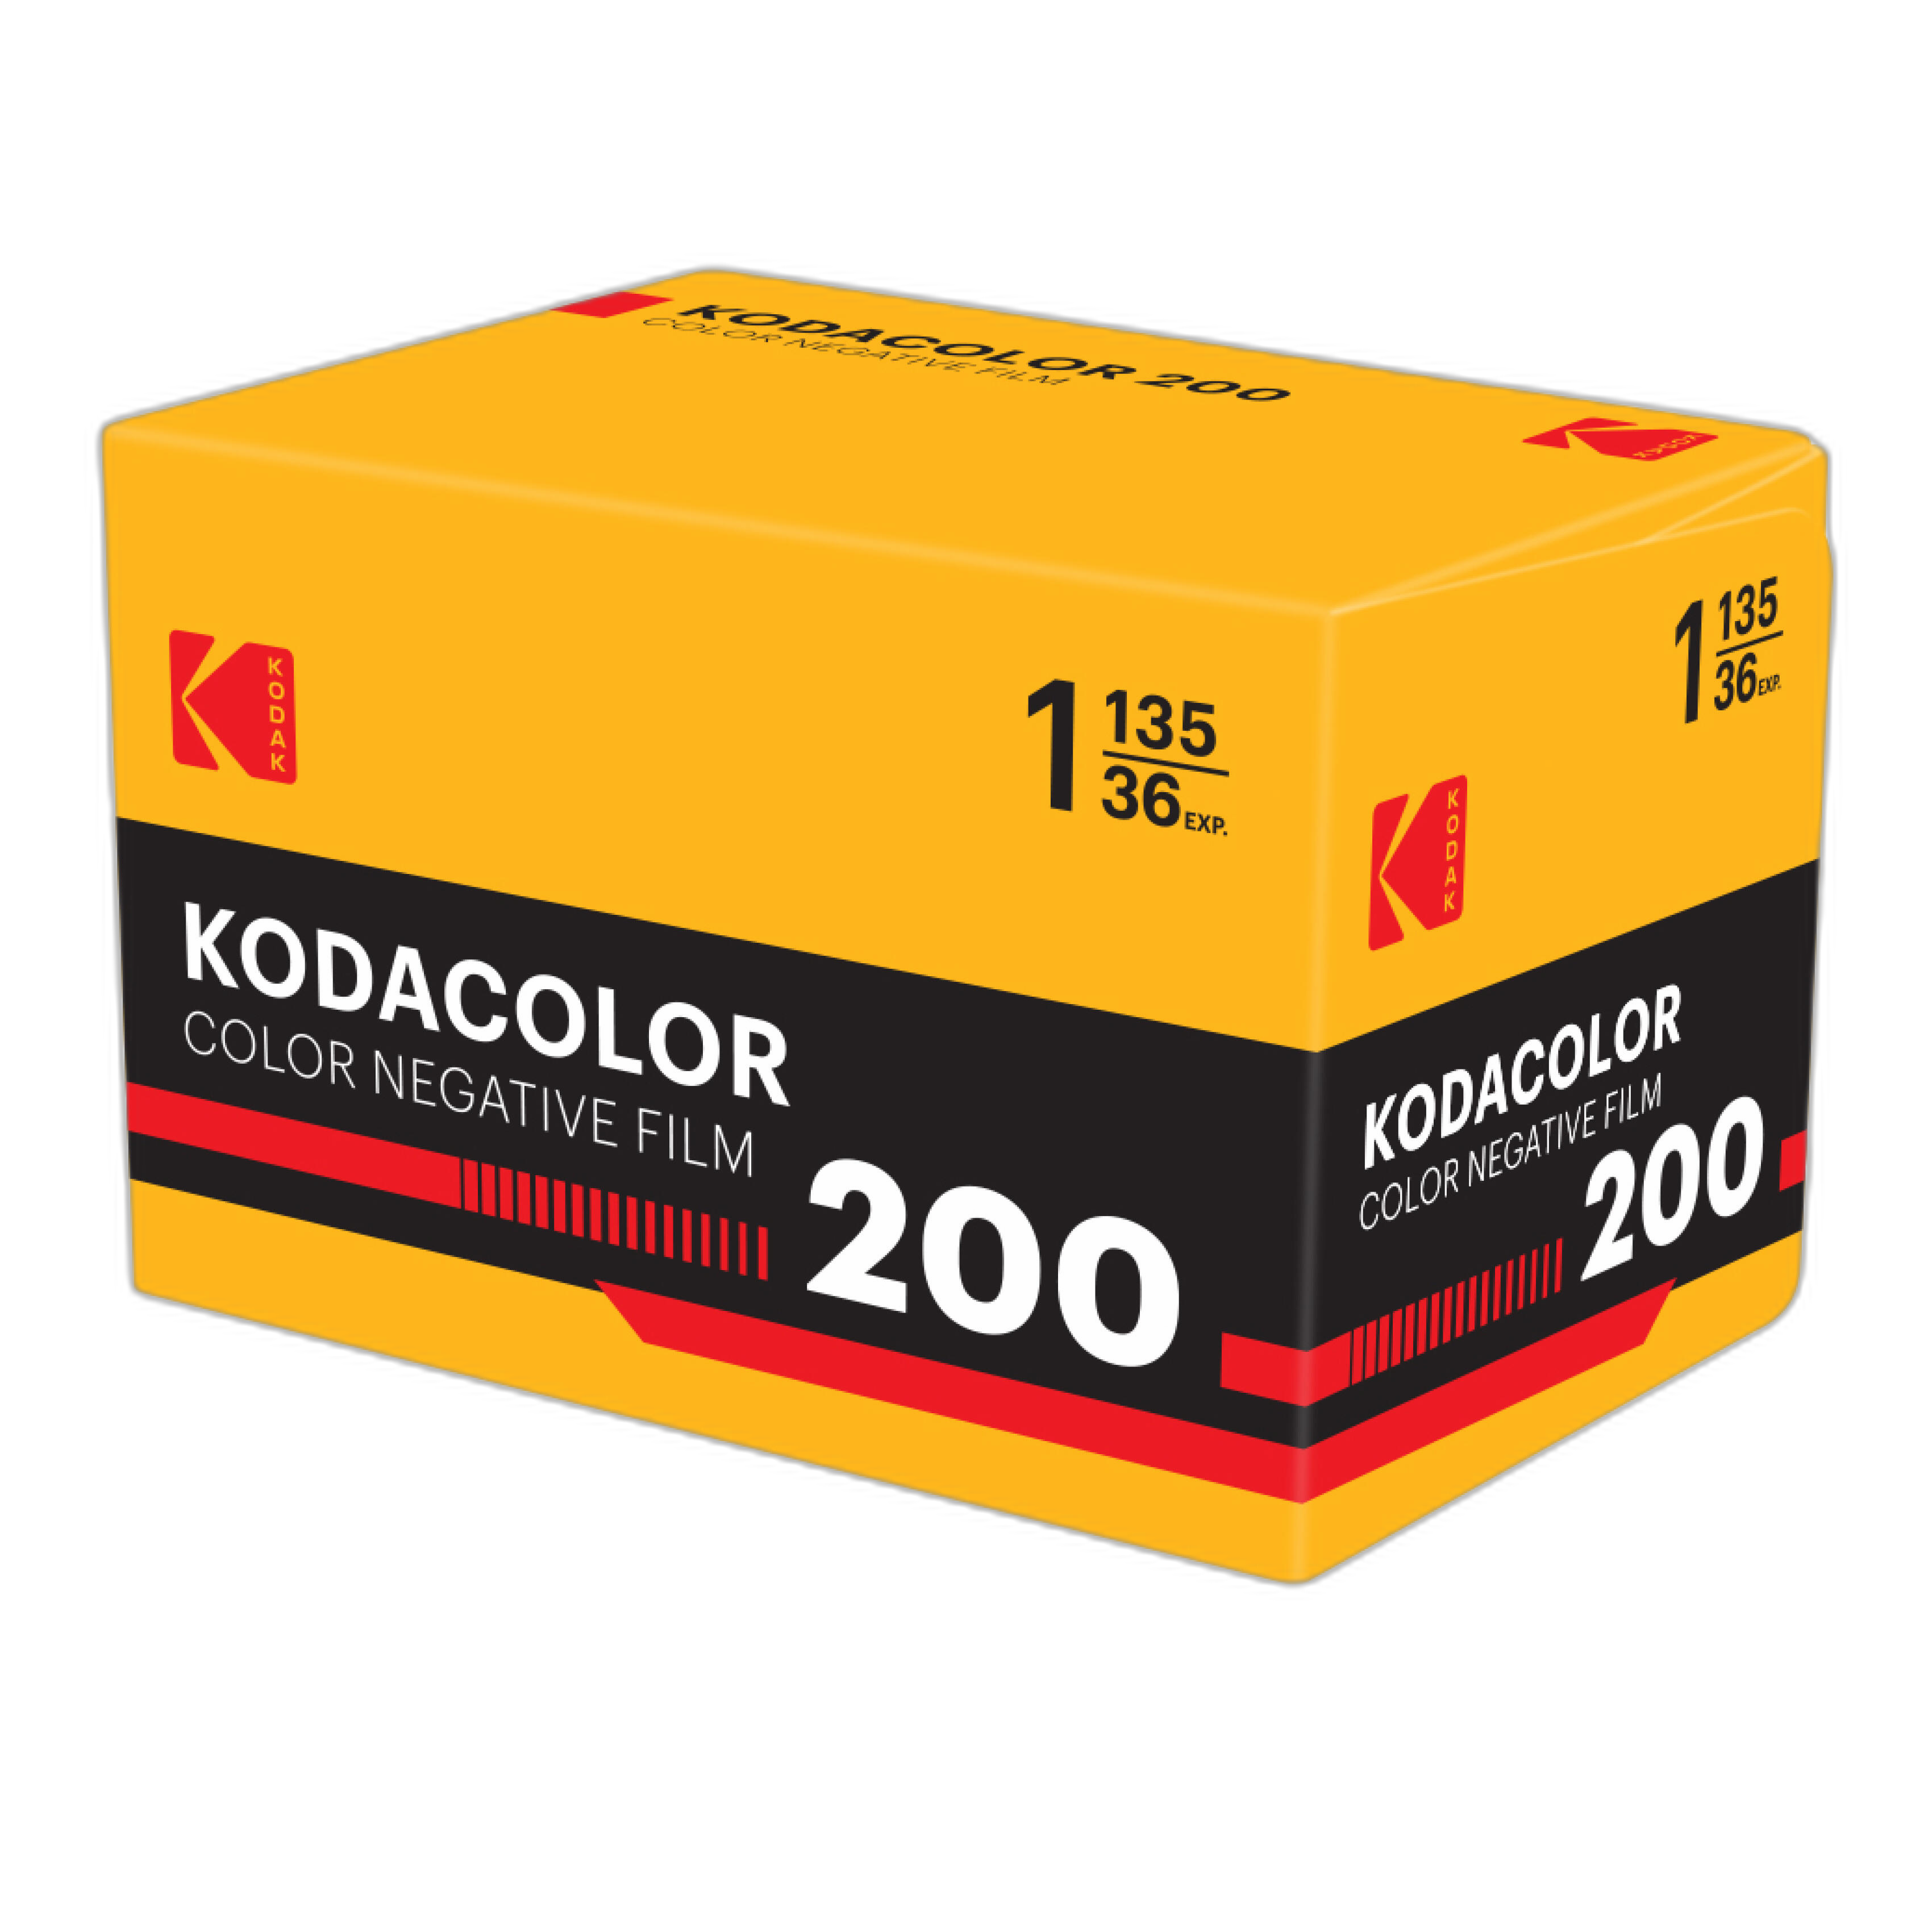
If you are just getting started, consumer color negative stocks such as Kodak color film are often a practical place to begin because they are forgiving enough for learning and easy to scan after processing.
What you need for DIY color film development at home
If you are researching what equipment is needed to develop color film at home, the good news is that the core setup is simple. Most hobbyists need:
- A daylight developing tank and reels
- A changing bag or dark room for loading film
- A C-41 color film developing kit
- Graduates or mixing containers
- Storage bottles for chemistry
- A thermometer or sous vide-style temperature control solution
- A timer
- Clips or a dust-free space to hang film to dry
The biggest variable in color film processing is temperature consistency. Black-and-white can be flexible, but C-41 works best when you stay close to the recommended temperature and processing times. That is why many home users build a simple warm-water bath setup for bottles and the tank.
Unique Photo is a useful resource for film shooters building out a home workflow because many photographers eventually connect developing with scanning, printing, and archiving. After processing your negatives, you may want to digitize them, make inkjet prints, or refine your home workspace lighting.
How to choose the best color film developing kit
One of the most common search queries around this subject is how to choose a color film developing kit. For most hobbyists, the right kit comes down to three factors: ease of use, number of rolls you expect to process, and shelf life after mixing.
In general, beginners should look for a kit with:
- Clear step-by-step instructions
- Manageable bottle sizes
- A realistic roll capacity for their shooting volume
- Good reputation for consistency
If you only shoot a few rolls every couple of months, buying a very large kit may not be the best value if chemistry expires before you use it. On the other hand, if you shoot weekly, a larger-capacity kit can substantially reduce your cost per roll.
Many hobbyists start with a standard C-41 kit designed for small-batch home use. These kits are ideal because they simplify the process into a few key chemical steps rather than making you source each component separately. If your goal is reliable results with minimal frustration, convenience matters more than theoretical savings.
C-41 process tips for better home results
When people ask how to successfully develop color film at home, the answer is usually not about exotic gear. It is about consistency. Here are some practical C-41 developing tips that can make a major difference:
- Keep chemistry at the correct temperature. This is the most important part of color processing.
- Label everything. Avoid cross-contamination between developer, bleach/fix, stabilizer, and rinse tools.
- Pre-plan your timing. Have your timer, tank, and bottles ready before you begin.
- Agitate consistently. Use the same inversion pattern each time.
- Do not rush drying. Dust and water spots can ruin an otherwise successful roll.
- Track roll counts. Chemistry capacity matters when image quality is on the line.
A well-lit workspace also helps you stay organized while mixing and pouring chemicals. If you are setting up a cleaner home processing station, continuous lighting can make the workflow more comfortable.
While not a film-specific item, organizing your broader photo workspace matters. Hobbyists often discover that cleaner work surfaces, labeled supplies, and a repeatable setup reduce mistakes more than any single upgrade.
Common mistakes when developing color film yourself
If you are searching for color film developing mistakes to avoid, these are the big ones:
- Temperature drift during development
- Incorrect mixing ratios when preparing chemistry
- Improper agitation that causes uneven development
- Using exhausted chemistry past its practical capacity
- Loading errors when spooling film onto reels
- Poor drying conditions that introduce dust or streaking
Many first-time users worry most about the chemistry, but loading film onto reels is often the hardest skill to learn. Practice with a sacrificed roll in daylight first, then repeat inside a changing bag until the motions feel automatic.
Another overlooked issue is overcommitting too early. Start with a small number of rolls, learn your process, and build confidence. Unique Photo serves many photographers who get the best results by treating their first few home-developed rolls as test runs rather than once-in-a-lifetime images.
Is developing color film at home worth it? Cost and value analysis
For many hobbyists, the biggest question is whether home color film development is worth the money. The answer depends on shooting volume, local lab pricing, and how much you value convenience and control.
Here is the basic way to think about it:
- Lab processing has low startup cost but higher per-roll cost
- Home processing has higher startup cost but lower per-roll cost over time
- DIY value increases if you shoot regularly and process in batches
Typical hobbyist economics look something like this:
- Initial setup: tank, reels, bottles, thermometer, changing bag, chemistry
- Ongoing costs: replacement chemistry, water, clips, occasional accessories
- Savings opportunity: better per-roll cost after enough volume
If your local lab charges a premium for color development, the break-even point can arrive fairly quickly. If you only shoot a handful of rolls per year, the economics are less compelling, and the hobby value may matter more than the savings. Many film shooters choose DIY not just for lower cost, but for faster turnaround, more control over handling, and the satisfaction of completing the entire analog process themselves.
That value grows even more if you already scan at home or plan to make your own prints. Once negatives are developed, you can create a full end-to-end workflow from camera to final output.
After development: scanning, printing, and building a complete home workflow
Developing your own film is often the first step toward a broader home photo workflow. After drying and cutting negatives, most hobbyists either scan for sharing or print selected images. This is where Unique Photo becomes especially relevant, because many photographers who begin with DIY film processing later invest in output tools for digital finishing and physical prints.
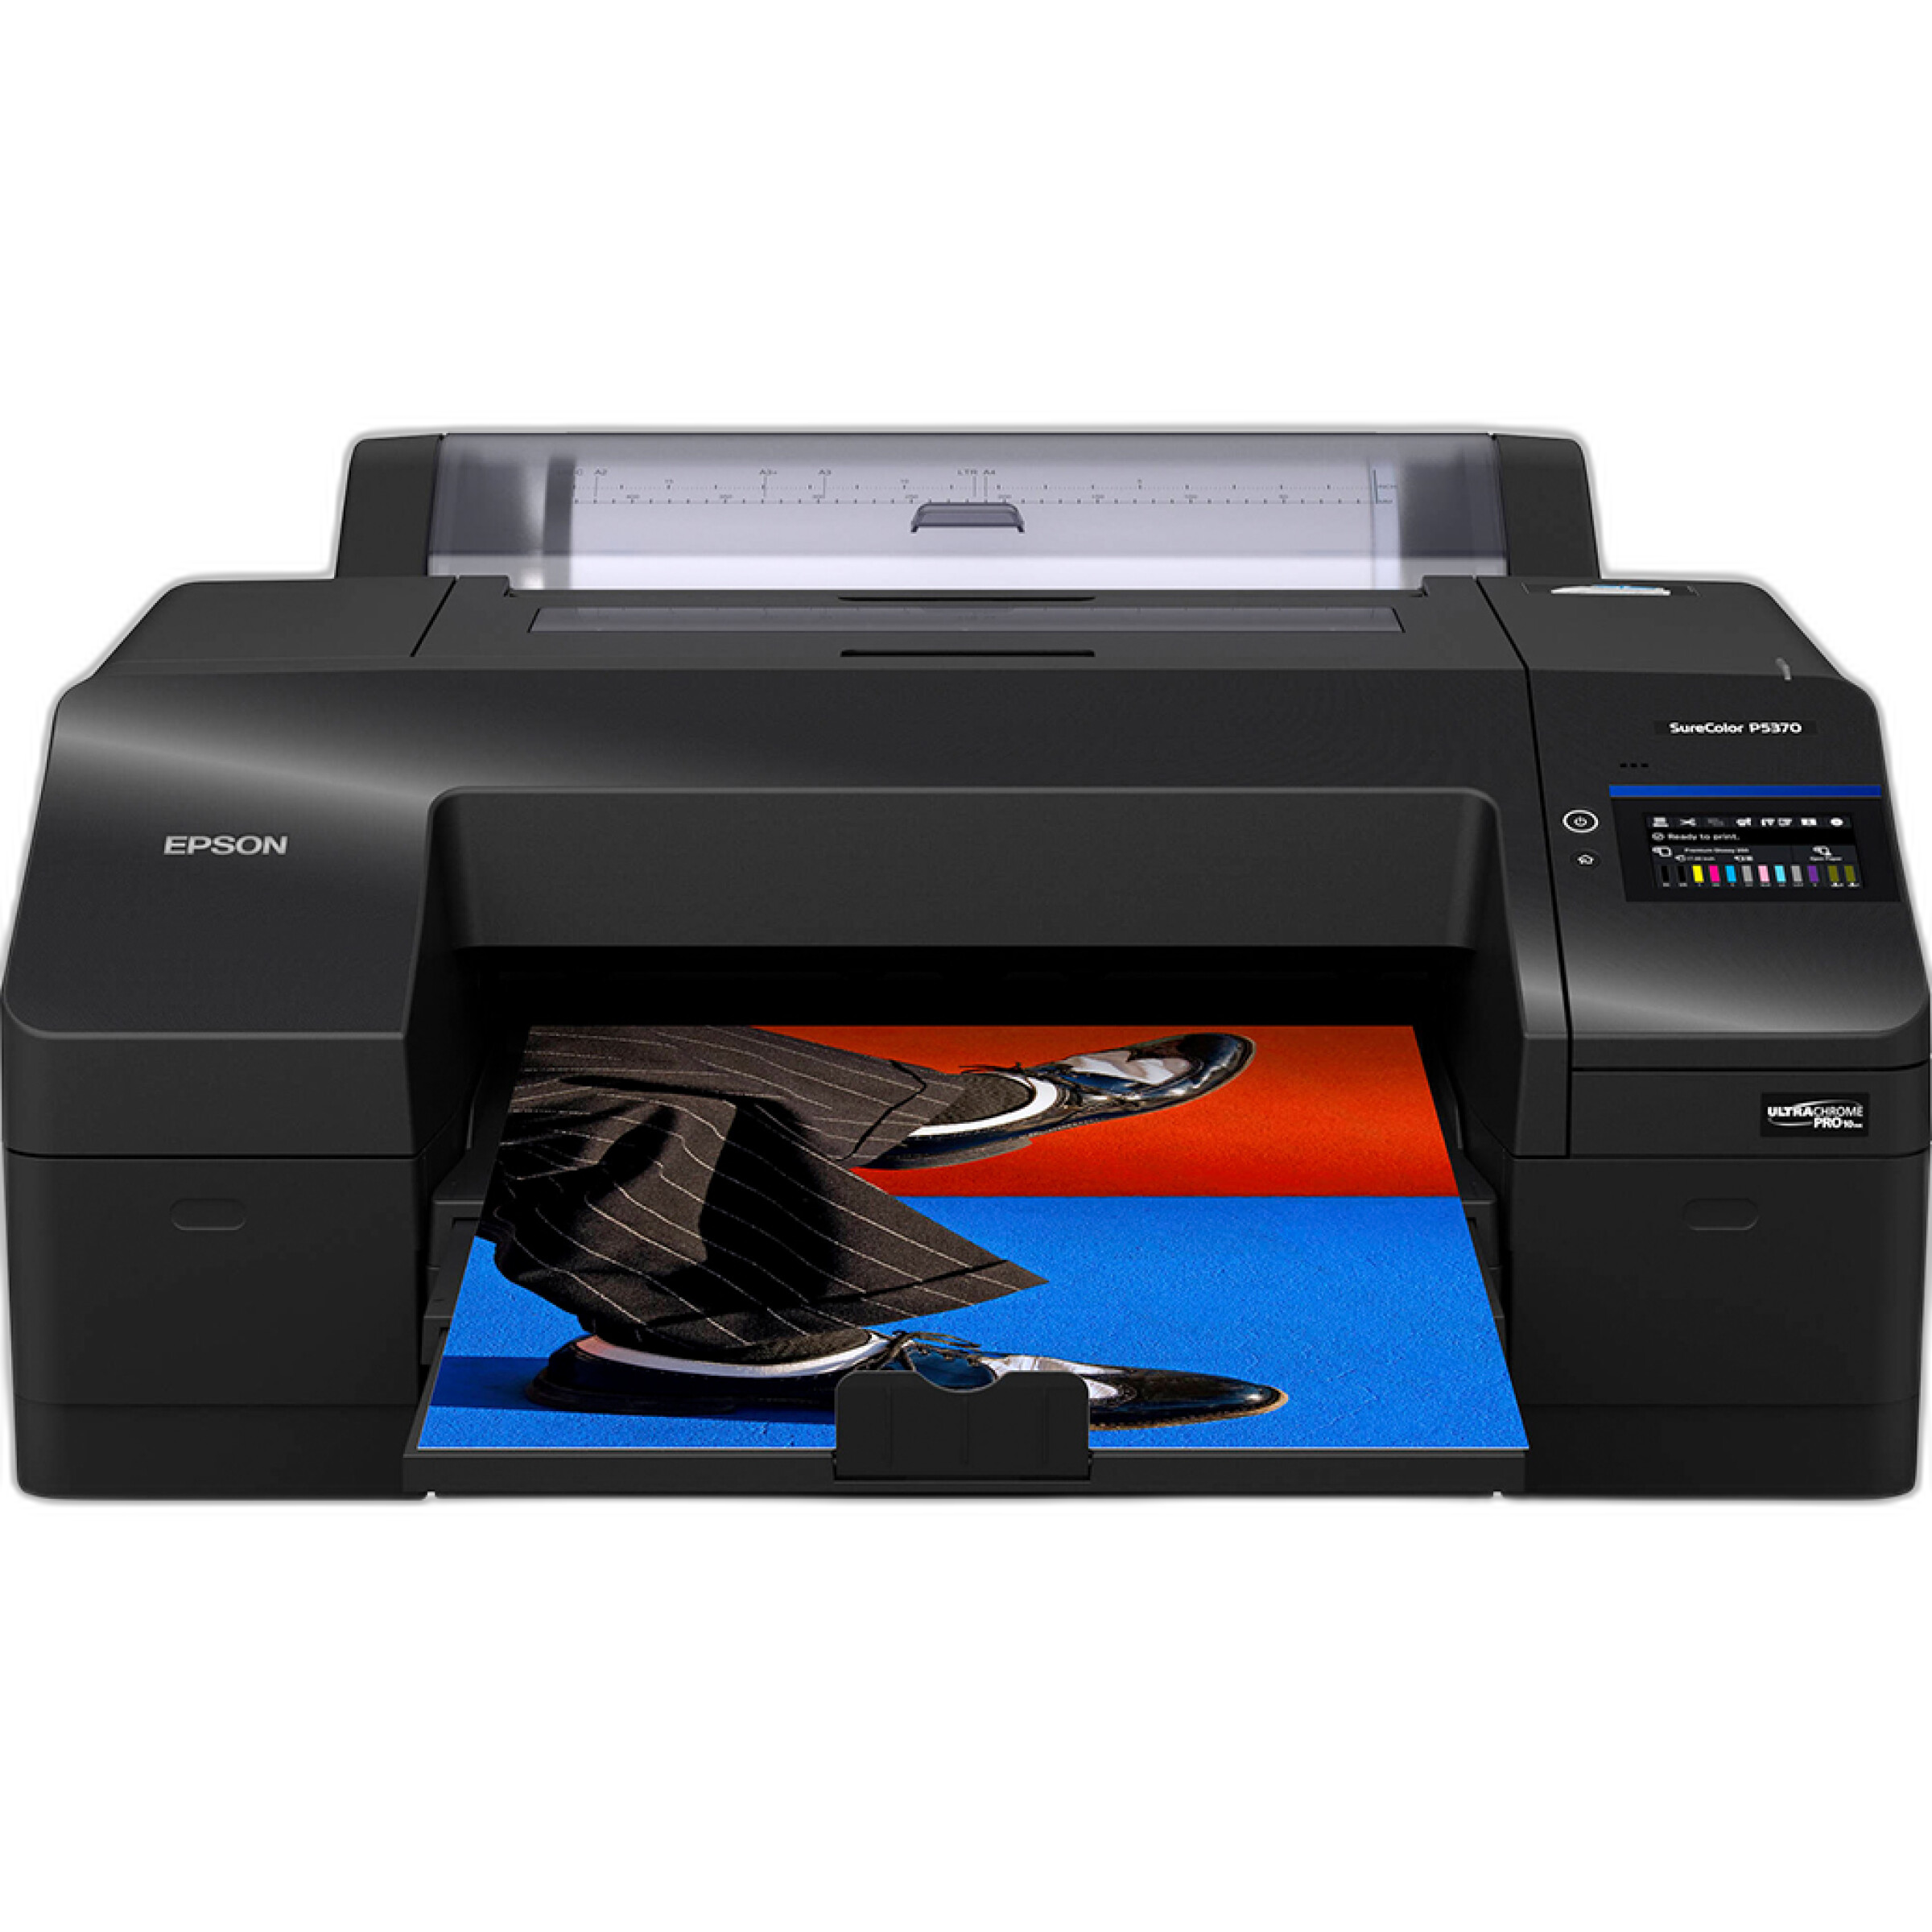
For photographers who want gallery-quality output from scanned negatives, a professional photo printer can be a natural long-term upgrade. Products like the Epson SureColor P5370 17-Inch Professional Photographic Printer fit into a serious home workflow where film scans are edited and printed with greater control.

Likewise, print media plays a major role in how your final images look. A fine art paper option such as Epson Exhibition Watercolor Paper can appeal to photographers who want a textured, exhibition-style presentation for scanned color negatives.
Not every hobbyist needs to go this far, but it is helpful to think of home film developing as part of a larger creative system rather than an isolated task.
Best advice for beginners learning home color film processing
If you are completely new and want the simplest path, follow this approach:
- Start with a reliable C-41 kit intended for home use
- Process fresh, standard color negative film rather than expired film
- Use a simple, repeatable water-bath temperature setup
- Develop multiple rolls in a short time period so chemistry does not sit unused too long
- Take notes on times, temperatures, and results
Try not to evaluate your early attempts too harshly. Slight color shifts, density differences, or drying marks are common beginner issues and usually fixable. Like any photographic skill, consistency improves with repetition.
It also helps to buy film and workflow tools from a trusted retailer. Unique Photo is well known among photographers for supporting both analog and digital shooters, which makes it easier to build a system over time rather than shopping piecemeal without guidance.
Conclusion: building a smarter DIY color film setup
DIY color film development can absolutely be worth it for hobbyists who want more control, lower long-term processing costs, and a deeper connection to their photography. The best home color film setup is not necessarily the most expensive one. It is the one that matches your shooting volume, keeps chemistry management simple, and helps you repeat the process confidently.
For many photographers, the ideal path is to start small, master C-41 fundamentals, then expand into scanning and printing as their skills grow. Unique Photo is a natural place to support that journey, whether you are shopping for film, output tools, or the accessories that make a home workflow smoother.
For internal linking opportunities, consider guiding readers to related Unique Photo categories and resources such as film photography supplies, photo printers, ink and paper, and educational content around scanning, archiving, and darkroom-inspired workflows.