Thinking about bringing color film developing into your home workflow? With a few affordable tools, careful temperature control, and some practice, you can get beautiful, consistent C‑41 results without leaving your space. Here’s a beginner-friendly guide from Unique Photo to help you start strong—and avoid the most common pitfalls.
Essential kit: what you need to develop color film at home
Color negative film (C‑41) rewards precision, but the core setup is simple. Start with:
- Light-tight developing tank and reels (Paterson or similar)
- Accurate thermometer (reads to 0.1°C/0.2°F)
- Water bath for temperature control (an immersion circulator/sous‑vide is ideal)
- Measuring cylinders and funnels (one set per chemical; avoid cross‑contamination)
- Storage bottles (amber or opaque, airtight)
- Timer with alarm
- Nitrile gloves, eye protection, and good ventilation
- Film clips or clothespins for dust‑free drying
C‑41 in a nutshell: times, temps, and what they do
Every chemistry kit has its own instructions—always follow the data sheet—but most C‑41 workflows share these stages:
- Developer: Creates the color image in the dyes. Typical baseline is 38°C/100.4°F for ~3:15–3:30 with consistent agitation.
- Bleach (or Blix): Converts metallic silver back to a form the fixer can remove. Many home kits combine bleach and fix as blix.
- Fixer: Clears the remaining silver. If using blix, this is combined with bleach.
- Wash: Thorough rinse to remove residual chemistry.
- Final rinse/stabilizer: Helps prevent biological growth and reduces water spots; do not squeegee.
Color developer is sensitive to temperature. Small deviations can shift color balance and contrast. Keep chemistry at process temperature from start to finish for best consistency.
Step‑by‑step quickstart (beginner workflow)
- Preheat: Bring all bottles (developer, bleach or blix, fixer if separate) to the target temperature in a water bath. Pre‑warm your empty developing tank in the bath as well.
- Load the film: In a completely dark space or changing bag, load your color film onto reels and into the tank.
- Developer: Pour, start timer, and agitate as directed (often continuous for first 10 seconds, then 4 inversions every 30 seconds). Maintain 38°C. Typical time: ~3:15–3:30.
- Bleach/Blix: Pour in immediately after developer. If using separate bleach and fix, run each for its specified time (often 6–8 minutes each at 38°C). With blix, ~6–8 minutes is common. Keep temperature stable and agitate per instructions.
- Wash: Use running water for 3–5 minutes or perform several fill‑invert‑dump cycles until clear.
- Fix (only if you bleached separately): Run the fixer for the recommended time at temperature with gentle agitation.
- Final rinse/stabilizer: 1 minute is typical. No agitation is often advised—follow your kit. Hang to dry in a dust‑free space. Avoid squeegees; let water sheet off naturally.
Tip: Mix and label dedicated tools per bath (DEV, BL/BLIX, FIX, STAB). Cross‑contamination is the fastest way to ruin chemistry.
Temperature control tips for reliable color
- Stable bath: Use a deep bin with an immersion circulator to keep chemistry bottles and your tank at temperature between steps.
- Thermometer discipline: Verify both the bath and the actual chemical inside the bottle. Top up with warm/cool water to correct.
- Practice run: Dry‑run your timing and agitation with water before processing your first roll.
- Consistent agitation: Gentle, repeatable inversions beat aggressive shaking, which can cause unevenness.
After development: drying, scanning, and printing
Hang negatives by the corners in a dust‑free bathroom or closet. Once dry, it’s time to digitize or print.
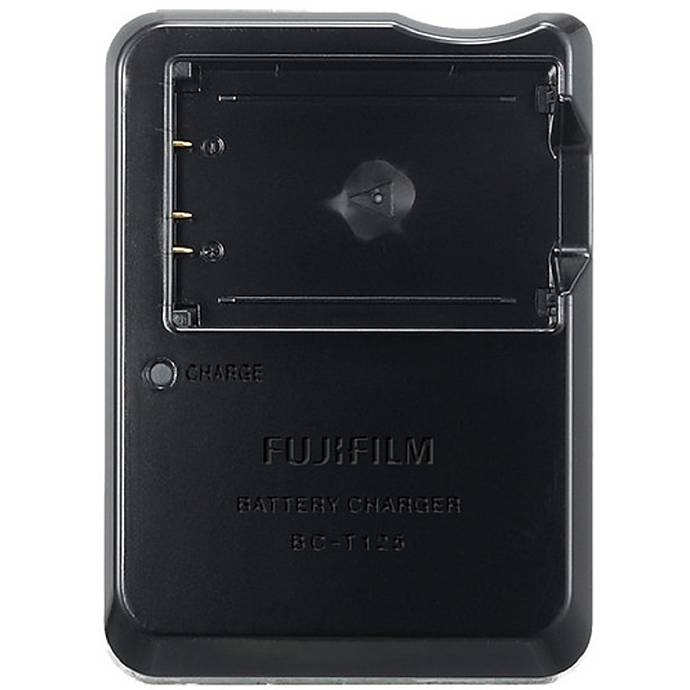
- Scanning: A dedicated film scanner or a camera‑scanning rig both work well. For camera scanning, a steady light source helps—pair your camera with a neutral, flicker‑free LED and a macro lens. Keep your capture rig powered; for medium format shooters, a charger like the Fujifilm BC‑T125 Battery Charger is a practical accessory for long scanning sessions.
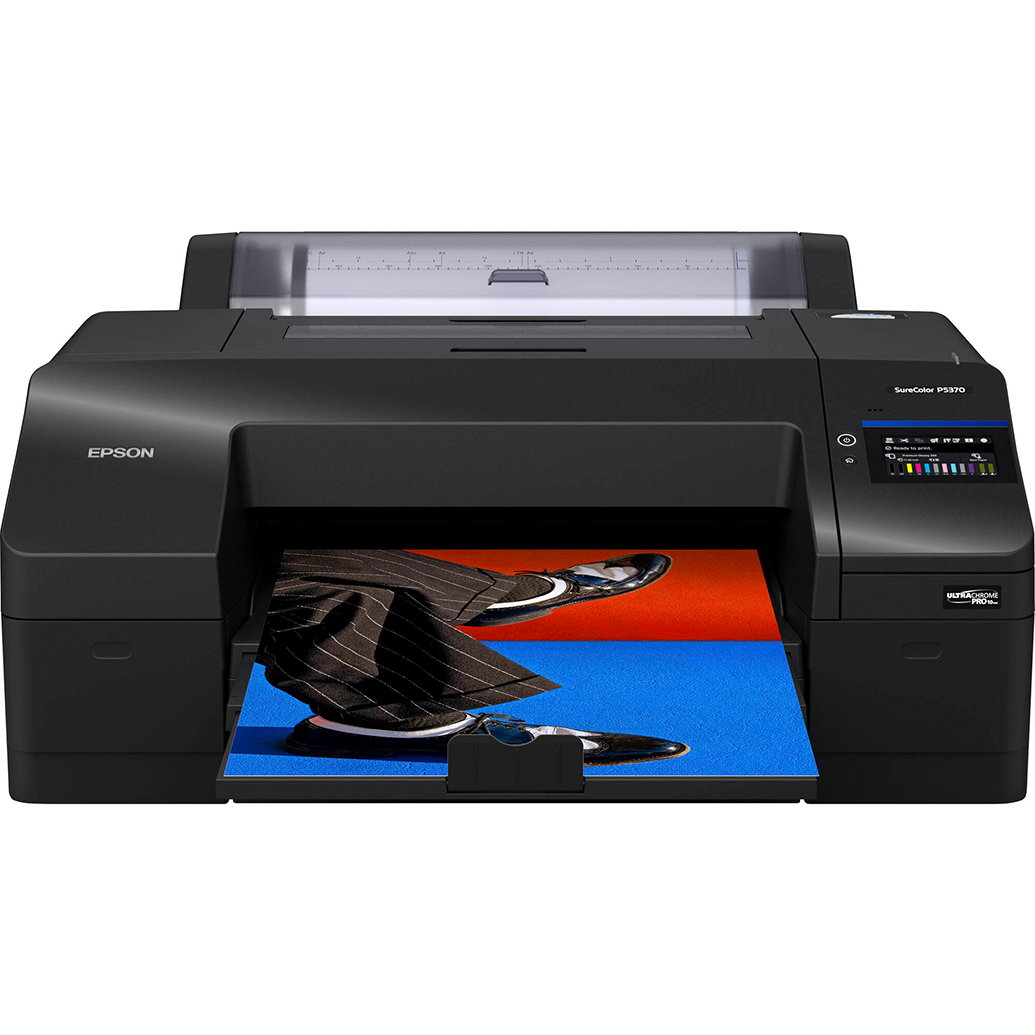
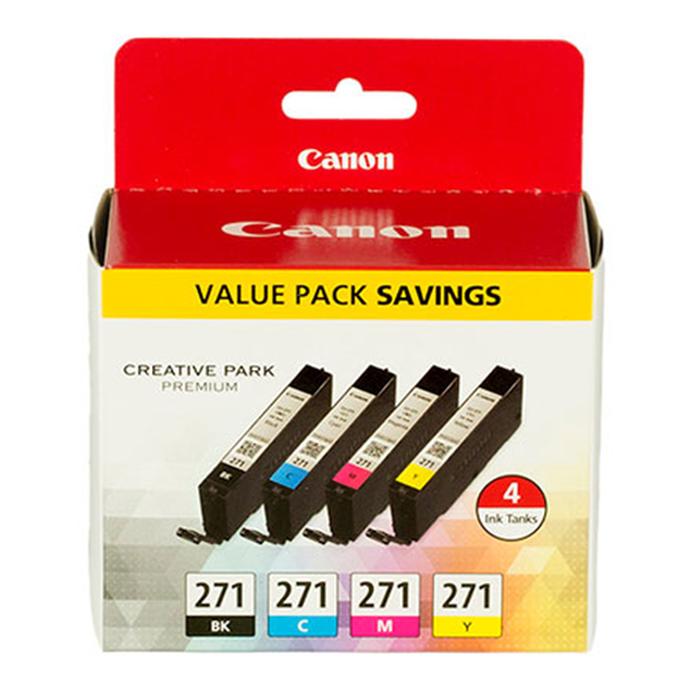
- Inkjet printing: For gallery‑quality home prints, a pigment printer such as the Epson SureColor P5370 delivers excellent color and longevity. If you’re printing on a Canon PIXMA, keeping a Canon CLI‑271 Black/Cyan/Magenta/Yellow 4‑pack on hand minimizes downtime.
Color darkroom printing at home (RA‑4)
If you’re excited to go fully analog, RA‑4 printing lets you make color enlargements in the darkroom. You’ll need a color enlarger, RA‑4 chemistry, and color paper. Unique Photo stocks papers like Fujifilm DIGITAL PRO Glossy. For higher‑volume workflows or minilab setups, RA‑4 chemistries such as Fujifilm Digital RA PRO Developer/Replenisher Part B are available—note that RA‑4 chemistry is for color paper, not C‑41 film processing.

Common mistakes (and how to fix them)
- Brown or purple negatives, low density: Developer too cool or under‑time. Recheck temps; extend times within kit guidance on your next roll.
- Overall green/magenta color casts: Temperature drift during development. Improve bath stability; keep the tank immersed between inversions.
- Milky or pinkish film after wash: Under‑fixing. Return to fixer, then wash thoroughly. If using blix, ensure full blix time and proper temperature.
- Drying marks: Hard water or skipping stabilizer. Use distilled water for final rinse; avoid squeegees.
- Streaks or surge marks: Over‑aggressive agitation. Use gentle, even inversions and avoid slamming the reel.
Safety and storage tips
- Label every bottle clearly; store chemicals sealed, away from heat and children/pets.
- Wear gloves and eye protection; work with good ventilation.
- Dispose of used chemistry responsibly in accordance with local regulations.
- Keep separate tools for each bath to prevent contamination.
FAQ: fast answers for beginners
- Can I push/pull color film? Yes. Many kits include time adjustments for push/pull at 38°C. Extreme pushes can increase grain and contrast.
- Can I process different brands together? Mixing formats in one tank is fine if they share the same chemistry. Keep rolls from the same process (C‑41 only) together and ensure equal pre‑soak/pre‑warm.
- How long does mixed C‑41 chemistry last? Depends on kit and storage. With minimal air and cool storage, developers often last weeks; blix/fix can last longer. Always defer to the kit’s data sheet.
- Do I need a pre‑soak? Some kits advise against pre‑soaking for color. Follow your kit—if allowed, use water at process temperature only.
- What about E‑6 or ECN‑2? They’re different processes with their own chemistry and steps. Start with C‑41 before branching out.
Ready to start? Shop and learn with Unique Photo
Whether you’re picking up your first rolls or refining a home lab, Unique Photo has the chemistry, film, darkroom gear, and printing solutions to keep you creating. From everyday color stocks like Kodak KODACOLOR 200 to pro‑level printers like the Epson SureColor P5370 and RA‑4 papers from Fujifilm, we’re here to support your workflow end‑to‑end.
Internal linking suggestions for this article on uniquephoto.com:
- C‑41 Color Film Chemistry & Kits
- Film Developing Tanks & Reels
- Darkroom Thermometers & Timers
- Film Drying Accessories
- Kodak Color Film
- Film Scanners & Camera‑Scanning Accessories
- Inkjet Photo Printers (Epson, Canon)
- Photo Papers (RA‑4 and Inkjet)
- Unique University Classes & Workshops
Have questions? Visit Unique Photo in store or online—we’re happy to help you build a reliable, repeatable color workflow at home.