Night photography rewards patience, planning, and a thoughtful workflow. Whether you are photographing city skylines, moonlit landscapes, or the stars, the right camera settings and post-shoot habits can make the difference between muddy files and dramatic, detailed images. Use these practical tips to improve sharpness, exposure, and efficiency from capture to edit.
1. Start With a Stable Setup
Use support and eliminate vibration
- Mount your camera on a sturdy tripod whenever shutter speeds drop below what you can reliably handhold.
- Use a 2-second timer, remote release, or exposure delay mode to reduce shake.
- Turn off image stabilization when your camera is locked down on a tripod, unless your lens or camera manual specifically recommends otherwise.
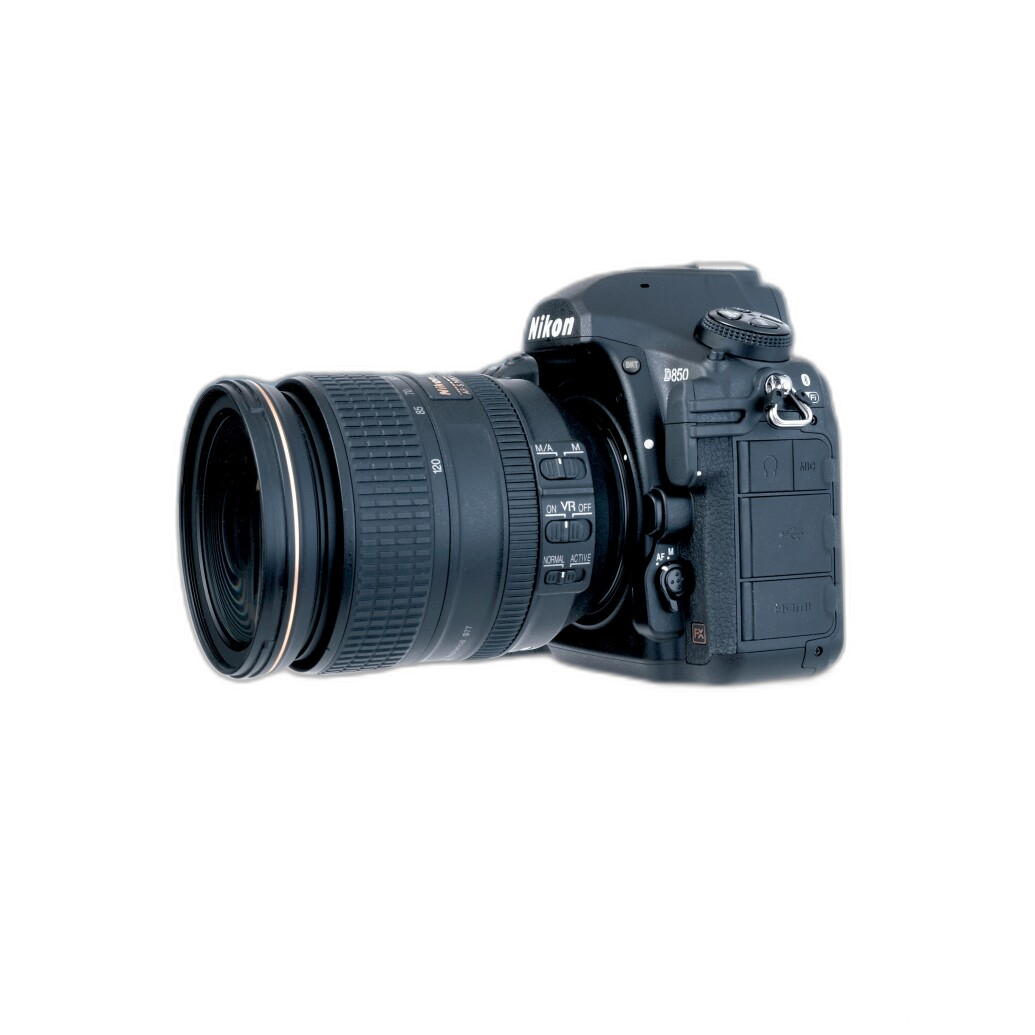
- If you are learning how different camera systems behave in low light, a title like Nikon D850 Guide to Digital SLR Photography by David Busch can be a helpful reference for understanding body-specific controls, long exposure options, and custom settings.
2. Dial In Exposure Manually
Take control of shutter speed, aperture, and ISO
- Aperture: For landscapes and astro scenes, start wide open or close to it, such as f/1.8, f/2, or f/2.8, to gather as much light as possible.
- Shutter speed: For city scenes, exposures can range from 1 second to 30 seconds depending on the effect you want. For stars, keep shutter speed short enough to avoid obvious trailing unless trails are your goal.
- ISO: Raise ISO only as much as needed. Modern cameras handle ISO better than many photographers expect, but it is still wise to test your camera in advance and find your comfort zone.
- Histogram: Trust your histogram more than the rear LCD, which can appear brighter than the actual file in a dark environment.
3. Focus Before the Scene Gets Too Dark
Make focusing easier on yourself
- Autofocus can struggle at night, so pre-focus while there is still ambient light.
- Switch to manual focus and magnify your live view to fine-tune focus on a bright star, distant light, or contrasty edge.
- For lenses with focus-by-wire systems, double-check focus periodically, especially if the camera powers down between shots.
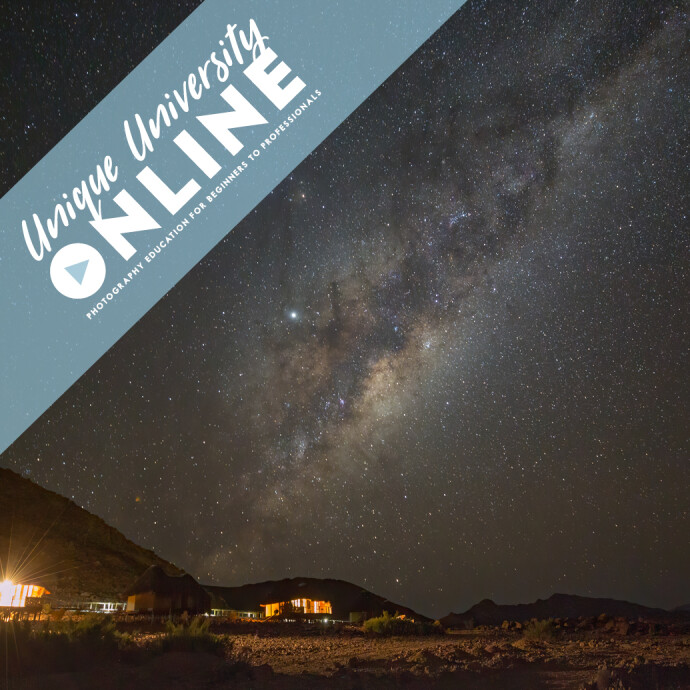
4. Use Smart Settings for Astrophotography
Capture stars with detail and minimal blur
- Start with a wide lens and a bright aperture.
- Use manual white balance instead of auto for more consistent color across a sequence.
- Shoot RAW for maximum flexibility when recovering shadow detail and adjusting color temperature later.
- If you want to build a stronger foundation in star shooting techniques, UUOnline: Astrophotography 4-Part Series with Temu Nana (Session 2) is a natural next step for photographers who want more guidance on celestial subjects and low-light technique.
5. Compose for Light, Not Just Subject
Look for contrast, reflections, and depth
- Night scenes come alive when you include practical light sources such as street lamps, illuminated windows, cars, or reflections on wet pavement.
- Foreground elements help give scale to astrophotography and night landscapes.
- Try multiple compositions. A small shift in angle can clean up distracting bright spots or improve balance dramatically.
6. Watch Your Highlights
Protect bright areas from clipping
- City lights, signs, and the moon can blow out quickly, even in otherwise dark scenes.
- Slight underexposure is often easier to recover than clipped highlights.
- Bracket exposures when the scene has extreme contrast, especially for skylines or mixed lighting environments.
7. Build an Efficient File Handling Workflow
Back up and review images quickly
- Night shoots often produce lots of frames, especially when you bracket, stack, or create time-lapse sequences.
- A dedicated card reader can speed up imports and help you review files sooner. The Lexar Professional Workflow Dual-Slot SD UHS-II Reader fits naturally into a night photography workflow when you are offloading large RAW files from high-resolution cameras and dual-card shooting setups.
- Create a folder structure by date and location so you can find specific sessions later.
- Back up your files immediately before formatting cards.
8. Edit With Restraint and Intent
Clean up noise while preserving atmosphere
- Use noise reduction carefully. Too much can smear stars, textures, and fine architectural detail.
- Adjust white balance to control the mood of the image instead of accepting mixed lighting as-is.
- Refine contrast selectively so shadows stay rich without losing important detail.
- For photographers looking to improve finishing techniques, Editing and Enhancing Landscape and Nature Photography with Photoshop is a useful resource for shaping mood and clarity without overprocessing.

9. Keep Learning From Field and Classroom Experience
Develop night photography skills faster
- Night photography combines technical control with creative decision-making, so hands-on learning pays off quickly.
- Classes and events can sharpen your eye for composition and workflow even when they are not exclusively about night shooting. Programs such as Macro and Landscape Photography at Duke Farms with Michael Downey can strengthen composition habits that carry directly into low-light landscapes.
- Inspiration-focused events like EXPO: Stories from the Road - Photography Across Worlds w. Matthew Borowick can also help photographers think more intentionally about storytelling after dark.

Conclusion
The best night photography results come from combining careful setup, manual exposure control, deliberate focusing, and a dependable post-shoot workflow. Start simple, review your files critically, and refine one part of your process at a time. If you are ready to expand your skills or upgrade your workflow tools, explore classes, books, and accessories at Unique Photo to keep improving your low-light photography with confidence.