There’s something uniquely satisfying about developing film at home. Watching images appear from a roll you shot yourself adds a hands-on connection to photography that’s hard to match. If you’re just getting started, the process can seem intimidating, but with a little preparation and a methodical approach, home developing is very approachable. Whether you’re shooting 35mm or medium format on a classic camera like the Used Voigtlander Perkeo I 6x6 120 Film Camera - Good, these tips will help you build confidence and get cleaner, more consistent results.
1. Start with black-and-white film for your first rolls
Why it’s the easiest place to learn
Black-and-white film is generally the most beginner-friendly option for home developing. The chemistry is simpler, processing temperatures are more forgiving, and the workflow is easier to manage than color film. If you’re exploring medium format with a camera such as the Voigtlander Perkeo I 6x6, black-and-white is an excellent way to learn how development affects contrast, grain, and tonality without adding too many variables.
Choose one film stock and stick with it for a few rolls. Repetition makes it much easier to understand what changes are coming from your exposure versus your development process.
2. Set up a clean, organized workspace
Good habits prevent mistakes
Before you mix chemistry or load film, clear your work area and lay out everything in order: tank, reels, thermometer, measuring tools, timer, clips, and storage bottles. Film developing rewards consistency, and even a simple checklist can save you from avoidable errors.
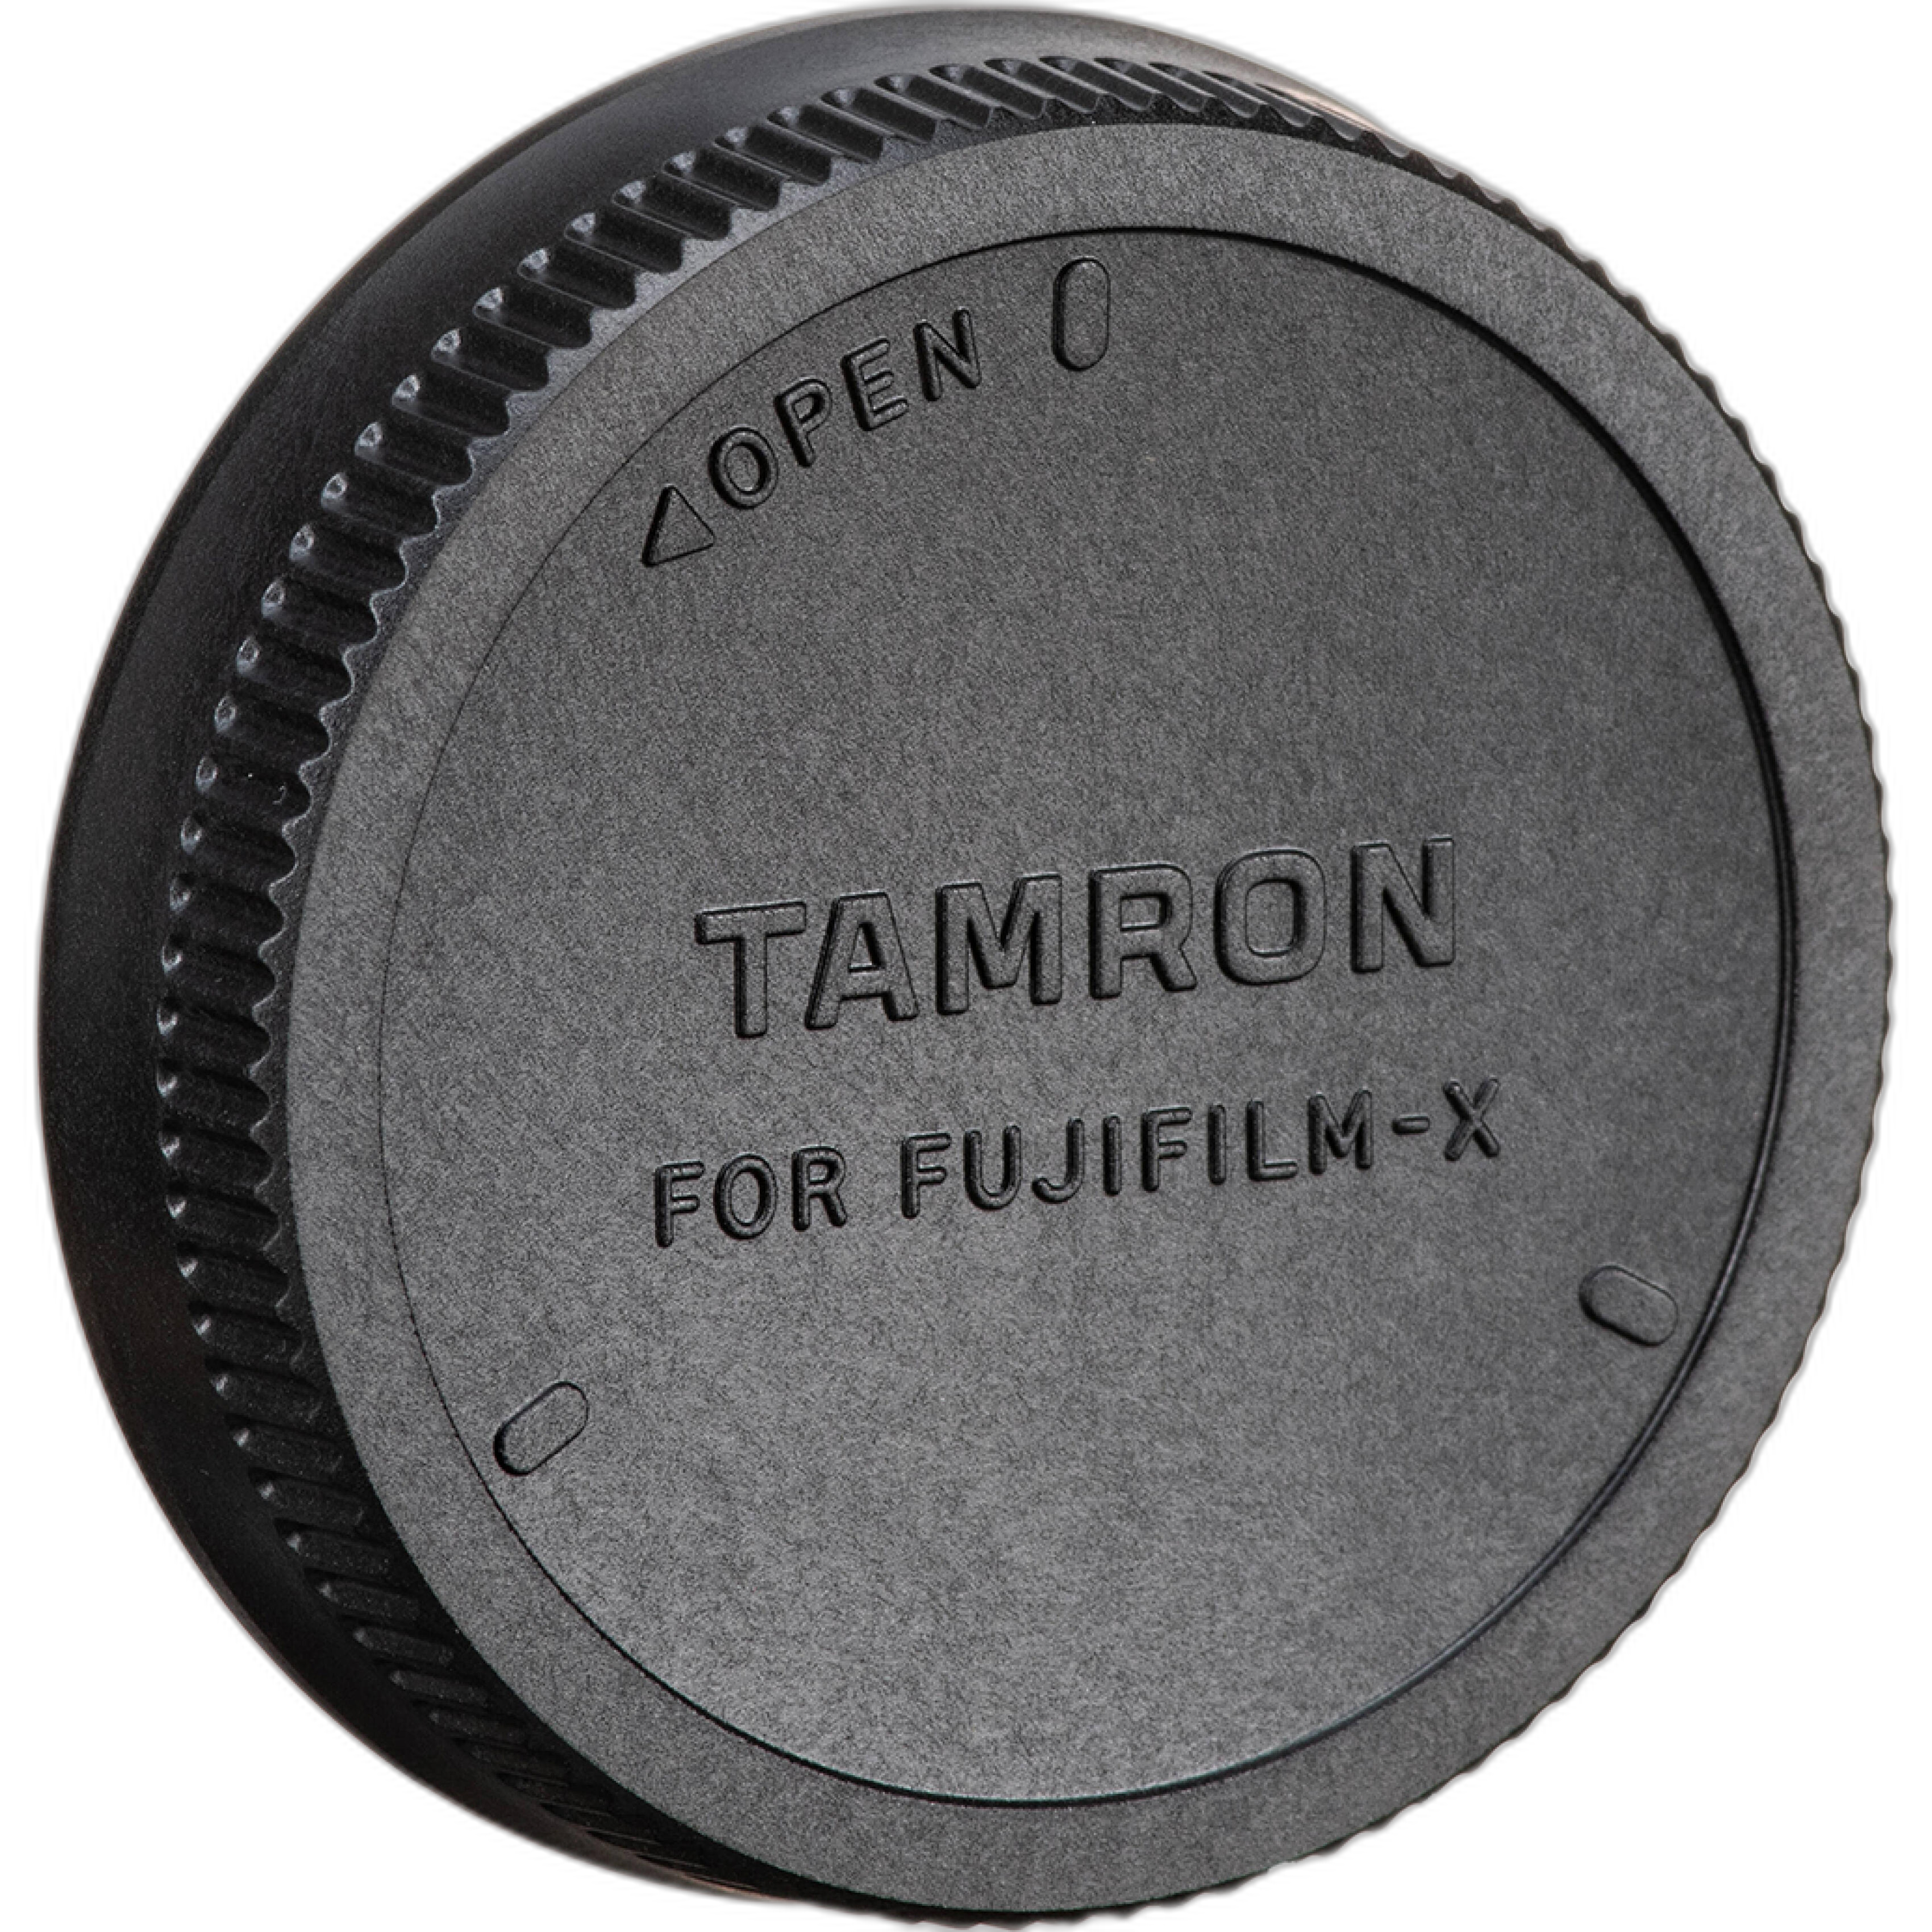
If you’re digitizing negatives afterward with a Fujifilm camera, it also helps to keep accessories organized. Small items like the Tamron RMC-FUJI Rear Lens Cap for Fujifilm X Mount are easy to overlook, but keeping your camera gear protected and ready makes the full film-to-digital workflow much smoother.
3. Practice loading film before working in the dark
Reels are often the biggest beginner hurdle
Loading film onto a reel inside a changing bag or dark room can be the trickiest part for first-timers. Practice with a sacrificial roll in daylight until the motions feel natural. Learn how the film feeds, where it catches, and how much pressure to use.
This is especially important if you’re developing 120 film from a folding camera like the Perkeo I. Medium format film behaves differently from 35mm, and getting comfortable with the reel in advance will reduce stress when you’re doing it for real in total darkness.
4. Measure chemistry carefully and keep temperatures consistent
Consistency matters more than complexity
Precise measurements and stable temperatures make a big difference in your negatives. Follow the instructions for your developer, stop bath, and fixer exactly. Use a reliable thermometer and don’t guess your times.
As you grow into color processes or darkroom printing, you’ll notice chemistry control becomes even more important. Products in the broader darkroom world, such as Fujifilm Digital RA PRO Developer/Replenisher Part B, show just how process-driven film work can be. Even if you’re beginning with simple black-and-white development, building careful habits now will help later.
5. Agitate gently and consistently
Even development starts with even movement
Agitation helps fresh chemistry reach the surface of the film, but overdoing it can increase contrast or create uneven results. Use the same agitation pattern for every roll: for example, a few gentle inversions at the start of each minute. Tap the tank lightly after agitation to dislodge air bubbles.
The goal is repeatability. If one roll looks great, you want to be able to recreate that result on the next one.
6. Don’t rush washing and drying
Finishing well protects your negatives
Once the film is fixed, wash it thoroughly to remove residual chemistry. A final rinse with wetting agent can help prevent drying marks. Then hang the film in a dust-free area and let it dry completely before cutting or scanning.
This step is easy to underestimate, but many otherwise good negatives are spoiled by dust, water spots, or handling too soon. Patience here pays off.
7. Scan or photograph your negatives with care
Digitizing is part of the modern film workflow
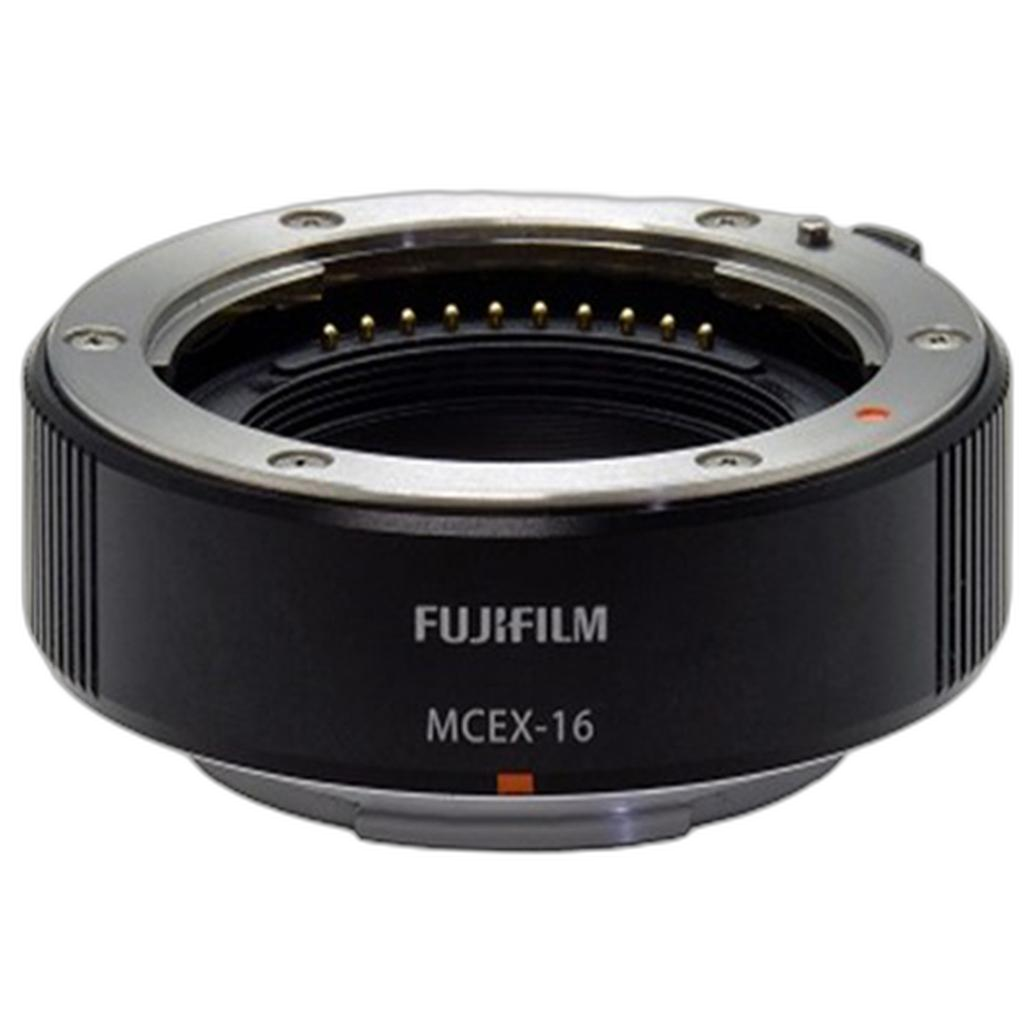
After developing, many photographers digitize negatives using a scanner or a digital camera setup. If you’re using a Fujifilm X Series body to photograph negatives, close-focus accessories like the Fujifilm MCEX-16 16mm Extension Tube for Fujifilm X-Mount can help you get tighter framing for detailed captures.
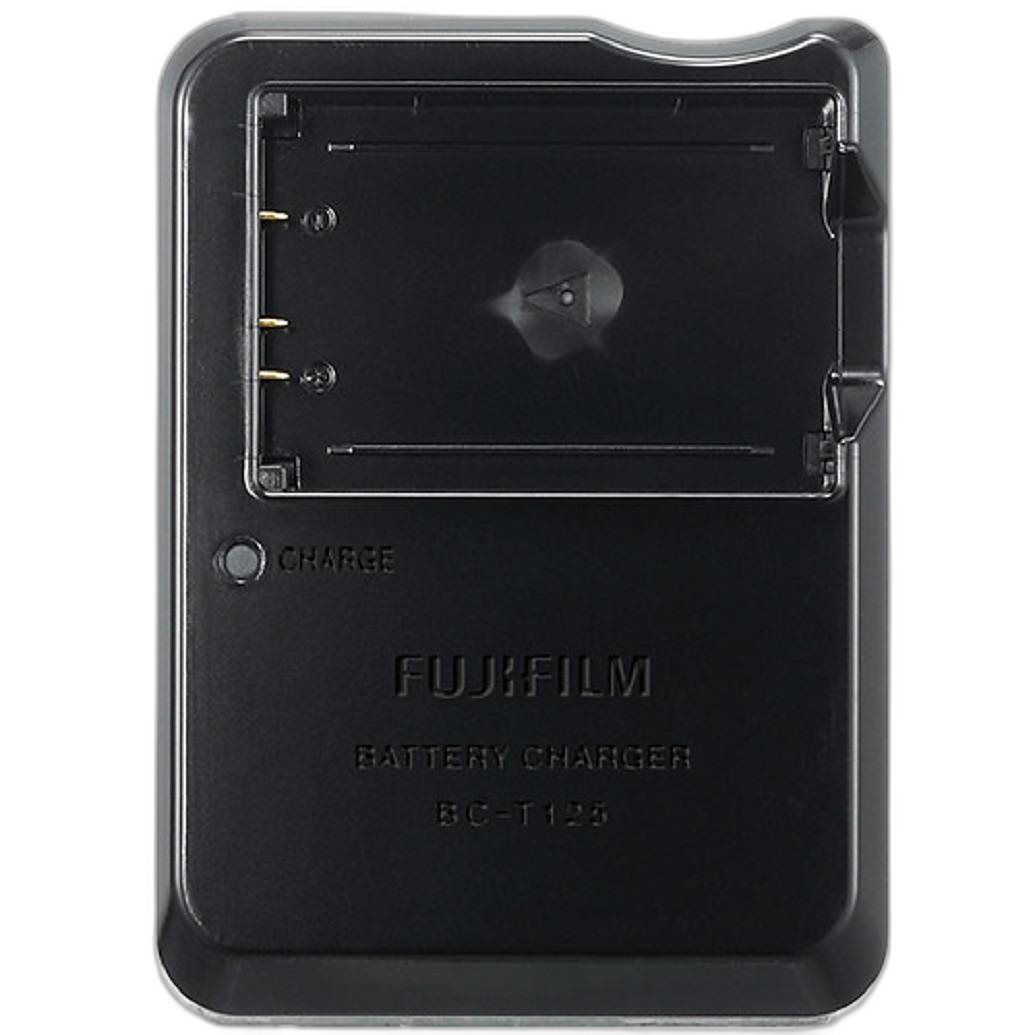
And if you’re running longer digitizing sessions, keeping your camera powered and ready is key. The Fujifilm BC-T125 Battery Charger for GFX 50S 50R GFX100 is a useful example of the kind of support gear that helps streamline a hybrid workflow.
8. Consider printing as your next step
Home developing can lead naturally into darkroom printing
Once you’re comfortable processing film, printing is a rewarding next stage. Darkroom paper options like Fujifilm DIGITAL PRO 12X354 GLOSSY show the creative possibilities available when you move from negatives to physical prints. Learning to evaluate your negatives with printing in mind can also improve how you expose and develop future rolls.
Even if you start with scanning, keeping printing in the back of your mind encourages cleaner technique and stronger final images.
9. Keep notes on every roll
Your notebook becomes your best teacher
Write down the film stock, camera, ISO, developer, dilution, temperature, agitation pattern, and development time for each roll. If something goes wrong, your notes help you troubleshoot. If something goes right, they help you repeat it.
This is especially useful when working with vintage cameras, experimenting with expired film, or comparing results from different formats.
10. Accept a learning curve and enjoy the process
Small imperfections are part of learning film
Your first few rolls may have water spots, minor scratches, uneven frames, or thin negatives. That’s normal. Film developing is a hands-on craft, and every roll teaches you something. Focus on improving one part of the process at a time rather than trying to master everything at once.
The reward is more than just a finished negative. It’s the confidence that comes from understanding your materials and shaping the final image yourself.
Conclusion
Developing film at home is one of the most satisfying ways to deepen your photography skills. Start simple, stay organized, and build consistency with every roll. As your process grows, so can your toolkit, from classic film cameras to digitizing accessories and darkroom supplies. If you’re ready to explore film photography and the gear that supports it, Unique Photo is a great place to keep learning and building your setup.