Film and street photography are a timeless match: the deliberate pace, distinctive grain, and tactility of analog make everyday scenes feel cinematic. If you’re new to shooting film on the street, this guide from Unique Photo covers how to pick your first camera, which features matter, film stocks to try, and how to build a small, reliable kit you’ll actually carry.
Why choose film for street photography?
- Intentional pace: Film encourages you to slow down and anticipate moments.
- Distinctive look: Grain structure, color response, and highlight roll-off produce a classic aesthetic.
- Simple tools, strong skills: Limited frames and manual controls sharpen your timing and composition.
- Archival output: Negatives are tangible, scannable, and printable for long-term preservation.
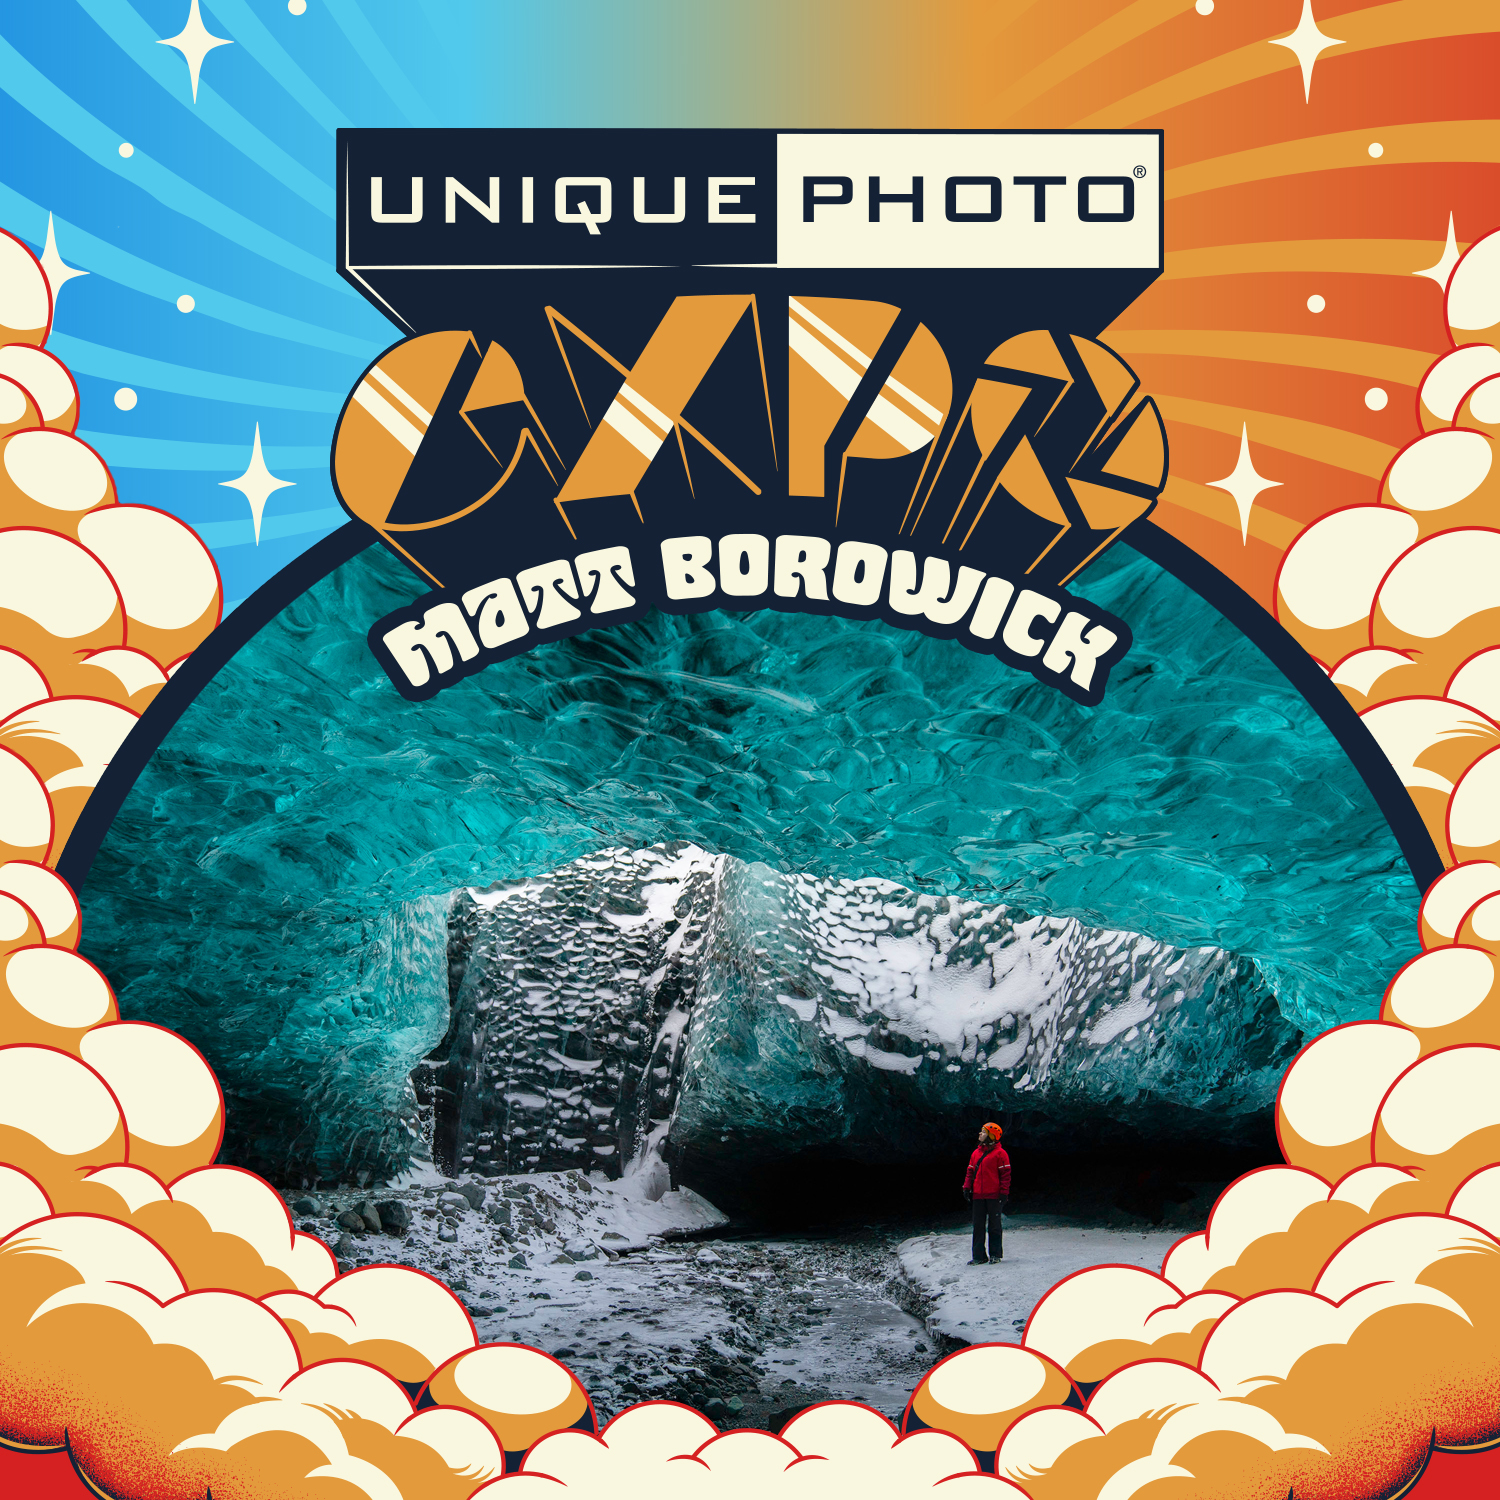
For storytelling inspiration, Unique Photo frequently hosts talks like EXPO: Stories from the Road - Photography Across Worlds w. Matthew Borowick, which is perfect for anyone interested in the narrative power of street work.
Key features beginners should look for
- Compact size and low weight: Small cameras draw less attention and are easier to carry daily.
- Quiet shutter and discreet operation: Leaf shutters and rangefinders are generally quieter than many SLRs.
- Reliable metering: A built-in meter or a simple external meter/app keeps exposure consistent.
- Simple controls: Aperture-priority or program modes reduce friction when you’re learning.
- Affordable, common battery types: Button cells like SR44/CR1/3N are widely available.
- Viewfinder clarity: Bright framelines and focusing aids help nail focus quickly.
Best beginner-friendly film camera types for street
1) 35mm point-and-shoot (P&S)
Light, pocketable, and often with autofocus and auto-exposure. Great for quick reactions and candid moments. Look for models with a 28–35mm lens, a responsive shutter, and a flash you can disable.
2) 35mm rangefinder
Quieter shutters, compact form factors, and bright framelines make rangefinders a street favorite. Manual focus can be quick with practice, especially using zone focusing. Ideal focal lengths: 35mm or 28mm.
3) 35mm SLR
SLRs are plentiful, affordable, and perfect for learning fundamentals. A 35mm or 50mm prime, aperture-priority metering, and a bright focusing screen are a solid combination for street. The tradeoff is usually slightly larger size and louder mirror slap.
4) Half-frame 35mm
Half-frame cameras double your exposures per roll and add a unique diptych-friendly aesthetic. Great for travel and long days on the street.
5) Compact 120 (TLR or rangefinder)
Medium format brings beautiful tonality and detail. A TLR with a waist-level finder can be discreet, but be mindful of slower operation and fewer frames per roll.
Lens choices and focal lengths
- 28mm: Emphasizes environment and proximity; great for dynamic scenes and layering.
- 35mm: The classic street focal length; balances context and subject isolation.
- 50mm: Slightly tighter framing, flattering perspective for portraits in the street.
Tip: Practice zone focusing—set your lens to a mid-distance with a modest aperture (f/8) and use depth of field to your advantage for fast, decisive shots.
Film stocks to try for street
- Black and white ISO 400 (pushable to 800/1600): Flexible, contrasty, and classic for high-contrast city light.
- Color negative ISO 200–400: Natural colors and strong latitude; forgiving for mixed lighting.
- Tungsten-balanced or high-ISO color: Great for neon and nightlife; expect punchy highlights and distinctive halation with some stocks.
Start at ISO 400 for daytime street, then push to ISO 800–1600 for low light. If you’re sending film to a lab, note your push/pull instructions on the order.
Metering, exposure, and focus tips
- Sunny 16 baseline: In full sun, use f/16 at 1/ISO (e.g., ISO 400 → 1/400 sec).
- Use aperture priority when available: Pick f/5.6–f/8 for depth; let the camera choose shutter speed.
- Zone focus: Pre-focus to 2–3 meters at f/8; you’ll be ready for most sidewalk distances.
- Mind your minimum shutter speed: Aim for 1/250 sec (or faster) to freeze walking subjects.
Quiet technique and street etiquette
- Be unobtrusive: Keep your camera at the ready, minimize fiddling, and move smoothly.
- Respect people and spaces: Know local laws and be considerate—your conduct matters more than your camera.
- Work with light: Front-lit scenes for clarity; backlight for silhouettes and glow; overcast for gentle contrast.
Building fundamentals pays off in the street. Unique University at Unique Photo hosts approachable, hands-on classes—like Macro and Landscape Photography at Duke Farms with Michael Downey—that strengthen composition and manual exposure skills transferable to street shooting.
Your hybrid workflow: develop, scan, and print
Many street photographers embrace a hybrid workflow: shoot film, then scan and share digitally before making archival prints. Whether you use a pro lab or develop at home, finishing your images as prints makes the work feel complete.
- Lab vs. home: Labs are convenient and consistent; home processing offers creative control and savings over time.
- Scanning: Request high-resolution lab scans or use a dedicated scanner/camera scanning setup. Keep dust control top of mind.
- Printing: Choose papers that complement your style—glossy for punchy color and deep blacks; matte for a softer look.
If you’re preparing an exhibition or portfolio, consider professional papers like Fujifilm DIGITAL PRO Glossy. Unique Photo stocks lab-grade materials and can help you select the right surface for your street images.
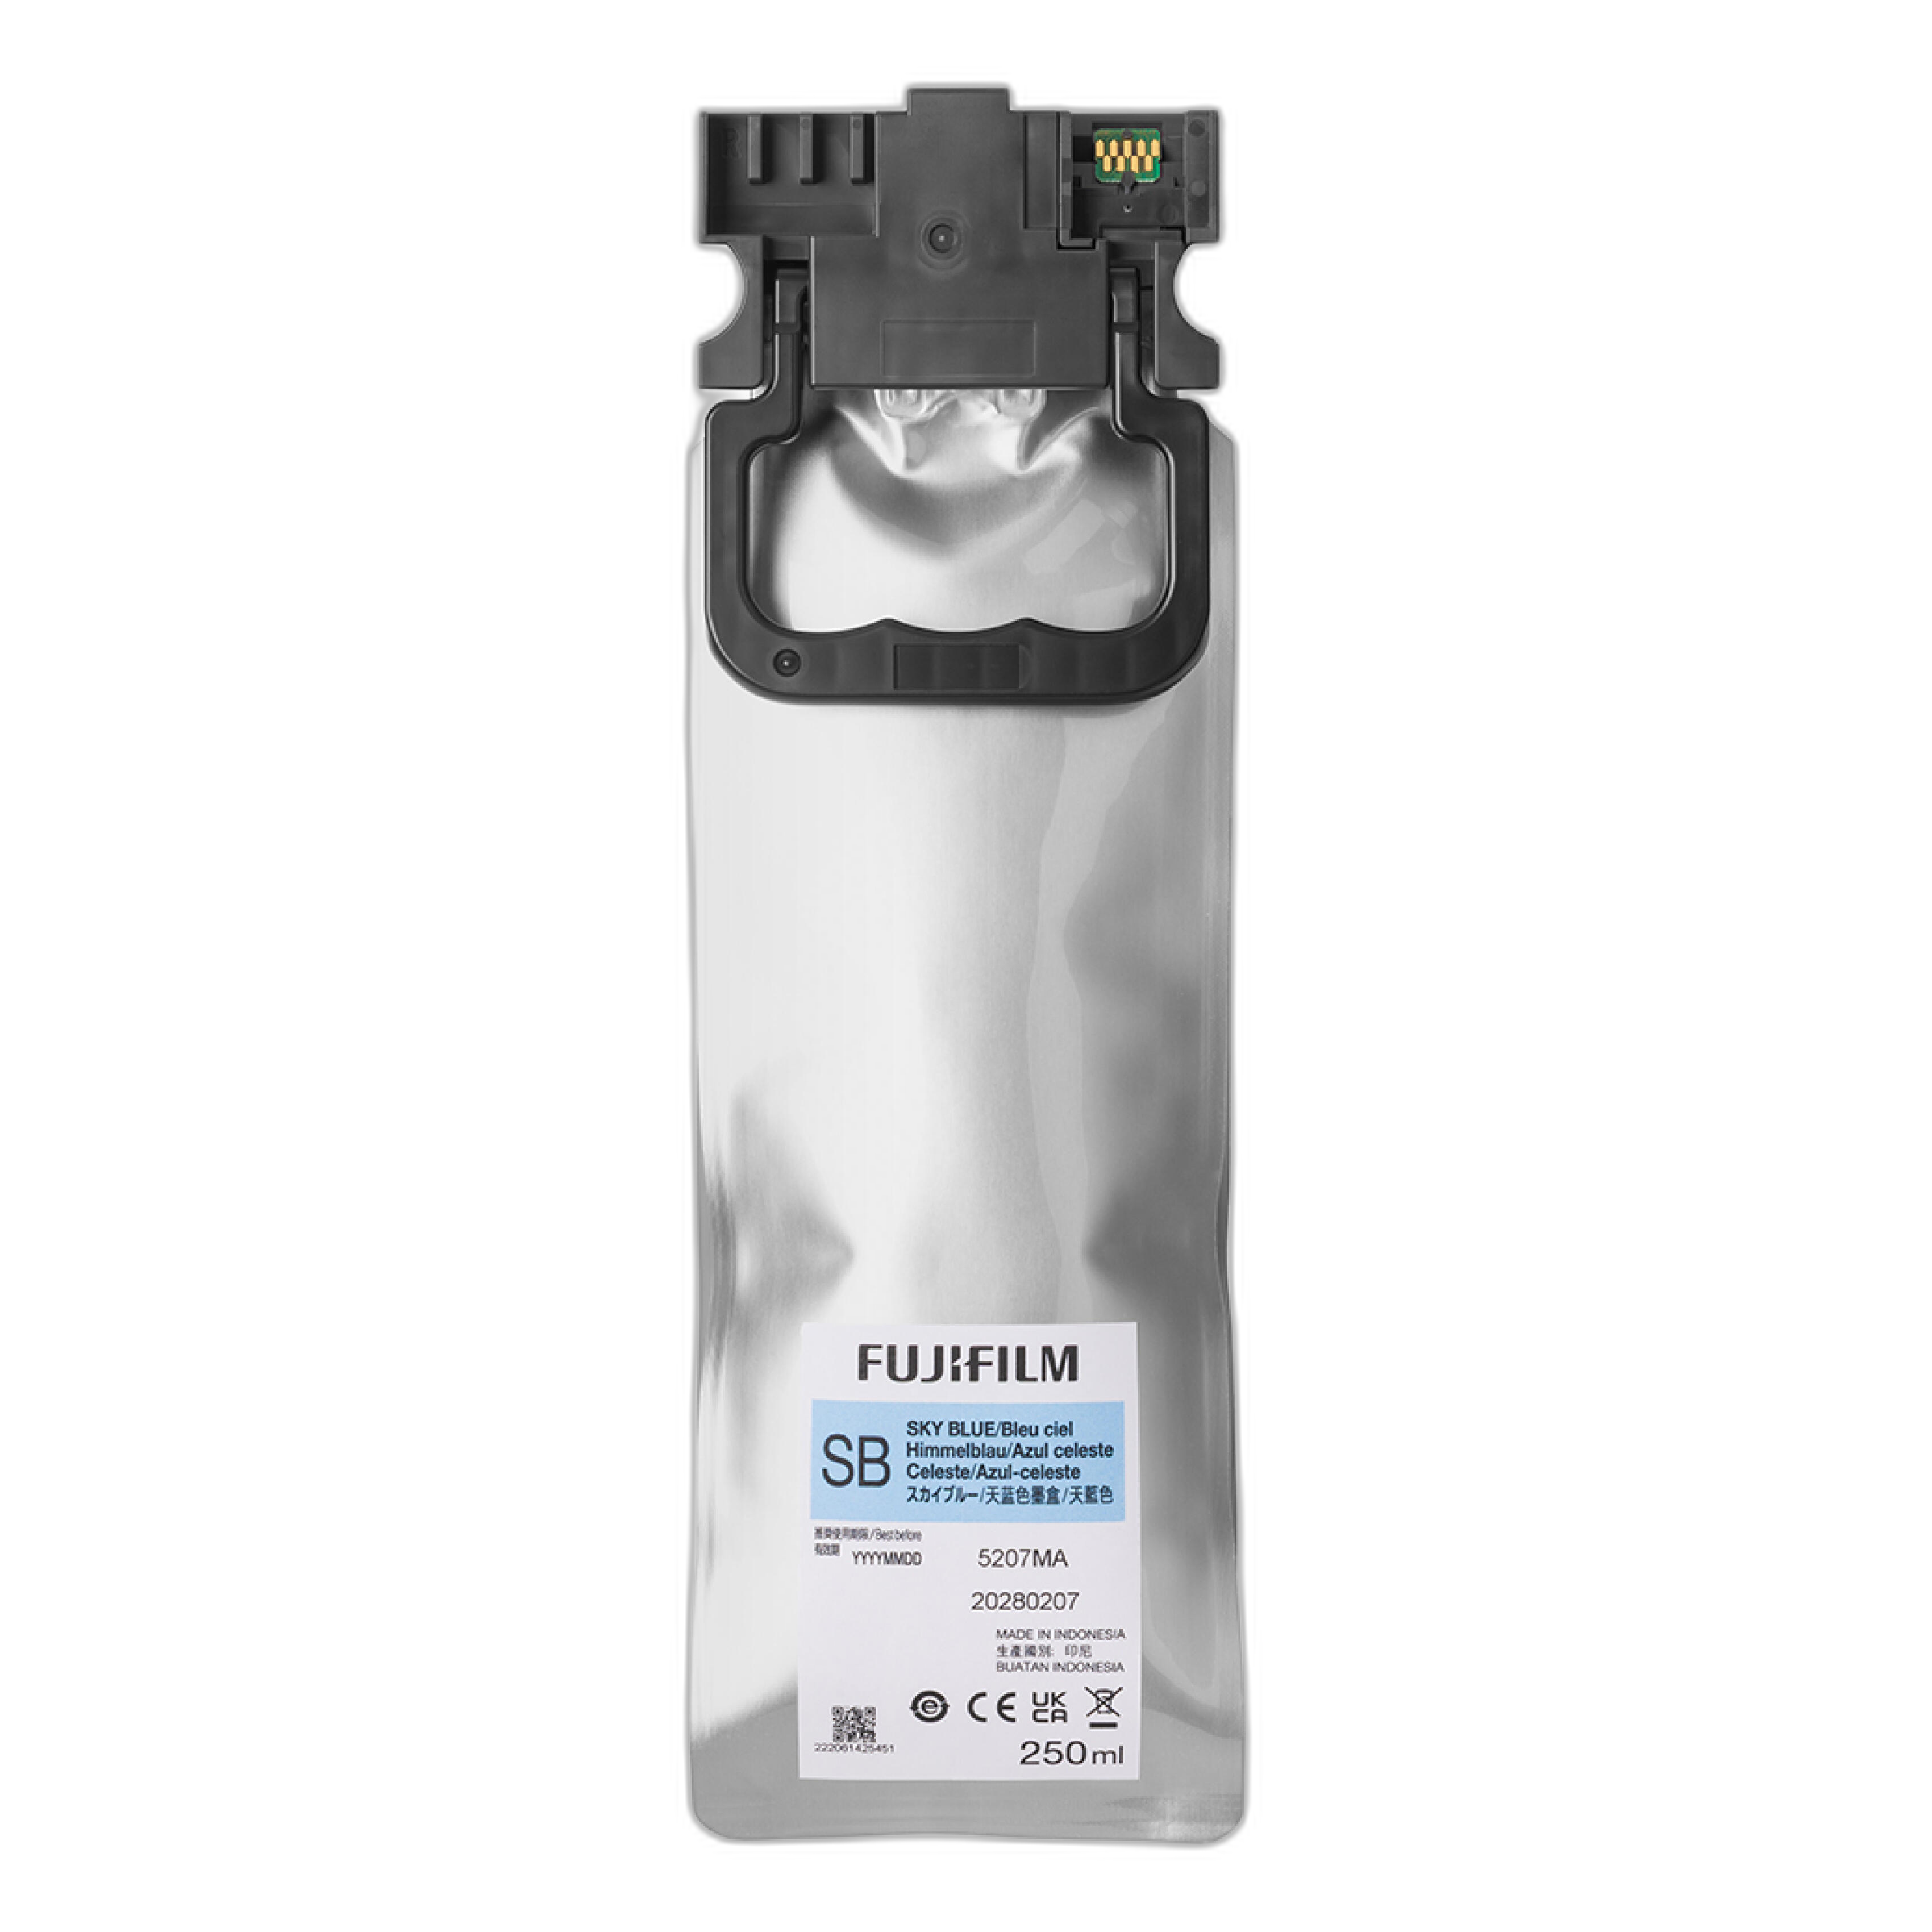
Managing color and consistency is part of a refined print workflow. Unique Photo also carries minilab supplies such as Fujifilm Sky Blue Ink for DX400W for high-volume, calibrated output in professional environments.
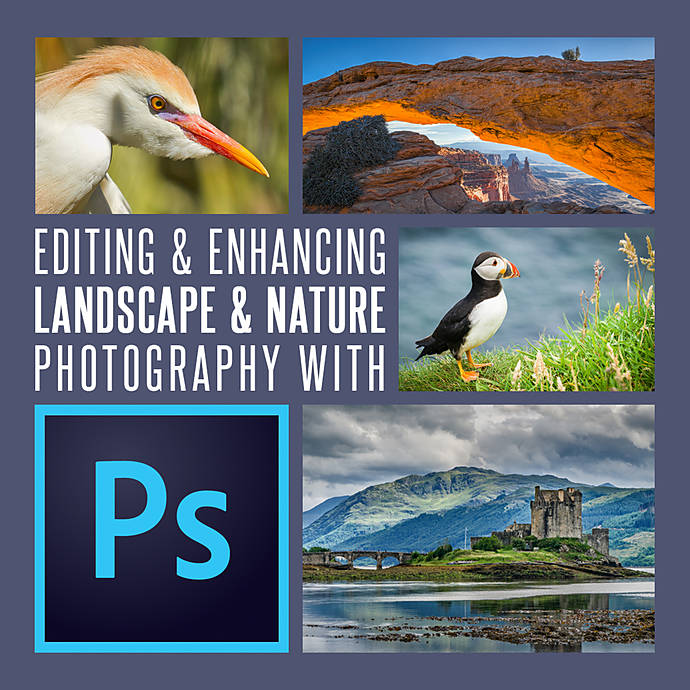
Polish your scans before printing. Unique University’s Editing and Enhancing Landscape and Nature Photography with Photoshop class teaches foundational editing techniques—curves, color balance, local contrast—that translate directly to optimizing street negatives for print.
Budget and buying used at Unique Photo
Used and refurbished film cameras are budget-friendly and often the best way to start. When evaluating a camera in-store at Unique Photo or from our used selection, check:
- Shutter speeds: Listen for consistency; fast speeds should sound crisp.
- Light meter: Confirm with a phone meter app or external meter.
- Lens condition: Inspect for haze, fungus, scratches, and oil on the aperture blades.
- Light seals: Crumbling foam causes leaks; replacements are inexpensive.
- Battery compartment: Look for corrosion; verify battery type is readily available.
Simple starter kits (by budget)
- Entry ($100–$250): Compact 35mm point-and-shoot + ISO 400 B&W film + wrist strap + spare battery.
- Mid ($300–$600): 35mm SLR with 35mm or 50mm prime + ISO 400 film + small messenger bag + handheld or app-based meter.
- Enthusiast ($700+): Rangefinder body with 35mm lens + premium B&W and color stocks + high-quality scans + fine-art prints.
Next steps: learn, practice, print
The best film street camera is the one you’ll carry always. Start with a compact, set a daily shooting goal, and iterate. Pair your practice with education and printing to complete the loop. Unique Photo can help at every stage—from choosing a camera and film to scanning, editing, and exhibition-quality prints.

Conclusion and internal linking suggestions
To go deeper at Unique Photo, consider linking readers to:
- Unique University for classes, workshops, and events.
- Film Cameras to browse beginner-friendly options.
- 35mm Film for street-ready stocks.
- Darkroom Supplies for home processing.
- Scanners & digitizing for hybrid workflows.
When you’re ready, visit Unique Photo in-store or online—our team is happy to match you with the right film camera, film stock, and a print workflow that brings your street stories to life.