Building a studio setup on a budget does not mean settling for flat, inconsistent, or frustrating results. Community members often find that the biggest improvements come from smarter placement, simple modifiers, careful metering, and a reliable workflow—not from owning the most expensive lights in the room. If you are just getting started, these practical tips can help you stretch limited equipment further, troubleshoot common beginner problems, and create a setup that is easy to repeat.
Start with One Good Light and Learn Its Limits
1. Master a single-key-light setup before adding more gear
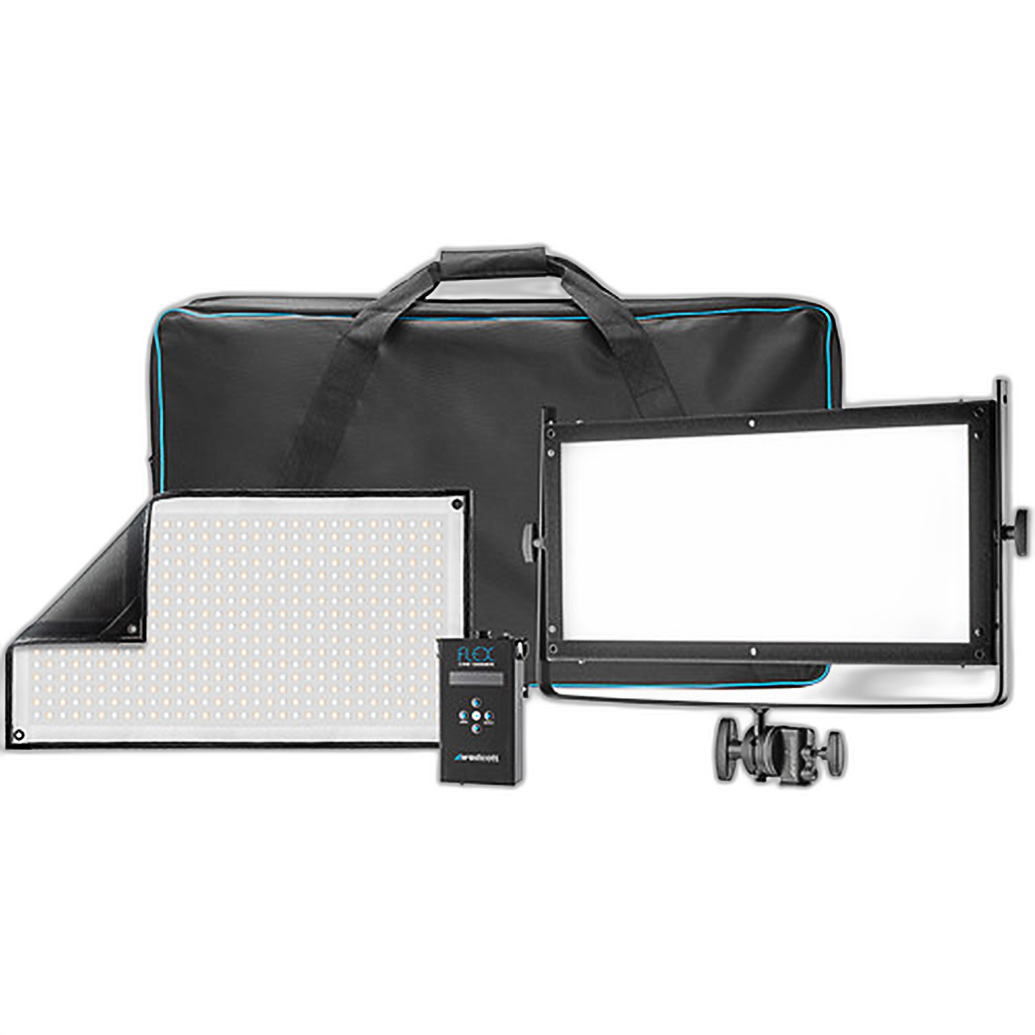
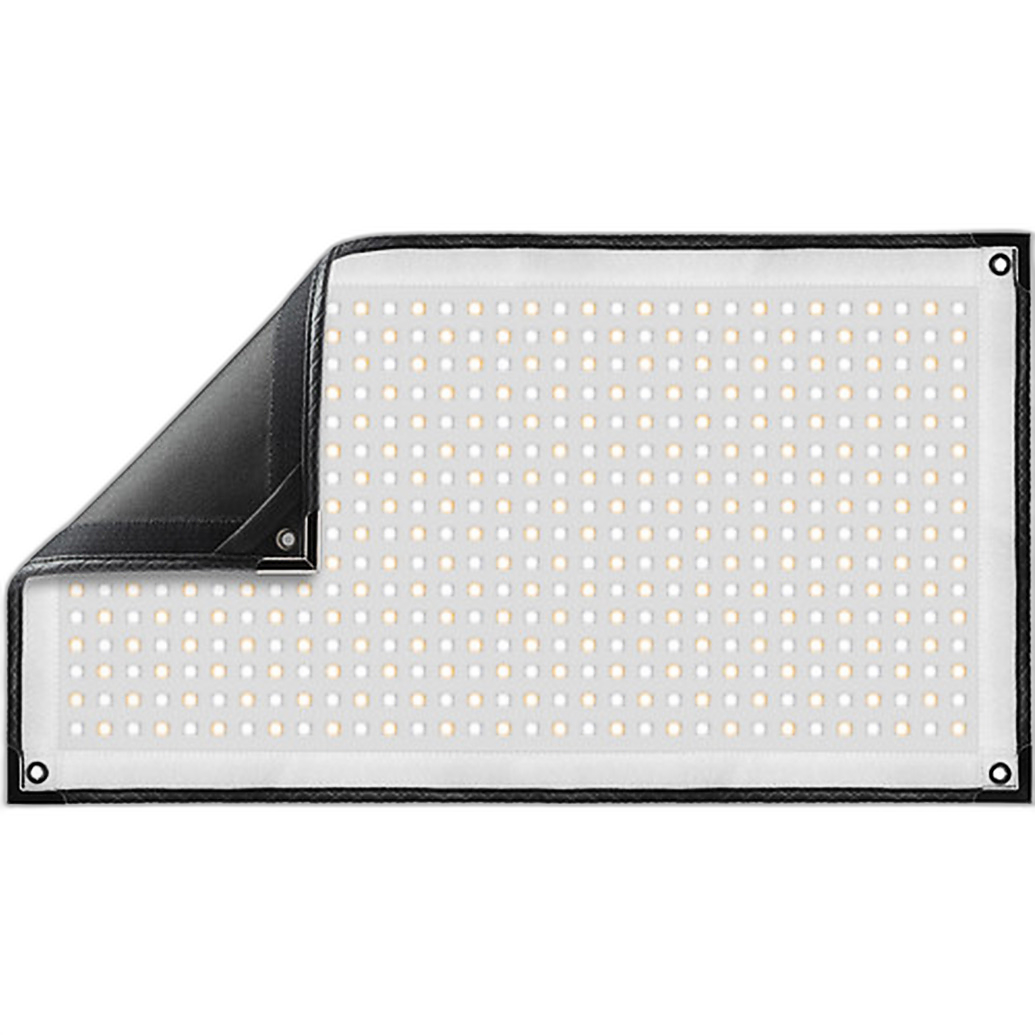
One of the most common pieces of community advice is to begin with a single light and reflector rather than trying to control multiple fixtures at once. A flexible continuous option like the Westcott Flex Cine Bi-Color 1-Light Gear Kit 1x2ft makes this approach easier because you can see the direction and softness of the light in real time. That is especially helpful for beginners working in small rooms, bedrooms, or home offices.
- Place the light 45 degrees to one side of your subject.
- Raise it slightly above eye level and angle it downward.
- Move it closer for softer light, farther away for more contrast.
- Use a white wall, foam board, or reflector on the opposite side to open shadows.
Learning how distance changes light quality will improve your images faster than buying a second or third fixture too soon.
2. Use bi-color control to fix mixed-light headaches
Beginner studios often struggle with color temperature issues because room lamps, window light, and LED fixtures do not always match. A bi-color light such as the Westcott Flex Cine kit helps you tune the light warmer or cooler so skin tones look more natural. If your subject looks too orange or too blue, do a quick test by adjusting the fixture to better match the ambient light in the room, or turn off the competing sources entirely.
Make Affordable Modifiers Work Harder
3. Don’t underestimate what a softbox can do
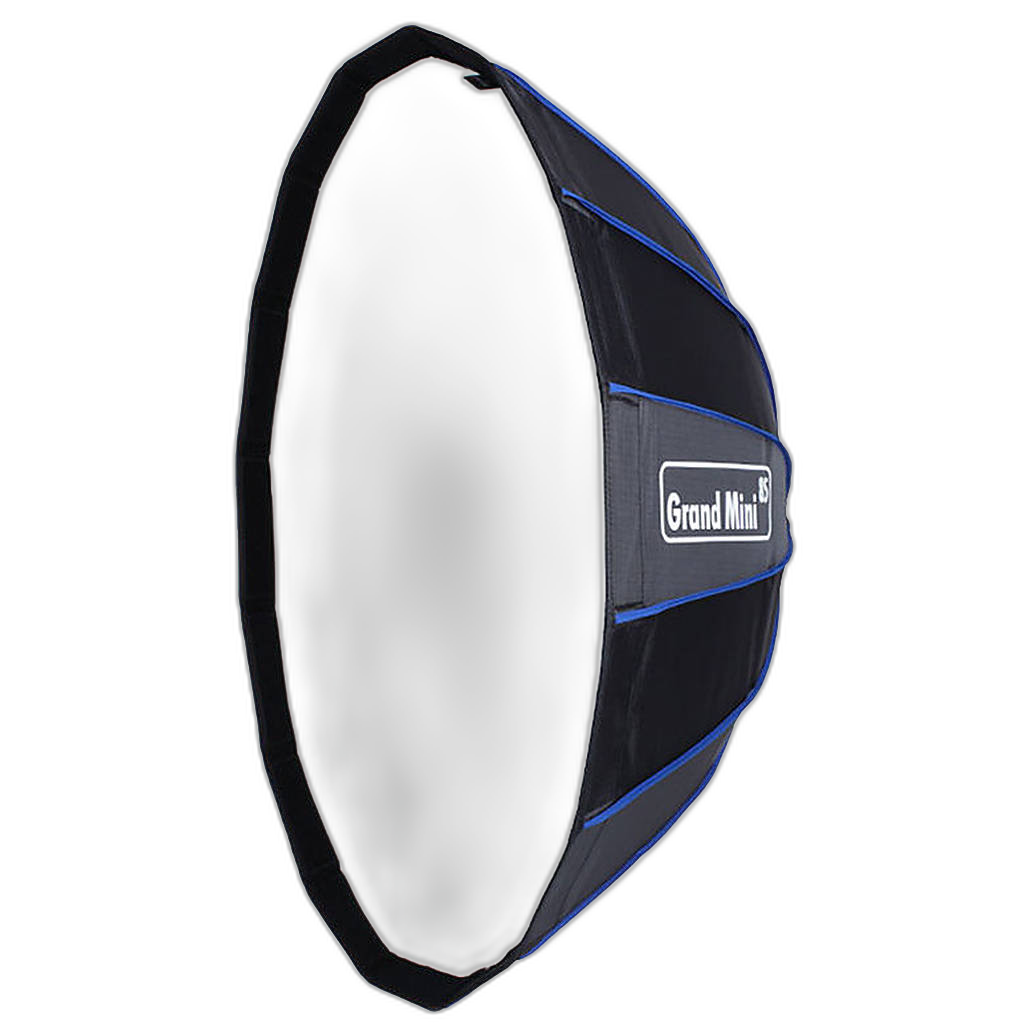
Community members regularly point out that a modest light becomes much more useful with the right modifier. Even used gear can go a long way here. The Used Hensel Grand Mini 85 w/ Quick Setup Speedring is a great example of a practical soft modifier that can help tame harsh output and create more flattering portraits or product shots.
For beginners, a few simple rules help:
- Bigger modifiers usually create softer transitions.
- Closer placement makes the light appear larger relative to the subject.
- Feathering the edge of the softbox across the face can reduce hotspots.
- Turning the subject slightly away from the light often adds shape without making shadows too deep.
4. Flag spill before you buy another light
If your background is unintentionally bright or your image lacks contrast, the problem may not be power—it may be spill. Before adding more equipment, try blocking light with black foam core, curtains, or even a dark jacket clipped to a stand. Many experienced shooters solve “muddy” images by controlling where light does not go.
Meter, Test, Repeat
5. Use a light meter to build repeatable setups
When beginners ask why one session looks great and the next does not, experienced photographers often point to inconsistent exposure rather than inconsistent lighting gear. The Sekonic L-398A Studio Deluxe 70th Anniversary Edition Light Meter is the kind of tool that helps you establish repeatable results, especially when shooting portraits, products, or film.
With a handheld meter, you can:
- Check whether your key light is stronger than your fill by a predictable amount.
- Keep exposure steady if your subject changes position.
- Match yesterday’s setup when a client wants continuity.
- Diagnose whether blown highlights are caused by light placement or camera settings.

6. If your camera meter seems wrong, verify with an external reference
This is especially important for film shooters or anyone working with older equipment. For example, a camera like the Used Leica M6 Classic Black - As Is with a meter issue can still be part of a useful setup if you meter externally and work carefully. Community advice here is simple: trust a known reference, write down your settings, and bracket when needed.
Troubleshoot Common Beginner Lighting Problems
7. Flat portraits usually mean the light is too close to camera position
If everything looks evenly bright but lacks shape, move the light farther off-axis. Even a small shift from straight-on to a 30- or 45-degree angle can add depth. With a continuous source like the Westcott Flex Cine, you can evaluate the effect instantly as you adjust.
8. Harsh shadows often mean the source is too small or too far away
Before assuming you need a new fixture, first move your modifier closer. If that is not enough, bounce the light into a white surface or add diffusion. Many budget setups improve dramatically just by bringing the light in tighter and lowering output to compensate.
9. Uneven backgrounds usually come from poor positioning, not weak equipment
Try pulling your subject farther from the background. This reduces spill and gives you more control over shadow density. If you want a cleaner separation, angle the key light so it favors the subject and misses the wall as much as possible.
Build a Small Studio That Stays Organized
10. Transport and storage matter more than most beginners expect
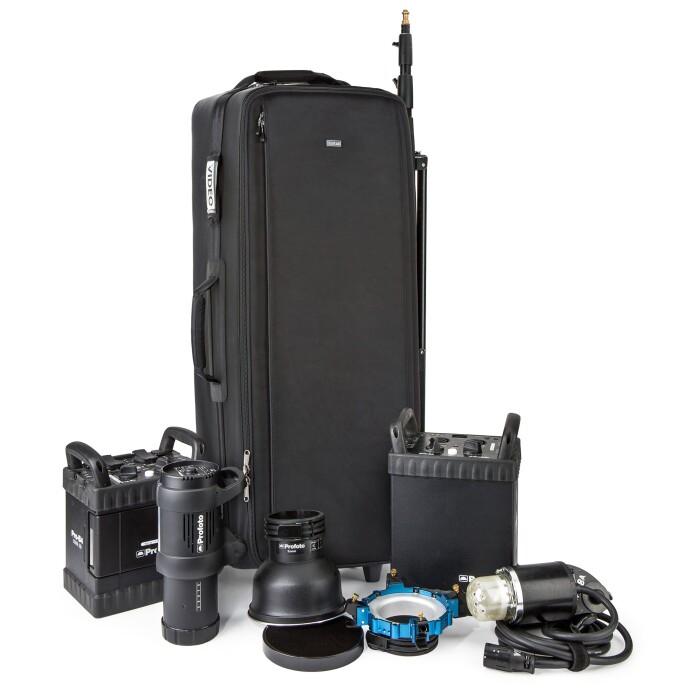
A lot of community frustration comes from damaged modifiers, missing cables, and gear that takes too long to set up. If you are piecing together an affordable kit over time, keeping it organized protects your investment. The Think Tank Production Manager 40 V2.0 is the kind of rolling case that makes it easier to store light stands, modifiers, cables, clamps, and accessories in one place.
That matters because a setup you can deploy quickly is one you will actually practice with.
11. Save floor space by thinking vertically
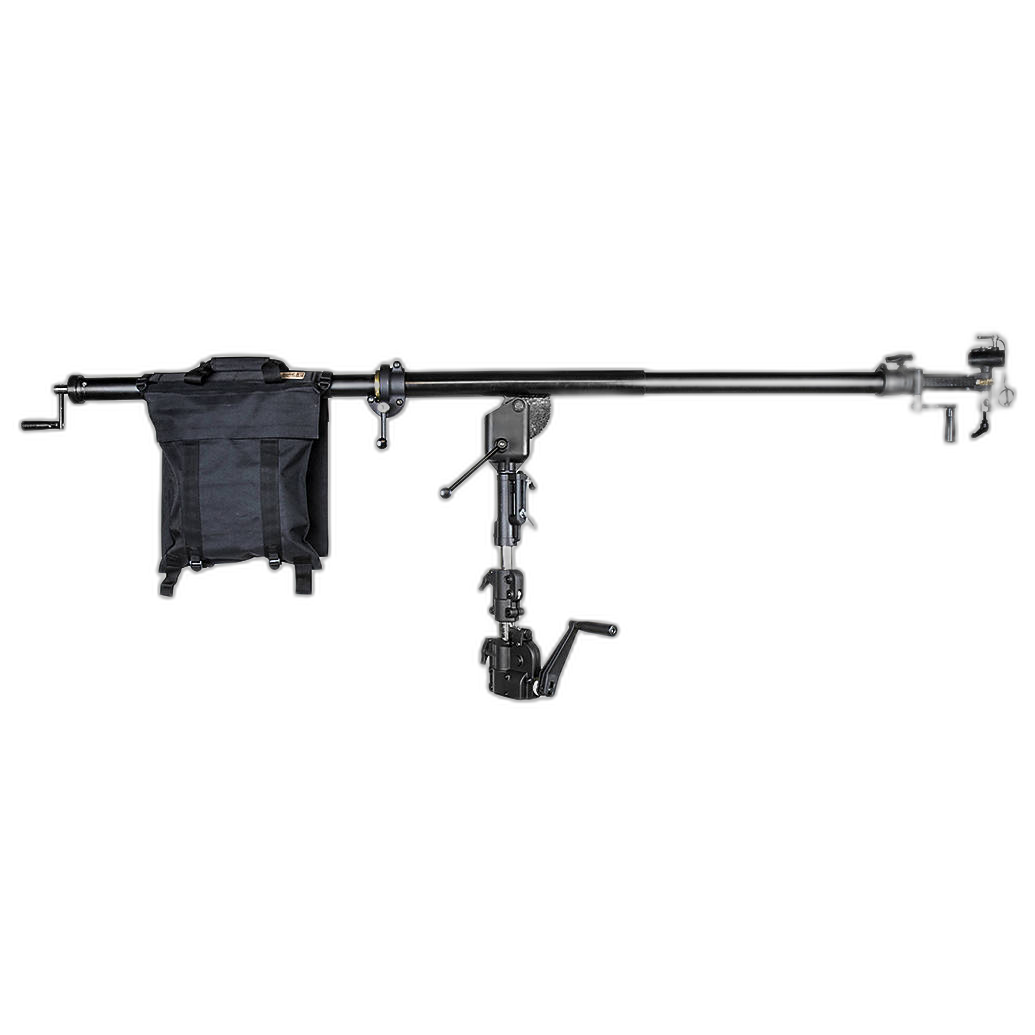
Small home studios fill up fast. While many beginners do not need advanced grip gear immediately, seeing equipment like the Kupo Big Boom with Four Way Geared Control can help illustrate a useful principle: overhead positioning can free floor space and improve placement options. Even in a simpler setup, the lesson is the same—keep stands tidy, route cables safely, and look for ways to place lights where they work best rather than where there is just room on the floor.
Refine the Look in Post Without Overdoing It
12. Color correction can rescue small inconsistencies, but it should not replace good lighting
Community members shooting both stills and video often mention that affordable lights can look even better with careful finishing. The Blackmagic DaVinci Resolve Micro Panel with Resolve Studio Software is a useful reminder that post-production controls can help smooth out minor exposure or color issues after the shoot. If your budget setup gives you a solid base, tools like this can help polish skin tones, improve contrast, and keep footage consistent across a sequence.
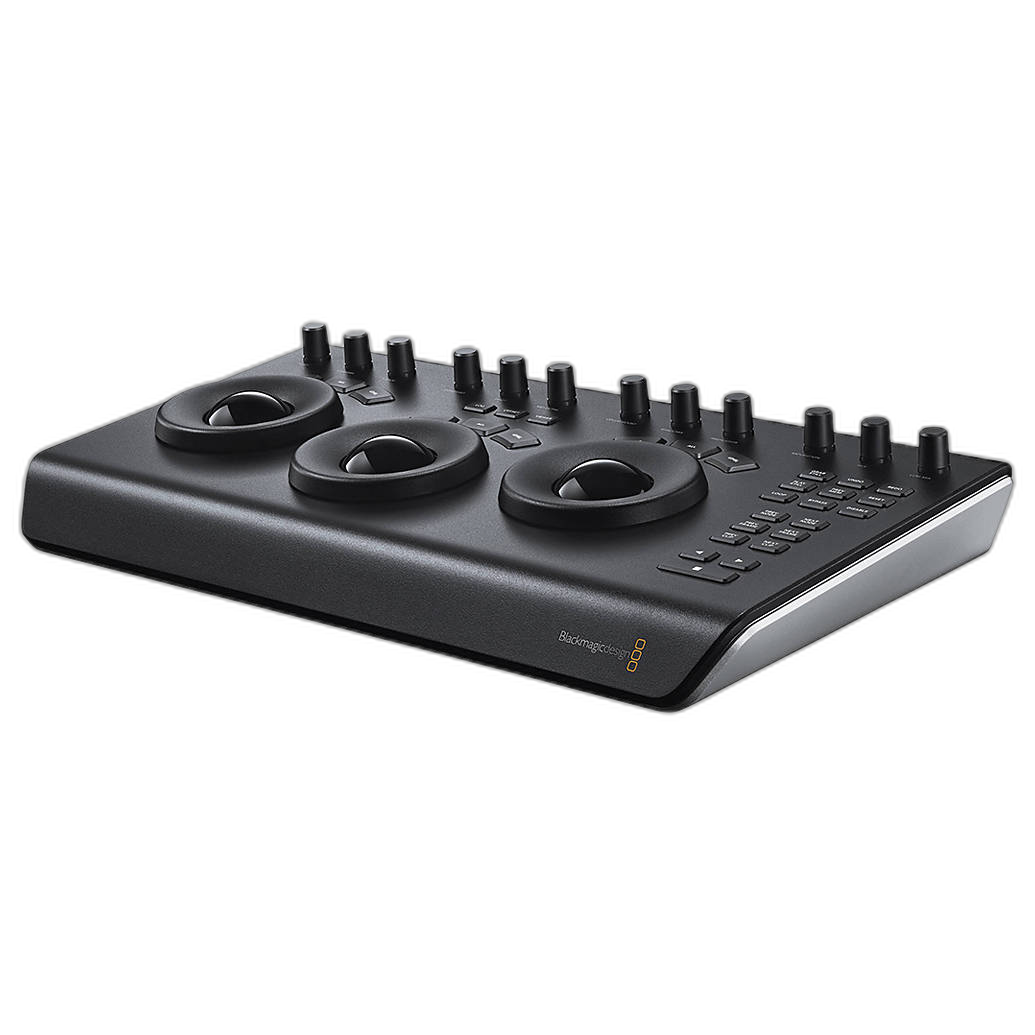
The key is not to rely on correction to fix fundamentally bad lighting. Aim to get the direction, softness, and exposure right in camera first.
Conclusion
Affordable studio lighting gets much easier when you focus on placement, control, consistency, and repeatability. A single well-used light, a practical modifier, a dependable meter, and a few simple workflow habits can take you much farther than many beginners expect. Keep testing, take notes on what works, and do not be afraid to learn from community setups that prioritize results over complexity. For more lighting tools, accessories, and studio gear ideas, explore Unique Photo and keep building your setup one smart piece at a time.