Creators everywhere are proving that you do not need a huge production budget to build a polished interview setup or a functional home studio. Across forums, creator groups, and customer conversations, one theme keeps coming up: affordable continuous lighting can deliver impressively professional results when placement, diffusion, and room control are handled well. For photographers, videographers, podcasters, and small business creators shopping at Unique Photo, this is good news. Today’s budget-friendly LED lights are brighter, more color-accurate, and easier to shape than ever before.
Whether you are lighting a sit-down interview, filming YouTube content, capturing social clips, or improving your remote work video presence, the right continuous light setup is often less about spending more and more about using smart techniques. Below, we break down the most common affordable lighting solutions, practical home studio hacks, and the lighting placement strategies creators debate most often.
What Is Affordable Continuous Lighting and Why Is It So Popular?
Affordable continuous lighting usually refers to LED fixtures that stay on constantly rather than firing like strobes. That makes them especially useful for video, interviews, livestreaming, and hybrid creators who shoot both stills and motion. Community members often recommend continuous lights because you can see shadows, highlights, and skin tone changes in real time.
For beginners, this lowers the learning curve. For experienced shooters, it speeds up setup and makes fine-tuning easier. At Unique Photo, shoppers looking for practical options often compare compact LED monolights, panel lights, and portable kits depending on room size and subject distance.
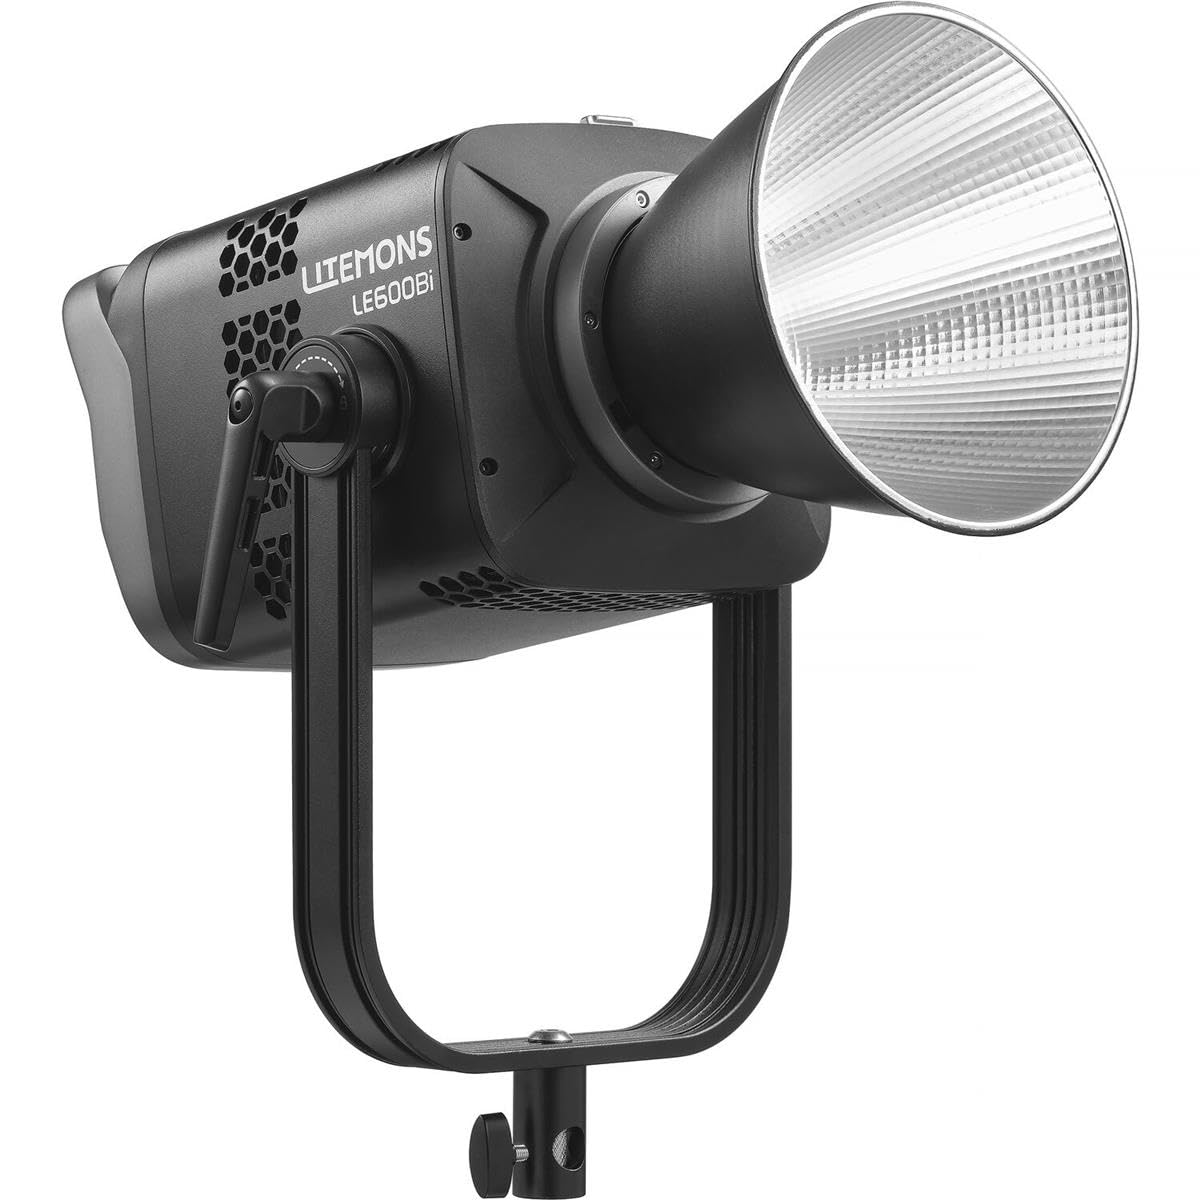
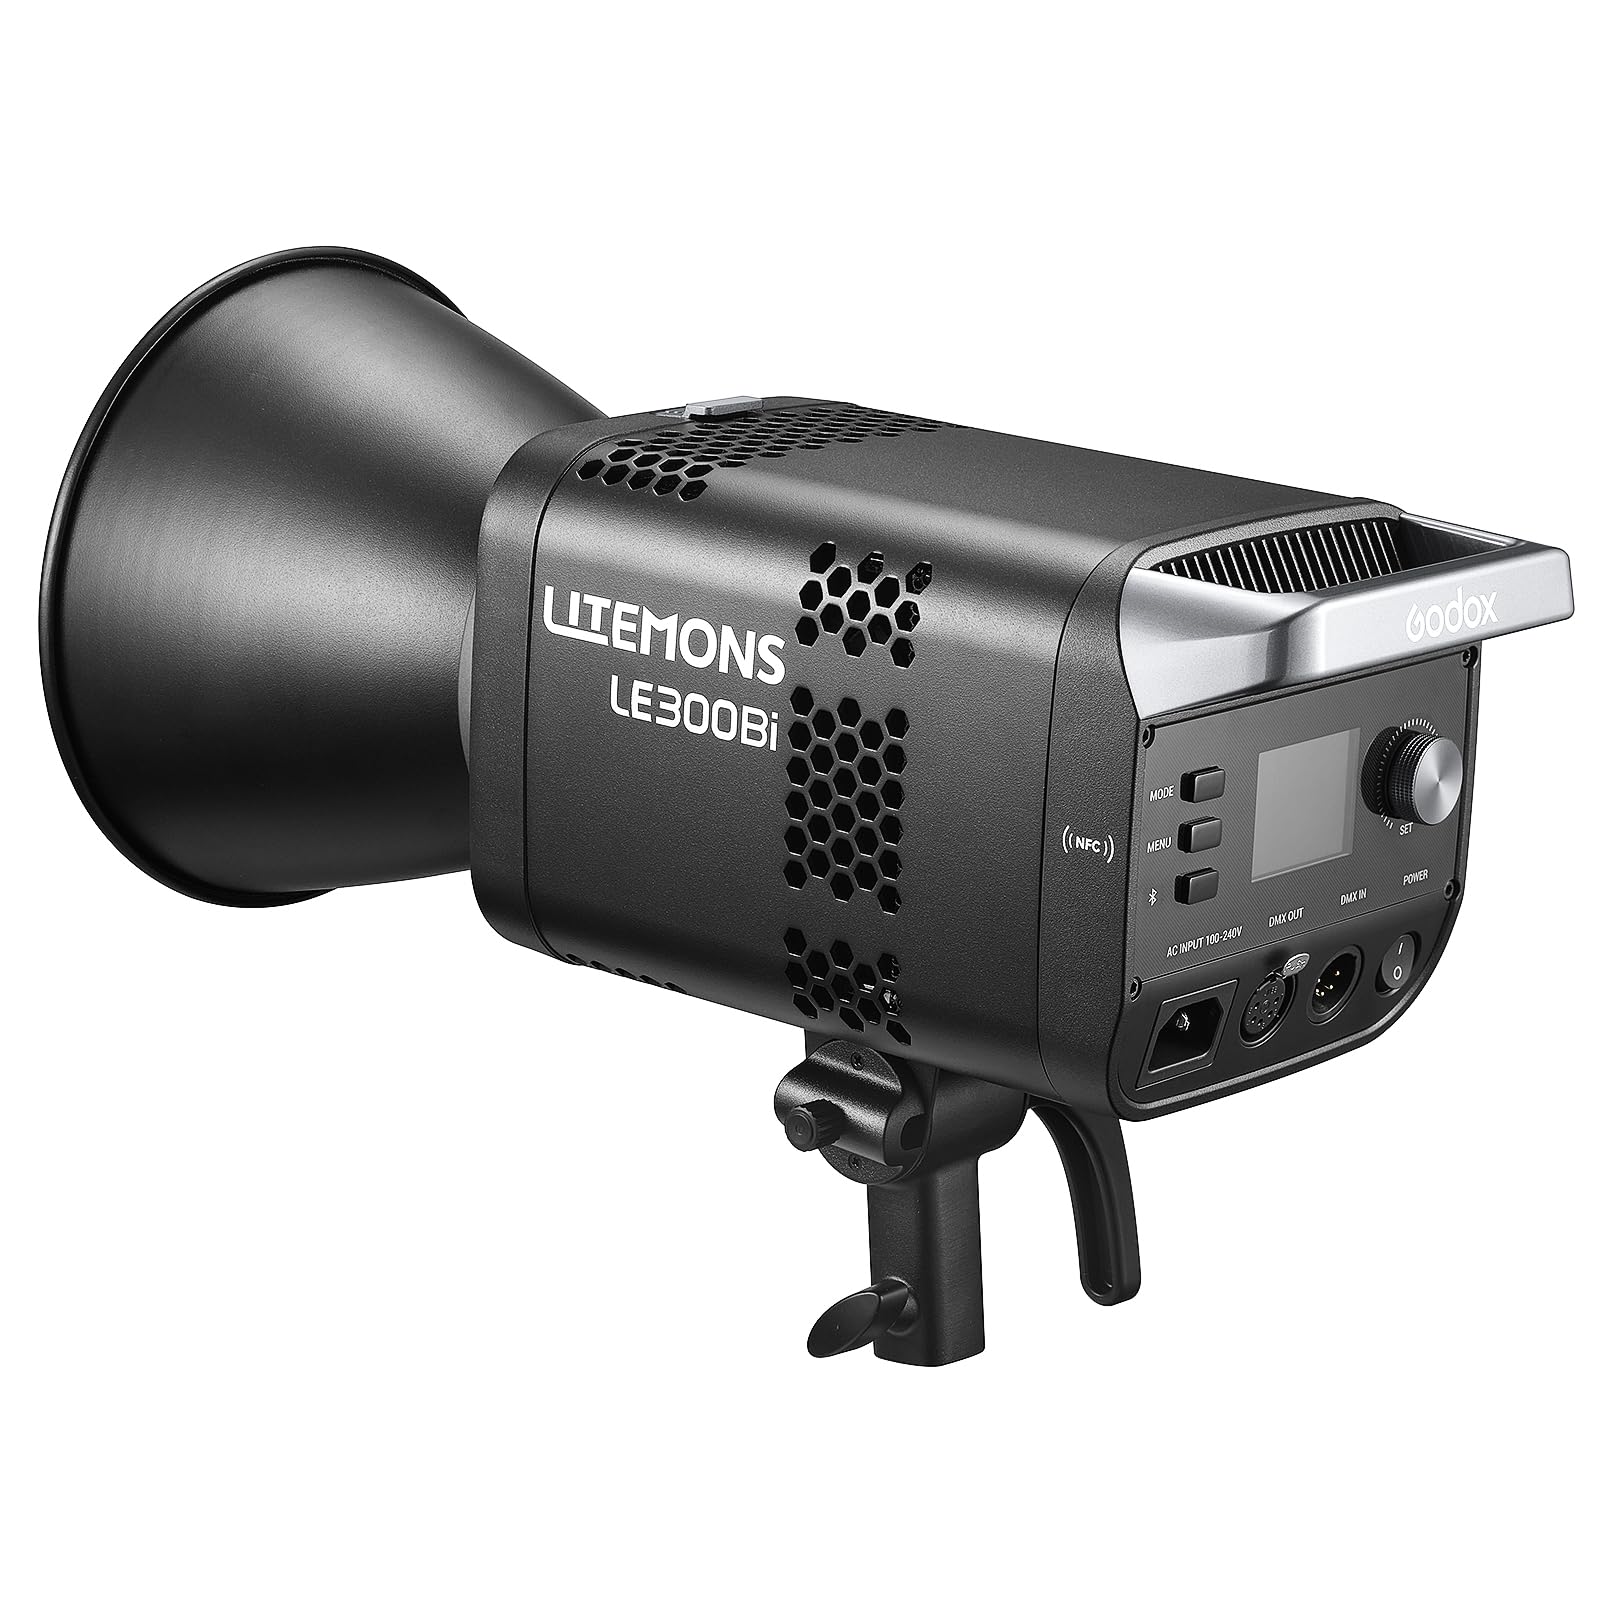
Popular budget-conscious choices in this category include fixtures like the Godox Litemons LE600Bi Bi Color LED Monolight, the Godox Litemons LE300Bi Bi-Color LED Light, and the Godox Litemons LE200Bi Bi-Color LED Light. These types of lights are frequently discussed because bi-color output adds flexibility for matching window light, household lamps, or warmer practicals in the background.
Best Budget Continuous Lighting Options for Home Studio Creators
When creators talk about getting the best value, they usually look for three things: enough output, decent color quality, and easy control. A light does not have to be expensive to be useful, but it does need to fit the job.
For interview setups in a spare bedroom or office, a stronger key light is often the most important purchase. The Godox Litemons LE600Bi is the kind of option many budget-minded shooters gravitate toward because it gives more punch for larger modifiers or wider framing. If your space is tighter or your subject is close to the light, the Godox Litemons LE300Bi can be a practical step down in size while still supporting flattering, soft illumination.
For creators who want flexible color effects in addition to clean portrait lighting, kits like the Savage RGB Portrait Kit can be appealing. RGB tools are often discussed for content creators who want accent colors in the background without buying separate practical fixtures or gels.
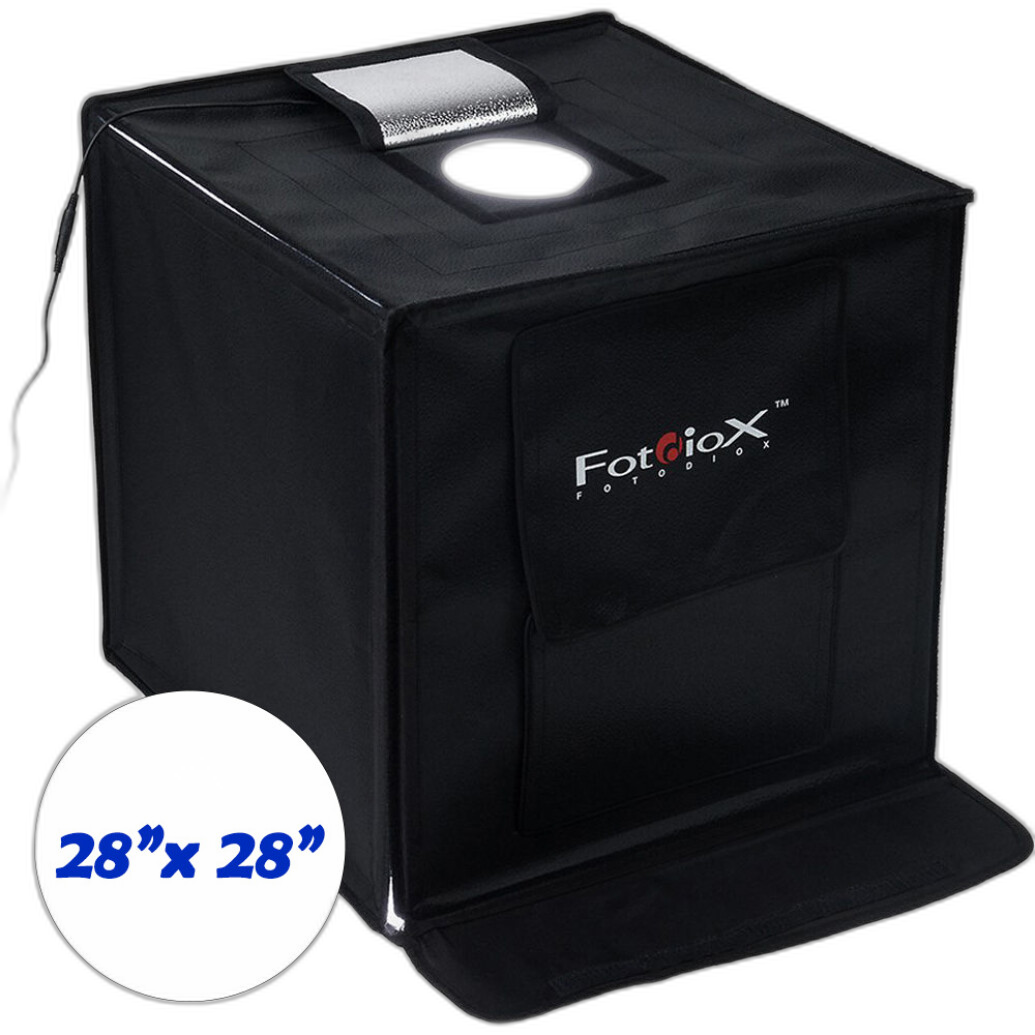
If your work includes tabletop content, product demos, or ecommerce photography, a compact all-in-one solution like the Fotodiox Pro 28x28 LED Studio-in-a-Box can make sense. While not a traditional interview light, it reflects the same budget-friendly principle creators share all the time: use purpose-built gear when it simplifies production and helps you work faster.
How to Light an Interview on a Budget
The most common community advice for affordable interview lighting is surprisingly consistent: prioritize one good key light, control spill, and use the room itself as a tool. A basic three-point lighting diagram is helpful, but many creators get excellent results with just two lights or even one light plus bounce.
Here is a simple budget interview lighting approach:
- Key light: Place your main light 30 to 45 degrees from the subject and slightly above eye level.
- Fill: Use a reflector, white foam board, or a nearby wall to soften contrast on the shadow side.
- Backlight or hair light: If available, add separation from the background with a small fixture or practical lamp.
- Background control: Move the subject away from the wall to create depth and reduce harsh shadows.
This is where stronger continuous lights really help. A fixture like the Godox Litemons LE600Bi gives more flexibility if you want to push light through diffusion or a softbox. In smaller rooms, the Godox Litemons LE300Bi may be plenty if the subject is seated close to the source.
Where Should You Place Lights for Interview Setups?
Lighting placement is one of the most debated topics because there is no single perfect formula. Much depends on face shape, background, mood, glasses, and how cinematic or corporate you want the shot to feel. Still, a few placement ideas show up repeatedly in real-world creator discussions.
45-degree key placement is often the safest starting point. It creates dimension on the face without becoming overly dramatic. This works especially well for business interviews, educational videos, and talking-head content.
Near-frontal soft key placement is common when creators want beauty-style softness, reduced wrinkles, or a more friendly, clean commercial look. It can also help with subjects who are not comfortable on camera.
Side lighting creates more mood and contrast. Some creators love it for documentary interviews, while others feel it can look too dramatic for client work. If you go this route, adding subtle fill with a reflector often keeps the look professional.
High placement versus low placement is another frequent debate. A slightly elevated key usually feels natural and flattering. Too high, and you risk deep eye sockets. Too low, and the look becomes unnatural fast. Most budget setups benefit from keeping the light just high enough to shape the face while preserving catchlights in the eyes.
Unique Photo customers often find that placement matters more than buying multiple cheap lights. One well-placed bi-color LED with basic diffusion can outperform a cluttered setup of weaker fixtures.
Home Studio Lighting Hacks That Actually Work
Affordable lighting conversations are filled with creative DIY solutions. While professional modifiers are always helpful, many home studio creators get strong results by combining budget gear with practical hacks.
- Use white foam board as fill: This is one of the most cost-effective ways to soften shadows without buying another light.
- Bounce into a wall or ceiling: If the room has neutral-colored surfaces, bouncing a continuous light can create broad, soft illumination.
- Diffuse with a shower curtain or diffusion fabric: Only when used safely and at proper distance from cool-running LED fixtures, this can soften harsh output.
- Control daylight with blackout curtains: Consistency is often more important than brightness in home studio environments.
- Create depth with practical lamps: A cheap lamp in the background can make an interview shot look more intentional and less flat.
- Move the subject away from the wall: Even a few extra feet can improve separation and reduce the “webcam in a corner” look.
These techniques are often what elevate budget gear into a polished setup. Pairing smart placement with a reliable fixture from Unique Photo can make a bigger difference than chasing expensive gear upgrades too early.
Bi-Color vs RGB Lights for Budget Studios
Another common question is whether bi-color or RGB lighting is the smarter buy for creators trying to stretch every dollar. In many cases, bi-color lights are the most practical first purchase. They let you shift between warmer and cooler tones, helping you match mixed lighting environments more easily.
That is why fixtures like the Godox Litemons LE600Bi, LE300Bi, and LE200Bi are so relevant for interview lighting and home studio work. They focus on the essentials: usable output and color temperature control.
RGB lights, on the other hand, add creative options for background accents, stylized portraits, and branded content. If your work leans heavily into social video, music content, or creator aesthetics, an option like the Savage RGB Portrait Kit may offer broader creative range. Still, many creators agree that a strong bi-color key light should usually come first.
How to Make Cheap Continuous Lights Look More Professional
If a light feels too harsh or too small, it usually is not because it is “cheap.” It is often because the source is not large enough relative to the subject. This is why diffusion and distance matter so much. To make affordable continuous lighting look more professional:
- Bring the light closer to the subject for softer wrapping light.
- Use diffusion or bounce to increase apparent source size.
- Flag off spill to keep the background from flattening out.
- Set exposure for skin first, then shape the rest of the frame.
- Use color temperature intentionally instead of leaving mixed light uncontrolled.
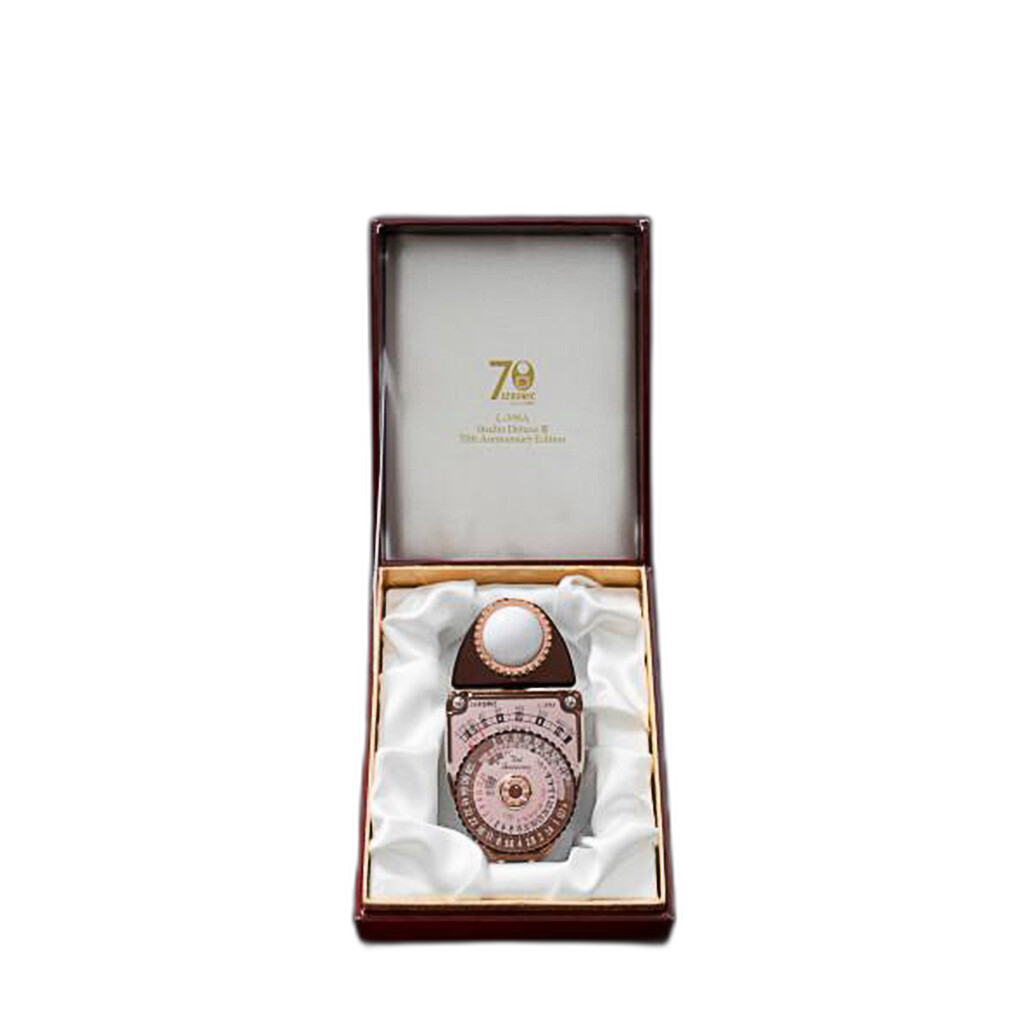
Some creators also use a handheld meter to refine consistency across shoots. A classic tool like the Sekonic L-398A Studio Deluxe 70th Anniversary Edition Light Meter can help dial in repeatable setups, especially for hybrid photographers and videographers who want more control over ratios and exposure decisions.
Choosing the Right Affordable Continuous Light for Your Space
Small rooms, medium offices, and converted home studios all place different demands on lighting. Before buying, think about these practical questions:
- How far will the light be from your subject?
- Will you use diffusion or a softbox that reduces output?
- Do you need battery options or mainly AC power?
- Will the light serve video only, or also stills and product work?
- Do you need daylight matching, tungsten matching, or creative RGB effects?
For more reach and flexibility, the Godox Litemons LE600Bi stands out as a strong candidate for serious budget interview setups. For tighter rooms or secondary lighting roles, the Godox Litemons LE300Bi can be a great fit. If affordability is the top priority and your setup is close and controlled, the Godox Litemons LE200Bi may still cover a lot of basic content needs.
Creators who enjoy stretching their budgets also frequently explore pre-owned gear. A used option like the Used Hensel C-Light D 120V can sometimes be worth considering if output and pricing line up with your workflow, though modern LEDs often win on convenience and efficiency.
Common Mistakes in Budget Interview Lighting
Even a good light can produce disappointing results if the setup is rushed. Here are some of the most common mistakes creators mention after refining their own affordable lighting setups:
- Placing the light too far away, which makes it harder and less flattering.
- Mixing window light and warm room light without adjusting color temperature.
- Putting the subject too close to the wall, causing distracting shadows.
- Using multiple weak lights instead of one well-controlled key.
- Ignoring background separation and ending up with a flat image.
- Over-lighting the scene so the shot looks clinical instead of dimensional.
The good news is that all of these are easy to improve with technique. That is one reason affordable continuous lighting remains such a popular topic at Unique Photo: better results are often just a few setup changes away.
Pro Results on a Tight Budget: What Matters Most
If there is one takeaway from all the community discussion around affordable continuous lighting, it is this: professional-looking results come from intentional choices, not just expensive gear. Start with a reliable key light, learn where to place it, soften it when needed, and use simple tools like reflectors and practical lamps to finish the scene.
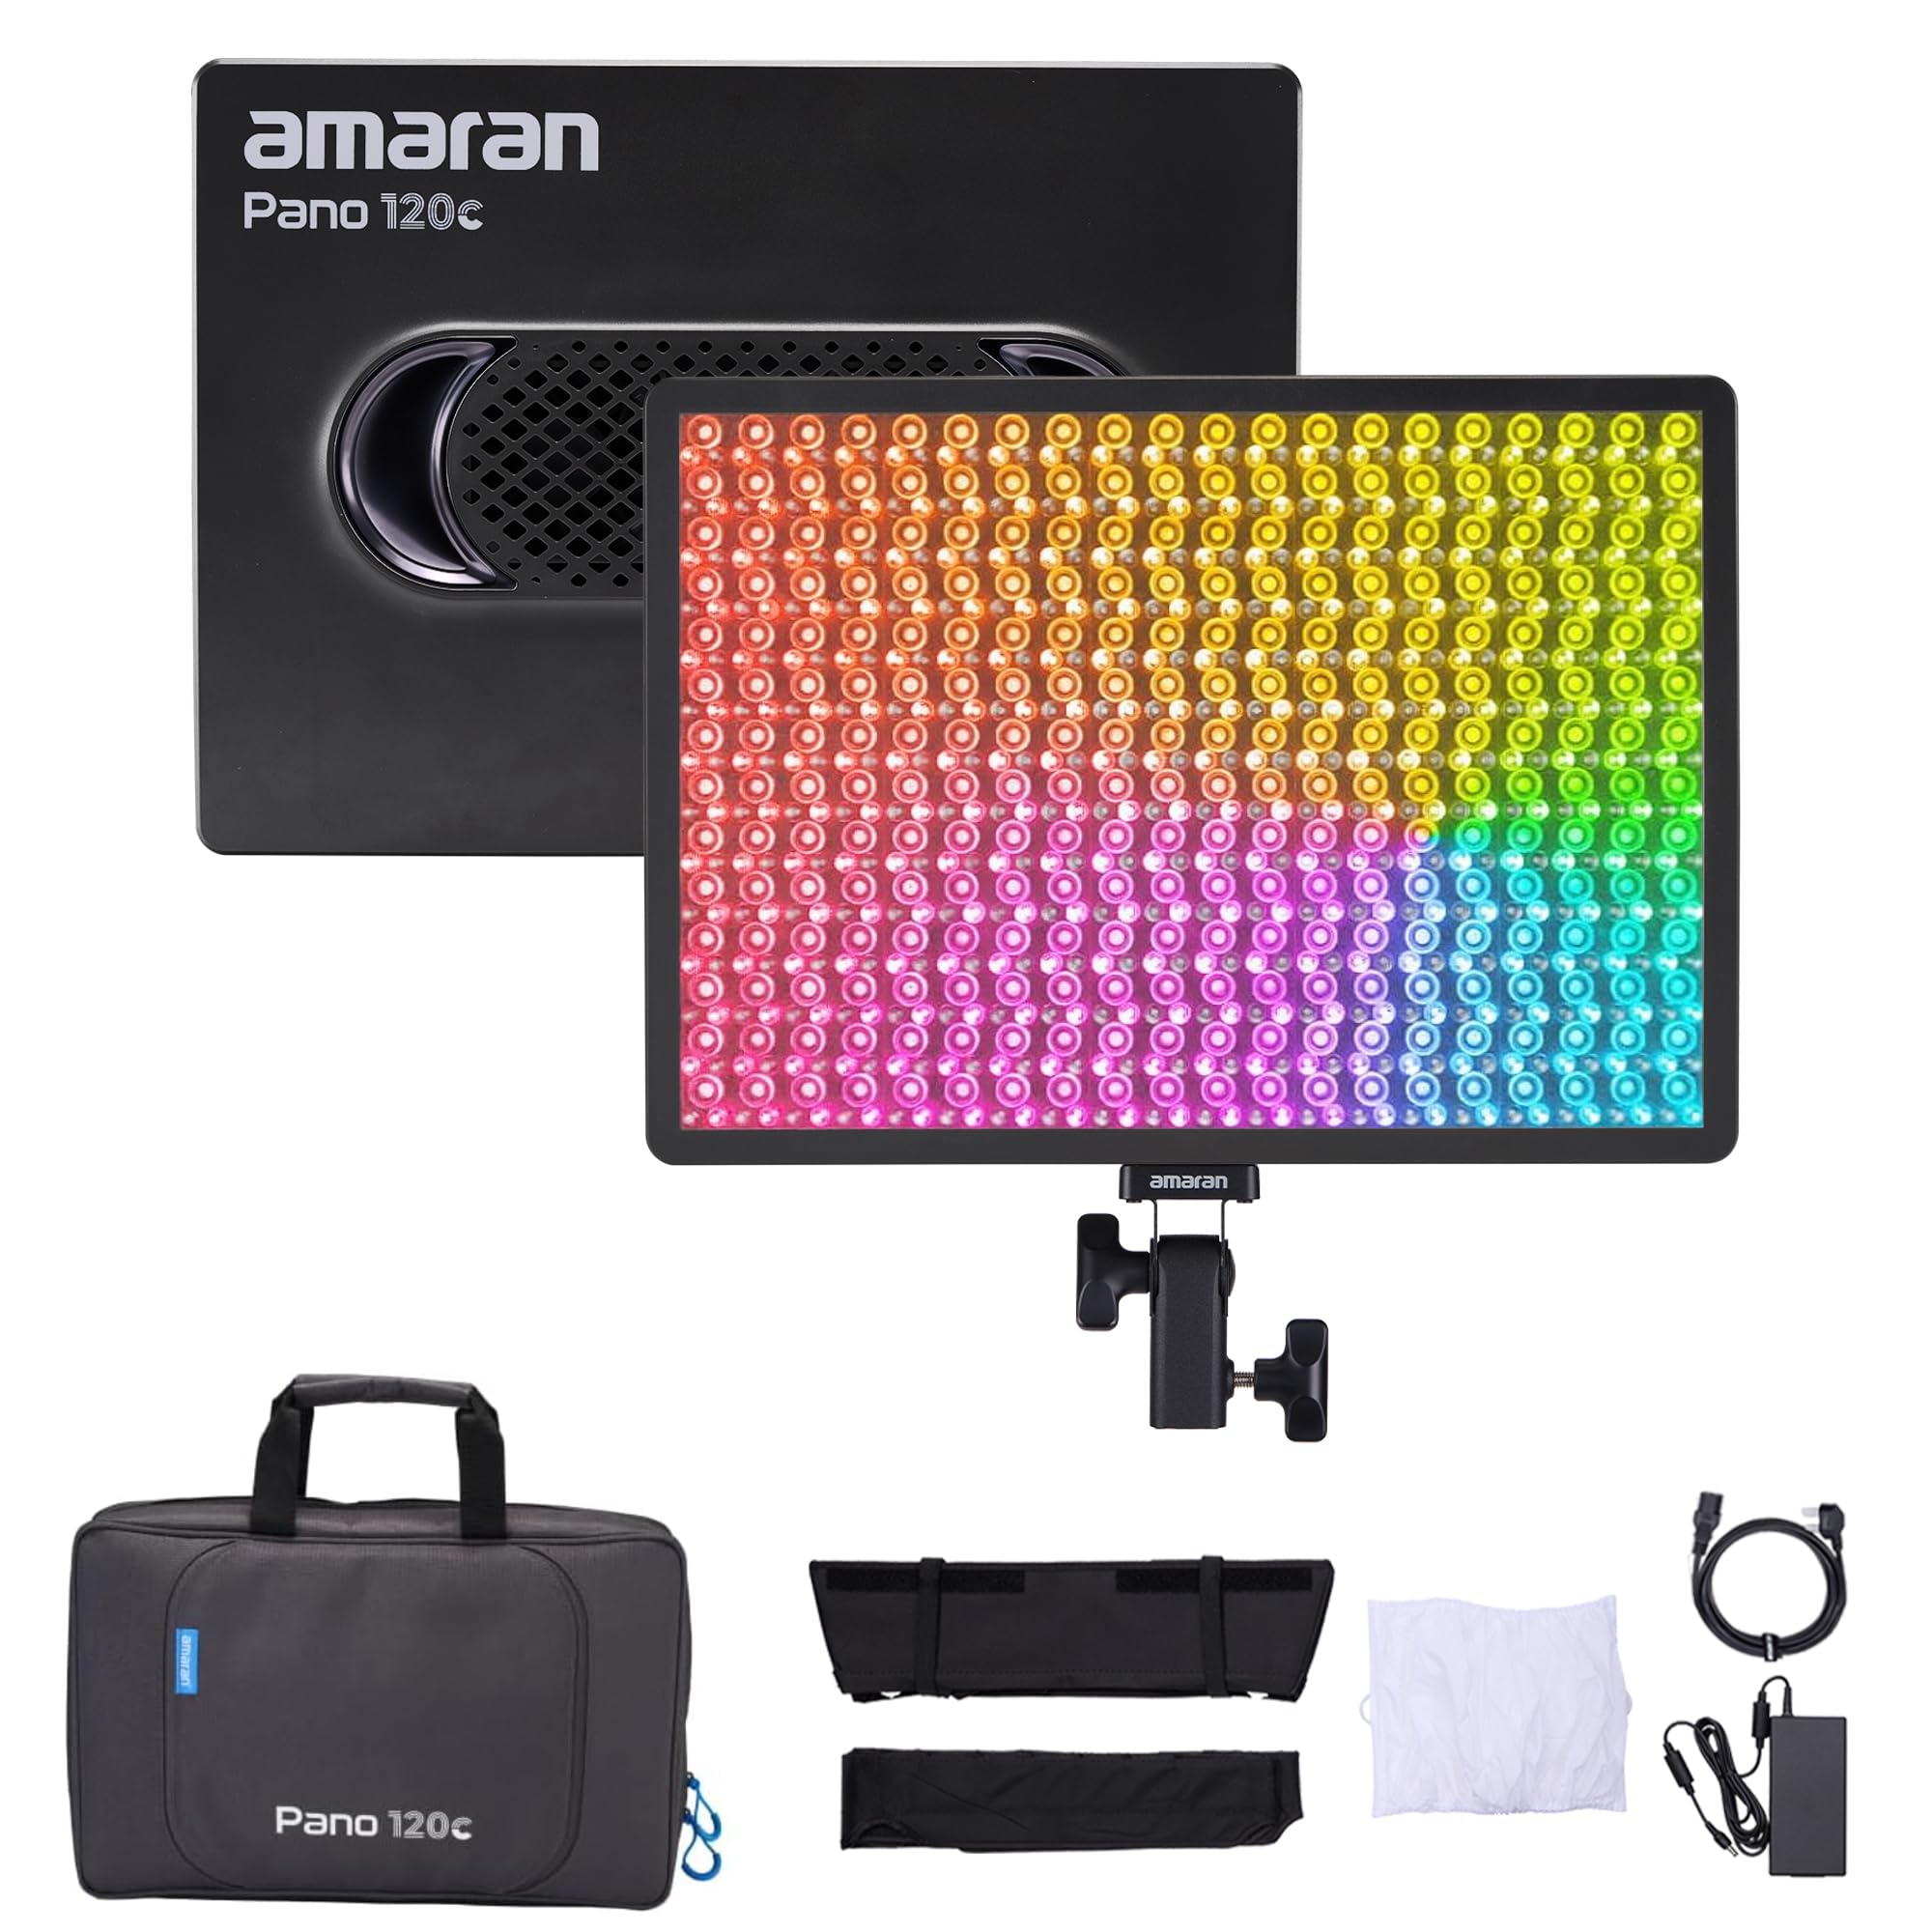
For many creators, that means building around versatile options such as the Godox Litemons LE600Bi, LE300Bi, or LE200Bi, then expanding later with accent lights, modifiers, or specialty kits. Others may benefit from compact solutions like the Fotodiox Pro 28x28 LED Studio-in-a-Box for product content, or from adding creative flexibility with the Aputure amaran Pano 120c Kit or Savage RGB Portrait Kit.
As you refine your setup, Unique Photo is a smart place to compare affordable continuous lighting options, explore accessories, and find the right fit for your room size and production style.
For next steps, consider linking your lighting research with related categories and guides on Unique Photo, such as continuous lighting, light modifiers, reflectors, light stands, microphones for interview production, and home studio essentials. Those internal resources can help you turn a basic budget light into a complete, professional workflow.