Portrait photographers love debating lenses for one simple reason: small differences in rendering can completely change the feel of an image. When photographers use the Sony Lens Compare Beta to share recommendations, the conversation usually centers on three big portrait priorities—bokeh, sharpness, and color rendition. The key is knowing how to compare those traits in a practical way instead of just chasing specs. These tips can help you use lens comparisons more effectively and make smarter portrait choices for your shooting style.
Start with the Portrait Look You Actually Want
1. Define your portrait style before comparing lenses
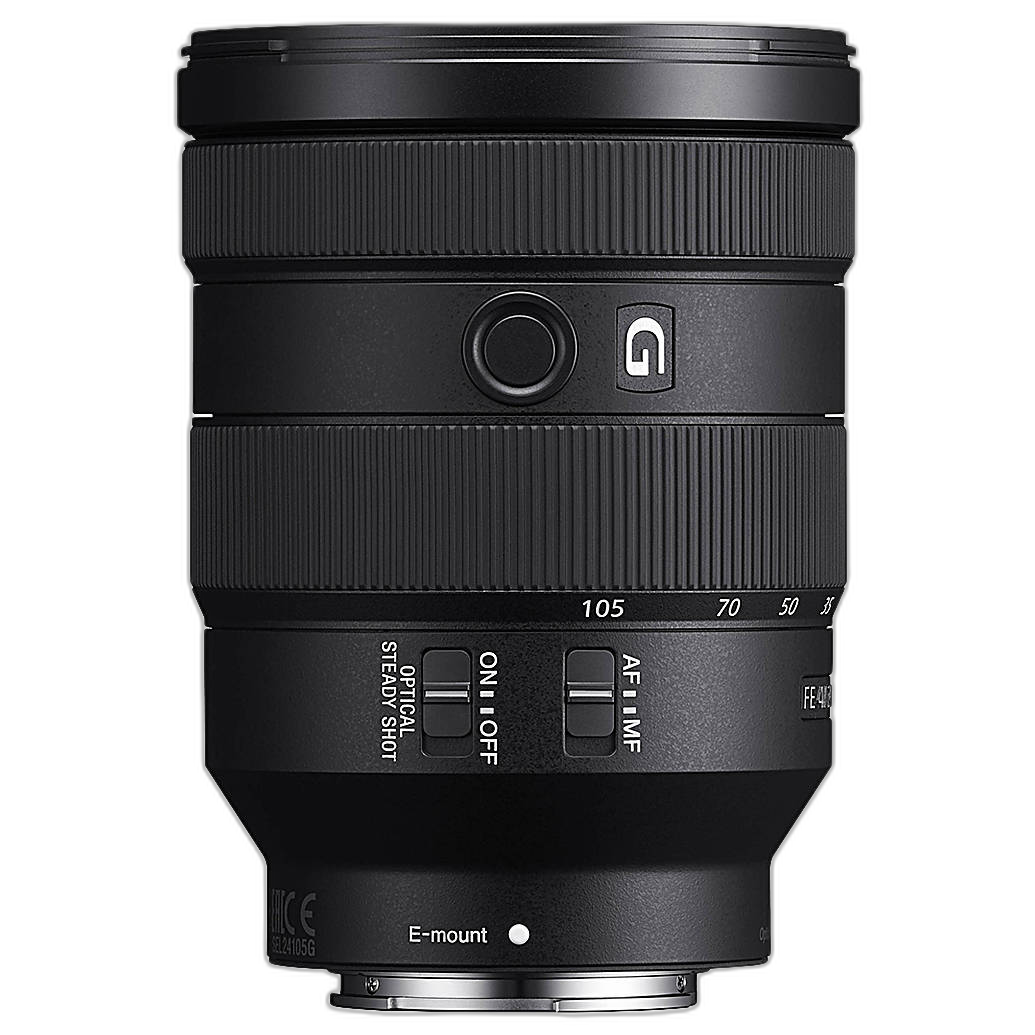
Before jumping into side-by-side discussions, decide whether you want soft, dreamy separation or crisp, highly detailed portraits. Many photographers comparing Sony lenses for portrait work discover that the “best” option depends on whether they prioritize creamy background blur, edge-to-edge sharpness, or natural skin tone rendering. For example, a versatile zoom like the Sony FE 24-105mm f/4 G OSS Lens can be a useful reference point in Sony lens conversations because it covers classic portrait focal lengths while giving photographers flexibility to test how compression and framing change from 50mm to 105mm.
2. Match focal length to the kind of portrait you shoot
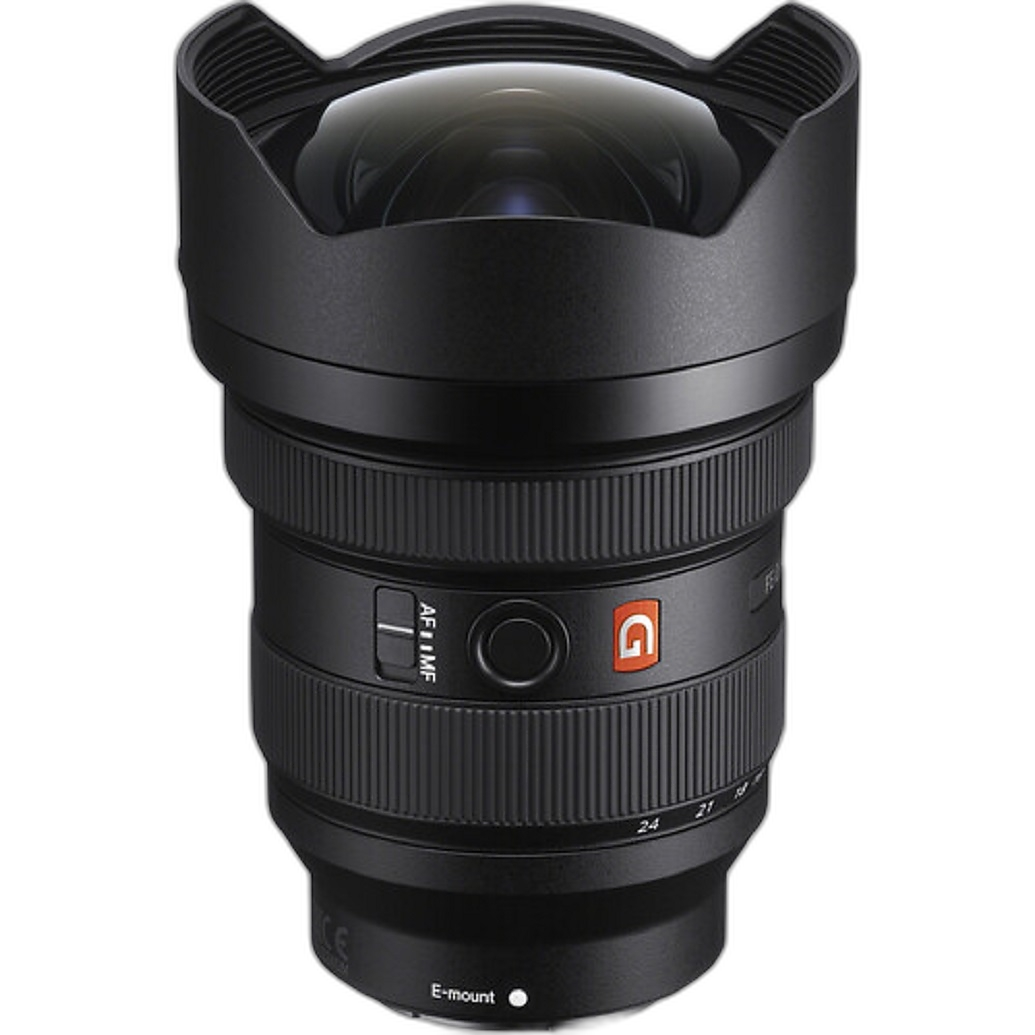
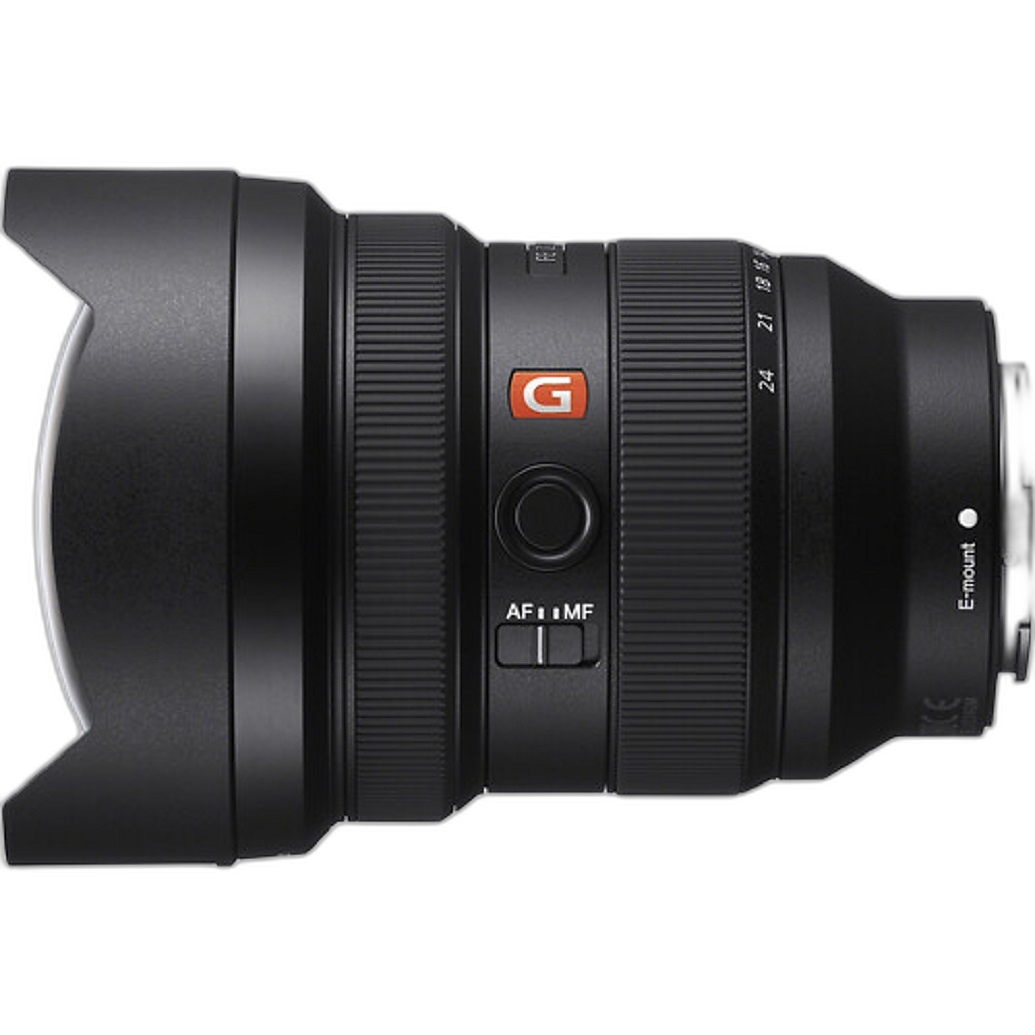
In any Sony Lens Compare Beta discussion, focal length matters just as much as optical character. Headshots often benefit from the flattering compression you get toward the longer end of a lens, while environmental portraits may need a wider perspective. If your portrait work includes editorial or location-based storytelling, comparing a standard zoom against a more dramatic wide-angle option can be eye-opening. The Sony FE 12-24mm f/2.8 GM Lens, for instance, is not a classic tight-headshot portrait choice, but it can create bold environmental portraits with strong perspective and striking subject placement.
Compare Bokeh the Right Way
3. Don’t judge bokeh by blur alone
When photographers debate portrait lenses, bokeh is often oversimplified. In Sony Lens Compare Beta discussions, look beyond how blurry the background becomes and pay attention to how that blur is rendered. Is it smooth or nervous? Do highlights stay rounded? Are transition zones gradual and flattering? A lens can create significant separation without producing the most pleasing out-of-focus character, so examples with foliage, lights, and textured backgrounds are especially helpful.
4. Compare subject-to-background transition, not just background melt
For portrait shooters, one of the most important traits is how gently a lens transitions from in-focus eyelashes to softly defocused ears, hair, and background detail. That transition often affects the emotional quality of a portrait more than extreme blur does. When browsing comparison samples, use images with similar subject distance and framing. At the longer end of the Sony FE 24-105mm f/4 G OSS Lens, you can evaluate how a practical zoom handles separation in real-world portrait situations, especially for outdoor sessions where flexibility matters.
Evaluate Sharpness with Portraits in Mind
5. Prioritize eye sharpness over test-chart perfection
Portrait photographers often debate sharpness, but portrait sharpness is different from technical sharpness. In the Sony Lens Compare Beta, focus on whether eyes and eyelashes look crisp at the apertures you actually use. Extremely clinical rendering can be great for beauty, fashion, or commercial portraiture, while slightly gentler rendering may be more flattering for everyday sessions. Comparison samples that show skin texture, hair detail, and contrast around the eyes are usually more useful than chart-based conversations.
6. Check sharpness consistency across focal lengths
If you are considering a zoom for portrait work, be sure to compare performance at the focal lengths you will use most often. The Sony FE 24-105mm f/4 G OSS Lens is a smart lens to discuss in this context because many photographers rely on it for event portraits, family sessions, and travel portraiture. A lens that stays dependable at 85mm to 105mm can be more valuable for real assignments than one that only shines in a narrow use case.
Look Closely at Color Rendition and Skin Tones
7. Use skin tones as your benchmark for color
Color rendition can be subtle, but portrait photographers notice it immediately. In shared lens recommendations, pay attention to how a lens handles warm skin, reds, and transitions in shadow areas. Some lenses render with a slightly cooler or more neutral look, while others feel richer or warmer straight out of camera. Sony portrait shooters often debate this because color can influence editing time just as much as the mood of the final image.
8. Compare images in similar lighting conditions
A fair color comparison only works when the light is consistent. Daylight, open shade, golden hour, and mixed indoor lighting can all change how a lens appears to render color. If you are reviewing community recommendations, prioritize examples made under matching conditions. This is especially important when comparing a versatile lens like the Sony FE 24-105mm f/4 G OSS Lens with more specialized options, since portrait photographers often use it in everything from natural light sessions to indoor events.
Use Wide Lenses Creatively for Environmental Portraits
9. Don’t dismiss wide-angle lenses for portrait storytelling
While portrait debates often focus on standard and short telephoto focal lengths, wide lenses have a place in portrait work when used thoughtfully. The Sony FE 12-24mm f/2.8 GM Lens can help create dynamic environmental portraits where the setting is part of the subject’s identity. Musicians, athletes, chefs, and creatives often benefit from portraits that include meaningful surroundings. The trick is careful subject placement so facial features do not distort in an unflattering way.
10. Use the frame edges carefully with ultra-wide portrait compositions
If you compare wide Sony lenses for portrait use, pay close attention to edge stretching and how the lens handles people positioned off-center. For environmental portraits, keeping the subject closer to the middle of the frame often produces more natural results. In discussions around creative portrait tools, the Sony FE 12-24mm f/2.8 GM Lens stands out less for traditional bokeh and more for dramatic perspective, strong subject isolation through composition, and a high-end look in editorial-style scenes.
Learn from Community Recommendations More Effectively
11. Pay attention to how photographers describe rendering
When people share lens recommendations, words like “creamy,” “clinical,” “neutral,” and “pop” can mean different things to different photographers. Try to connect those descriptions to visible image traits. “Creamy” may refer to smoother bokeh transitions, while “pop” often points to strong micro-contrast and separation. The best Sony Lens Compare Beta discussions are the ones where photographers post sample images and explain why a lens works for their specific portrait approach.
12. Separate personal preference from universal advice
One photographer may prefer maximum sharpness for beauty retouching, while another values softer rendering for romantic portraits. Neither is wrong. A practical zoom such as the Sony FE 24-105mm f/4 G OSS Lens may win recommendations for its flexibility, range, and dependable performance, while more specialized portrait shooters may still prefer a different look altogether. The smartest comparisons happen when you identify which comments reflect workflow needs and which reflect pure artistic taste.
Build a Practical Sony Portrait Lens Strategy
13. Choose versatility or specialization based on your assignments
If you shoot a mix of portraits, events, family sessions, and travel, a flexible option may make more sense than chasing one idealized portrait look. The Sony FE 24-105mm f/4 G OSS Lens is easy to understand in that context: it gives you multiple portrait-friendly focal lengths in a single setup, making it easier to adapt quickly on location. If your style leans more editorial and environmental, the Sony FE 12-24mm f/2.8 GM Lens can support a more dramatic visual signature.
14. Revisit your comparisons after real shoots
The best lens recommendation is the one that still makes sense after an actual portrait session. Use Sony Lens Compare Beta insights as a starting point, then review your own images for what mattered most—background rendering, eye detail, skin tone, framing flexibility, or consistency in changing light. Real shooting experience often reveals more than online debate alone.
Conclusion
Using Sony Lens Compare Beta for portrait discussions can be incredibly helpful when you focus on the details that matter most: bokeh quality, practical sharpness, and believable color rendition. Whether you prefer the adaptable reach of the Sony FE 24-105mm f/4 G OSS Lens or the bold creative potential of the Sony FE 12-24mm f/2.8 GM Lens, thoughtful comparison will help you choose the right tool for your portrait style. Keep testing, keep sharing, and if you are ready to explore Sony gear further, Unique Photo is a great place to continue building your kit.